


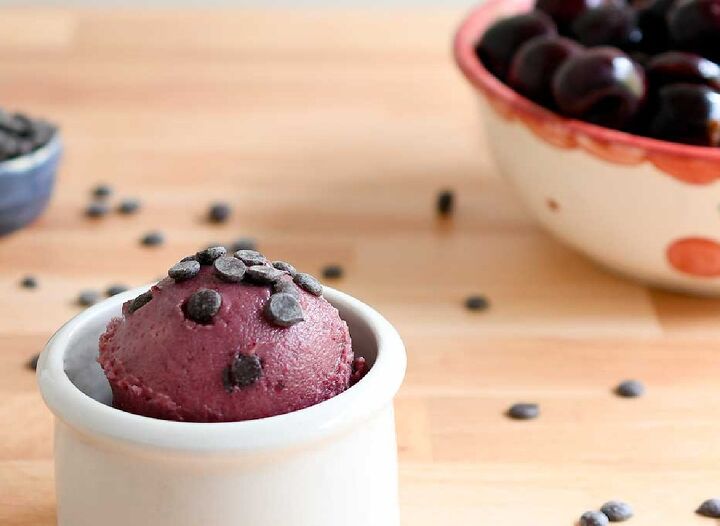
Ninja Creami Cherry Ice Cream Recipe (Dairy-free & Vegan)

Today I have whole food plant-based cherry ice cream with ripe, sweet fresh cherries for you, but you can use frozen cherries instead.
If you are a new Ninja Creami user be sure to read my Step by Step Instructions for making and spinning your first pint.
How Do I Prepare The Ingredients?
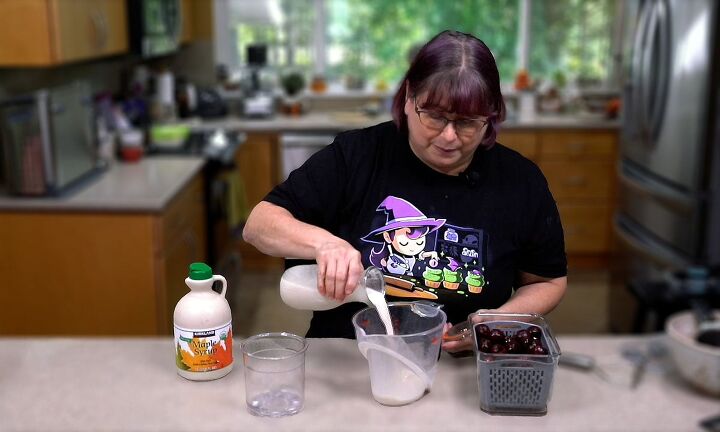
We’ll start with about a cup of the dairy-free milk in our Creami pint. This gives us room to add more cherries later if we’d like.
Add a cup of cherries and about a tablespoon of maple syrup, and mash the cherries to release some of their flavor and juices. If you use frozen fruit, I recommend blending.
You can also add a teaspoon of vanilla here and if you’d like, a couple more cherries to fill to the max fill line.
The goal is to create a cherry vanilla ice cream, but this is where you can really get creative. Use a different extract like almond to make your own creation.
Once your mixture is prepared, pop the lid on, label it so you know what’s inside, and place it in a flat spot in your freezer for 24 hours.
What Do I Do Once The Mixture Is Frozen?
Once your mixture is frozen, it’s time for the fun part – spinning the ice cream! Start by placing your frozen pint in the Ninja Creami machine.
If you have the original or deluxe model, you will put the pint into the outer bowl, put the blade in the outer lid and close it.
If your pint isn’t perfectly flat, gently scrape the surface until it is with a spoon. Don’t worry – this is a perfect opportunity for a little taste test too.
Next, we’re going to choose our setting. For this recipe, I recommend using the light ice cream setting. After you’ve selected your setting, it’s time to start the spinning process.
🍦 Watch My Step-by-Step Ninja Creami Videos 🍦
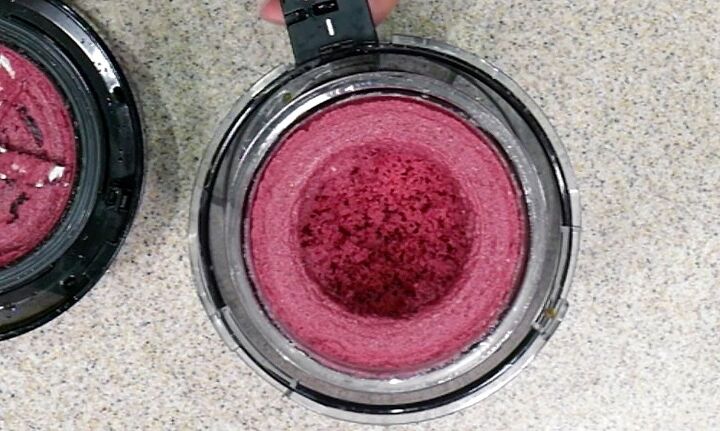
My Ice Cream Looks A Little Powdery. What Should I Do?
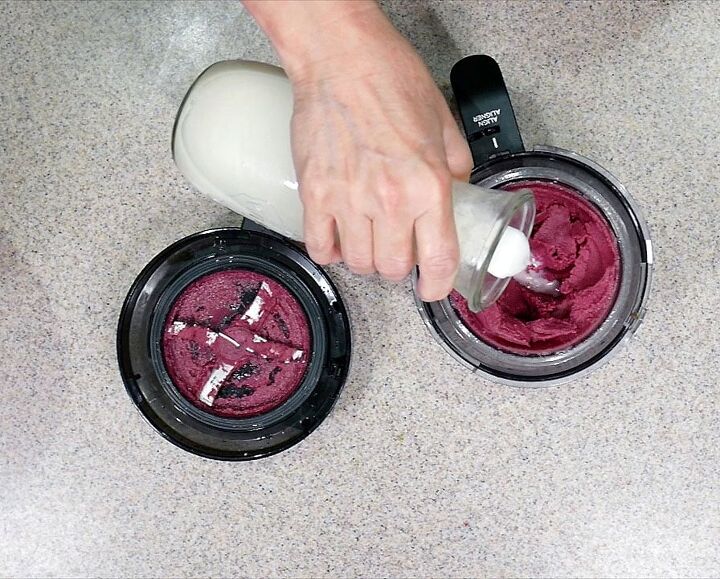
If your ice cream looks powdery in the middle after the first spin, don’t worry! Sometimes, it might just need a little extra love.
In this case, you can add a small amount (a teaspoon or two) of non-dairy milk and choose the respin option on the button panel of your Ninja Creami.
This will help make your ice cream even creamier. However, be sure to taste test first – if your ice cream needs more sweetness, add a liquid sweetener like maple syrup or date syrup instead of more milk.
Ninja Creami Cherry Ice Cream Recipe (Dairy-free & Vegan)
Recipe details
- 2 cups
- Prep time: 15 Minutes Cook time: 0 Minutes Total time: 15 min


Comments
Share your thoughts, or ask a question!