


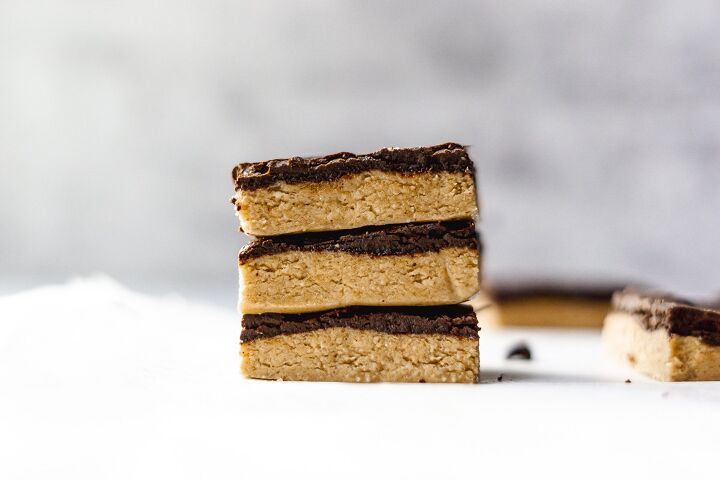
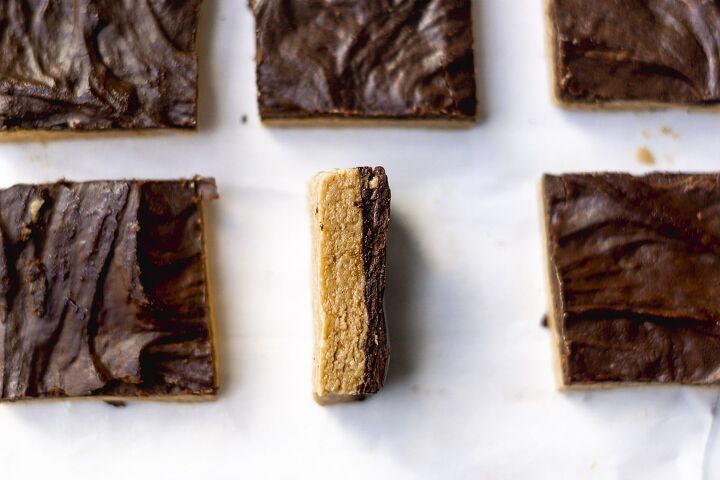
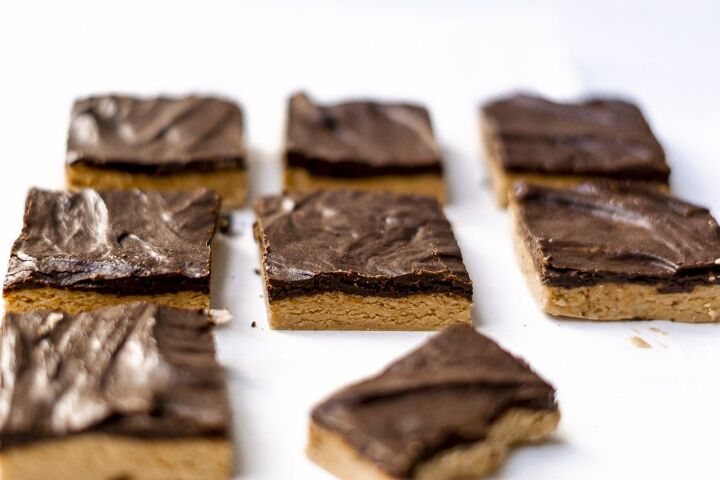
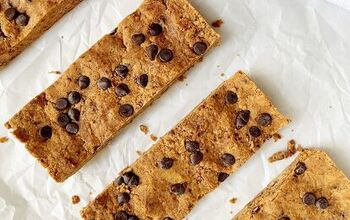
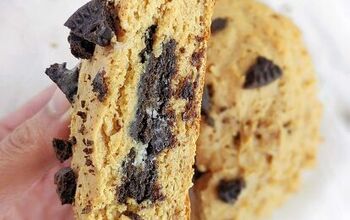
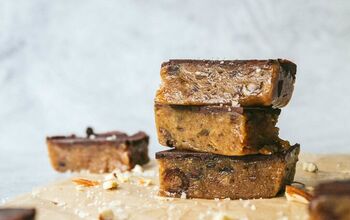
Peanut Butter Protein Bars

Learn how to make peanut butter protein bars that are no bake and made with homemade chocolate! These bars are vegan and gluten free. They are a perfect grab and go snack, post workout bar, or an after dinner dessert!
It's no secret I LOVE peanut butter. I also LOVE Reese's Peanut Butter cups. But I'm always searching to satisfy my sweet tooth in with healthier and homemade alternatives. For me, it's always nice to have something ready to go like energy bites or these protein bars so I don't reach for the jar full of chocolates!
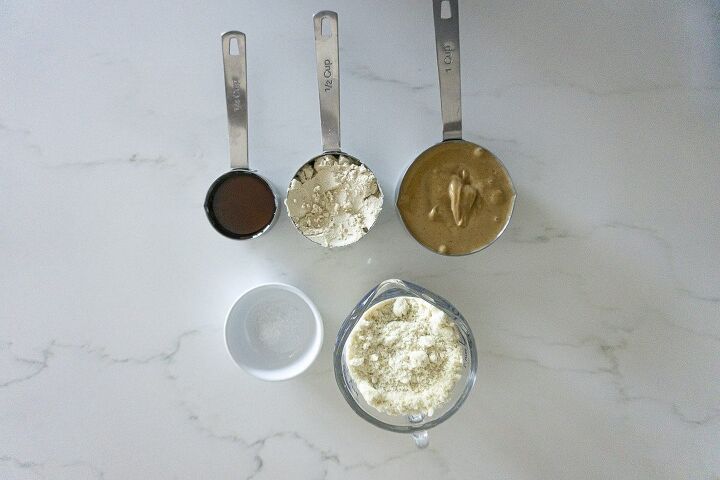
- Almond flour: Almond flour is packed with protein and is the base for this recipe.
- Protein Powder: The protein powder will bulk up the bars with protein. I like to use vanilla flavor protein powder in mine such as Orgain Plant Based Protein Powder.
- Peanut butter: Peanut butter is a great source of good fats and protein. The peanut butter helps hold these bars together.
- Maple syrup: To add a little sweetness! If you're trying to make these sugar free, you can use dates or grind the dates with warm water to make date paste. Since a liquid sweetener is used in the original recipe, I recommend adding a little more water to the date paste or adding more peanut butter to the recipe.
- Sea salt: Optional. If you like the addition of sea salt, you're welcome to add it. The natural peanut butter I used was already salted so I used less. However, if yours is unsalted, I recommend using ½ teaspoon of sea salt.
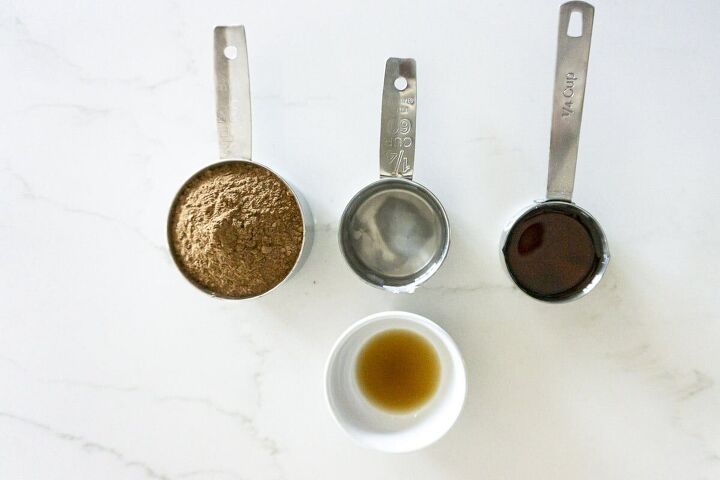
- Homemade dark chocolate:
- Cocoa Powder: This is the base of the dark chocolate
- Maple Syrup: Adds the sweetness to the chocolate. Again, if you're trying to make these sugar free, you can omit the chocolate altogether or you can add date paste to this as well, it will give it a ganache/frosting type of consistency.
- Vanilla: To add a vanilla flavor and because I like to add vanilla to all of my desserts.
- Coconut oil: This gives the chocolate some smoothness and creaminess.
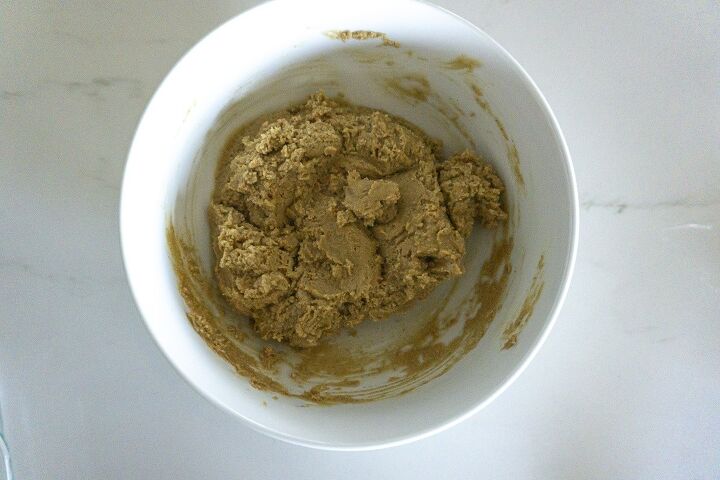
- Step 1: In a small bowl, mix the almond flour, protein powder, maple syrup, peanut butter, and salt (if using). Mix until no lumps remain and well combined.
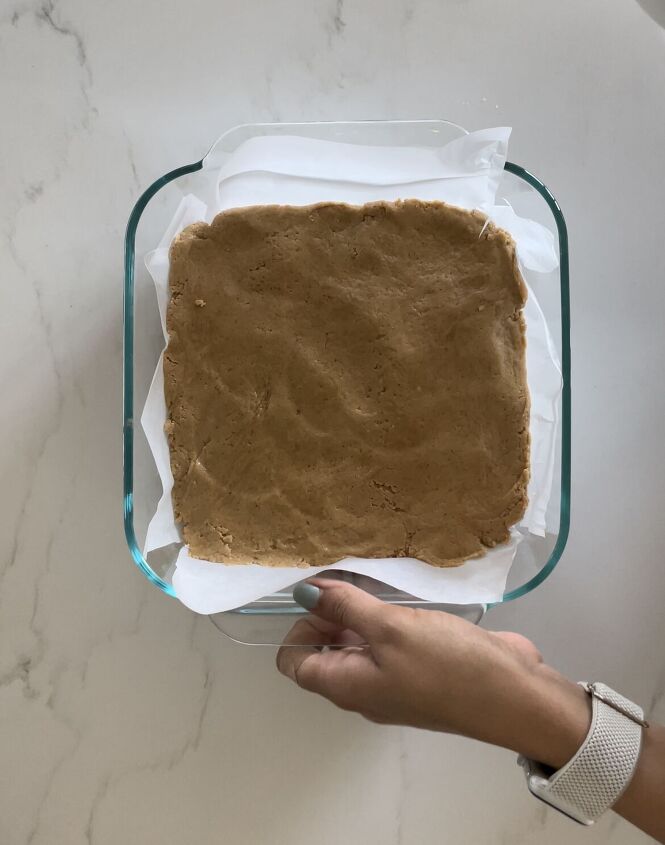
- Step 2: Line an 8x8 baking dish with parchment paper. Press the dough into the pan until well spread.
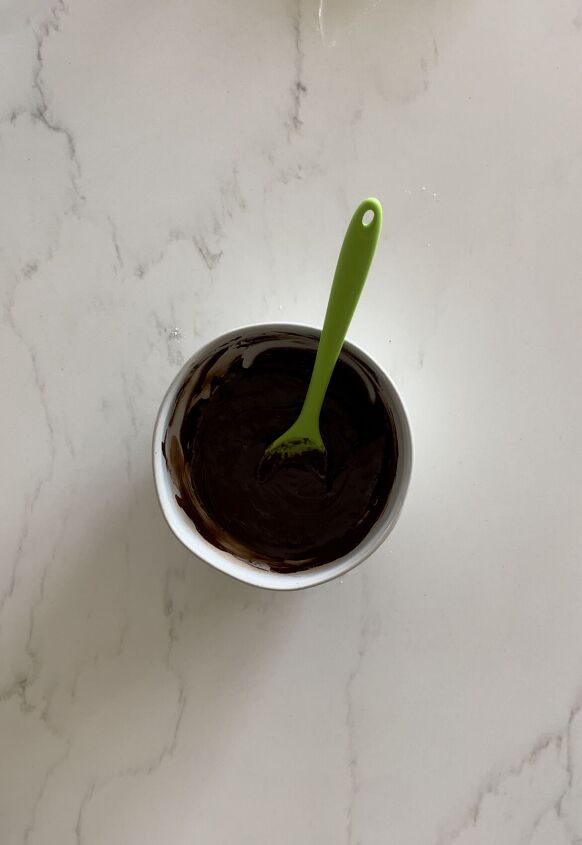
- Step 3: In another small bowl, add coconut oil, cocoa powder, vanilla, and maple syrup. Give it a quick stir, then microwave it for 10-15 seconds. The consistency should be liquid-like.
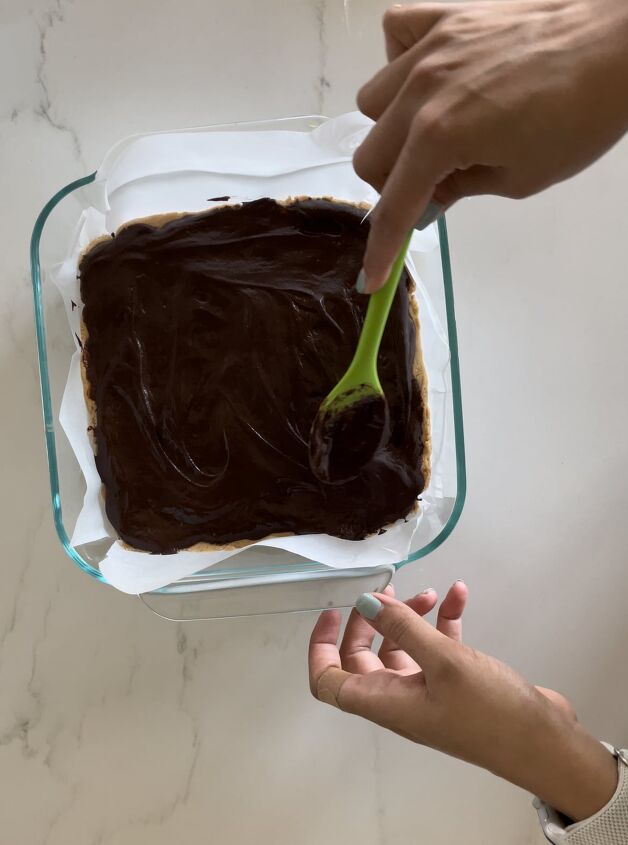
- Step 4: Pour chocolate over the pressed dough in the baking pan.
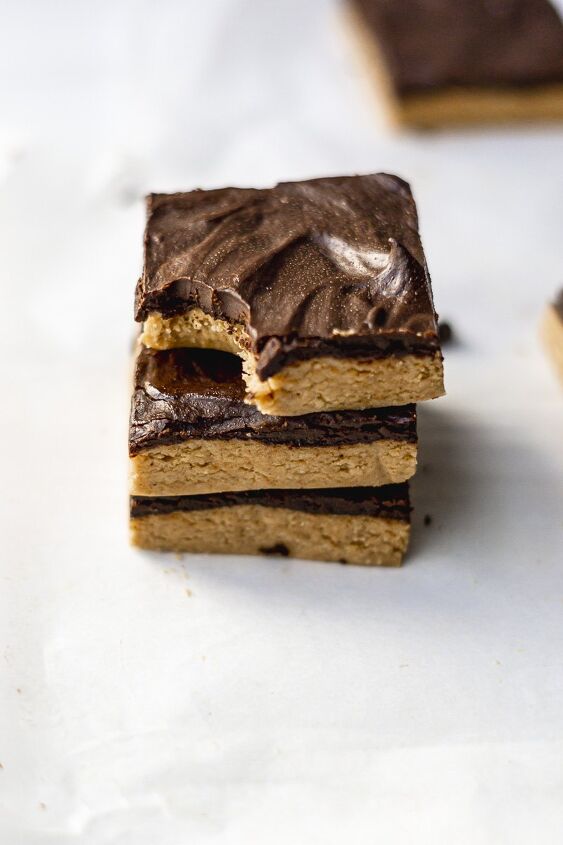
- Step 5: Refrigerate for about 2 hours or until firm. You may also place in the freezer directly. Once set, cut into even squares and enjoy! Store in the fridge when you're not snacking on them.
Peanut-free: Use almond or cashew butter.
Nut-free: Use any seed butter such as sunflower seed butter. Just make sure it is a runny consistency. For the flour, use oat flour instead of almond flour.
Instead of homemade chocolate: you can use any store bought dark chocolate and melt.
Sugar free: You can omit the maple syrup and add date paste to the bars and the chocolate. Since it may be a little drier, you can either make your date paste more liquid by adding water or add more peanut butter to the recipe (start with ¼ cup).
These bars need to be refrigerated to stay firm. You can store the bars in the fridge for up to 2 weeks. These taste delicious out of the freezer as well (allow it thaw for a few minutes) and you can freeze them up to 2 months.
- Chocolate Covered Brownie Energy Bites
- Vegan Blueberry Almond Crumble Bars
- 5 Ingredient Almond Butter Brownies
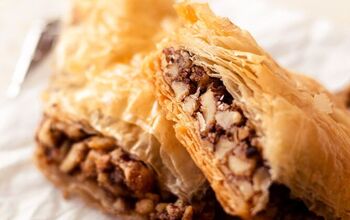
- Vegan Mini Baklava Cups
- Oat Cups with Almond Butter Chocolate
Peanut Butter Protein Bars
Recipe details
- 16 Bars
- Prep time: 20 Minutes Cook time: 20 Minutes Total time: 40 min


Comments
Share your thoughts, or ask a question!