


How to Make a Homemade Pie Crust in an EASY Step-by-step Way

Introduction: How to make a Home-made pie crust
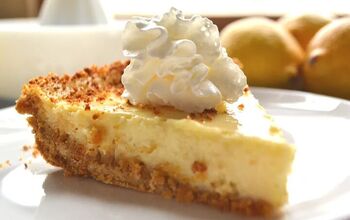
In this post I will show you how to make a homemade pie crust. My husband, Mr. G.Q., LOVES pie! Me, not so much. I like many pie fillings but I usually don’t think the crusts taste very good. So I decided I should teach myself how to make a pie crust in the hopes that it would taste better. Well above is the finished crust and it was delicious!!! This post will be long but mostly because I tried to take a photo every teensy step of the process. Here we go:
How to Make a Homemade Pie Crust
Ingredients:
Makes: one 9 inch double crust (I baked one and froze the other for another recipe)
–2 1/4 cups all purpose flour
-2 teaspoons sugar
-1 teaspoon salt
-1 cup COLD butter (two sticks), cut up into chunks
-6 Tablespoons of ice water, plus more if necessary
Steps:
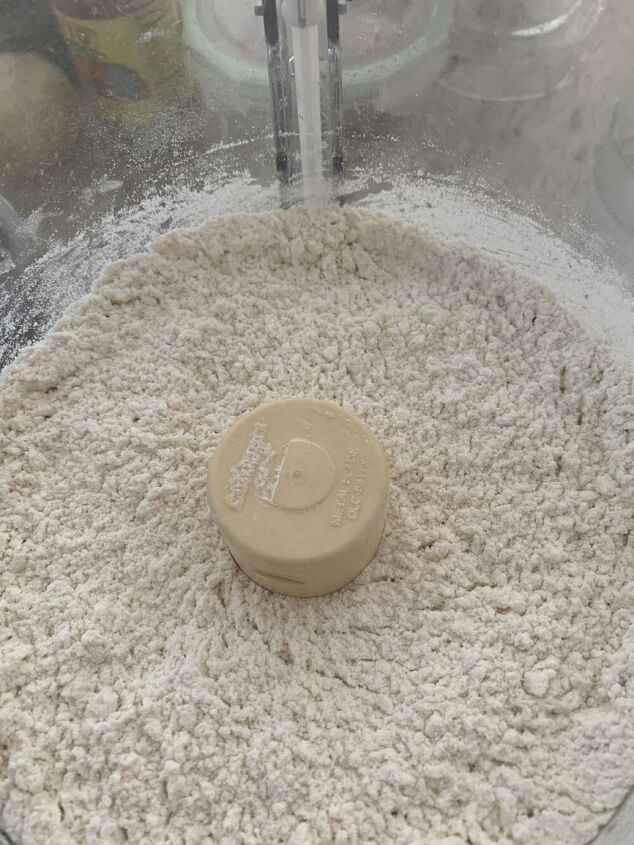
- Using a food processor, pulse together the flour, sugar and salt .
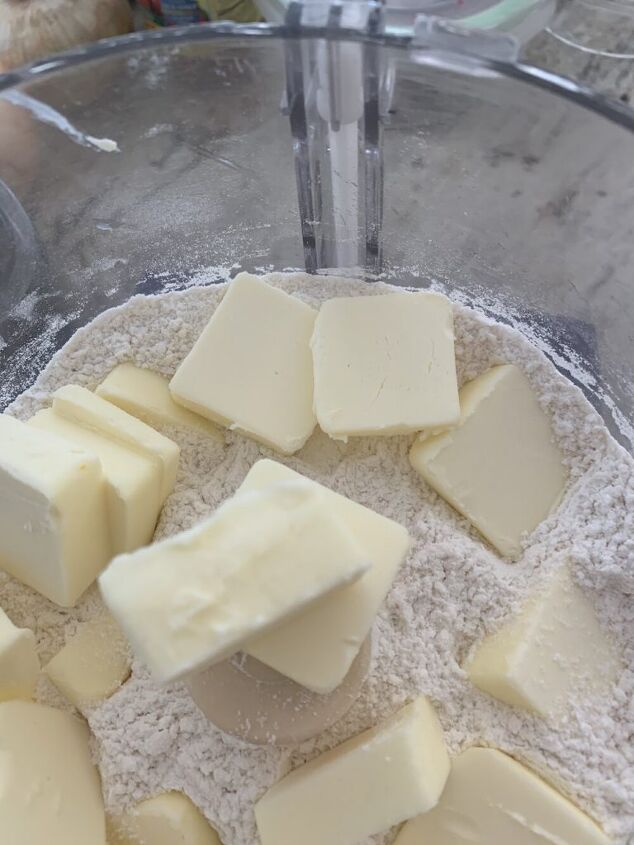
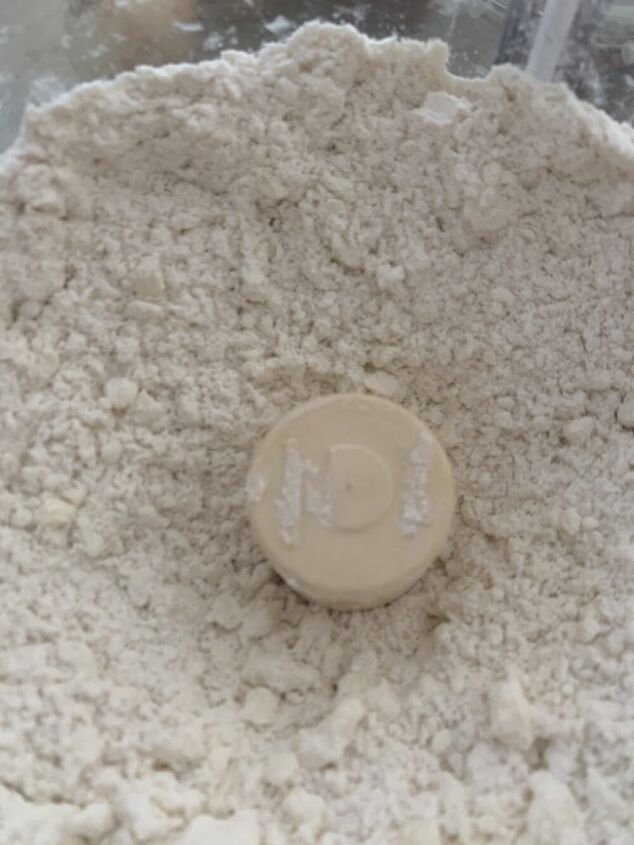
2. Add the butter and pulse until it is just barely blended with the flour and the butter broken down to the size of peas. (If you don’t have a food processor, you can use a pastry cutter or two knives or forks to work the butter pieces into the flour mixture, being sure to incorporate all the butter evenly, until the mixture has the texture of small peas.)
3. Add 6 tablespoons of ice water (not just cold water) to the flour mixture. Process for about five seconds or mix by hand with a wooden spoon, just until the dough begins to clump together. Add 1 or 2 more tablespoons of ice water if necessary, or a bit more flour if you add too much water. (Sorry I forgot to take a photo here.)
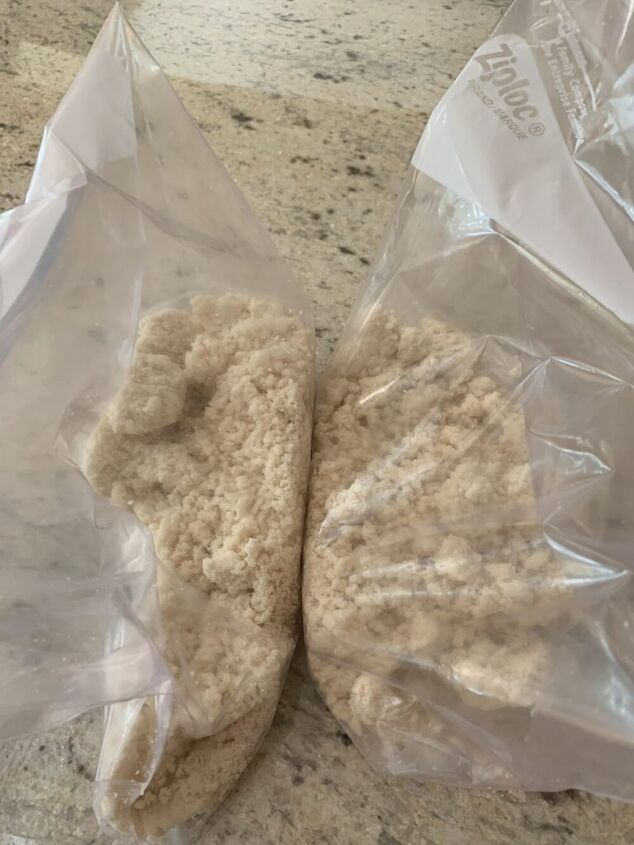
3. Divide the dough in half and put each half into a quart-sized zip-loc bag. Press each dough into disc shapes by mushing along the outside of the bag until you have a thick disc shape. Use as little pressure as possible to do this as you don’t want to overheat or overwork the dough as this would cause a tough pastry crust. Just use enough pressure to hold the dough together in the disc shape. Freeze the discs of dough for 10 minutes or refrigerate for 30 minutes before rolling out the dough. If, like me you’re making a single crust pie, freeze the other disc for another time. Then when you want to use it thaw it out overnight in the fridge before rolling.
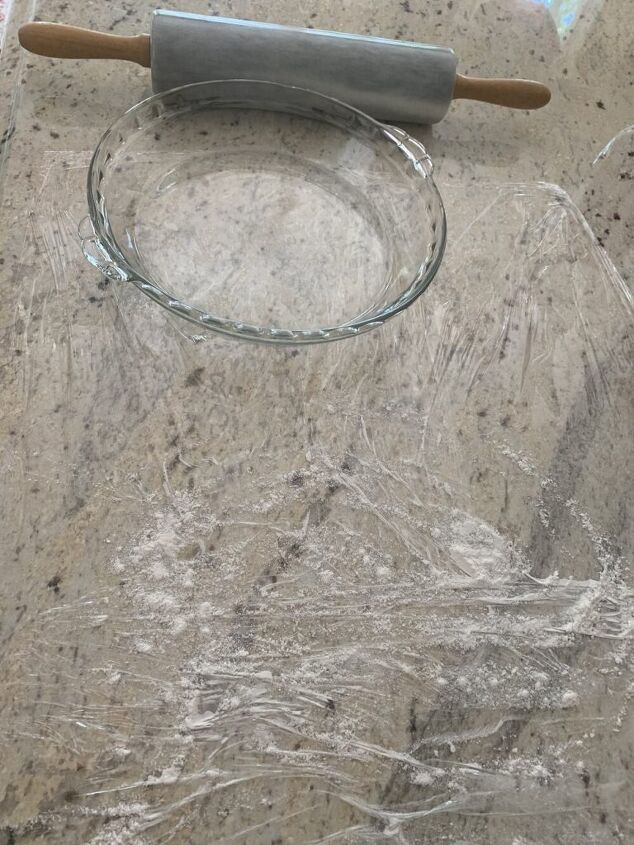
4. While the dough is cooling in the freezer or fridge, get your counter ready for rolling out the dough by covering the countertop with Saran wrap. This will facilitate clean-up.
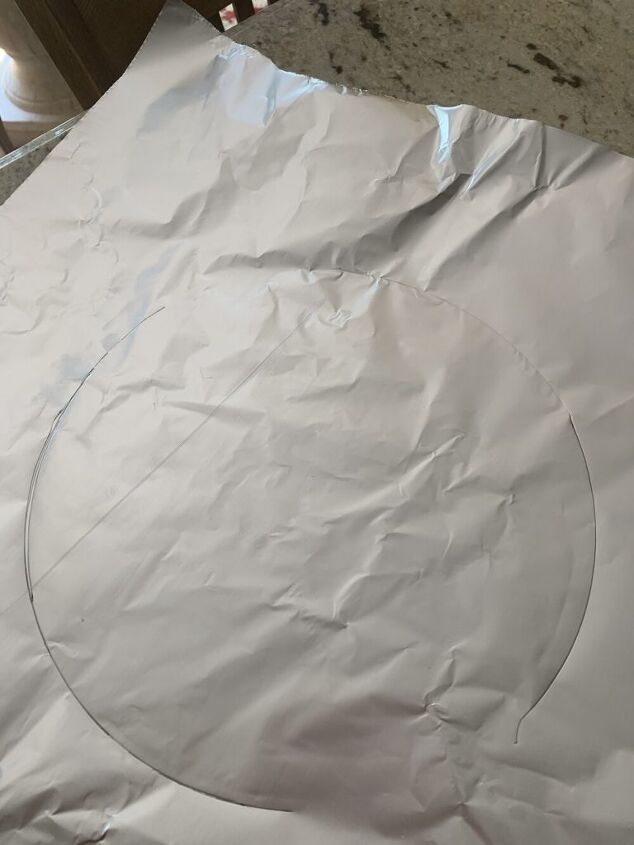
5. Cut a piece of foil slightly bigger than your pie plate. Turn the plate upside down on the foil and draw a circle around the plate’s edge. Cut out the circle.
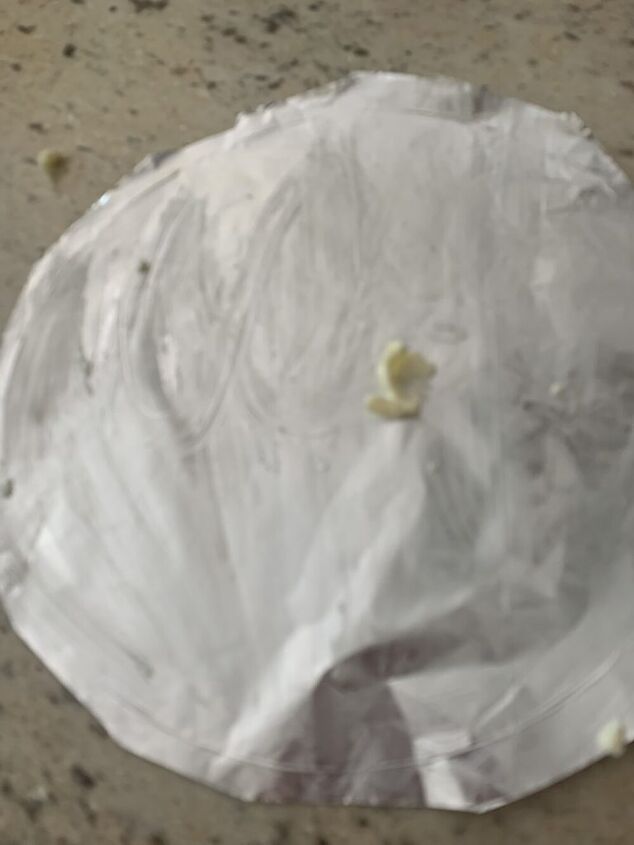
6. Using a bit of butter, grease one side of the foil circle.
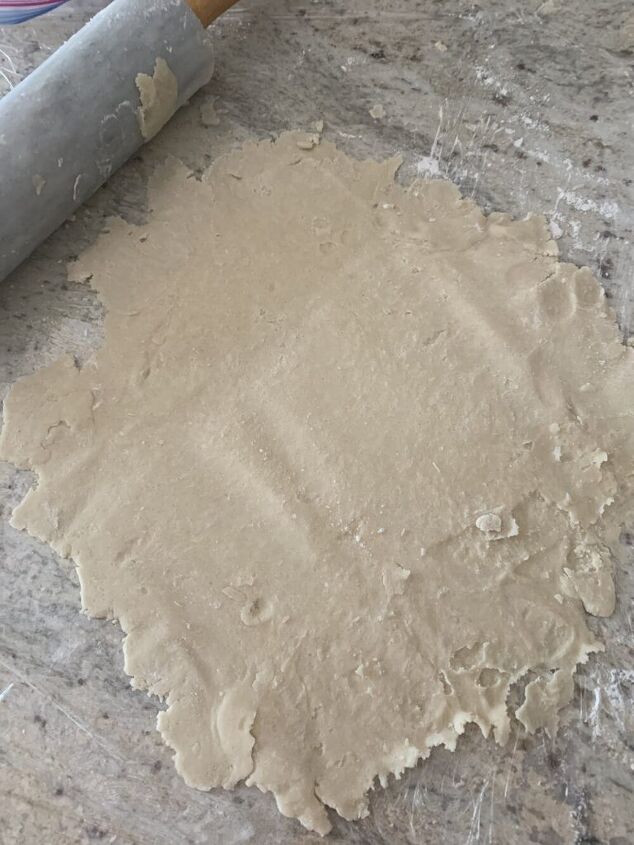
7. Remove the disc from the freezer. Dust a large pinch of flour over the Saran-wrapped counter. Dust the flour on the rolling pin as well. Sprinkle a little more flour on the dough disc. Too much flour will dry out the dough; you can always sprinkle on a little more if the dough starts to stick. Using firm, but not too hard of pressure, start rolling the dough from the center and outward to form a circle. If the dough feels too hard or is cracking a lot, let it rest for a few minutes. As you roll, add flour as needed, and rotate and turn the dough with a spatula to form an even circle.
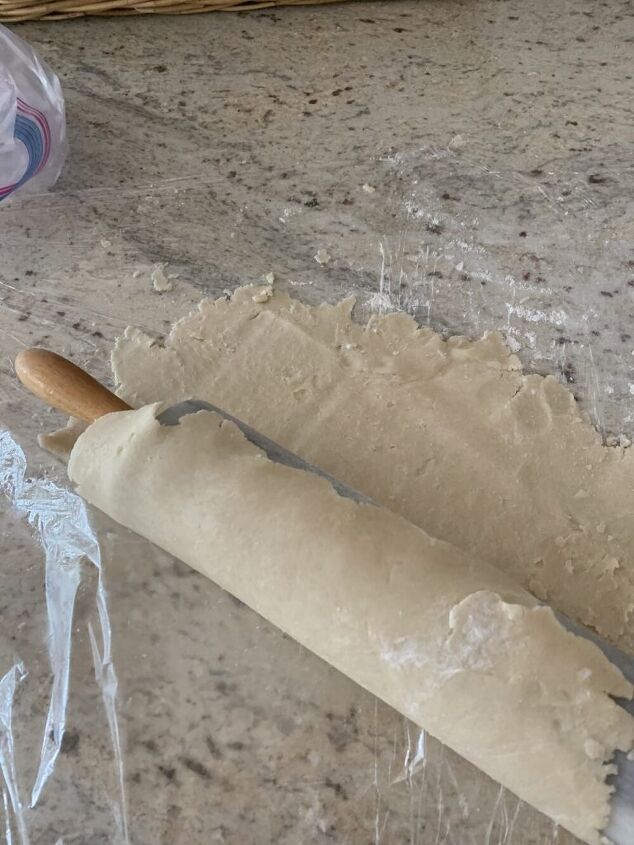
8. When the dough is about 2 inches larger than your pie plate, and less than 1/8 inch thick, it’s ready. Roll the dough halfway onto the rolling pin so it’s easy to move, then center it over the pie plate, and unroll it. Press the dough into the contours of the plate, without squishing or stretching it; patch any tears with a small scrap of dough, sealed with a drop of water Trim off any excess dough to about 1/2 inch all around.
9. If you’re making a single-crust pie, tuck the edges under themselves so the dough is thicker on the rim than it is on the inside. If you’re making a double-crust pie, leave the edges untucked for now. Put the pie plate in the fridge until the crust feels cool to the touch before filling or prebaking. (For a top crust roll the second disc into a circle on a flat baking sheet (dusted with flour) and put that too in the fridge. This way you’ll be ready for assembling your two-pastry pie once you make your filling.)
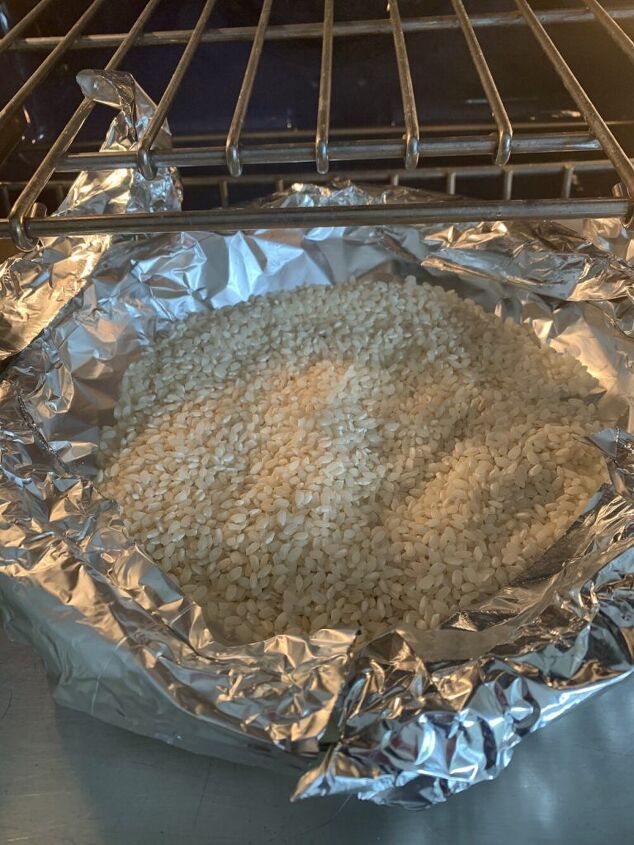
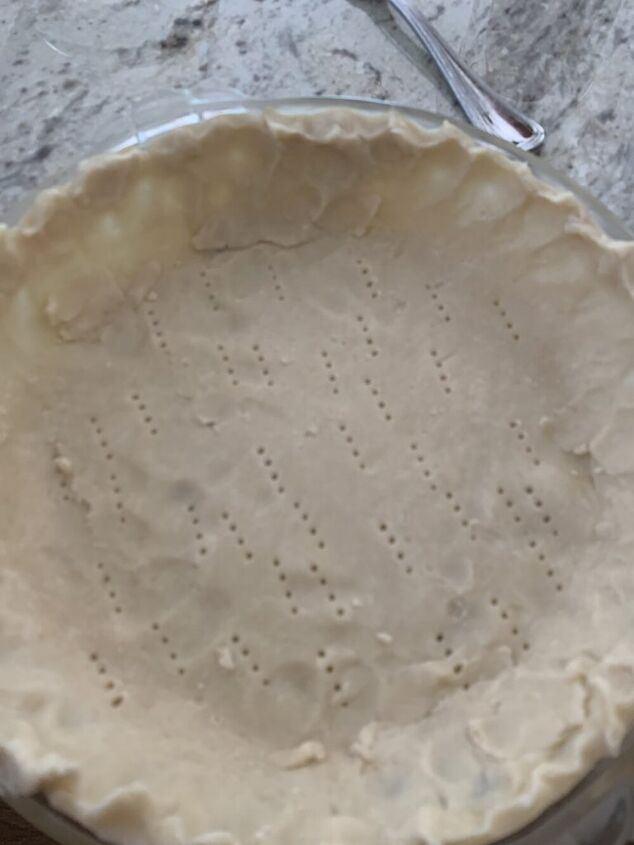
10. Prebaking the crust: (This is done when a pie filling will not be baked or when a pie’s bake time is too short to bake the crust. Since I was planning to make a lemon meringue pie (recipe to follow later this week), I pre-baked the crust. Heat the oven to 425 degrees F. Be sure the crust is evenly pressed into the pie pan. Now prick it all over with a fork. This is called “docking the dough”. It helps keep the dough from buckling and baking unevenly. Next, take the buttered piece of foil and place it over the dough, butter side down. Pour one pound of dried uncooked peas or beans over the foil to act as weights during the pre-baking. Notice in the photo how the foil covers the pie rim well as well during the initial phase of pre-baking to avoid burning the rim. Bake for 12 minutes; remove the weights and the foil. Now reduce the oven temperature to 350 degrees F and continue baking until the crust starts to develop a golden color, about 10 more minutes or so. The crust is now partially baked and ready for any filling you plan to bake.

I know all these steps seem crazy, but I am telling you that this crust TASTED GREAT!!! You be the judge. Hopefully tomorrow I’ll blog about making the lemon meringue pie using this crust! Stay tuned!!!!
XO
Dr. Julie
PS This recipe is from Mark Bittman’s great book How to Bake Everything
How to Make a Homemade Pie Crust in an EASY Step-by-step Way
Recipe details
- 8 slices
- Prep time: 30 Minutes Cook time: 22 Minutes Total time: 52 min


Comments
Share your thoughts, or ask a question!