


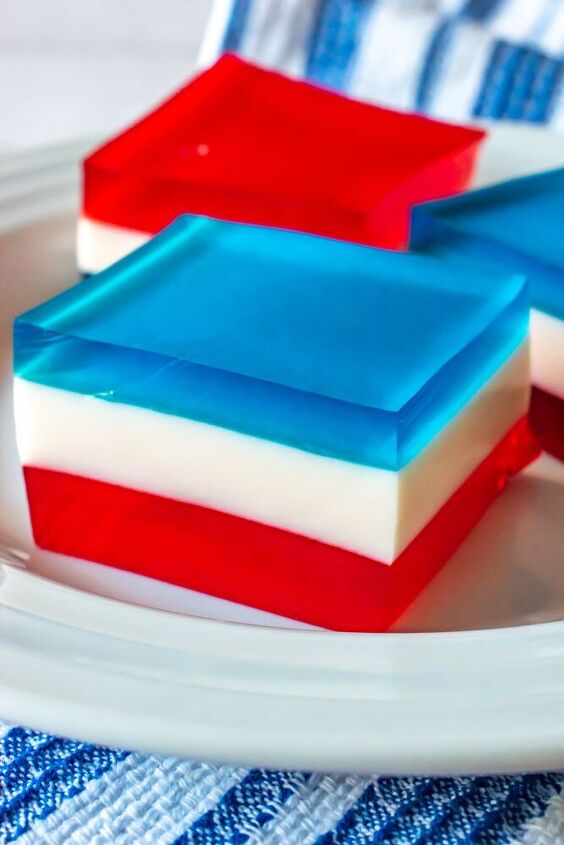
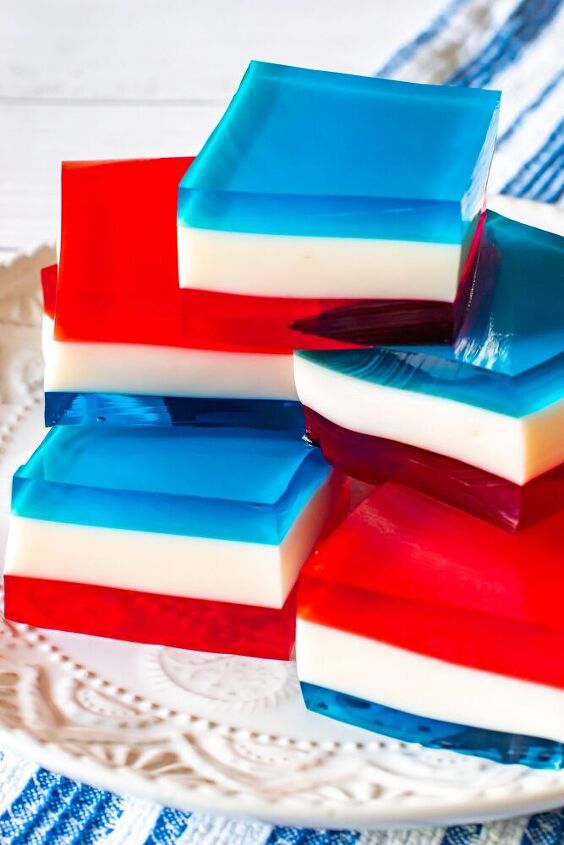
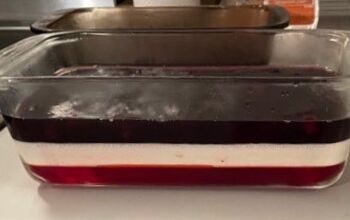
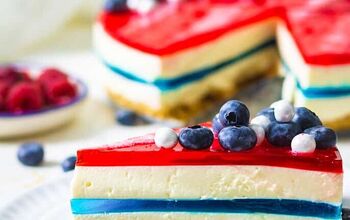
Red, White & Blue Layered Jello
This simple yet flavorful dessert is perfect for all of your patriotic get-togethers. Kids and adults alike, go crazy for this fun, colorful finger jello!
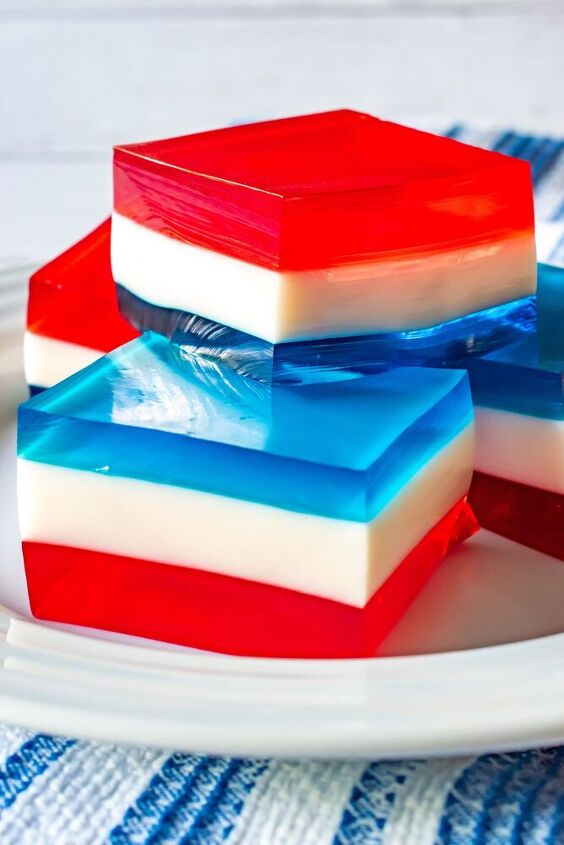
Finger jello is perfect for parties or get-togethers. Kids go crazy for this fun-to-eat dessert. And let’s be honest, most adults can’t resist it either! It combines layers of fruity jello with a sweet milky layer in between for a perfect pairing.
What is finger jello?
Simply put, it’s jello that you eat with your fingers. To make it firmer and easier to pick up, extra unflavored gelatin is added to the jello.
This is also a very versatile dessert. Simple change the colors of the jello to suit the event or holiday.
- Valentines Day – Red (raspberry or strawberry jello), white (sweetened condensed milk layer), and pink (watermelon jello)
- Christmas – Red (raspberry or strawberry jello), white (sweetened condensed milk layer), green (lime jello)
- Baby shower or gender reveal party – pink (watermelon jello), white (sweetened condensed milk layer), or blue (berry blue jello)
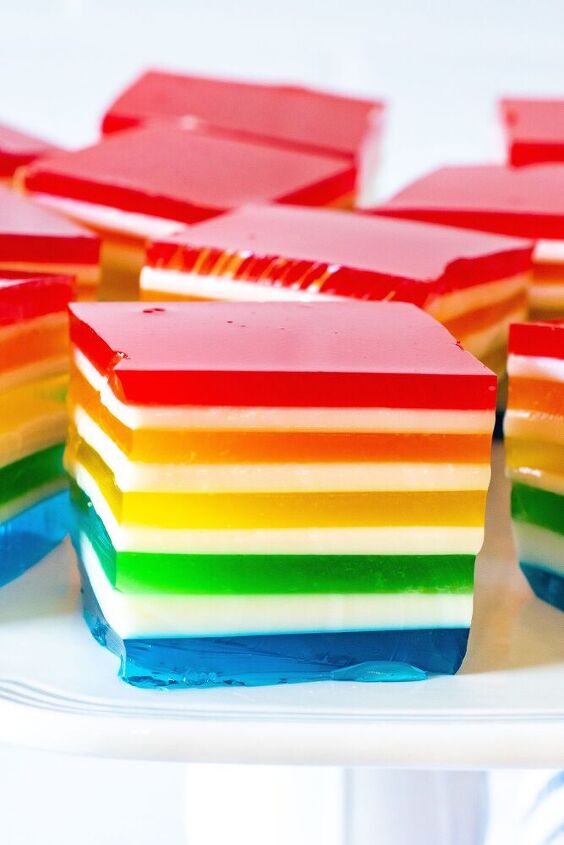
You could even make this fun Layered Rainbow Jello!
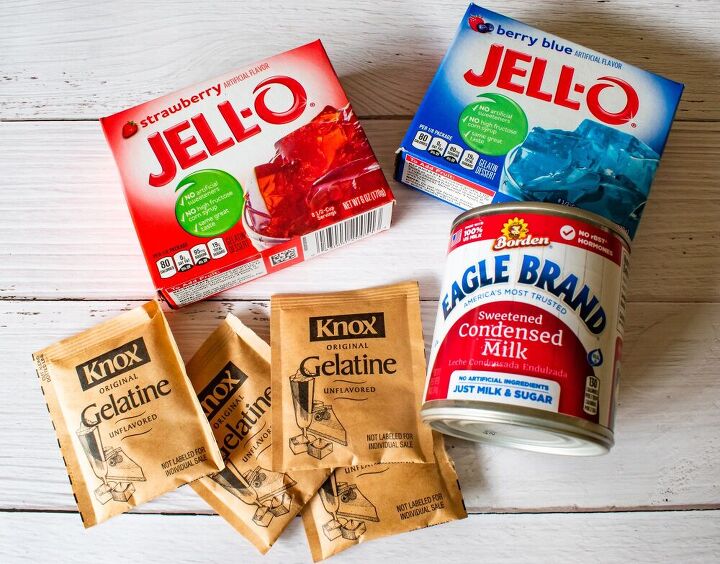
To make this Red, White, and Blue finger jello, all you’ll need are these four ingredients:
Tips and tricks to making layered jello:
- Be sure to prepare your pan by spraying it with non-stick cooking spray. Spread the cooking spray around the pan evenly with a paper towel. This helps the jello comes out of the pan cleanly.
- Before you begin making your jello, make sure your 9×13-inch pan sits completely flat in the refrigerator. If the pan is not flat or your refrigerator shelf is not level, your jello squares will not have nice, even layers. I actually take a small leveling tool and make sure my pan is sitting level in my refrigerator. My pan is actually a little warped, so I usually need to put something underneath one end to level it out. Once you have your pan level, leave it in the refrigerator (assuming you already sprayed it).
- It is much easier to leave your jello pan in the refrigerator while pouring your jello layers. It gets tricky carrying a pan of liquid jello to the refrigerator, especially as it gets fuller. If you had to level your pan before you started, you certainly don’t want to remove it until the jello is set, or you risk having uneven layers.
- Do not skip soaking the unflavored gelatin in cold water before adding the boiling water (this step is included in the recipe instructions). You need to always soften powdered gelatin in cold water before adding it to hot liquids. Skipping this step often leads to lumpy gelatin that does not fully dissolve.
- Make sure each layer is completely set before adding the next. Rushing this dessert could ruin it. Also, make sure that the new layer is cooled to room temperature before pouring it onto the set jello. If you pour warm jello onto the set jello, it will soften or melt the previous layer and possibly cause the colors to bleed together.
- If you are having trouble getting the jello out of the pan, immerse the pan in warm water (not hot). Use enough water to go up the sides of the pan, being careful not to get water in the jello. Leave the pan in the water for no more than 30 seconds. Remove the pan from the water. Slice the jello into squares with a sharp knife and use a small metal spatula to remove the jello.

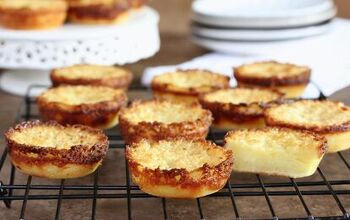
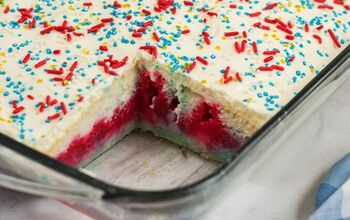
Related recipes: STRAWBERRY JELLO POKE CAKE COCONUT CARAMEL MACAROONSLAYERED RAINBOW JELLOORANGE DREAM SALAD
Red, White & Blue Layered Jello
Recipe details
- 32 pieces
- Prep time: 15 Minutes Cook time: 0 Minutes Total time: 15 min


Comments
Share your thoughts, or ask a question!
Yum! The kids would love this!