


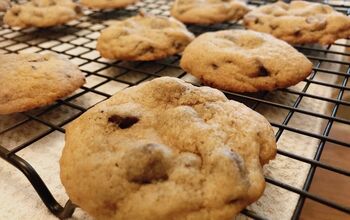
The Best Chocolate Chip Cookies
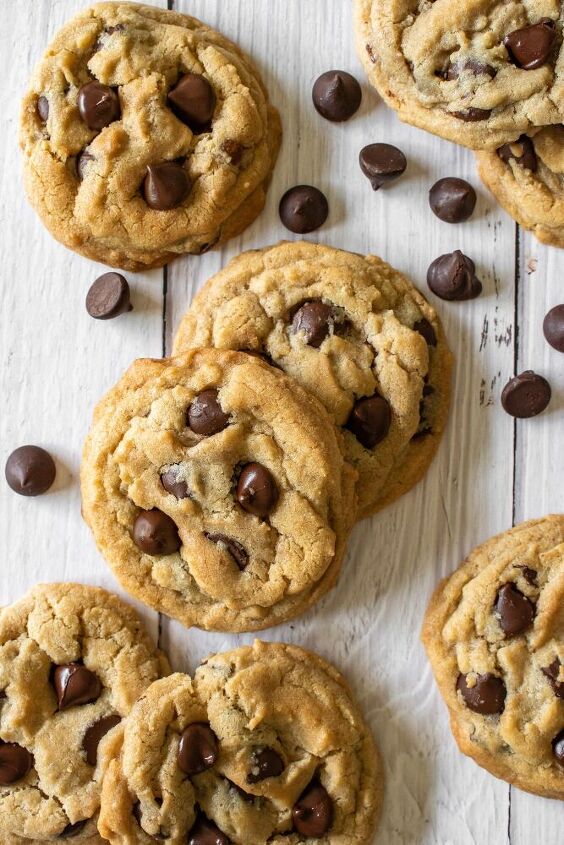
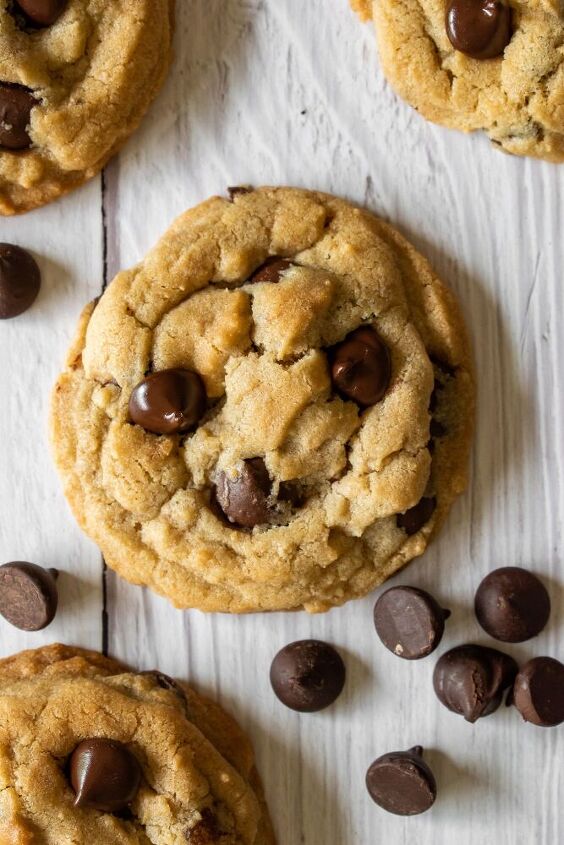
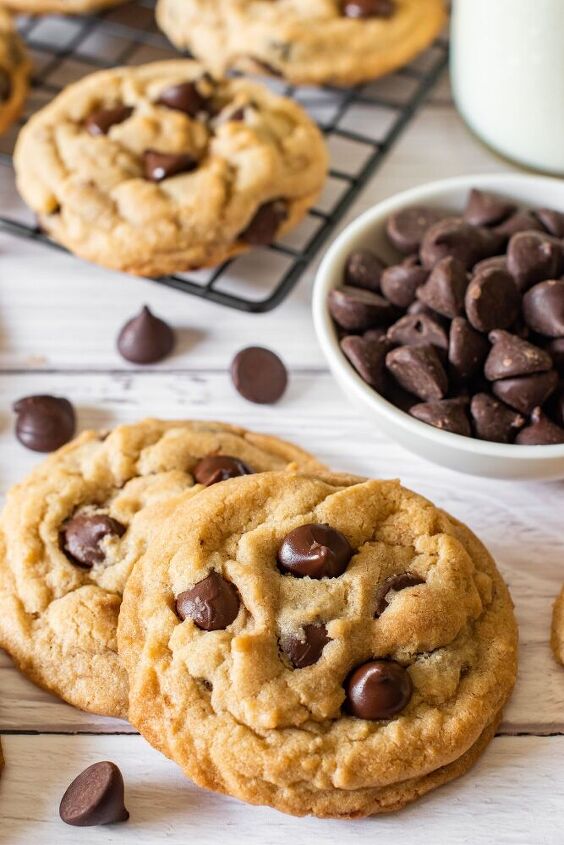
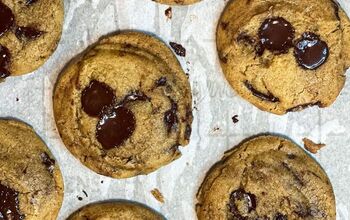
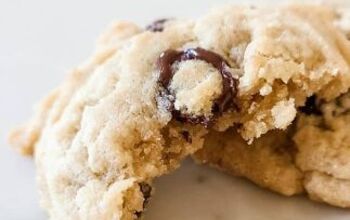
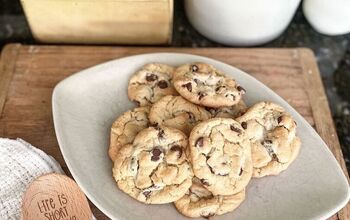
A great chocolate chip cookie should be plump, chewy, and loaded with chocolate chips! Well, look no further; here it is! I’m confident this will become your favorite chocolate chip cookie too!
Honestly, there is just something about the smell of chocolate chip cookies baking in the oven that makes your home…well, more homey. And it never fails to bring the kids to the kitchen, checking to see if the cookies are ready.
This is similar to the cookie recipe I grew up on. The original recipe came from Betty Crocker’s Cookbook from 1969. It was amazing as it was originally written, but I have made some changes that make it even better! I have been making these cookies since I was a kid, so I have had a lot of years to perfect this recipe. For the most part, not much has changed, but I have learned some tricks along the way for making the perfect cookie. I have made some small changes that have made a big difference! And I’m going to share with you my tricks and tips on how to get that perfect, soft, and plump cookie.
Tips and Tricks for Soft, Plump Chocolate Chip Cookies:
- Shortening vs. butter: This recipe calls for shortening and butter, and for a good reason. Shortening is 100% fat, containing no water. Butter has both water and milk and because of this will melt more quickly than shortening. Because butter melts quicker, using butter will result in a cookie that spreads out more and is flatter and crispier. Cookies made with shortening will tend to be softer and plumper. This recipe uses both. You get the rich flavor from the butter and the stabilizing and softening benefit of the shortening.
- Sugar: White granulated sugar yields a flatter, crispier cookie. While on the other hand, brown sugar tends to yield softer, chewier cookies. This is because the molasses in the brown sugar adds moisture; it also adds a richer flavor.
- Cornstarch: Yes, you read that correctly! I only learned this recently. But it works! Cornstarch is a thickening agent and will give your cookies an extra lift and leave them extra soft. And don’t worry, you don’t use enough to alter the taste.
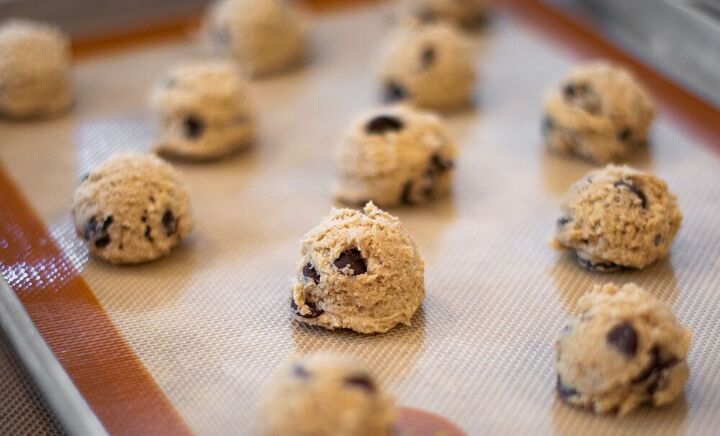
- Scooping Method: I use a 1 1/2 tablespoon cookie scoop to form my cookie balls. This helps you to have round, uniform cookies. I scoop the cookie dough and press the scoop against the side of the bowl to press the cookie dough into the scoop, packing the dough. This helps to keep them from collapsing while they are baking. After placing the cookie dough on the baking sheet, give them a little gentle squeeze. The goal is to make them taller than they are wide. This will give you a thicker cookie that does not spread out as much while baking.
- Baking Sheets: After you have baked a batch of cookies and removed them from the pan, the tendency is to put another batch on the pan right away, especially if you are short on time. For plump, soft cookies, it is important to allow your baking pan to come to room temperature before adding more cookie dough. Adding cookie dough to a hot pan or even a warm pan will start the dough softening and melting before it even gets into the oven. This will contribute to a cookie that spreads out too much in the oven. For a quick method of cooling your pans, run them under cool water for 20 to 30 seconds, (or longer if needed, until cool), dry and continue with your baking.
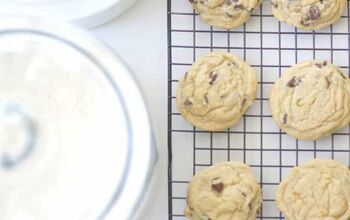
- Cooling your Cookie: When you take your finished cookies out of the oven, let them rest for 2 to 3 minutes before attempting to remove them from the baking sheet. The cookies are way too soft to transfer right out of the oven. But don’t allow them to sit on the hot baking sheet longer than a couple of minutes. The heat from the cookie sheet will cause your cookies to flatten out even more. After 2 to 3 minutes, use a spatula and move the cookies to a cooling rack, allowing air to circulate around the cookie and cool it quickly and evenly.
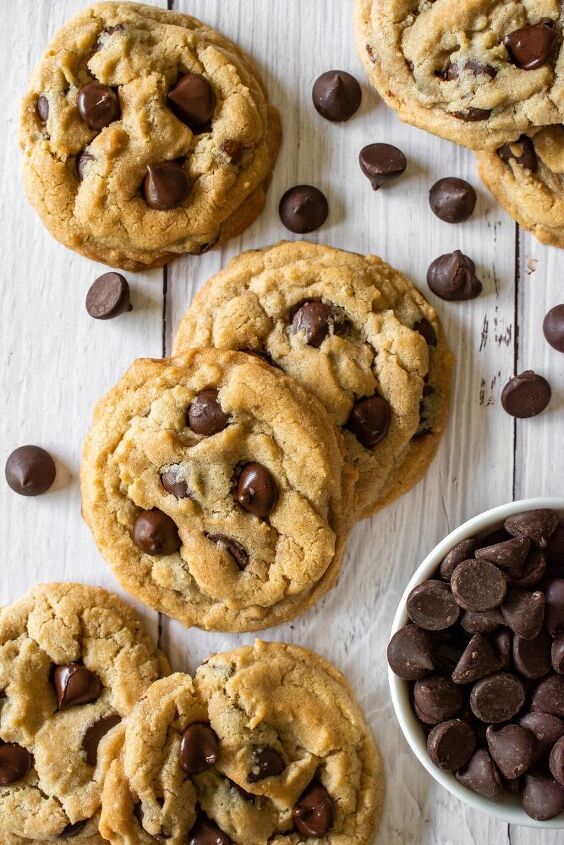
Another trick I’ve learned to get that “loaded with chocolate chips” look – Reserve some of the chocolate chips, and when you remove the cookies from the oven, quickly add some chocolate chips to the top of the cookies to give them that loaded look!
For this Recipe:
You don’t need to soften the shortening; it will be soft enough already. But you do need to soften the butter. Either allow it to sit out at room temperature until soft or soften it in the microwave, ( you don’t want to melt it though). Cream the first 6 ingredients in a standing mixer. It is important that you don’t over-mix your ingredients. Mix until it is combined well, but no more. Mixing too much can incorporate too much air into the dough, which will escape during baking and cause your cookies to collapse and flatten.
Mix your dry ingredients together with a whisk (except for chocolate chips). A whisk helps to incorporate your ingredients evenly. Once the dry ingredients are mixed well, add them to the creamed mixture and mix just until combined. Gently stir in chocolate chips.
Prepare your baking sheets by using parchment paper or silicone mats. Both put a layer of protection between the cookie and the baking sheet, which helps them not to become too dark on the bottom. It also prevents your cookies from sticking to the baking sheets.
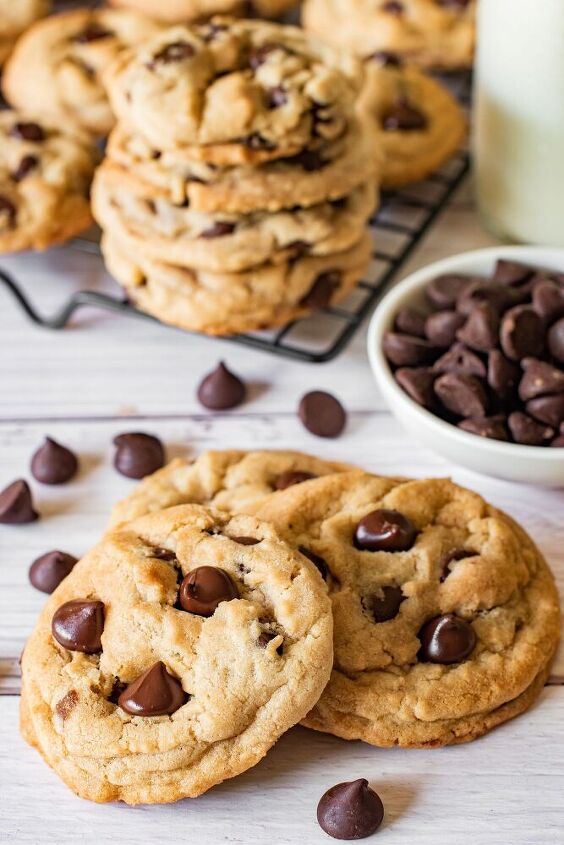
Bake 10 to 11 minutes or until the cookies a slight golden brown color around the edges. Remove from the oven and allow to rest for 2 to 3 minutes, then transfer to a cooling rack. When I pull my cookies out of the oven, I like to add a few chocolate chips to the cookies that look a little bare on top. If you do this, it must be done as soon as you take them out of the oven while they are still soft.
Store in an airtight container for 4 to 5 days. These cookies freeze well. I usually put half of the cookies in the cookie jar and the other half in the freezer. If you freeze them, it is best to eat them within 6 months.

Related recipes: CANDY CANE KISS COOKIESHOT COCOA MIX CHOCOLATE LAVA CAKE FOR TWOPEANUT BUTTER BALLSBIG M&M COOKIESCHOCOLATE CRINKLE COOKIES
The Best Chocolate Chip Cookies
Recipe details
- 4 dozen
- Prep time: 20 Minutes Cook time: 25 Minutes Total time: 45 min


Comments
Share your thoughts, or ask a question!
Would this recipe work with Stevia instead of sugar? What difference would it make to use all whole eggs?
I have also used this recipe for any years! I am going to try adding the corn starch the next time I make them as well as the extra egg yolk...I had modified the recipe to 1 cup butter and 1/3 cup shortening but will try the original again.
This recipe has been hard to beat! I also make them substituting raisins and chopped pecans for the chocolate chips -- try it, delicious!!