


Ideas for Canning & Preserving Apples This Fall
Fall screams apples! Well, it probably screams pumpkins more, but apples are a close second. Preserving apples has always been part of my fall fun. If you’re rolling your eyes at “preserving & fun” in the same sentence you’re not alone. In all reality though, it can be one of the cornerstone, dare I say enjoyable, fall projects you do each year. Below for some ideas on how to get apples cheap, what to make with them, and how to involve family and friends!
Preserving apples three ways
There are three main ways we preserve apples in this house:
- Applesauce
- Dried apples
- Apple butter
- Apple pie filling (YUM!!!)
Where to get apples: best price tips
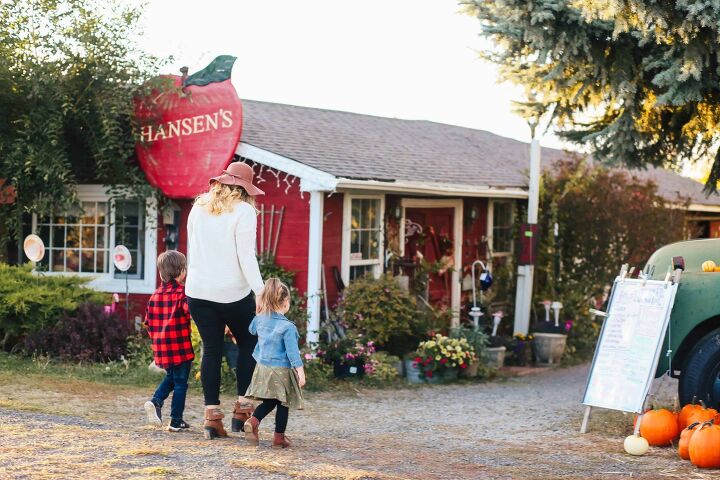
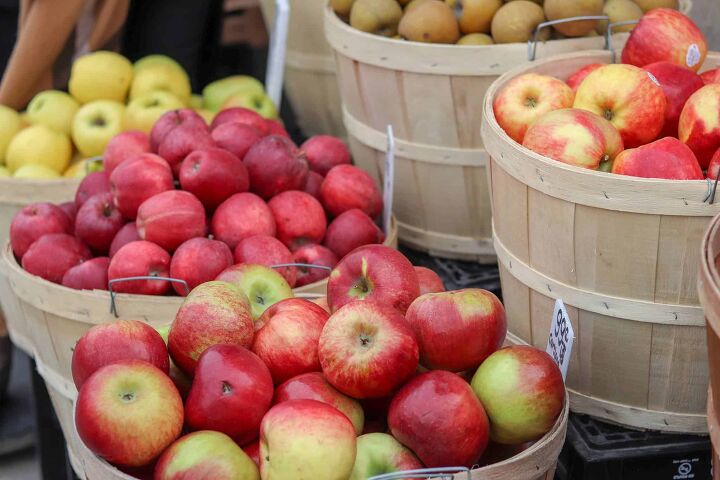
Local growers are where it’s at. Searching craigslist for bargains has worked for me in the past as well. One year I found a bin of apples, we’re talking 200-300lbs, for $75! They were amazing apples that couldn’t be sold retail because they were a little rough around the edges. They tasted delish however, and were perfect applesauce material. This year I’ve been purchasing my apples from a local orchard called Hansen’s on Greenbluff. They sell applesauce apples for fifty cents a pound. (This price varies throughout the season) Keep your eyes and ears open and I’m betting you’ll run across a good deal or two.
This post contains some affiliate links for your convenience, which means if you make a purchase after clicking a link I will earn a small commission, but it won’t cost you a penny more. Click here to read my full disclosure policy.
Once you’ve got the apples it’s time to get busy! I try to set aside a whole Saturday or Sunday to bust out multiple apple projects. If that doesn’t work for you, you can also space it out over a few Saturdays time. Apples store really well so there’s no huge rush to use them all at once.
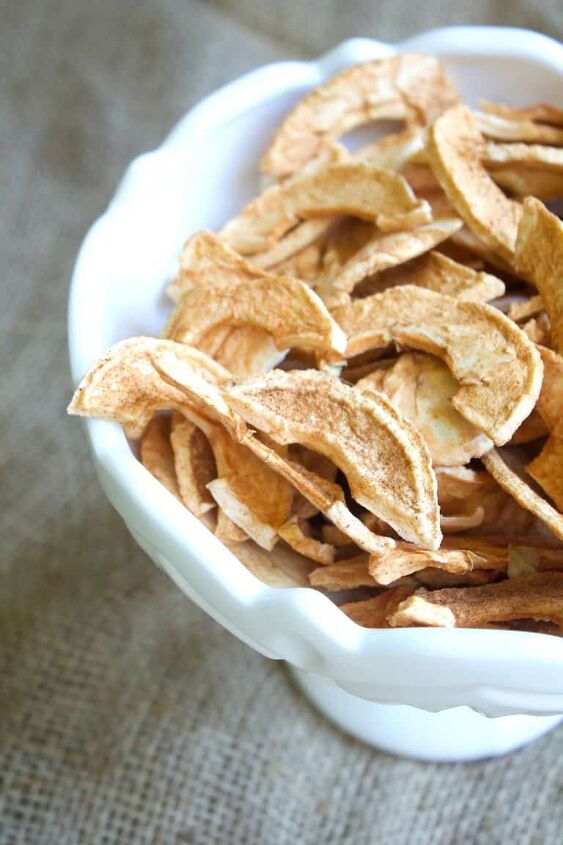
Dried apples
This is one of the simplest forms of preserving apples. Dried apples are perfect road tripping snacks, as a sweet side in a lunchbox, or an after dinner treat. Plus, it takes hardly any time to do. Simply run them through the apple peeler & corer, (My son loves to do this part for me) set them on the drying rack and come back when they’re done! My son is obsessed with cinnamon so we sprinkle it on the apples (before turning on the dryer) for an added burst of flavor.
Materials needed:
- apple peeler
- dehydrator ( this is an inexpensive option, but this one holds more)
- spices if desired
Follow directions on your dehydrator. Simple, easy, and also a great Christmas gift alongside some applesauce or apple butter. And if you want to experiment with dehydrators more, most come with fruit leather trays and instructions!
Shop for materials
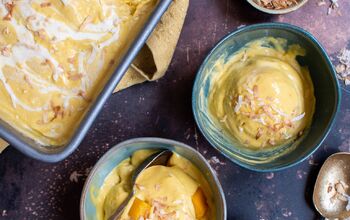
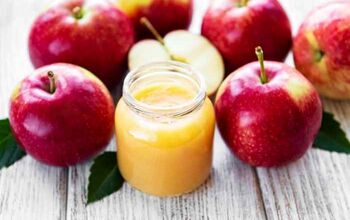
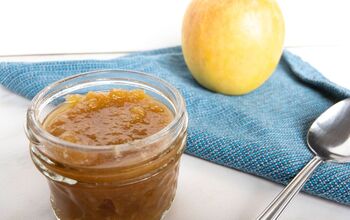
Ah, applesauce, my favorite way to preserve apples. My kids go through at least two quarts of applesauce a month. They love having it as a mid afternoon snack and it’s the perfect carrier I use to sprinkle their probiotics over. It’s also extremely easy to make.
Materials needed:
- apple peeler
- 24 pounds apples
- quart jars
- wide mouth lids and bands
- water bath canner
- jar canning kit
- immersion blender
- cinnamon and/or other spices
Shop for materials:
Put large saucepans (I’ve usually got all four burners going at first, and as they reduce I combine them) on low heat and place one cup of water into each pan. Begin adding apples you’ve ran through the peeler and cut up into small chunks.
Once the saucepans are filled let the apples simmer down, stirring every so often. Once they have cooked down for a few hours run an immersion blender through them to get the thickness you desire. Add cinnamon and spices to your liking at this point. No need for sugar, the apples are sweet enough as is. I have added maple syrup to a few batches before because my family loves maple flavor. For a 6 quart batch add 2 cups maple syrup.
While apples are simmering down go ahead and wash your jars with hot, soapy water. I usually run mine through the dishwasher by themselves to make sure they are clean and hot when I go to place the applesauce in them. NEVER place hot applesauce in a cold jar. You risk it exploding due to the drastic change in temperature. You want the jars and contents as hot as possible when submerging into the water bath canner.
While jars are getting clean go ahead and fill water bath canner so that when you place jars inside there is an inch of water over tops of the jars. Turn on high and let water get to a roiling boil. Turn down slightly before adding jars so you don’t get hot water spatter on yourself when placing the jars inside.
In a small saucepan place the lids in simmering water. You do this so the rubber seal along the sides adheres to the glass wall of the jars.
Ladle hot applesauce into hot jars leaving a ½ inch headspace. Remove air bubbles. Wipe jar rim. Center lid on jar and apply band, adjust to fingertip tight. Place jar in boiling water canner. Repeat until all jars are filled.
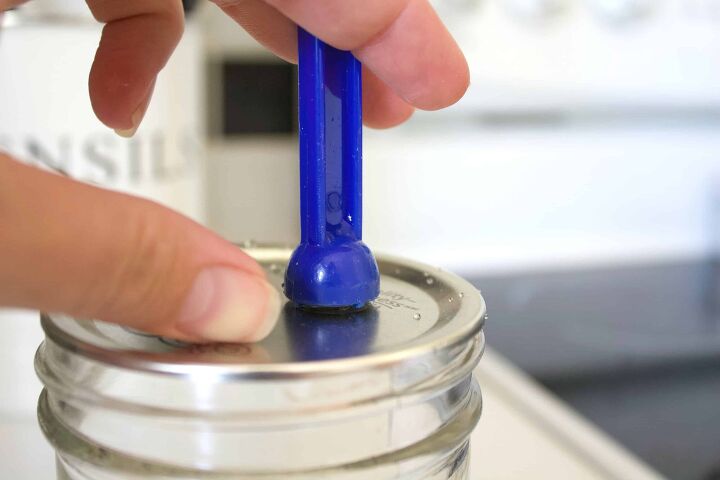
Process jars 25 minutes. This means keeping the water at a gentle rolling boil for 25 minutes. Turn off heat, remove lid, let jars stand 5 minutes. Carefully remove jars and place away from drafts on a counter with a towel placed down under them and one over the top. Leave for 12-24 hours without disturbing. Check lids for seal, they should not flex when center is pressed.
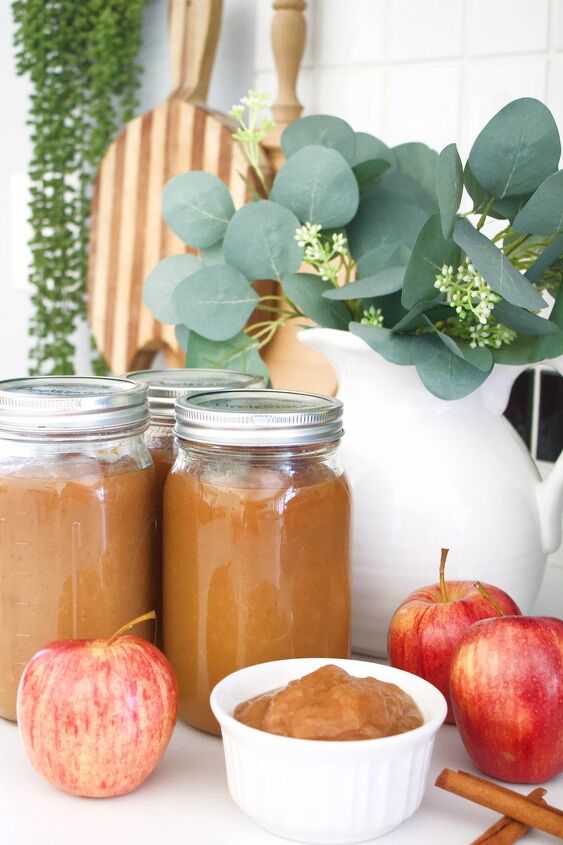
Done! I do a few batches to make enough to last us all year, until next apple season!
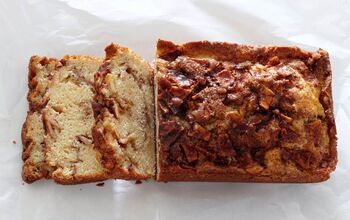
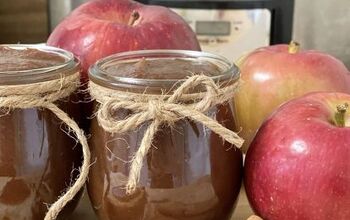
This one is a family tradition. I remember my grandma canning apple butter. It’s soooo good and a fun treat on a Saturday morning dolloped on warm pancakes! Apple butter is also a great gift for friends and family. But even better, have a party and make apple butter together! In the downtime grab some coffee and chat, or do some crafts and DIY projects while the apples cook down. Make it an event!
Materials needed:
- apple peeler
- 5 pounds apples
- 12 wide mouth half pint jars with lids
- water bath canner
- jar canning kit
- 1 cup sugar
- 1/2 tsp nutmeg
- 1/2 tsp allspice
- 1/3 tsp ground cloves
Shop for materials:
Place saucepan on low and add chopped and diced apples. Let simmer down for several hours, using the immersion blender to blend to a smooth texture. At this point add in all the ingredients and let simmer for another few hours, thickening until desired texture is reached. You usually want to be able to pick up apple butter with a knife and not have it fall off your utensil.
Follow instructions in the above applesauce recipe for preparing jars and canner. Process jars 10 minutes. Turn off heat, remove lid, let jars stand 5 minutes. Carefully remove jars and place away from drafts on a counter with a towel placed down under them and one over the top. Leave for 12-24 hours without disturbing. Check lids for seal, they should not flex when center is pressed.
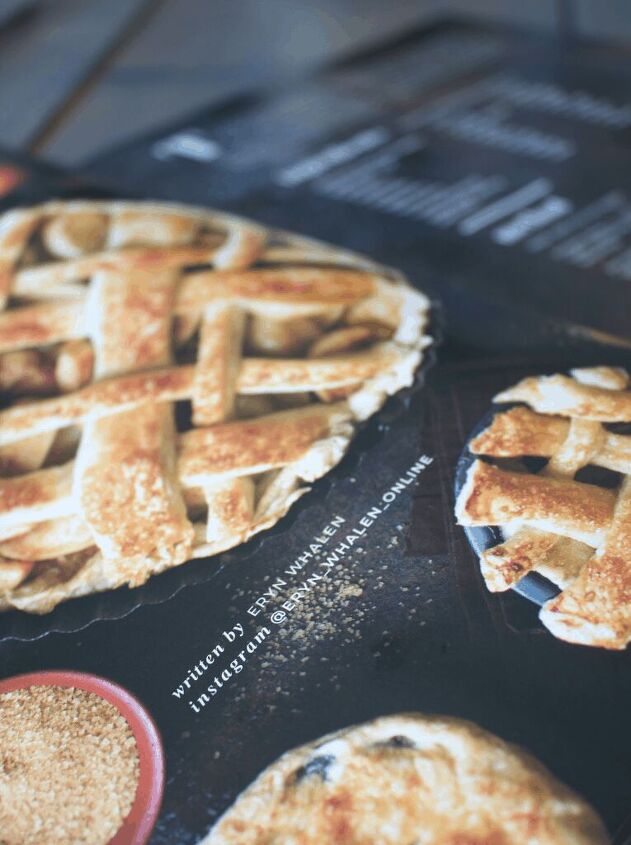
Canned apple pie mix
I was extremely honored to be included in the Farmhouse Movement magazine in the summer issue 2019 with a feature on preserving apples with this apple pie mix! Not only is the Farmhouse movement just a stunning, add free magazine, but the creator Jordan, advocated for a simpler, less is more lifestyle and a back-to-our-roots movement connects to my heart. If this interests you, here is a link to subscribe.
Okay, back to the recipe!
OMGoodness! I use this all winter long for pie filling and as a quick apple crisp. Surprise guests? No biggie! Grab a jar of this, whip together a quick crust or make a crumble top, bake it and just like that it looks like you’re always prepared and ready for guests. Because you are! 😉 You can choose to freeze these fillings as well instead of water bath canning, but I always worry about freezer burn if they’re in there for more than a few months. Plus, I try and limit the use of plastics in my home. So for me canning is the best bet for preserving apples.
Materials needed
- apple peeler
- water bath canner
- jar canning kit
- wide mouth quart jar with bands and lids
- 12 pounds apples
- 4 1/2 up sugar
- 2 tsp cinnamon
- 1/2 tsp apple pie spice
- 1/4 tsp nutmeg
- 1 tsp salt
- 10 cups water
Shop materials:
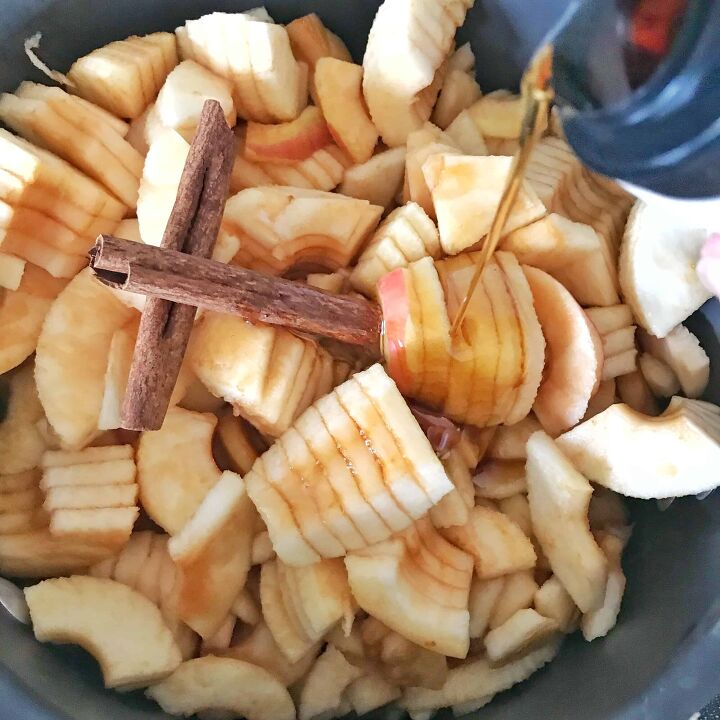
Peel and slice apples into small chunks. Place aside in large bowl. Mix together all other ingredients in saucepan on low. Let simmer into a syrup thickness for about 20 minutes.
See above instructions under applesauce on how to prepare and and water bath canner.
While the syrup is simmering pack the sliced apples into jars leaving 1/2 inch of headspace at the top. Using a funnel, pour the syrup over the apples into the quart jars. Take a long end of a wooden spoon and such down the apples, removing air pockets and allowing the syrup to fill up the jar completely. Clean off rims before placing lids on. Place jars in hot water canner and process for 20 minutes. Remove lid and let cool for 5 minutes. Carefully remove jars and place away from drafts on a counter with a towel placed down under cans and one over the top. Leave for 12-24 hours without disturbing. Check lids for seal, they should not flex when center is pressed.
Phew! There you have it! Four ways to preserving apples and have an abundance of them all winter long. I’d love to hear your canning success stories. Let me know if you use any of the above recipes and how they worked for you! Happy harvesting!
You may also enjoy:
Peach salsa: recipe and water bath canning tutorial

Ideas for Canning & Preserving Apples This Fall
Recipe details
- 4-6 quarts
- Prep time: 1 Hours Cook time: 20 Minutes Total time: 1 hr 20 min


Comments
Share your thoughts, or ask a question!