


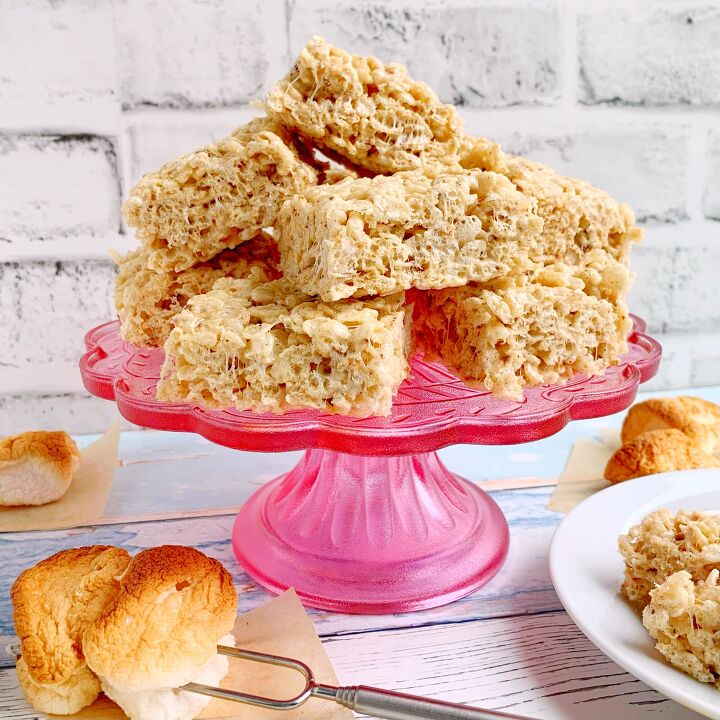
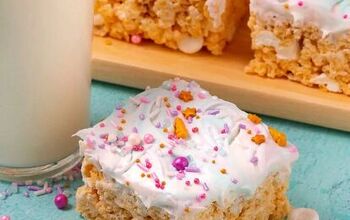
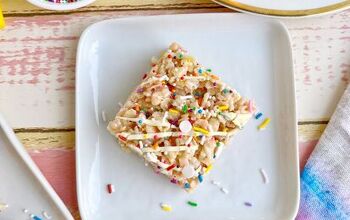
The ULTIMATE Rice Krispie Treats
Today, we’re making The ULTIMATE Rice Krispie Treats!
Now listen, I know that’s a big claim. But, let me tell you…these are not yo mama’s rice krispie treats. The ingredients are the same. The theory is the same. But, we’re elevating the ingredients just a smidge to end up with the most delicious outcome.
So, let’s get to it!
The traditional rice krispie treat has 3 ingredients: butter, marshmallows, and cereal. That’s it! And, we’re not straying too far from those ingredients. But, what we are doing is deepening the flavor of those ingredients by giving them a little roasty toastiness. And since we all know that color equals flavors, the golden color that we’re going to coax out of some butter and marshmallows are where the magic of these treats begin.

Here’s the most important part of this recipe: mise en place or gathering, measuring, and prepping all of our ingredients before we start cooking. Because once we turn on the stovetop and the broiler, things move fast. So, it’s super important to have everything prepared in advance for this recipe, or you’re going to run into trouble. Have your cereal measured. Have your baking sheets and pans foiled and sprayed. Have your spatula right in place so you can go go go.
We’re going to start by browning some butter. Brown butter is basically butter version 2.0. We’ll cook plain ol’ unsalted butter over medium heat until it starts to become deep golden in color and develop a fragrant, nutty smell. This takes anywhere from 5-10 mins, but you want to make sure you’re stirring the butter pretty frequently so that it doesn’t burn. I also recommend using a light interior colored pot if you have one. I think it’s a little easier to see the color of the butter changing. I use my enamel coated dutch oven, and it works perfectly. But either way, even if you couldn’t see the butter browning, you’d definitely smell it. As soon as it’s golden, we’re going to pull the pot off the heat, mix in a little vanilla and sea salt, and immediately activate step two.
The next trick to these rice krispie treats is toasted marshmallows. While our butter is browning, we’ll have our broiler preheating. We’re also going to line a baking sheet with foil and spray it completely with cooking spray. Then, we’ll arrange mini marshmallows in a single layer. And the second that butter comes off the heat, the marshmallows go under the broiler. They only need about a minute. Depending on the strength of your oven’s heating element, it could go even faster. But either way, watch these closely so they don’t burn. Right when they finish toasting, we’ll pull the pan out of the broiler, and dump those toasty marshmallows right into the brown butter. Now since we sprayed that foil with cooking spray, they marshmallows will slide right off…almost in one big marshmallowy pillow. Then, we’ll stir, stir, stir until the butter and marshmallows become one.
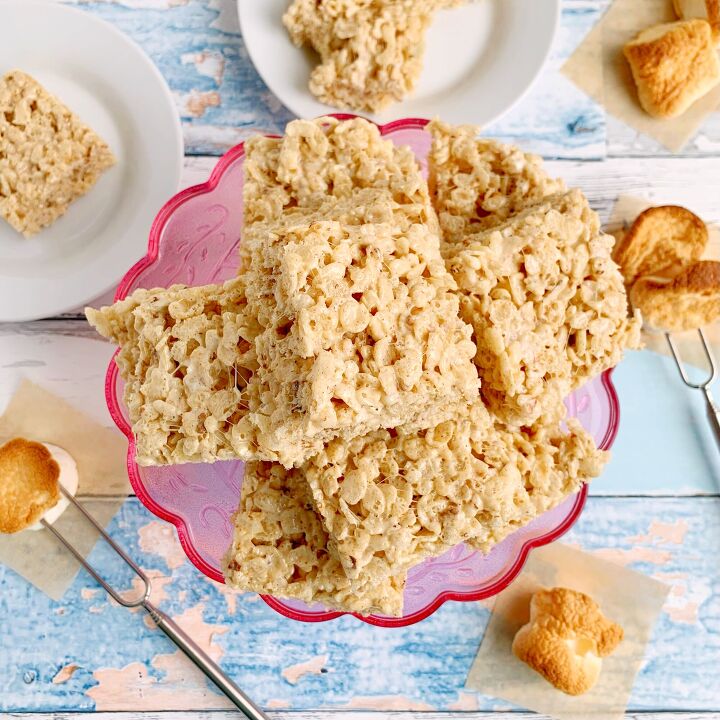
From there, we’ll mix in our cereal, gently press the mix into a 9x9 square foil lined and sprayed pan to cool, and wait about an hour before we dig in. And hot tip…it can be tricky to press the rice krispie treat mix into the pan, because you have gooey marshmallow cereal everywhere. So, give your spatula a little spritz of cooking spray, and you can press everything right down with no sticking.
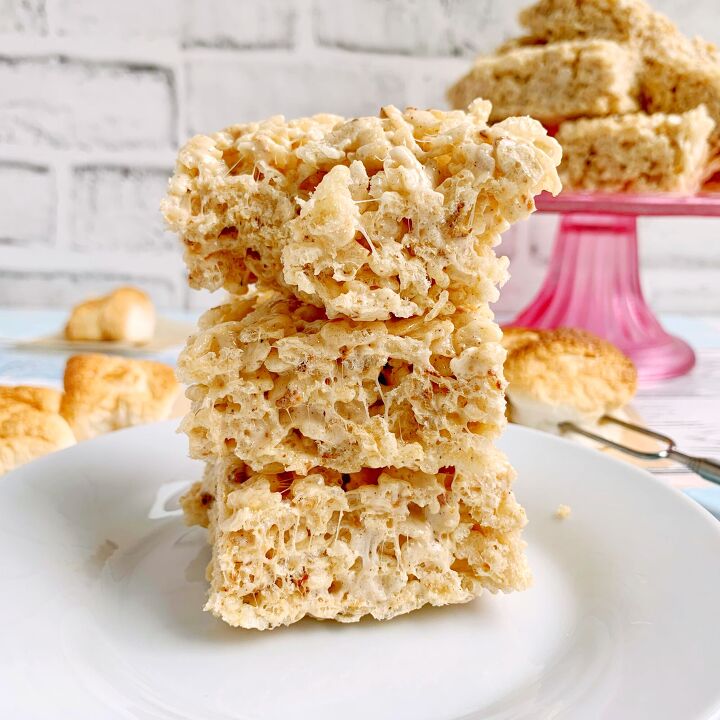
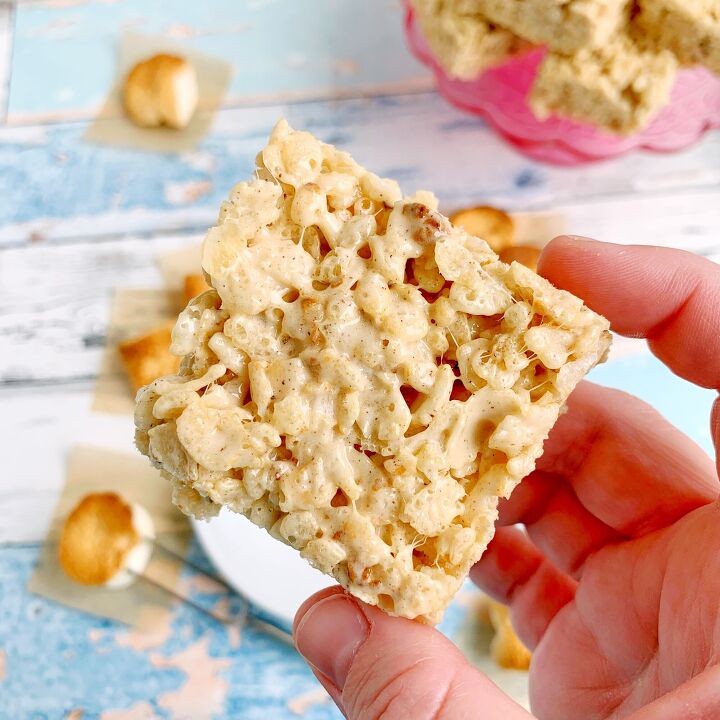
When it’s time to enjoy, your tastebuds are going to dance. You can taste all of the special nuances that we added to these treats. You can taste the caramelized sweetness from the marshmallows. You can taste the nutty undertones from the butter. You can taste the rich kiss of the vanilla. And, you can taste that little hint of sea salt that does double duty of both balancing out and accentuating all the sweet flavors of the treat.
There’s only one thing to say about these bars…they are DANGEROUS.
Ok, everyone! These may not be your mama’s rice krispie treats, but make sure you make a big ol’ batch for your mamas anyway. Or don’t. Keep them all for yourself. You’ll be tempted to do that anyway.
I hope you guys love this one as much as I do. So, let’s eat!
The ULTIMATE Rice Krispie Treats
Recipe details
- 16 servings
- Prep time: 1 Hours Cook time: 10 Minutes Total time: 1 hr 10 min


Comments
Share your thoughts, or ask a question!
Like you can find Rice Crispies any where these days.
Sounds yummy!