


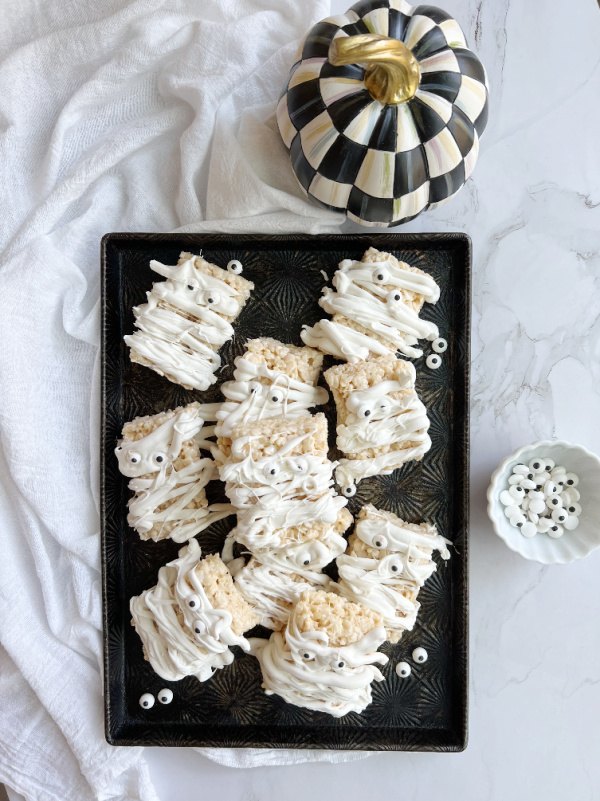
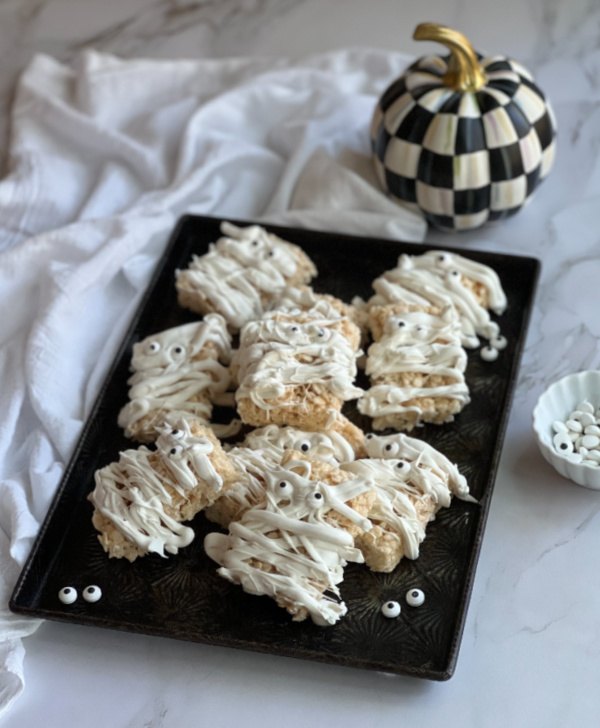
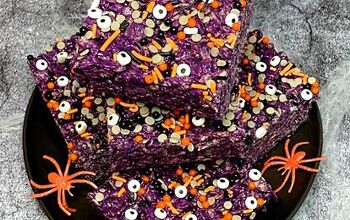
Mummy Rice Krispie Treats
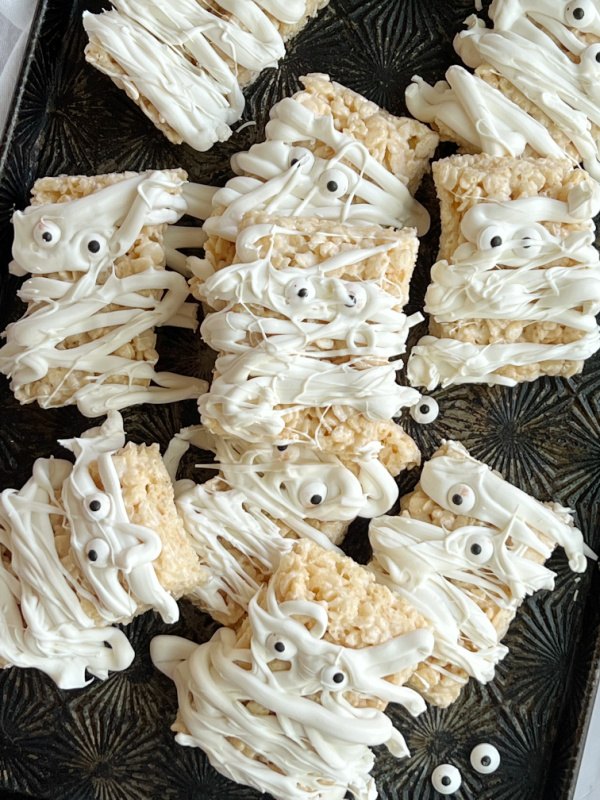
Mummy Rice Krispies Treats are an easy and quick Halloween recipe. Classic marshmallow treats drizzled with white chocolate and decorated with candy eyes make a whimsical mummy treat.
If you like Rice Krispie treats, and who doesn’t, be sure to try this quick and easy Mummy Rice Krispie treat recipe.
Halloween is on Monday so many of the parties and festivities will be this coming weekend. An easy no-bake treat is the perfect dessert to take to any Halloween party or gathering you will be attending or hosting.
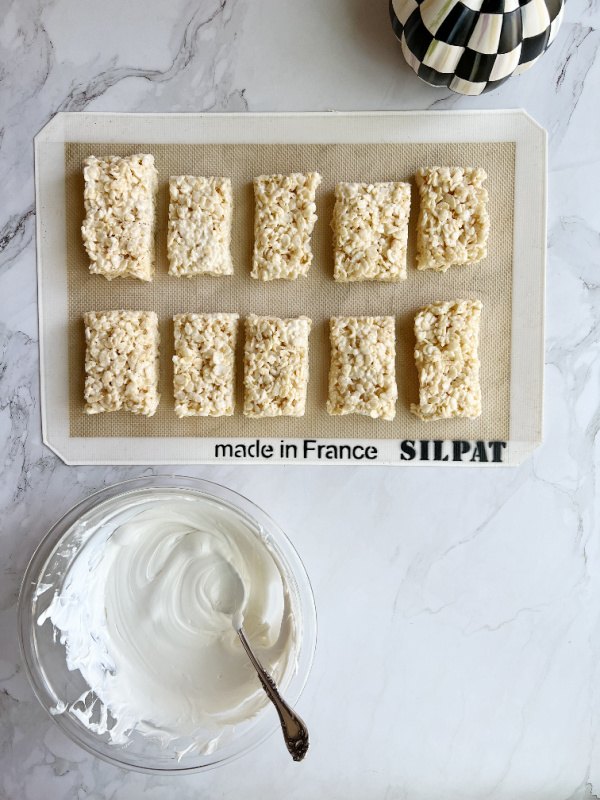
This mummy treat recipe takes about 20 minutes to make and assemble. It take a little longer if you let the kids or adults, eat, lick the spoons and enjoy making them with you.
Rice Krispie treats are one of my favorite treats, although to be honest I prefer to eat a spoonful or two out of the bowl than the little squares. When I was in college I would stay with my sister once a week after my classes. Our preferred dinner and entertainment was to make a pan of Rice Krispie treats and eat them watching movies. Once in awhile we would share a square or two with her roommate Tad.
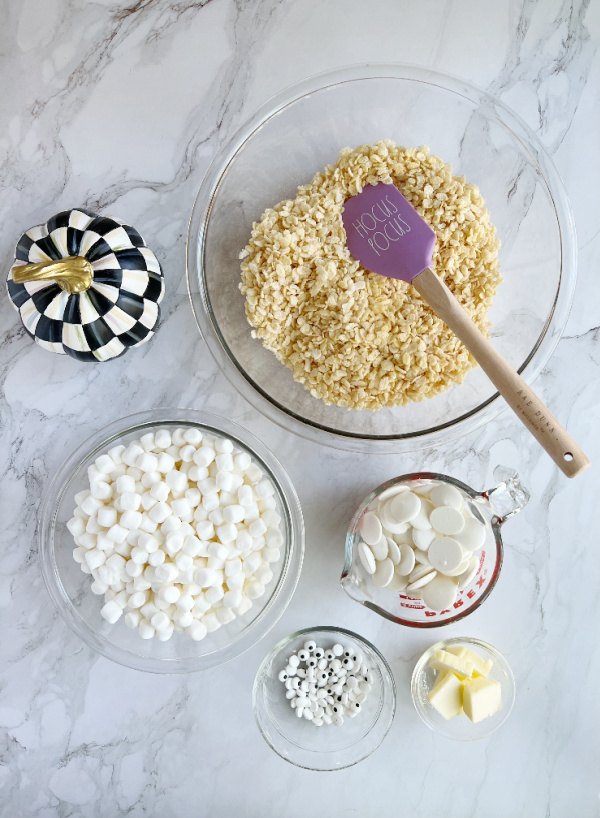
Pumpkin is McKenzie Childs( similar) //spatula is Rae Dunn// Bowls and cup are Pyrex// candy eyes
- Butter
- Mini marshmallows
- Rice Krispies cereal
- White chocolate or white melting chocolate
- Candy eye balls or mini chocolate chips
Tip
If you wanted to make this recipe even easier than it already is, purchase ready made rice Kirstie treats from your local bakery or in packages. All you have to do is decorate them with the white chocolate and the candy eyes.
You could also make or buy brownies, cut them into rectangles and decorate them as mummies too! A platter filled with both treats would be devoured in seconds by all of the little goblins and ghosts.
“Bone appetite” friends, I hope that you try these tasty Mummy Rice Krispie treats.
Subscribe to the blog and you will get the latest recipes and post to your inbox! You can also keep up with me on Pinterest, Instagram, and Facebook. If you make this recipe please let me know how you liked it. Leave a comment below, or share a picture on Instagram so that I can feature you!

Have a wonderful day friends, thank you for stopping by and for sharing a part of your day with me!

Mummy Rice Krispie Treats
Recipe details
- 10 treats
- Prep time: 10 Minutes Cook time: 10 Minutes Total time: 20 min


Comments
Share your thoughts, or ask a question!