


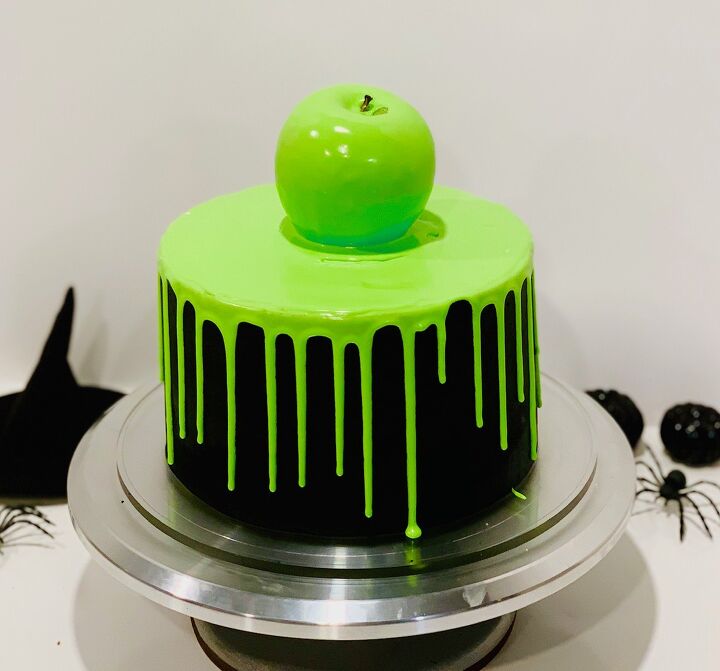
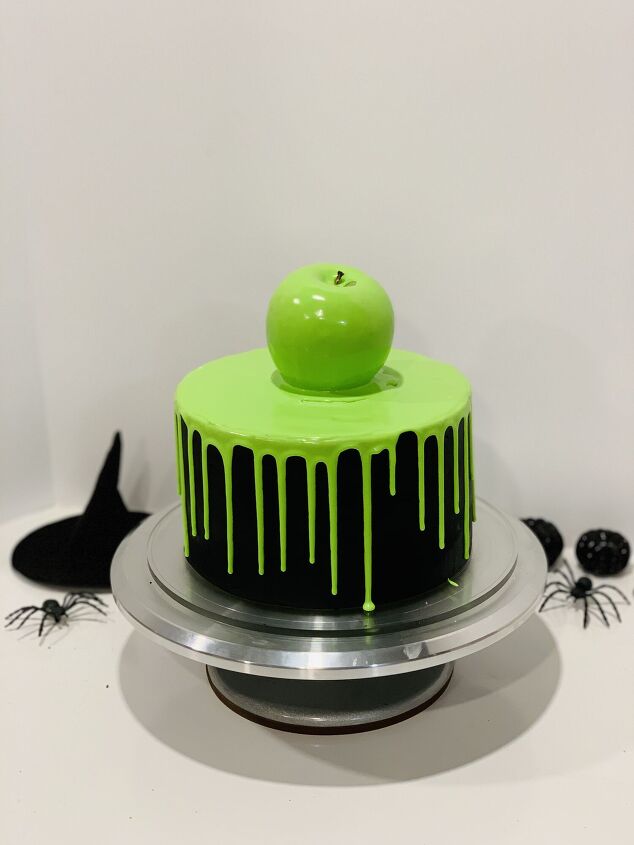
Poison Apple Halloween Cake
1 cake
1 hr 30 min
I can’t remember who said it, but a comment somewhere I posted a ‘Halloween Slime Cake’ topped with a Erlenmeyer flask said ‘You should do a poison apple cake!’
Whoever you were – you’re a freaking genius and credit for this cake goes to you!
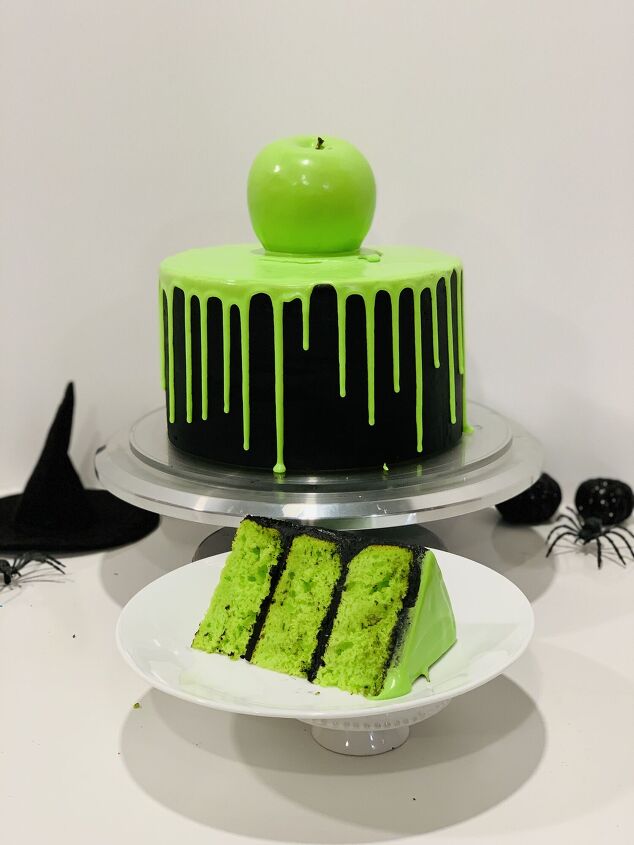
Since I use black cocoa to make black buttercream rather than a crap ton of black food gel, I opted to not flavor these cake layers with apple – but if you’d like to give it a shot go for it! I’m totally trying out mixing in apple schnapps if I come up with a way to make black buttercream without cocoa powder! ;)
Recipe below – enjoy!
{
"id": "6638099",
"alt": "",
"title": "",
"video_link": "https://www.youtube.com/embed/mrBKhUndZ5M",
"youtube_video_id": "mrBKhUndZ5M"
}
{
"width": 634,
"height": 357,
"showRelated": true
}
Poison Apple Halloween Cake
Recipe details
- 1 cake
- Prep time: 45 Minutes Cook time: 45 Minutes Total time: 1 hr 30 min
Show Nutrition Info

Want more details about this and other recipes? Check out more here!


Comments
Share your thoughts, or ask a question!
Fun! Will try it!
This cake looks awesome! Have you made other "villain cakes"?