


Rich, Fluffy Vegan Challah
This vegan challah is so tasty and addictive, nobody would ever guess that it doesn’t contain a single egg.
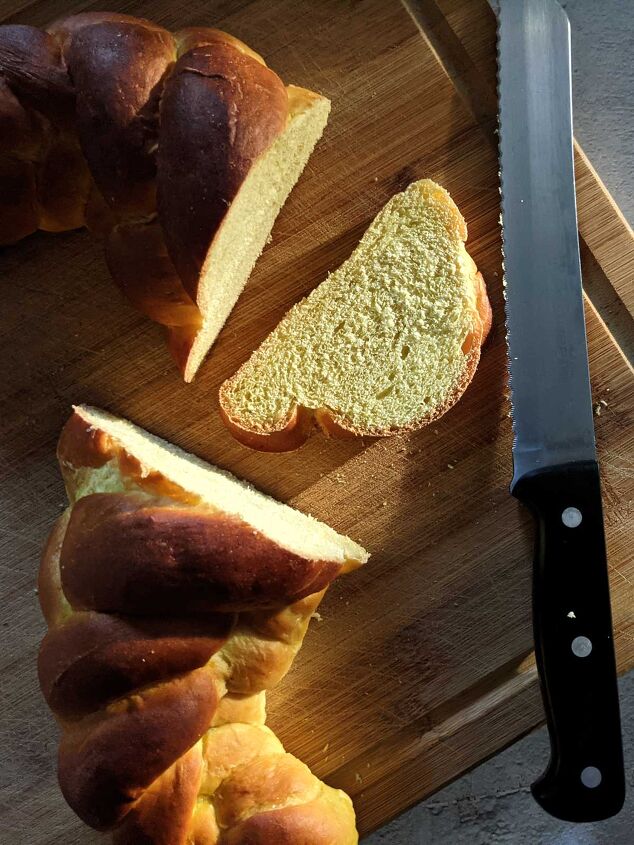
This golden, light-as-a-cloud bread is easy to bake, and a few secret ingredients make it tender, fluffy, and delicious. It’s perfect on its own as a snack, smeared with vegan butter or jam, or as the foundation for the best french toast ever.
🍞 About this recipe
This vegan challah recipe is the result of years of experimentation, and it’s become a family favorite.
There are a lot of vegan challah recipes out there. There’s also a type of traditional challah, called water challah, that can be vegan as long as it’s not finished with an egg wash. But while water challah is a classic in its own right, it has a very different texture from this style.
This recipe, which I’ve adapted from King Arthur Baking Company’s Four-Strand Braided Challah, is made after the style of challah that gets its characteristic color and richness from eggs. Coconut oil, kala namak, and aquafaba stand in for the eggs and yield a lightly sweet, fluffy, classic challah.
Looking for more bread recipes? Try my Caraway Rye Bread or Savory Cornbread Muffins.
✔️ Ingredients
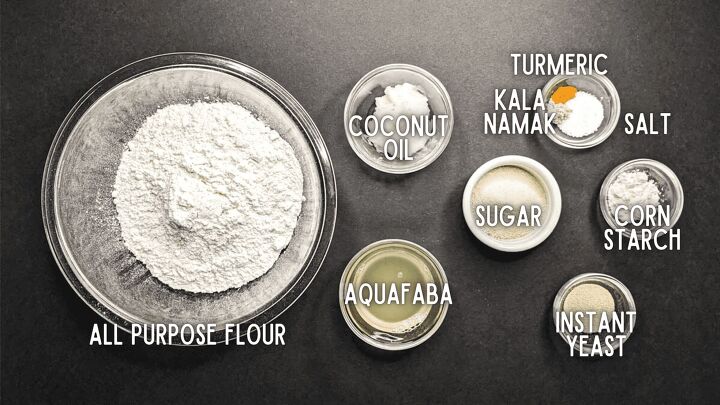
All purpose flour
All purpose flour contains enough gluten to provide elasticity and bounce to the challah, while also creating a light and tender loaf.
Instant yeast
Instant yeast can be used immediately, without activating it. It dissolves quickly and is easy to use.
You may substitute active dry yeast in this recipe, though. Just activate it by following the instructions on the package, and subtract the water used from the total amount in the recipe.
Aquafaba
Aquafaba (literally, “bean water”) replaces the eggs in this recipe. I use the liquid from canned chickpeas — we always have some left after making hummus. You can also make aquafaba by reducing unseasoned liquid that is left from cooking dried chickpeas. Just simmer until it has a texture similar to egg whites.
Refined coconut oil
The coconut oil helps to add some of the fat and richness that eggs provide, but that aquafaba lacks.
I use the type of refined coconut oil that stays solid at room temperature, not the liquid kind that comes in a bottle.
If allergies or preferences prevent it, you may substitute vegetable oil and you’ll end up with perfectly nice challah. I suspect, though, that the higher proportion of saturated fat in coconut oil makes it superior in this context.
Sugar and salt
Sugar and salt provide the classic light sweetness that challah is known for. These ingredients accentuate the flavors in the bread without making it too sweet or salty.
Turmeric
Ground turmeric gives the challah its color. Because the amount in the recipe is so small, the flavor of the turmeric doesn’t come through at all. But it only takes a tiny bit to get the warm, golden hue that usually comes from egg yolks.
Kala namak (black salt)
A small amount of kala namak, or black salt, adds just the tiniest hint of eggy flavor. That’s because this type of salt’s mineral content gives it a flavor and aroma reminiscent of eggs.
Just as traditional challah doesn’t taste strongly of egg, neither does this variation. In fact, it may be just a sort of superstition that leads me to add it, so subtle is the egg flavor in the finished loaf. I believe, though, that it adds a certain something that brings this challah closer to the real deal.
✏️ Instructions
Making challah is a multi-step process, but most of the prep time is actually hands-off, allowing the bread to rise. The most labor-intensive part can be shaping the dough, if you want to make a braided loaf or rolls — but that’s also the part that is the most fun!
Read on for step-by-step instructions and tips for making the perfect vegan challah.
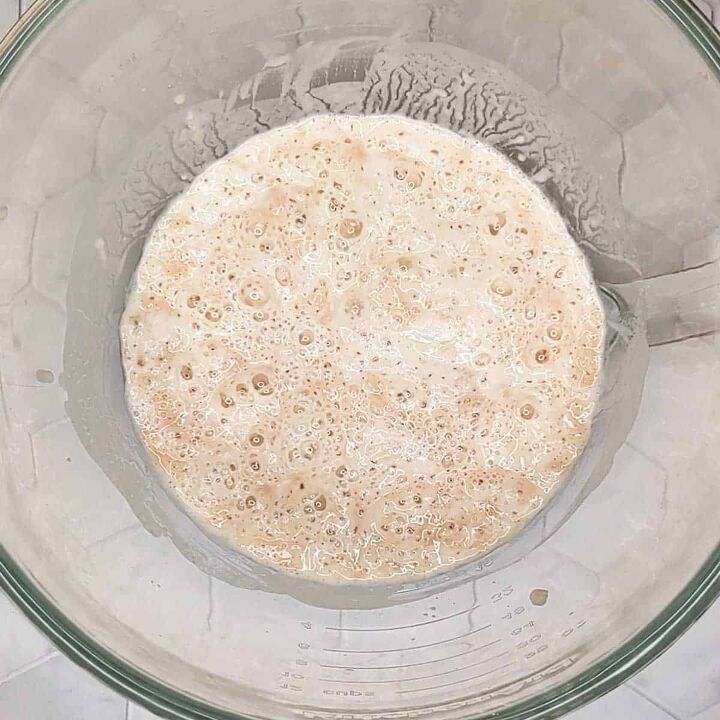
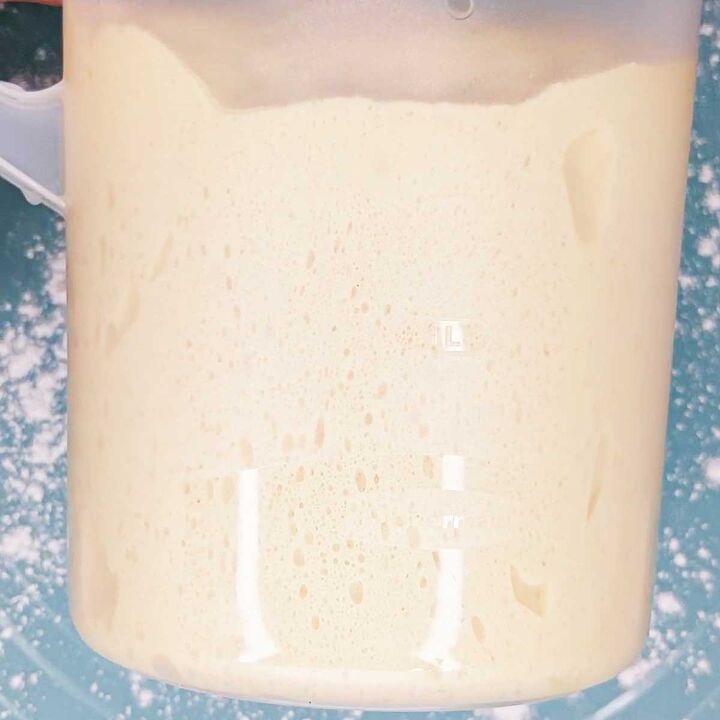
Make the preferment
Prefermentation is the practice of mixing together a small portion of the water and flour in a recipe, along with all or part of the recipe’s yeast. This adds a more tangy, savory flavor to the bread, while also creating a softer crumb and helping the crust to brown.
And because we’re not using eggs in this recipe, that extra depth really helps to keep the bread from being too bland.
To make the preferment, combine one cup each of flour and water in a large bowl. Add the yeast and stir a few times to combine. It’s okay if the starter is a bit lumpy.
Cover the starter and let it rest at room temperature for about 45 minutes.
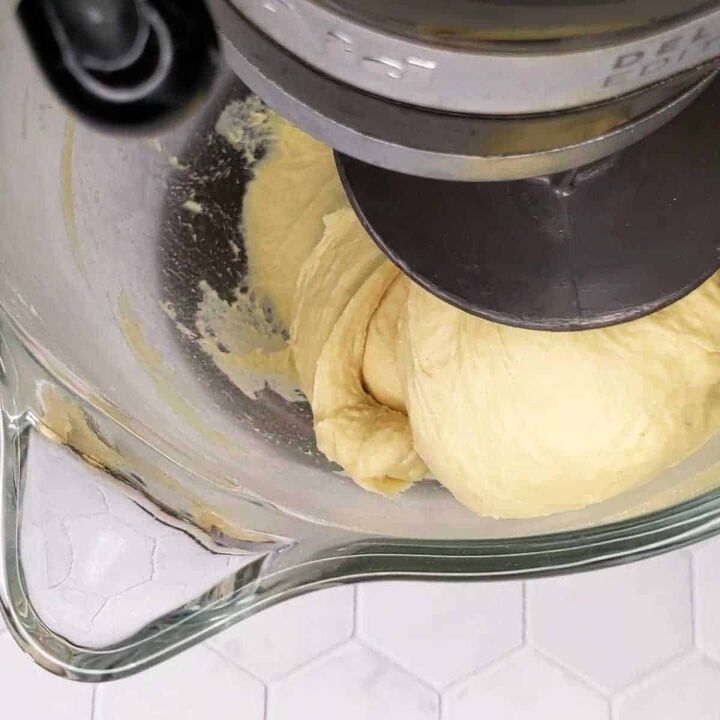
Make the dough
In another large bowl, combine the remaining flour, salt, and turmeric. Stir with a fork or whisk to combine until the turmeric is evenly distributed.
Add the dry ingredients to the starter, along with the sugar, coconut oil, and aquafaba.
Knead the dough, either by hand or in a stand mixer fitted with a dough hook, until the dough is smooth. For my KitchenAid mixer, this takes about 7 minutes at the #2 setting.
Transfer the dough into a large, oiled bowl or container. Turn the dough over a few times in the bowl to cover the surface with a light layer of oil. Cover and let rise until the dough has nearly doubled in size. This should take around 1 ½ hours.

Shape the dough
Turn the dough out of the bowl to shape it on a countertop or other flat surface, and press it down slightly to deflate it a bit. If the dough is a bit sticky, you may need to dust the surface with a light layer of flour. I usually find that the dough isn’t sticky at this point, so flour isn’t necessary.
At this point, you have options! You can shape the bread in any way you like, in one larger loaf or in smaller rolls. Read on for more information about shaping in the next section.
For a large loaf, it may be easier to shape it directly on the baking sheet. For smaller rolls, I usually shape them on the countertop and then move them over. Either way, prepare the baking sheet by oiling it lightly, or by lining it with parchment paper or a silicone baking mat.
Lightly cover the shaped challah. I use a clean tea towel, but you could also use a lightly greased sheet of plastic film or a large, clean plastic bag. Let the bread proof for 45 minutes to an hour.
As you get close to the end of the proffing time, preheat the oven to 375° F and prepare your glaze and any toppings you wish to use.
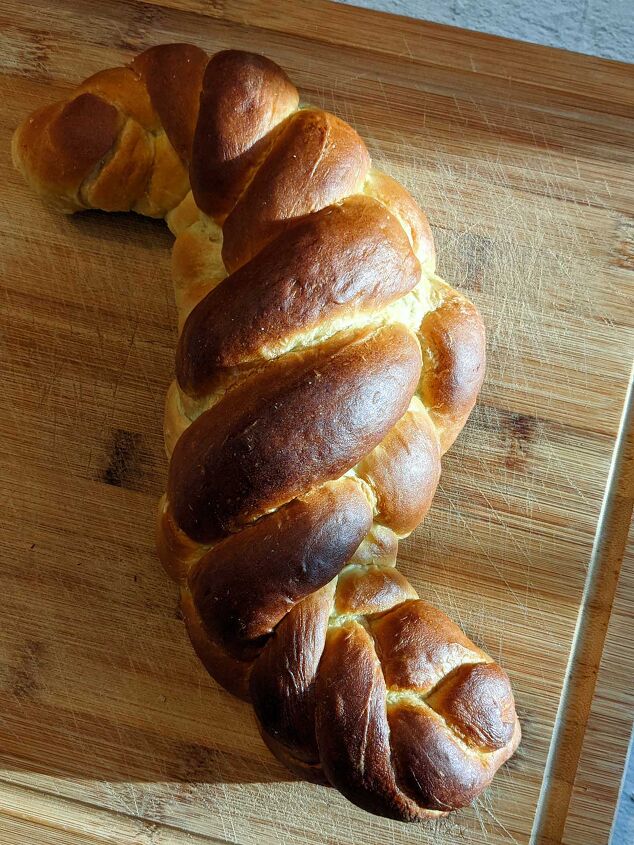
When the challah loaf or rolls have nearly doubled in size, and when the side of the loaf does not immediately bounce back when you gently poke it with a finger, it’s time to apply the wash. Gently brush on the aquafaba, oat milk, or soy milk.
Time to bake! If you made one large loaf, you will need to bake for about 35 – 45 minutes, depending on your oven. Smaller rolls, on the other hand, may only need around 20 – 30 minutes. You can use a food thermometer to check the internal temperature. When the bread reaches 195° F, it’s done. If you don’t have a thermometer, look for a golden crust and a slightly firm surface.
🤲 How to shape challah
You can use this recipe to make one large loaf, two medium-sized loaves, or several small rolls.
I typically make six or eight rolls for my small household, because we can’t eat enough challah to go through a whole batch in one go, and they freeze really well. I can serve a few and toss the rest into a ziplock bag, then freeze them until I’m ready to use them.
You’ll find a few of my favorite shaping methods below.
Shaping Knotted Rolls
To make small knots as seen in this video, divide the dough into eight equal pieces. If you have a food scale, it can come in handy when you’re trying to make the pieces equal!
Then, roll each piece into a long strand, about 8 – 10 inches long. Take one strand and tie it in a loose knot at the center of the strand. Then, take each of the long ends, and tuck them into the center of the knot on opposite sides of the roll, pressing them firmly together. Repeat with the other seven pieces, and place them on a prepared baking sheet. Be sure to leave plenty of space between the rolls — they will rise before going into the oven, and then will expand even more as they bake.
Shaping Mini Braids
Mini braids are another easy option for individually sized rolls. To make them, start as you do for the knotted method above: by dividing the dough into six or eight equal pieces.
Dividing this recipe in six pieces will make larger rolls, so you may need to bake them for a few minutes longer than you would if you were making eight. Just keep an eye on them and don’t let the bottoms of the rolls get scorched.
Roll out your pieces into long ropes. Take your first piece and make a loop with a long tail, like the letter “P.” Thread the tail through the loop. Then, take the remaining tail below the loop, and twist it away from you.
Finally, take the remaining bit of tail, and bring it over and around. Tuck it into the center of the final small loop. All done!
More challah shaping options
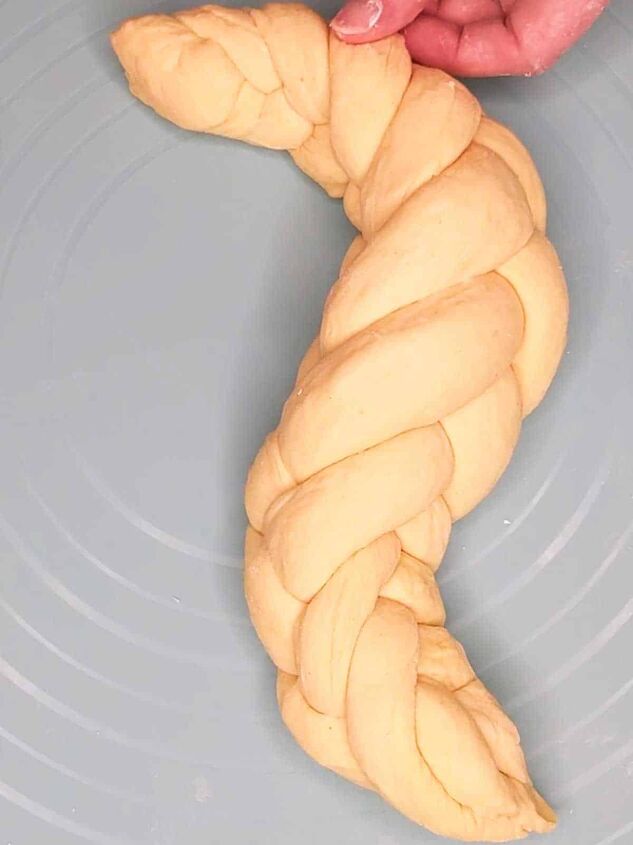
Three-strand braid
This method is exactly what it sounds like. Divide the dough into three equal pieces, and braid it just like you would braid hair. Tuck the ends under when you are done.
If the braid looks longer or more stretched out than you’d prefer, you can gently compress the ends toward the center of the loaf to make a chunkier, thicker braid.
Spiral loaf
A spiral shape is a good option if you want a round loaf that results in a pretty presentation with minimal effort. Roll your whole batch of dough into one thick rope with tapered ends. Begin coiling the rope around itself from one end, making a spiral shape. When you reach the end of your rope, tuck the end under the loaf. Again, you can compress the final spiral shape a bit if it ends up looking more spread out than you’d prefer.
🥚 Vegan egg wash alternatives
Plant milk: The easiest wash that I’ve used is just straight up plant milk. I typically use oat or soy milk. The result is a pretty, golden crust. I use unsweetened varieties; sweetened types may add a bit of sweetness and stickiness.
Aquafaba: The liquid from a can of chickpeas (or reduced from cooking dry chickpeas at home) works well as a substitute for an egg wash. Similarly to plant milk, it gives a golden, matte finish and doesn’t add sweetness to the final product.
Sugar water: A lot of vegan bakers use a mixture of sugar (or agave, or molasses) with water. I don’t usually choose this method because it can create a slightly sticky finish.
Corn starch (and plant milk or aquafaba): This is the most effort of all the options, but also comes the closest to the glossy, deep-brown crust that is usually achieved with an egg wash.
To make a cornstarch wash, combine 1 ½ teaspoons of corn starch with 6 tablespoons of water in a small saucepan. Simmer until the mixture thickens, then let it cool.
When you are ready to bake the challah, brush on the plant milk or aquafaba as usual. Then, when the baking time ends, immediately apply the cornstarch glaze. You can also add poppy or sesame seeds at this time.
🧰 What you’ll need
- Two large mixing bowls
- A sheet pan (this can be lightly oiled or lined with parchment paper)
- A tea towel or plastic wrap
These items aren’t strictly necessary for making vegan challah, but they’ll make your life easier and your bread more consistent:
- A digital food scale
- A stand mixer with a dough hook
- A silicone baking mat to use instead of parchment or oil
- A pastry brush
- A food thermometer
Finally, this recipe calls for a few specialty ingredients:
- Kala namak
- Turmeric
Rich, Fluffy Vegan Challah
Recipe details
- 1 - 8 Loaves/Rolls
- Prep time: 3 Hours Cook time: 40 Minutes Total time: 3 hr 40 min


Comments
Share your thoughts, or ask a question!