


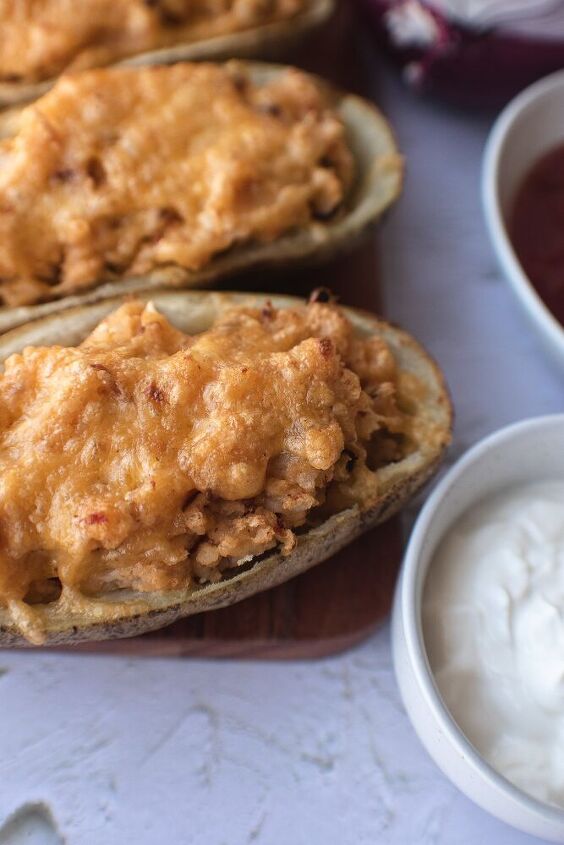
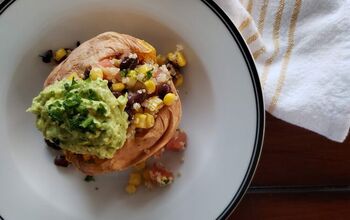
Southwest Stuffed Baked Potatoes
I think we can all agree that potatoes are the ultimate comfort food, right? I know that when I close my eyes and picture a down home style meal, there is at least one (and usually more) potato on that plate.
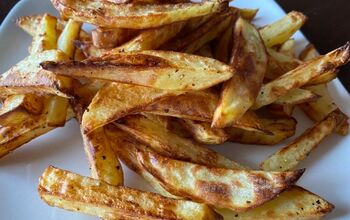
Baked, frenched, roasted, hashed, mashed, fried, chipped – however you want to give me potatoes, I will take them!
I don’t know why, but for some reason I had always thought of twice-baked potatoes as “fancy food”. Maybe it’s because it was a food we didn’t have a lot when I was growing up (my mom spent most of my childhood on various low carb diets, so we didn’t have a lot of potatoes at all), or maybe it was the packaging on those Ore Ida twice baked potato boxes in the freezer section at the grocery store – the perfectly shaped ruffles of potato, like the folds of a fancy skirt, were what I assumed rich people ate regularly.
I know now that those potatoes are basically made of the same cardboard as the box they come in but man, was I a sucker for the advertising.
Anyway, luckily now I know that not only are twice baked potatoes delicious, but they’re super easy to make too! The trick is to just let the potatoes cool enough to touch without dropping them. I may or may not have, but definitely have, dropped a potato on the ground because I thought it was cool enough to touch but was unpleasantly surprised to find out that it wasn’t.
HOW TO TELL IF A BAKED POTATO IS DONE
Depending the size of your potato, they can take anywhere from 40-70 minutes to bake fully. I tend to buy large potatoes because I’m a glutton for them, and I generally start at 55 minutes and then check to see how done they are. The skin of the potato should be wrinkly and feel papery, and the potato should give pretty well when you squeeze it. You can also insert a sharp knife into the potato and if it slides in easily, it’s done.
HEALTH BENEFITS OF RUSSET POTATOES
So I know the drill: potatoes are bad for you, you should only be eating sweet potatoes. And sure – sweet potatoes are technically healthier for you, but don’t sleep on a standard russet potato. They’re PACKED with nutrients (mostly the skin, so make sure you eat that) including Vitamin C, Potassium, Phosphorous, Folate and many others. They are a great source of antioxidants. They’re naturally gluten free, which is great for people who have Celiac, or all those people who think they do. They’re incredibly filling, incredibly versatile, and incredibly cheap. So yeah, sweet potatoes may technically be better for you, but I stand firmly behind the humble russet potato.
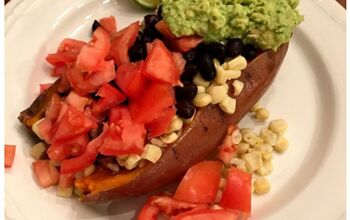
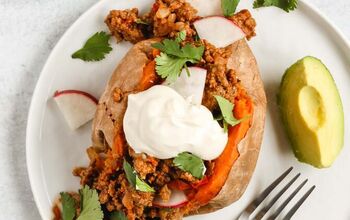
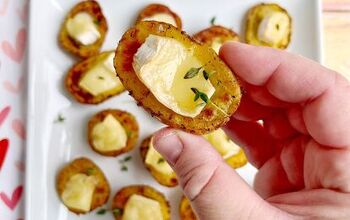
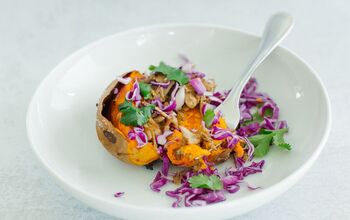
All that said, this recipe is adaptable, and if you’d rather make it with sweet potatoes, definitely do that. I wouldn’t recommend a Yukon or a red potato – they’re just too small. Although you could do the fillings as toppings if you wanted to make these crispy smashie potatoes instead of twice baked, and that would be super dope. In fact, I think that’s going on my list to try right this minute.
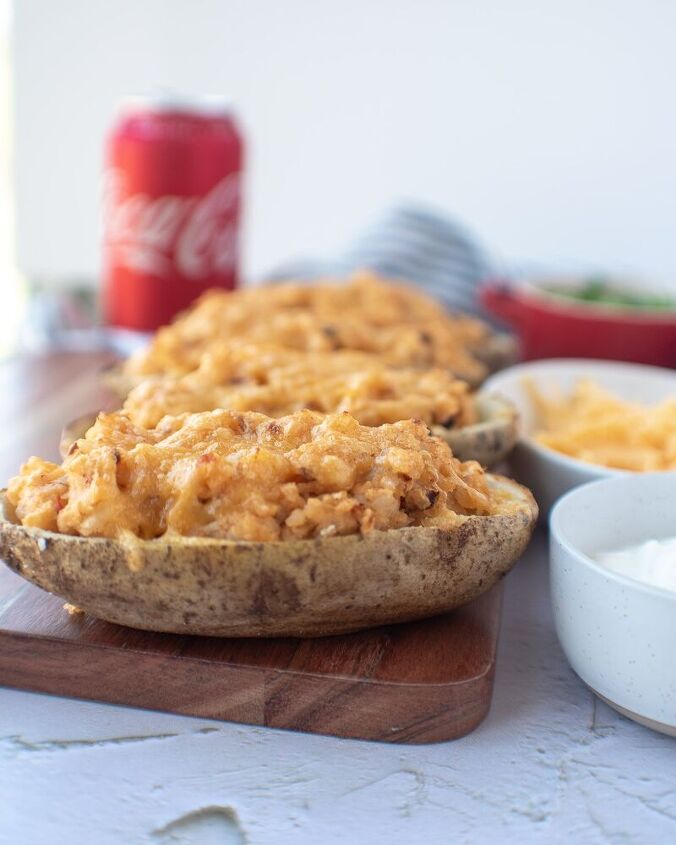
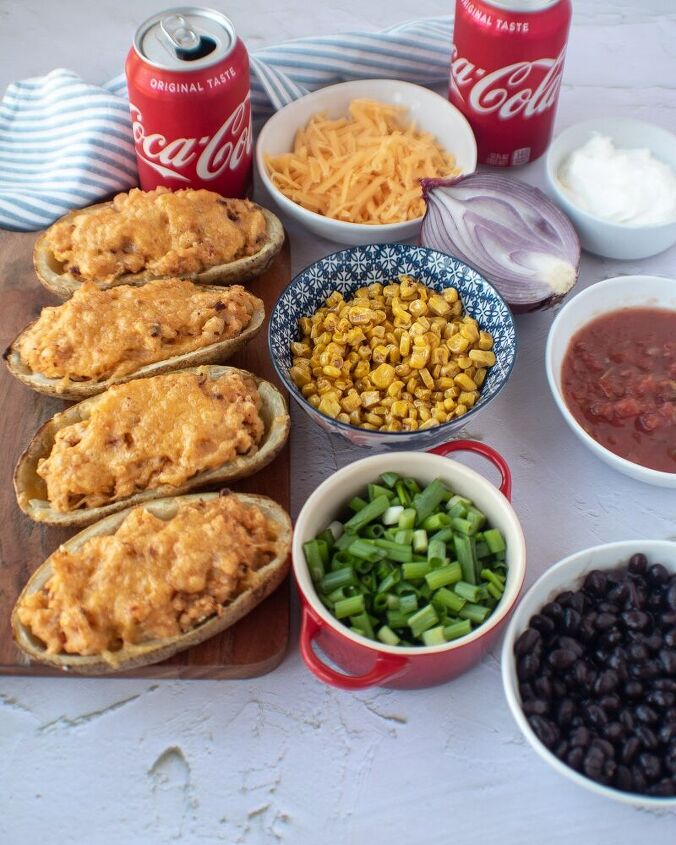
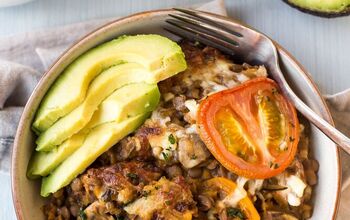
I say that this recipe serves four, and you may be looking at me like I’m crazy, but with the addition of the beans and the corn, this is an INCREDIBLY filling meal. Half of a potato is truly all you need. They reheat really well the next day, so that’s an option as well. A quick note – if you like things a little spicy, go ahead and add another chipotle in adobo. It seems like too much, but with everything else going on in there, the chipotle flavor can get potentially get a little lost in the shuffle.

Southwest Stuffed Baked Potatoes
Recipe details
- 4 Each
- Prep time: 5 Minutes Cook time: 70 Minutes Total time: 1 hr 15 min


Comments
Share your thoughts, or ask a question!
Wow! I'm saving this
We make these all the time. Good way to use up leftover veggies. Have even started saving that last slice of meatloaf or that 1/2 cup of taco meat to fold into the mix.