Cauliflower Mac and Cheese (Keto & GF)

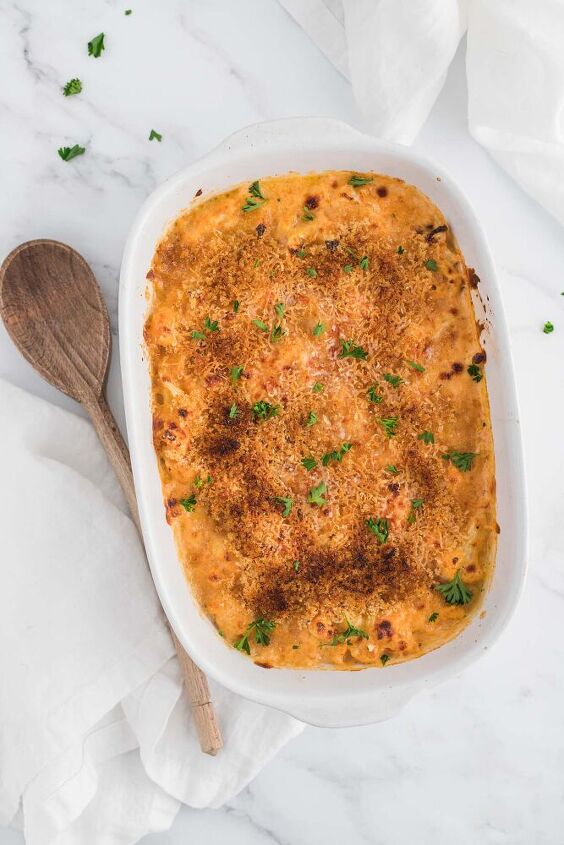
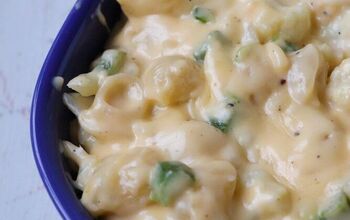
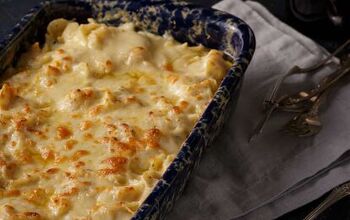
This cauliflower “mac” and cheese will satisfy all your comfort food cravings even without the carb-rich pasta! The cauliflower is roasted, covered in a creamy, salty, cheesy sauce and then baked to crispy, golden brown perfection!
Quick and easy to prepare, it’s a gluten-free and keto side or main that contains a full serving of veggies in each scoop, so it’s perfect for feeding your kids! Tastes so much like the real deal, even the pickiest of eaters are sure to go back for seconds!
This cauliflower mac and cheese is pretty simple to make and only takes about 40 minutes from start to finish.
Start by cutting a medium head of cauliflower into small florets. The size of the pieces is totally up to you, but I usually aim for the size of macaroni noodles or slightly larger. Now, most recipes will tell you to boil the cauliflower to cook it because it’s super fast, but I much prefer to roast. Unlike roasting, boiling adds a lot of extra moisture to the cauliflower which, unless you take the time to dry out, will leave you with watery mac and cheese. So, even though roasting takes twice as long, it is well worth the wait!
While the cauliflower is roasting, you can start to make the cheese sauce by lightly frying the garlic and seasoning in a large pot on the stove over medium heat. Add the cheeses and stir until everything is melted and creamy.
Add the roasted cauliflower to the pot and stir until each piece is coated with the sauce. Transfer to a casserole dish, top with the pork rinds and parmesan and bake for about 10 minutes. The cauliflower mac and cheese is done when the cheese is bubbling and the top layer is starting to turn golden brown.
Personally, I appreciate pork rinds because they are an easy keto and gluten-free alternative to breadcrumbs. But, I get it- they aren’t everyone’s cup of tea!
If pork rinds are not for you, or if you follow a vegetarian diet, try making Trina Krug’s Crunchy Breadcrumbs instead. Made from almond flour, hemp hearts, egg and seasoning, they still fit keto and gluten-free diets. Sprinkle on the mac and cheese instead of the ground pork rinds for a perfectly crisp top layer.
- Sharp Cheddar – Cheddar cheese is an absolute must in any mac and cheese, if you ask me. I prefer to use a sharp cheddar because it offers a richer flavour with just the right amount of bite. Whether mild or sharp, just be sure to buy block cheese and not pre-shredded. Pre-shredded cheese is filled with additives and preservatives.
- Parmesan – Another necessity for mac and cheese is parmesan. It’s the perfect top layer because it browns and crisps beautifully and delivers a delicious salty hit to every bite.
- Cream Cheese – I like using cream cheese for cauliflower mac and cheese because it melts down perfectly and keeps the sauce smooth and thick. It’s flavour is also mild enough that it lets the other cheeses shine through.
- Gruyère – Gruyère is a hard cheese with a salty and nutty flavour. Because it melts to a silky smooth consistency, it is often used in fondues. But the texture and taste also lends itself especially well to mac and cheese.
- Smoked Gouda – Want to make your mac and cheese a little boujie? Try using gouda. Better yet, use a smoked gouda for some extra layers of flavour! Similar to Gruyère, gouda melts wonderfully and gives a dish a fudge-y thick texture, which is exactly what you want for mac and cheese.
Cauliflower mac and cheese stays fresh for about 3-4 days in an airtight container in the fridge.
If you don’t finish all the leftovers in that time, you can easily freeze this mac and cheese instead. I recommend freezing in individual servings so you can thaw them one at a time as you need.
Cauliflower mac and cheese can definitely be reheated, but I do not recommend using a microwave to do so. The cauliflower will become mushy if heated in a microwave and the top layer of parmesan and pork rinds loses it’s delicious crispiness.
Instead, preheat your oven to 425 and blast the mac and cheese for about 5-7 minutes. Recently, I actually reheated this recipe in a small pan on the barbecue and it turned out amazingly well. The cheese was gooey, the cauliflower firm and the top layer crispy brown!
Check out other cauliflower recipes from The Bespoke Bites or some of these stars from around the internet:
- Cheesy Cauliflower Shepherd’s Pie
- Low Carb Cauliflower Hummus
- Healthy Creamy Roasted Cauliflower Soup
This post may contain affiliate links. Click here for my affiliate disclosure. If you purchase items through my affiliate links, I receive a small commission, which helps me keep the lights on at The Bespoke Bites. All at no extra cost to you! Thanks for supporting!
Cauliflower Mac and Cheese (Keto & GF)
Recipe details
Ingredients
- 1 head of cauliflower, cut into small florets (about 4 cups)
- 1 tablespoon olive oil
- 2 tablespoons butter
- 2 cloves garlic, minced
- 1/2 teaspoon salt
- 1/4 teaspoon black pepper
- 1/2 teaspoon chili powder
- 4 oz cream cheese
- 3/4 cup cream
- 2 cups grated sharp cheddar
- 1 cup grated Gruyère
- 1/4 cup freshly grated parmesan cheese
- 1 cup pulsed pork rinds or pork panko
- 2 tablespoons freshly chopped parsley
Instructions
- Preheat oven to 450. Spread cauliflower florets out on a baking sheet and drizzle with olive oil. Roast for 20 minutes.
- While cauliflower is roasting, melt butter in a large saucepan over medium heat. Add the garlic, salt and pepper, and chili powder and cook until fragrant; about 2 minutes.
- Add the cream cheese and cream, stirring continuously until melted; about 5 minutes. Add the cheddar and Gruyère cheese and stir until melted; about 1 minute.
- Once the cauliflower is roasted, remove from the oven and add to the saucepan. Stir until the cauliflower is completely coated with the cheese.
- Transfer the cheese and cauliflower to an 8×8 or 9×9 baking dish and top with the pulsed pork rinds and grated parmesan.
- Place the pan in the oven and bake for 10 minutes. Remove, let cool slightly, top with chopped parsley and serve!








Comments
Share your thoughts, or ask a question!
Healthier mac & cheese! Yes please!
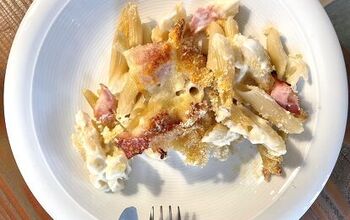
I also added small pieces of pancetta 😁