


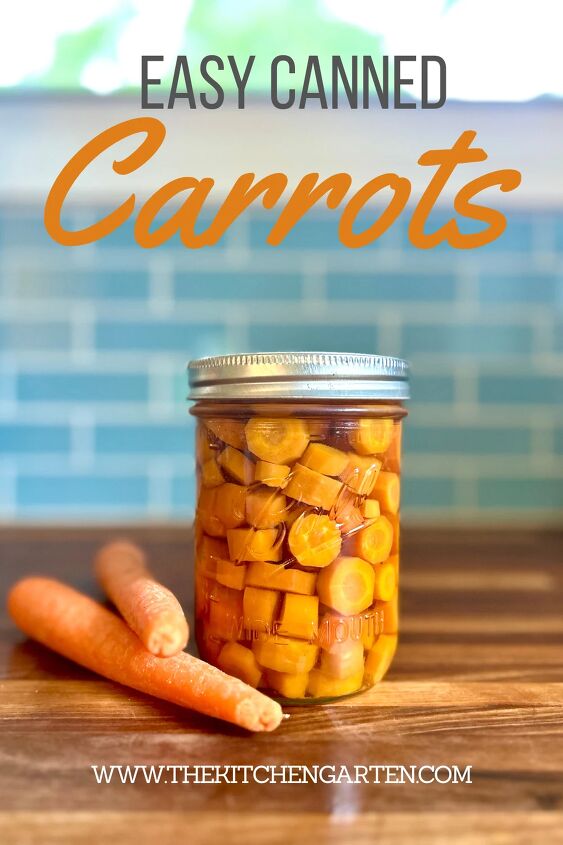
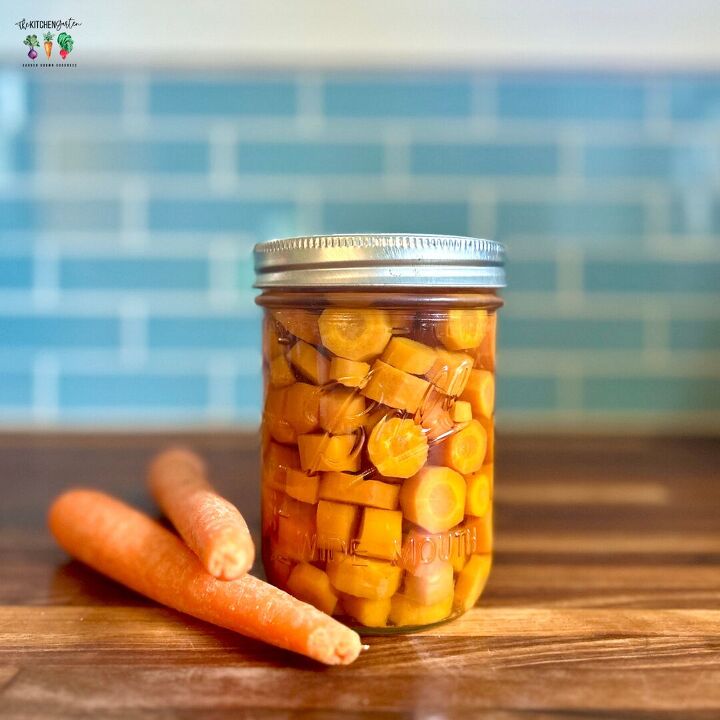
Easy Canned Carrots
Are you tired of buying bland, imported carrots during the off-season? What if I told you that you could have the taste of fresh, local carrots all year round? With the simple yet rewarding process of canning, you can preserve the deliciousness and nutrition of your homegrown carrots.
Let me show you step-by-step how to can your carrots, from choosing the right ones to using them in your favorite recipes. Say goodbye to lackluster carrots and hello to year-round enjoyment!
Choosing the Right Carrots for Canning
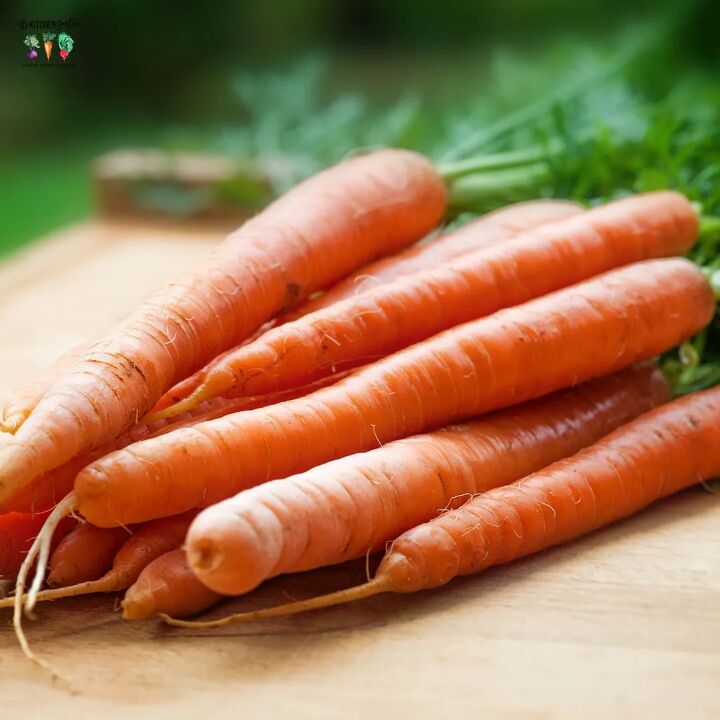
Before you start canning your carrots, it is important to choose the right ones. You’ll want to select carrots that are firm and free of cracks or blemishes. Look for carrots that are similar in size so they will cook evenly in the canning process.
This post may contain affiliate links, which simply means I may earn a commission off of links at no extra cost to you. Thank you for supporting my site!
Carrots that are too small may not be worth the effort, while carrots that are too large may not fit properly in the jars. Choosing the right carrots will ensure that your finished product is both flavorful and visually appealing. Now that you’ve selected your carrots, let’s move onto prepping them for canning.,
Supplies for Canning Carrots
Not sure what you’ll need to can carrots at home? No worries, here’s a list of supplies to get you prepped and ready for preserving carrots.
- Fresh carrots (2 1/2 lbs of carrots for each quart jar) (See my post on How to Grow Carrots at Home!)
- Quart Mason Jars or Pint Mason Jars (personal preference)
- Electric Kettle or Pot (for boiling water or heating carrots)
- Pressure Canner for stovetop or Electric Pressure Canner
- Lids and Rings (if using last year’s jars)
- Jar Lifter
- Sharpie (for labeling)
- Canning Salt (optional: 1/2 tsp per pint jar if using)
Optional but so helpful
- Canning funnel
- Magnetic Lid Lifter
For all things canning, I always refer to the USDA’s Complete Guide to Home Canning with any questions I have. This is a valuable resource as you learn to can at home.
Prepping Your Carrots for Canning
Before you get started with canning your carrots, it’s important to properly prep them.
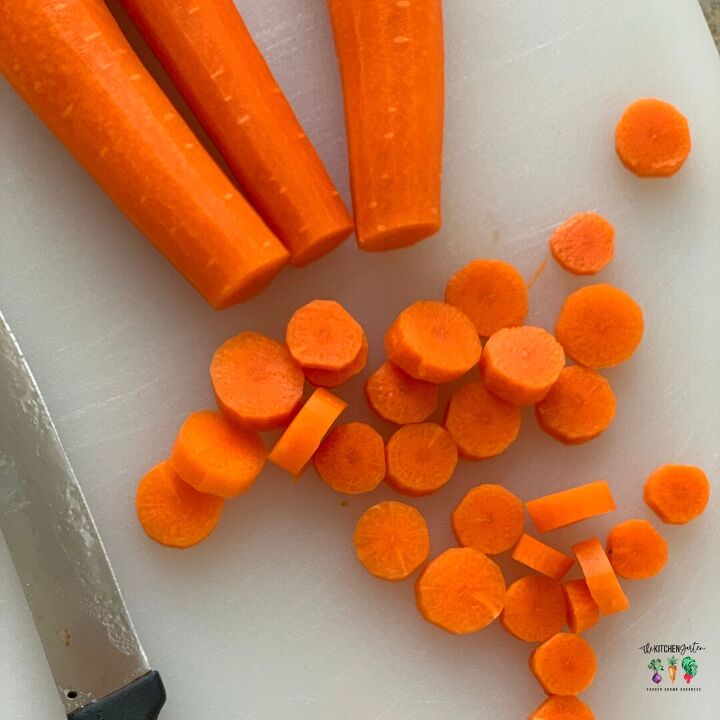
- First, wash and scrub the carrots thoroughly to remove any dirt or debris.
- Next, peel the carrots using a vegetable peeler or sharp knife.
- Once your carrots are peeled, you’ll want to cut them to the desired size. Some people prefer to can baby carrots, while others like to cut their carrots into coins or sticks. Whatever size you choose, make sure they are all roughly the same size so they cook evenly.
With your carrots prepped and ready to go, it’s time to move onto the next step: sterilizing your jars.
Sterilizing Jars for Canning
For canning carrots, you can use either pint jars or quart jars. Choose the size that bets suits the size of your family and what you’ll be using the carrots for.
Before filling your jars with carrots, it’s important to sterilize them to prevent any bacteria from forming. Start by washing them in hot, soapy water or running them through a dishwasher cycle. Place them on a clean towel to dry completely.
Next, heat water in an electric kettle or in a pot on the stove. Once the water is boiling, place clean jars either in a rack in the sink or some other water-friendly place, and pour the boiling water over and in your jars. This will sterilize them.
Once your jars are sterilized, it’s time to fill them with your carrots. There are two different methods of canning carrots, hot pack and raw pack. It’s based on personal preference, but here’s the different steps for both:
Hot Pack Canned Carrots
For hot packed carrots:
- Take your cut carrots and place them in a pot or saucepan.
- Cover with boiling water and bring up to a boil for 5 minutes. You’ll notice the carrots are tender, but not overly cooked.
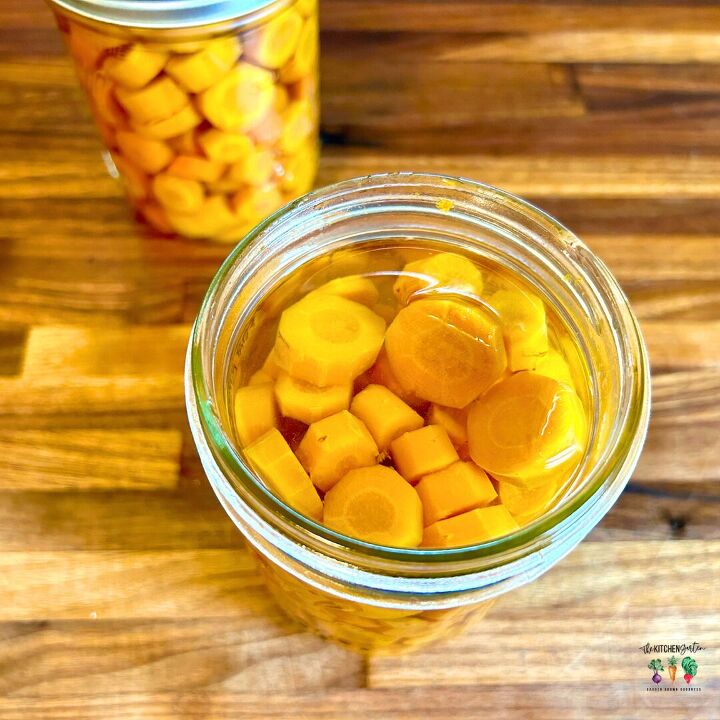
- Using a slotted spoon and a jar funnel, begin filling your sterilized jars with carrots, gently thumping the jar on the counter to get the carrots to settle in and fill space.
- Pack jars as tightly as possible, then ladle in water from the pot to fill. Use a wooden skewer or plastic knife to remove air bubbles and pack as tightly as possible.
- Be sure to leave about an inch of space at the top of each jar to allow for expansion during processing. Continue to processing instructions.
Raw Pack Canned Carrots
For raw pack canned carrots:
- Take your cut carrots and begin packing them into sterilized jars. Fill them as tightly as possible, leaving an inch of headspace at the top.
- Using a kettle or small pot, add boiling water to the jars leaving 1 inch of headspace.
- Use a skewer or other long tool to be sure to pack carrots in as tightly as possible and remove any air bubbles. Raw carrots don’t have as much flex as the hot-pack carrots, so consider this.
Processing Canned Carrots
Now that your jars are filled with tasty carrots, it’s time to seal them up for storage. Processing your jars is a critical step in the canning process that ensures your vegetables stay safe to eat long after they’re harvested. While you’re prepping the jars for lids, go ahead and get your pressure canner warmed up following the manufacturer instructions. (Electric pressure canners may actually have you heat the jars up in the canner. If so, do this after they have been sterilized.)
- Use a damp cloth to wipe the rims of your jars clean. This will create a good seal between the jar and lid. Next, place lids on top of each jar and secure them with screw bands, making sure they’re not too tight. The goal is to keep the lids in place without pressing down too hard. The general canning rule is fingertip-tight.
- Place jars into the canner using a jar lifter. Use the manufacturer instructions to add the appropriate amount of water to canner. Close up canner and lock.
- For electric pressure canners, set the timer for 25 minutes for pint jars and 30 minutes for quart jars.
- For stovetop pressure canners, follow manufacturer instructions for bringing it up to pressure safely. Per the USDA guidelines for canning carrots, use the following times:
- Dial-Gauge Pressure Canner (PSI): 11lb pressure for 25 minutes for pints/30 minutes for quarts
- Weighted-Gauge Pressure Canner: 10 lb pressure for 25 minutes for pints/30 minutes for quarts
- Allow pressure to release naturally. Remove jars from canner and set on cooling rack with towel underneath to cool completely.
- Check to make sure jars have sealed properly. Once seals are confirmed, label and store jars.
Processing your jars may seem like a lot of work, but it’s a necessary step in canning that ensures your carrots will last for months to come. Next up, we’ll cover how to store your canned carrots properly to ensure they stay fresh and delicious.,
Storing Canned Carrots
Properly storing your canned carrots is just as important as processing them. It’s essential that you store your jars in a cool, dry, and dark place. A pantry or cellar is ideal, as long as it doesn’t get too warm or too cold. Keep in mind that any exposure to light may cause the carrots to lose nutrients and color over time.
Another important factor in storing your canned carrots is to make sure they stay upright. Storing them on their side can cause the liquid inside to seep out, potentially compromising the seal. As such, it’s best to store them in an upright position.
When you’re ready to use canned carrots, it’s important to inspect them first. Look for any signs of spoilage, such as mold or discoloration, and check the seal for any signs of damage or weakness. If everything looks good, they should be safe to use.
Now that you know how to properly store your canned carrots, you’re ready to start using them in a variety of recipes. From stews and soups to casseroles and side dishes, the possibilities are endless. So let’s get cooking!
Using Your Canned Carrots in Recipes
When it’s time to put those canned carrots to use, there are plenty of ways to incorporate them into your favorite dishes. Start by draining to remove any excess liquid or residue that may have accumulated during the canning process.
One easy way to enjoy canned carrots is by adding them to soups and stews. They’re a great way to bulk up recipes and add a sweet, nutty flavor that pairs well with savory ingredients like onions, garlic, and beef or chicken broth. To use them in soups or stews, simply add them to the pot during the last 10-20 minutes of cooking so they can absorb the flavors of the other ingredients.
Canned carrots can also be used as a base for casseroles and side dishes. Simply combine them with other veggies or grains like rice or quinoa, and bake until hot and bubbly. You can also try adding them to pasta dishes or even using them as a topping for homemade pizzas.
Just be sure to adjust your seasoning as needed, as canned carrots may be slightly sweeter or more tender than fresh ones. With a little experimentation, you’ll soon discover how versatile and delicious canned carrots can be. So don’t be afraid to get creative in the kitchen!
Canning carrots is an easy and affordable way to enjoy their delicious taste and numerous health benefits year-round. By following the simple steps, you can preserve your harvest of fresh carrots and incorporate them into a variety of recipes.
Not only does canning save you money, but it also allows you to continue to reap the nutritional benefits long after the growing season has ended. So what are you waiting for? Grab your jars and start canning today!
Easy Canned Carrots
Recipe details
- 4 Quarts
- Prep time: 30 Minutes Cook time: 25 Minutes Total time: 55 min


Comments
Share your thoughts, or ask a question!
One thing I never learned how to do. However, I did help my SIL and her mom, so have some basic knowledge. Will do this project with my SIL and learn even more. I can get excellent produce year round, for which I am eternally grateful. Still having homemade canned produce comes in handy for days I am too tired or too hot to cook, yet still want nutritious meal for my family / pets. And want to learn how to pickle too!
Thank you so much for such thorough instructions - perfect for a beginner like me! Pinning and sharing! 💖