


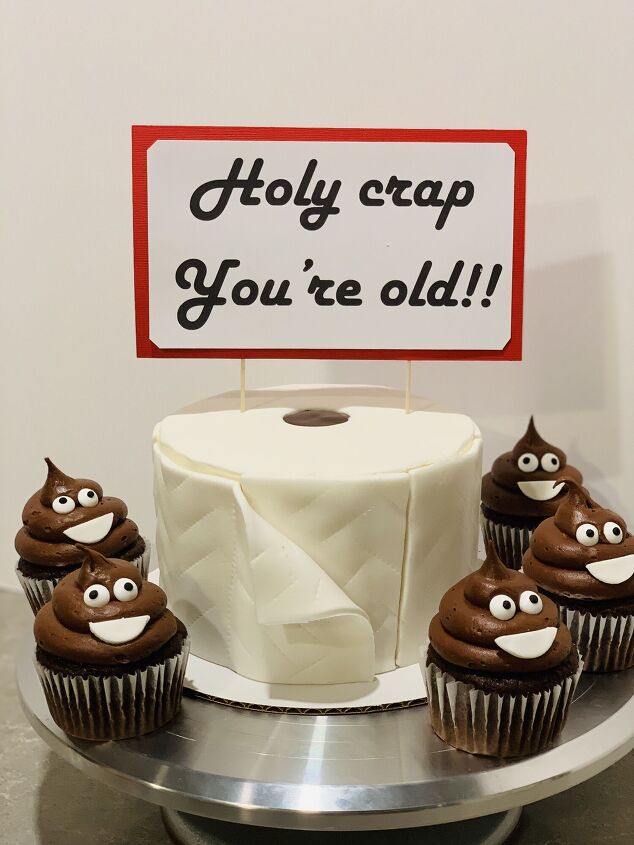
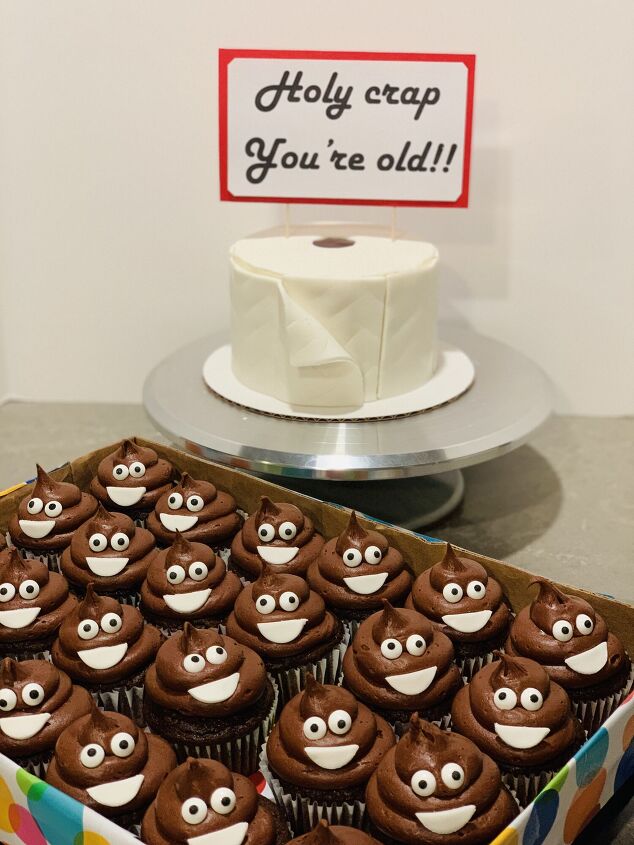
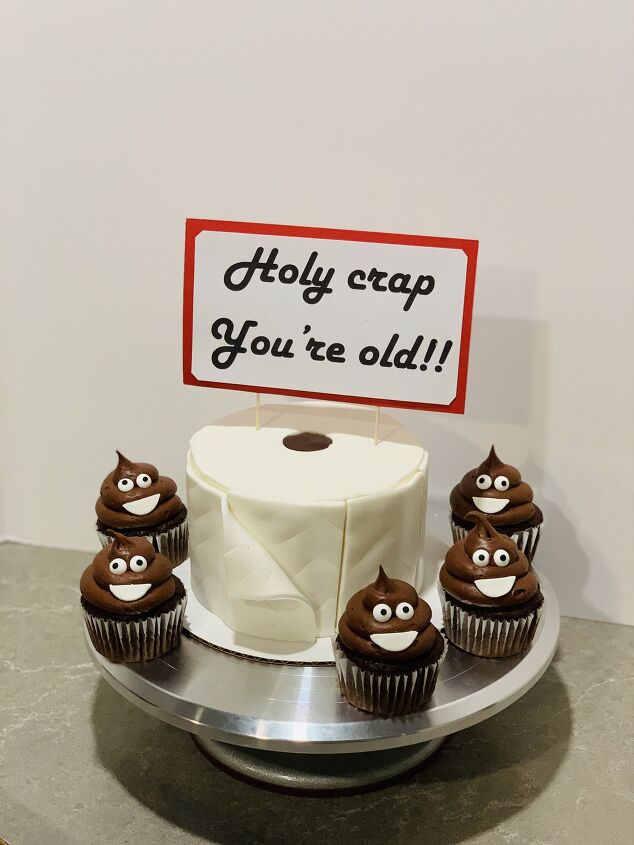
'You're Old' Toilet Paper Cake
Anyone else sometimes struggle to come up with birthday ideas for that one hilarious and often-irreverent friend, coworker, or family member? Welllll if that’s you….I’ve got a birthday cake idea for you! 😉
Originally made these ‘Holy Crap you’re old’ cupcakes and a toilet paper cake for a coworker’s birthday, and the combo was a huge hit! I’m just including the cake in this recipe post because the cake + cupcake combo would be a million pages long, but I just posted the cupcake recipe in a separate recipe! Feel free to search IntensiveCakeUnit.com for ‘TP cake’ if you want that recipe – or both of them together – and the toilet paper cake recipe is below! :)
Note – many of my in-post links won’t copy into my foodtalk posts. If there’s a link referenced in the recipe you’d like to have, you can see the original post by clicking the ‘Want more details about this and other recipes? Check out more here!’ button toward the bottom of this page.
'You're Old' Toilet Paper Cake
Recipe details
- 1 cake
- Prep time: 1 Hours Cook time: 30 Minutes Total time: 1 hr 30 min


Comments
Share your thoughts, or ask a question!
OMG, I am so doing this for my big brother (he’ll be 81 next month, and my brother in law who will be 64 next Jan 6th next year).