


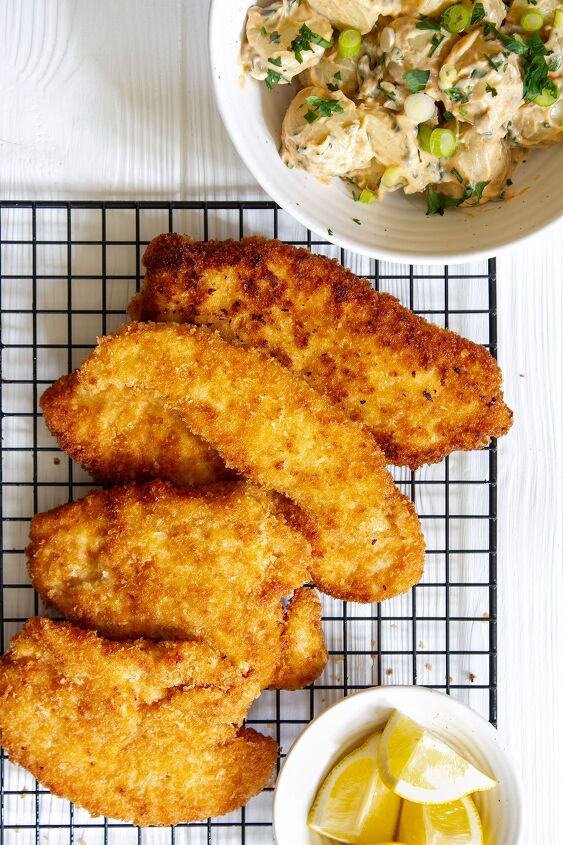
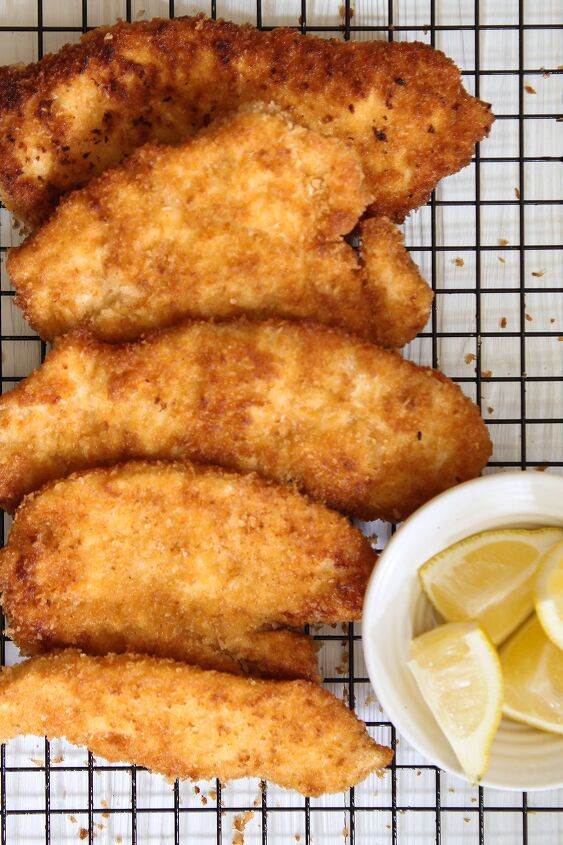
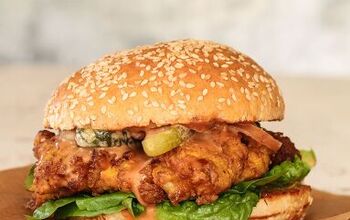
Panko Chicken (perfectly Crispy)
Make perfectly crispy and insanely tasty panko chicken in just 20 minutes. It's all about seasoning the flour to get a superbly flavourful crust and nailing the cooking process to get perfect crispiness every time.
The post contains additional information and helpful tips to ensure the recipe turns out great the first time. Please use the link above to jump to the recipe card at the end if you are in a hurry!
✅ 5 reasons why you'll love this recipe:
- Perfectly crispy - with the tastiest panko crust
- Just 20 minutes - total cooking and prep time
- Versatile - the options for sides and sauces are literally endless
- Simple ingredients - you just need chicken breasts, flour, egg and breadcrumbs. I also highly recommend seasoning the flour, but this part is flexible.
- Make-ahead friendly - keeps in the fridge for a few days and can be frozen for up to 3 months.
🛒 Ingredients and variations:
- Chicken - you can use breast or boneless skinless chicken thighs, but I always opt for breast. Frying adds fat, so I like to start with a lean cut of meat.
- Panko breadcrumbs - these should be available in your local supermarket. If not, an Asian grocery store will stock them. You can also use normal breadcrumbs but the chicken won't be as crispy.
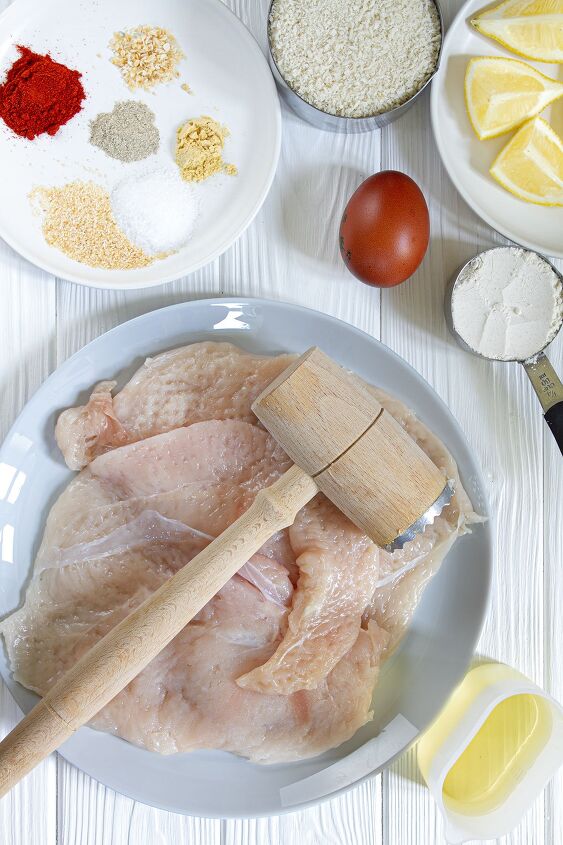
- Seasoning - I go to town when it comes to seasoning the flour. This results in a panko coating that's popping with flavour as well as perfectly crispy. I add paprika, cayenne pepper, garlic powder, onion powder, mustard powder, white pepper and salt. If you don't have all of these, don't let it stop you, you'll still get a tasty panko crust.
🧑🍳 Panko Chicken in 4 easy steps
1. Tenderise the chicken breasts
Cut any fat off the chicken breasts and tenderise them by pounding them with a meat tenderiser or other heavy object like a rolling pin.
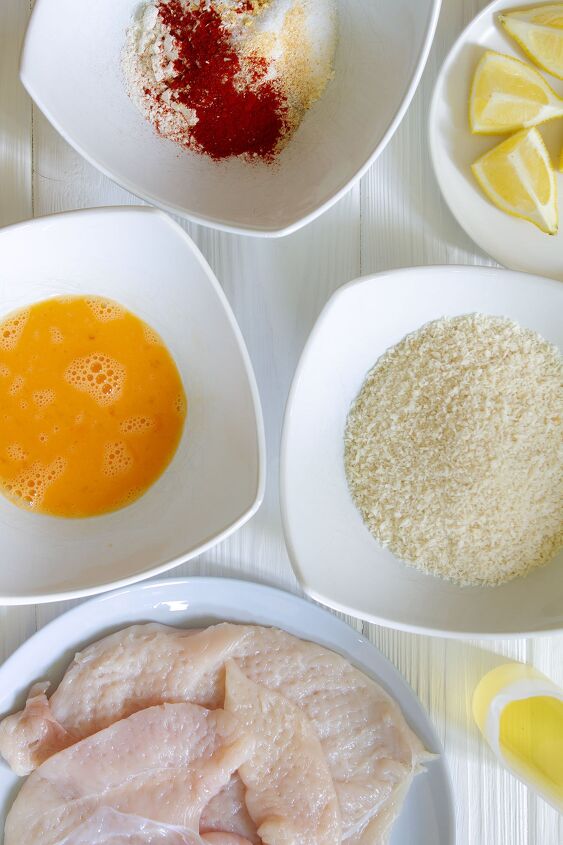
2. Prepare the flour, egg and panko breadcrumbs
Mix the flour, paprika, onion powder, garlic powder, mustard powder, white pepper and salt in a bowl. Crack the egg into another bowl and beat. Then place the panko breadcrumbs in a third bowl.
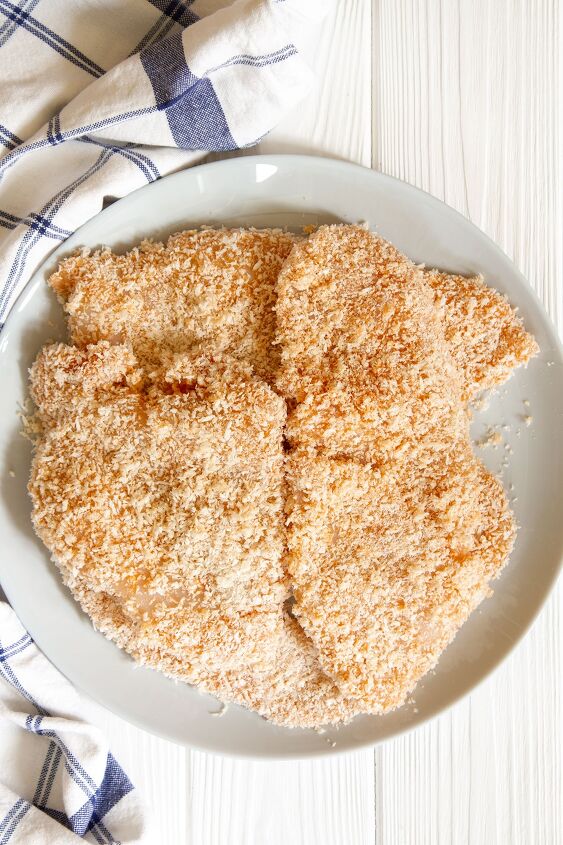
3. Coat the chicken
Place each chicken breast into the flour until coated, then dunk them in the beaten egg and finally place them in the panko breadcrumbs until they are covered.
4. Fry & serve
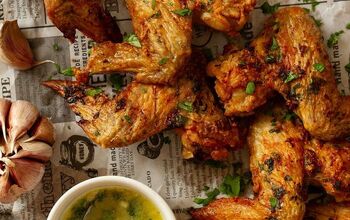
Place a frying pan on a high heat and fill with 0.5cm or ¼ inch of vegetable oil. When the oil is hot place the panko-coated chicken breasts into the pan and fry for 1.5 to 2 minutes on each side. Transfer panko chicken to a wooden board or cooling rack and let it rest for a few minutes. Serve immediately with lemon wedges and your choice of sides.
👍 Top tips for perfect panko chicken
- Tenderise the chicken - pounding the raw chicken breasts with a meat tenderiser or other heavy object like a rolling pin breaks down the fibres and results in a faster cooking time that keeps the moisture locked in.
- Make sure the oil is hot before you fry the chicken - you need the oil to be red hot to get panko chicken deliciously crispy. It's best to drop one panko crumb into the pan to test the oil. If the oil is hot enough the crumb will sizzle up. If the crumb sinks, then you need to wait a little longer.
- Use tongs to cook the chicken - they let you handle the chicken safely while you fry it.
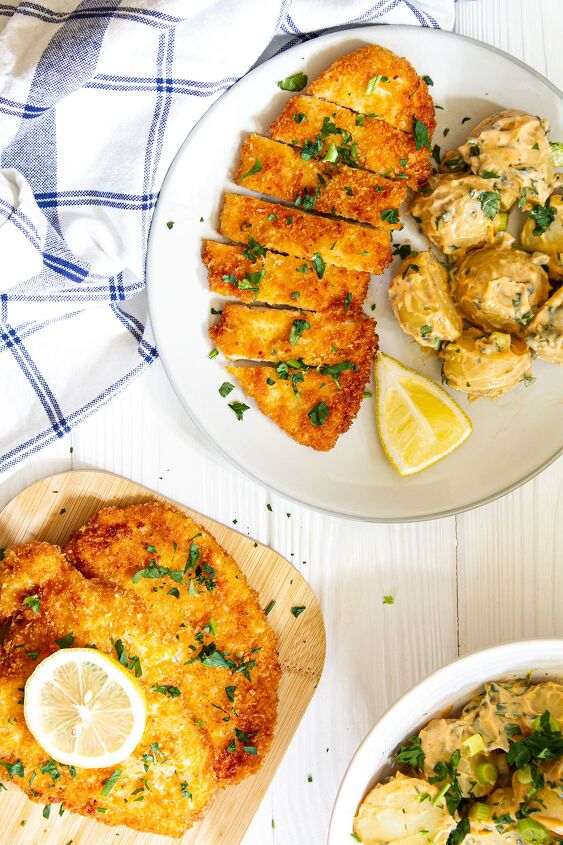
What to serve with panko chicken?
There are so many ways to enjoy panko chicken. Whether you're looking for a light dinner or a hearty dinner there will always be lots of new options to try.
Sides to serve with panko chicken:
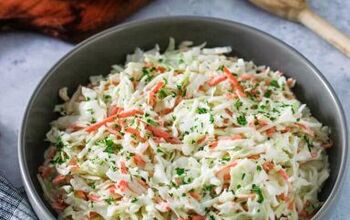
- Salad - serve with a simple green salad, potato salad or pasta salad.
- Potatoes - baked potatoes, fried potatoes, wedges and sweet potato fries all work well.
- Vegetables - roasted corn, aubergine/eggplant, zucchini/courgette and more.
- Rice - plain rice, peri peri ric, turmeric or fried rice.
- Cauliflower cheese or mac and cheese.
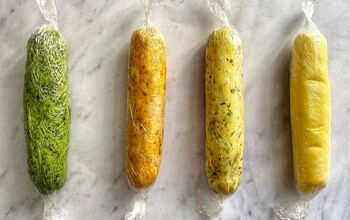
Sauces to serve with panko chicken:
Whether you like to pour sauce over the chicken or serve on the side, sauces add moisture and flavour to delicious crispy panko chicken.
- Peri peri sauce
- Honey mustard sauce
- Katsu curry sauce
- Lemon cream sauce
- Sriracha dipping sauce
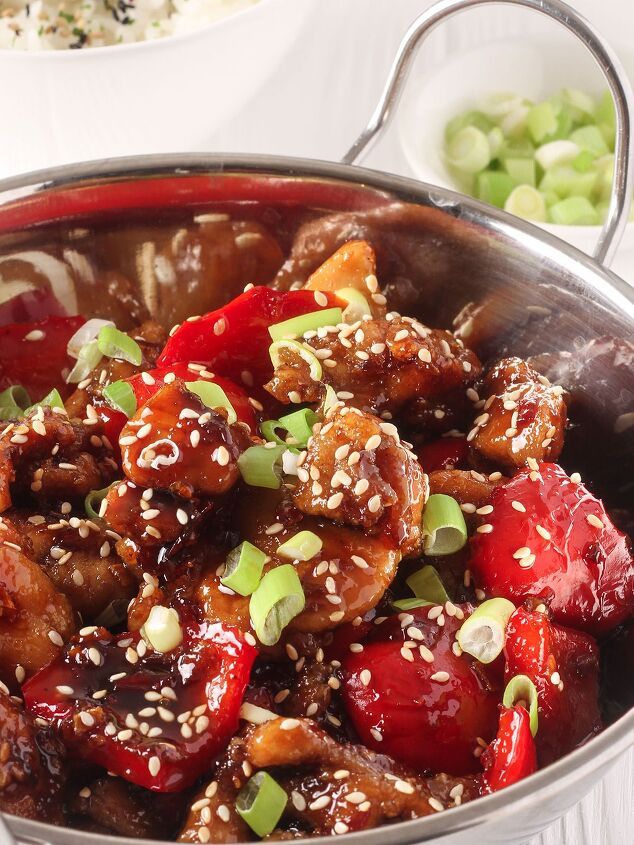
Variations of panko chicken
If you season the flour generously and nail the frying process you're sure to get super tasty and perfectly crispy panko chicken every time.
Here are a few different options you can try if you want to change it up.
- Parmesan panko chicken - made by adding 20g or ¼ cup of parmesan to the panko crumbs.
- Herby panko chicken - add a couple of teaspoons or dried herbs to the panko crumbs like sage, thyme or Italian seasoning.
- Lemon pepper panko chicken - add lemon pepper seasoning to the flour or lemon zest to the panko bread crumbs and black pepper to the flour.
🙋 FAQs
What is panko?Panko breadcrumbs are made from dried flakes of crustless white bread. They are lighter and crispier than regular breadcrumbs because they are dryer and flakier and absorb less oil during the cooking process. And they don't just taste better, they are healthier too because they are lower in calories, sodium and fat.
How do you get panko to stick to chicken?Coat the chicken in flour, then dip it into beaten egg before coating it in panko crumbs. The flour will stick to the chicken, and the egg sticks to the flour and the panko crumbs stick to the moist egg. Skip one of these 3 steps and it's likely the panko crumbs will fall off.
How do you cook panko?Panko breadcrumbs are cooked by frying or baking at a high temperature. Frying tends to yield the crispiest results whereas baked panko chicken is a healthier option.
Is panko chicken gluten-free?Regular panko breadcrumbs are not gluten-free, although there are gluten-free varieties available. You can also make your own using rice cereal.
📦 Storage
Cooked panko chicken can be stored in the fridge for up to 3 days. Bake the chicken in the oven for 10-15 minutes at 200 C or 400F to reheat it. You can also reheat the panko chicken in the air fryer at 190C or 375 F for 4 minutes.
You can freeze panko chicken for up to 3 months. Place the cooked panko chicken pieces you want to freeze on a baking sheet or plate lined with parchment paper with space between them and put them into the freezer. They should be frozen after an hour or so and you can transfer them to a freezer bag. You can reheat the chicken from frozen in your oven at 180C or 350 F for 30-40 minutes or you can defrost first, overnight in the fridge or in the microwave and bake for 10-15 minutes at 200 C or 400F.
Panko Chicken (perfectly Crispy)
Recipe details
- 2 servings
- Prep time: 15 Minutes Cook time: 5 Minutes Total time: 20 min


Comments
Share your thoughts, or ask a question!
How much chicken?
Just FYI… You don’t have the amount of chicken defined in the list of ingredients…😆