


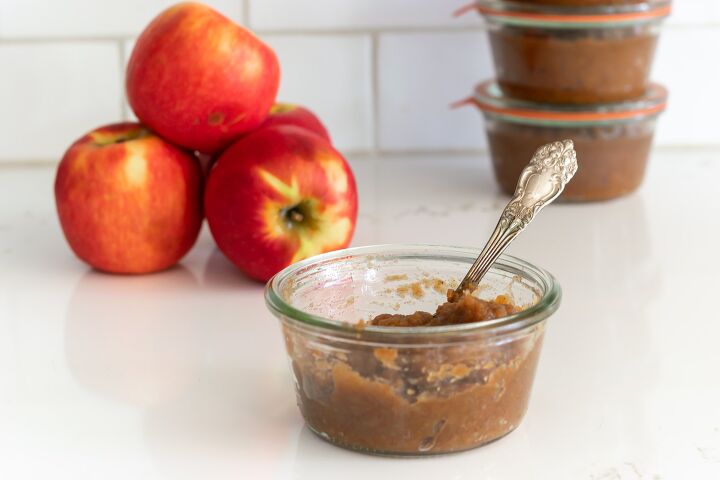
Sugar-Free Apple Butter Recipe
Get all the fall feels with this sugar-free apple butter recipe! Cinnamon, allspice, and cloves flavor this easy and healthy apple butter recipe. This post details how to make this apple butter on the stovetop or in a slow cooker or crockpot. Additionally, we discuss several different options to process your apples; food mill, food processor, blender, or immersion blender. And, do you want your apple butter to be just a little chunky or silky smooth? It’s up to you!
Making apple butter couldn’t be easier. At its core (get it?), you put several pounds of apples with their peels in a pot and cook them until they’re soft. Then you mush them up (you have several options to do that), add some fall spices, and cook them for a bit more.
That’s it! That’s all you need for homemade apple butter! And this apple butter is healthier than many as there is no sugar added to it.
what apples to choose
Choose any of the softer apple varieties for your apple butter. These apples cook down quicker. You can choose one variety, but I prefer a combination:
- Braeburn
- McIntosh
- Honeycrisp
- Fuji
- Jonagold
- Cortland
I know costs a bit more, but I always choose organic when making apple butter, especially since the skins are left on.
slow cooker apple butter or crock pot apple butter
You can make this sugar-free apple butter in a slow cooker or crock pot. Add the apples and cider and cook for ten hours on low.
To thicken it a bit more, let some moisture escape by only partially covering the pot for another two hours. If you opt to use an immersion blender, blender, or food processor, you could add all the spices right at the beginning and just blend it all after the apple butter has thickened.
chunky or silky smooth apple butter
If you use a food mill, your apple butter will be just a tad chunky. I use ‘chunky’ loosely, it won’t be chunky, but it won’t be silky smooth either…more like applesauce.
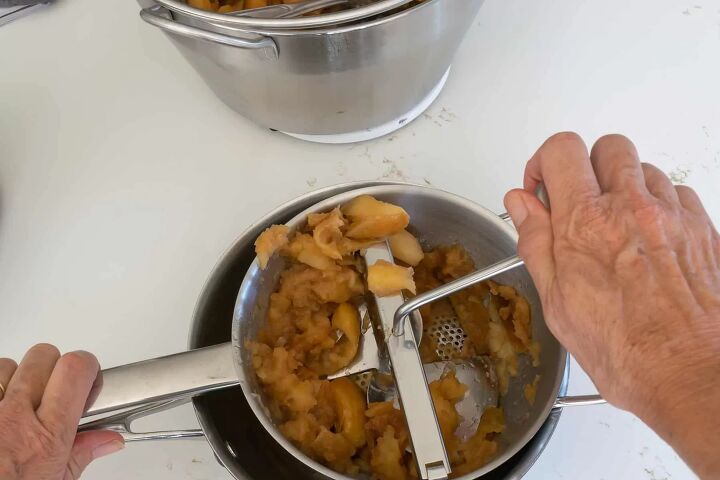
But, if silky smooth apple butter is your goal, then simply whir it in the food processor or blender.

applesauce versus apple butter
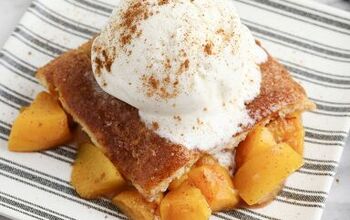
Apple butter is basically applesauce that is cooked even longer and more heavily spiced. The slow cooking makes it almost caramelized.

canning homemade apple butter
You can easily water bath can this apple butter, and this recipe includes directions for water bath canning.
supplies I use for canning
While canning isn’t hard, it does require a few pieces of equipment to make the task much easier:
- A Jam Pan or Maslin Pan
- Weck Can Lifter or Ball Can Lifter
- Magnetic Lid Lifter
- Headspace Gauge
- I use both Weck Jars and Ball Jars.
- Ball Complete Book of Home Preserving
- A clean surface
- Clean Towels
- A bowl of white vinegar
The Ball Complete Book of Home Preserving is my bible. Even if I think I could make the recipe in my sleep, I double-check myself against the Ball Book…that whole botulism thing. It should be your first purchase if you are new to canning. My cookbook library inventory recently expanded with the addition of The All New Ball Book Of Canning And Preserving: Over 350 of the Best Canned, Jammed, Pickled, and Preserved Recipes! Another great canning and preserving resource is the National Center for Home Food Preservation at the University of Georgia website.
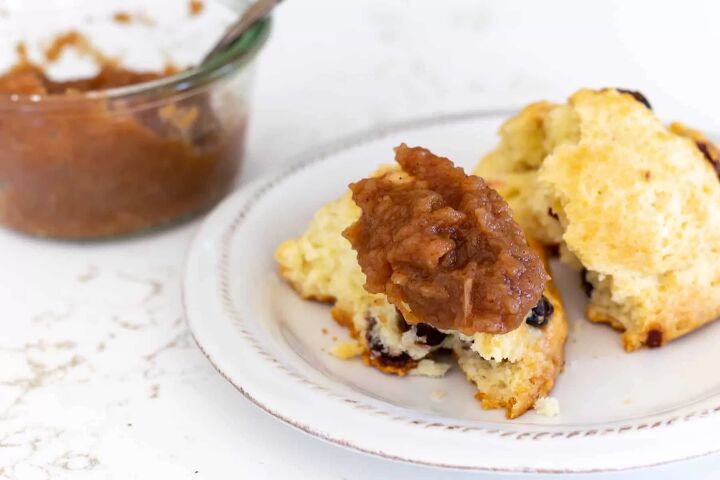
what to do with your sugar-free apple butter
- Spread it on your toast, biscuit, or scone
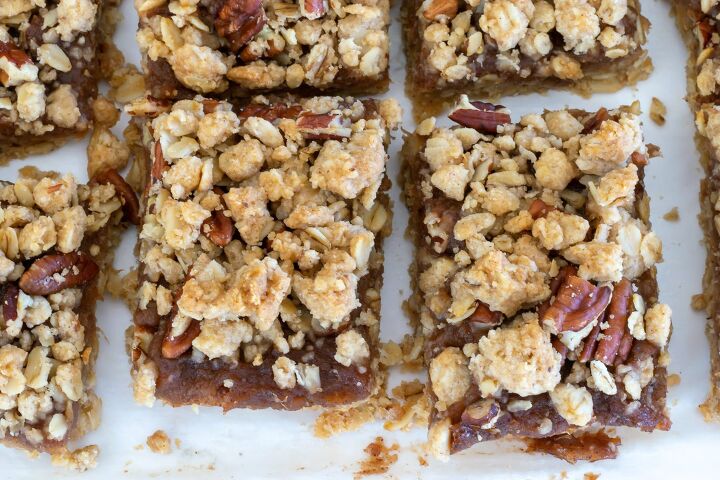
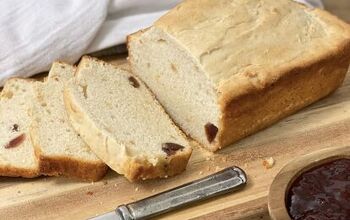
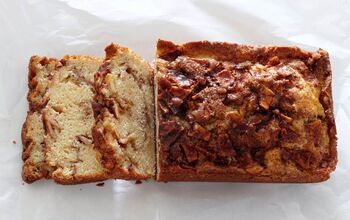
- Use it to make these apple butter bars!
Top pancakes and waffles
Mix it in your oatmeal
Use it instead of applesauce in a recipe
Put it on a cheeseboard
Serve it alongside pork or chicken
Add it to your sweet potato recipe
Dollop it on your grilled cheese sandwich (especially good with brie!)
Sugar-Free Apple Butter Recipe
Recipe details
- 5 pints
- Prep time: 15 Minutes Cook time: 3 Hours Total time: 3 hr 15 min


Comments
Share your thoughts, or ask a question!