


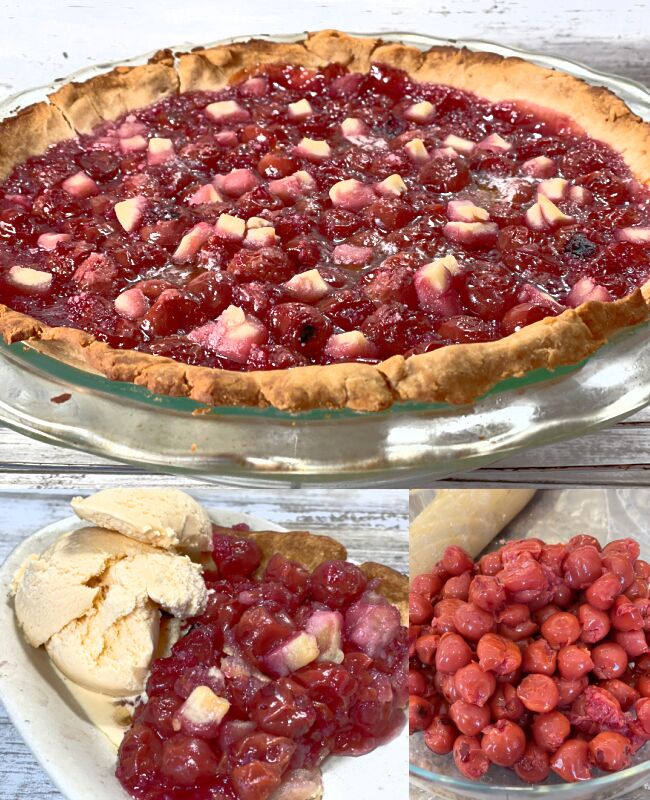
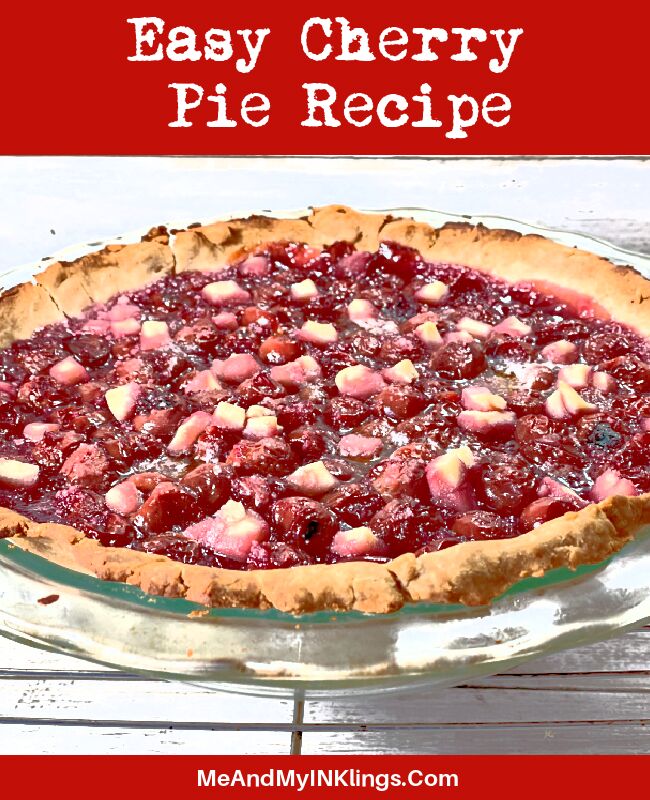
Easy Cherry Pie Recipe Gluten Free Crust
This is 100% our family’s go-to recipe for every single holiday and even some birthdays. Grandma Helen passed this recipe down to my husband and it has for sure been adopted by our kids already too. Everyone LOVES it. When it is being made in our kitchen, it draws the family together to participate and help. We all have our own favorite ways to decorate the top of the pie so I can always tell who made it. I love to put crust polka dots on top. This is how I make it mine. Get ready because I am about to share Grandma Helen’s easy cherry pie recipe using a gluten free crust with all of y’all.
Ingredients for Cherry Pie Filling
This is my favorite pie dish. I love clear glass because I can see how the crust is cooking while it is in the oven.
Directions to Make Cherry Pie
This is such a simple recipe for such a delicious dessert. I think it is the sour cherries that make is so delightful.
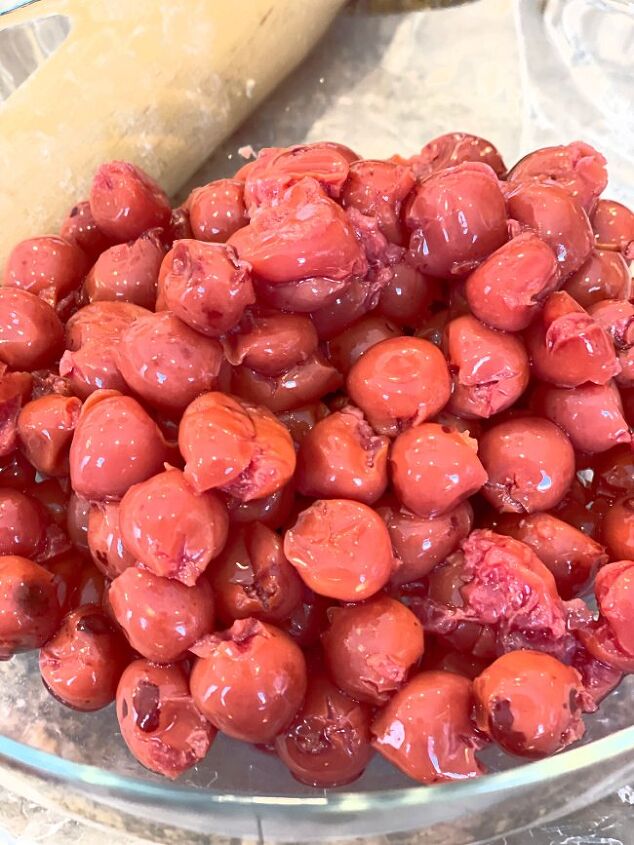
Step One
Set the 3 Cups of Cherries aside.
Mix all of the other ingredients in the pie filling with a spoon in a large bowl. Do not use an electric mixer.
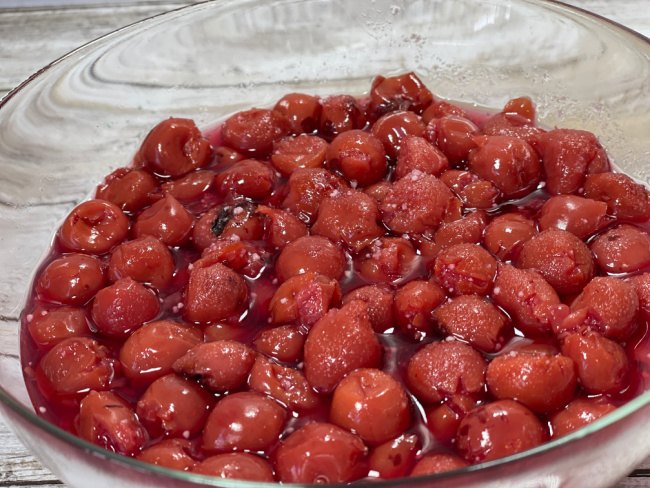
Step Two
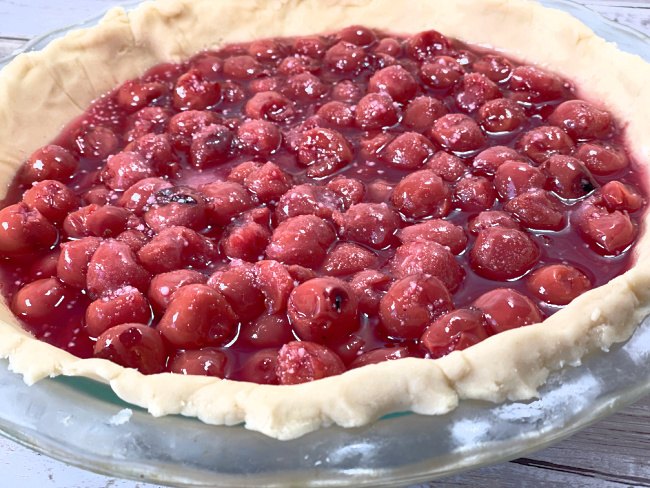
Pour the mixture over the cherries and stir together.
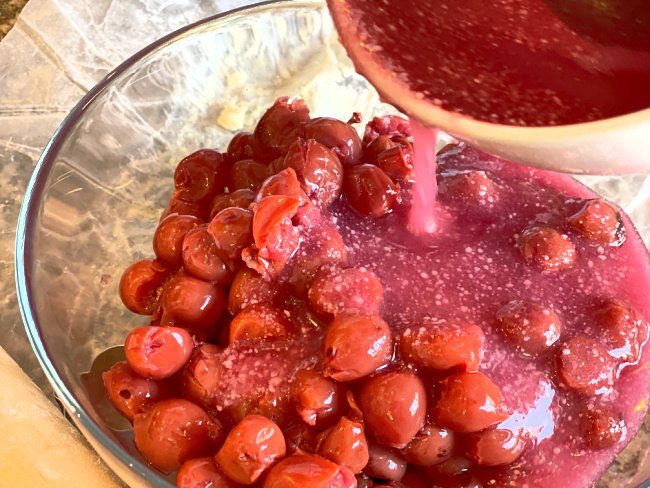
I actually think I could eat the filling just like this. Like all of it at one time. This easy cherry pie recipe has the best filling.
Step Three
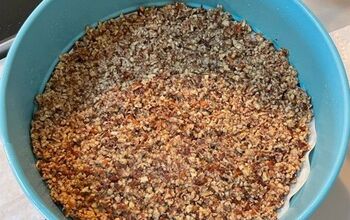
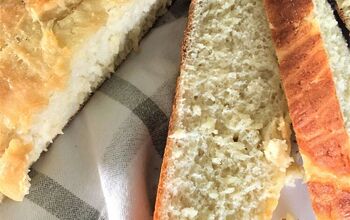
Add the mixture into a 9 inch pie crust. This can be either homemade or store bought. The beauty of this is that if the mixture is added to a gluten free crust, the dessert is gluten free. I used the pie crust mix by Glutino for the pie is these photographs. It is the same mix I used when I made the homemade pop tarts.
Step Four
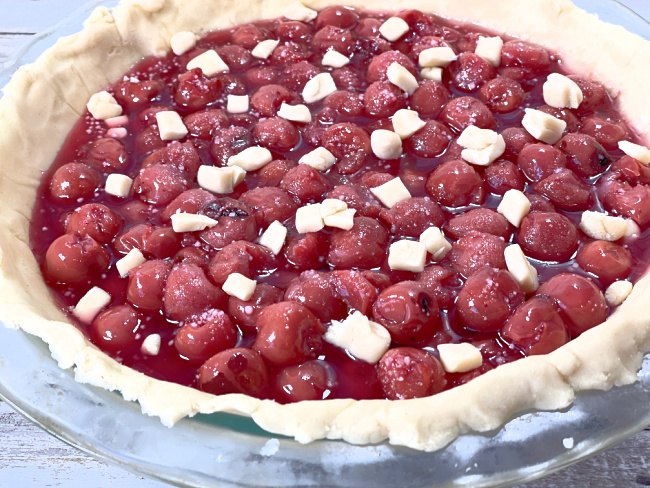
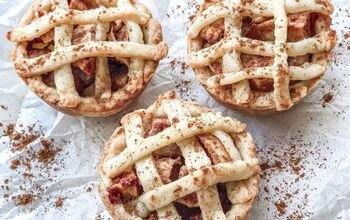
Add pie crust pieces the top of the pie. This can be lattice style, shapes from cookie cutters or simply pieces of crust. I like to cut up little pieces.
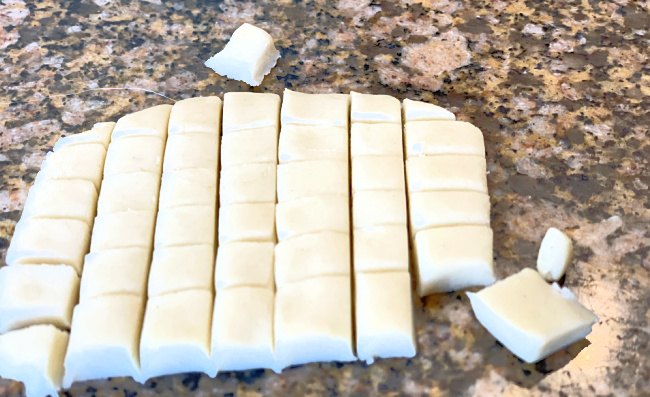
Next, add them to the top of the pie.
Step Five
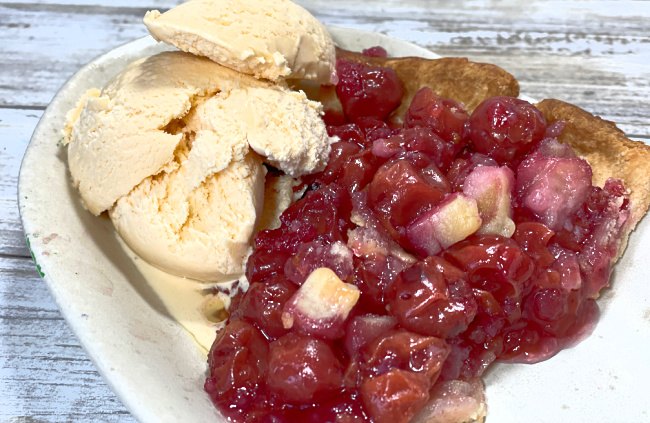
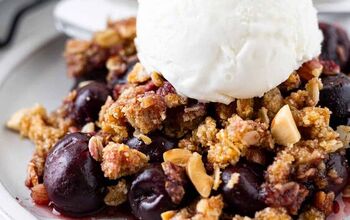
Bake for between 40-50 minutes, depending on the crust. It is important the middle filing boil and bubble for at least 30 minutes to cook thoroughly but longer is okay. When it comes out of the oven, let it cool to room temperature before serving.
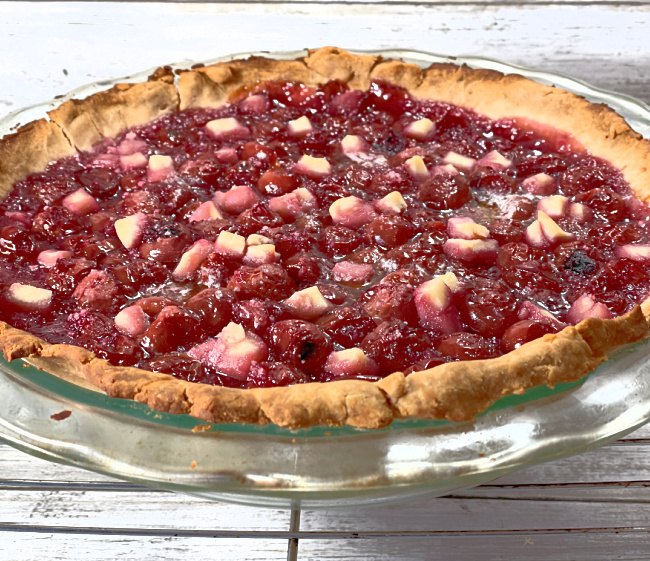
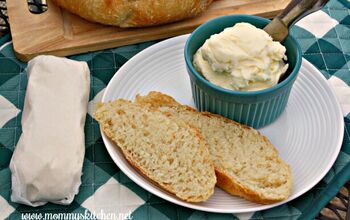
The pie is yummy served with ice cream.
Seven Great Reasons to Bake
For me baking is a great way to express myself. I believe that it is a form of creativity. I am excited to share my TOP seven reasons to bake with you. Know that baking doesn’t need to be “from scratch” to count. It always counts even when it is only halfway homemade.
- Baking is like meditation. I find going through the steps of making a recipe to very calming and relaxing.
- Also, Baking stirs the senses, literally and figuratively.
- When I bake cookies, cakes, pies and treats; I find myself feeling creative and happy in my heart.
- Sometimes my kids bake with me and it creates a great time to bond and connect. We all love to make this easy cherry pie recipe together.
- Homemade treats make great gifts.
- Using recipes passed down from generations creates a magical connection to family.
- Honestly, baking boosts my morale. It is just plain good for the spirit.
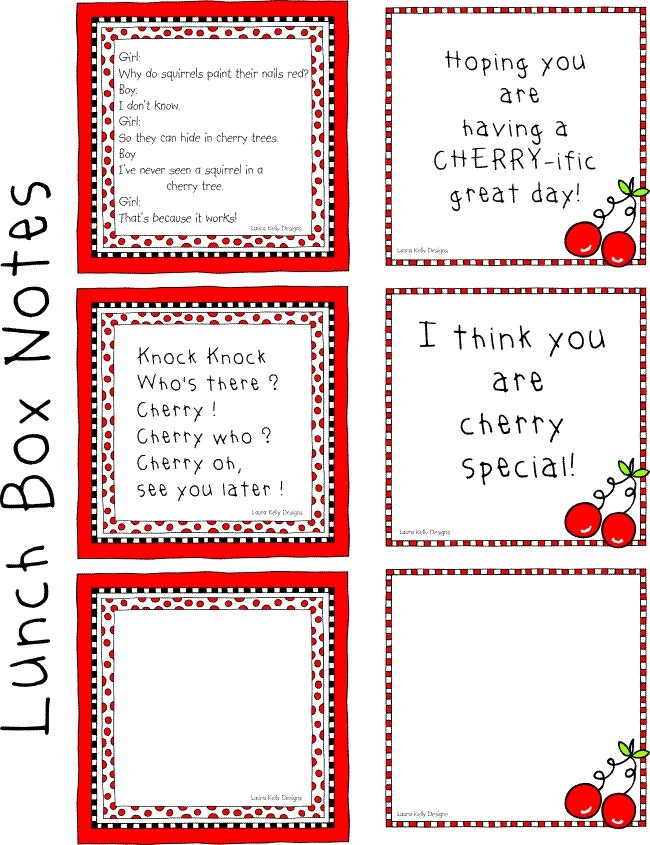
Free Cherry Printable Lunchbox Notes
If you plan to stick a piece of this delicious cherry pie in the lunchbox, be sure to add a little note. Here are some free cherry themed lunchbox notes you can download, print and cut apart.
Too busy to make this right away?! Pin it for later! Pin this project to your favorite craft board on Pinterest and it’ll be waiting for you when you’re ready.
This post contains affiliate links.
Cheers and Love,
Laura
Easy Cherry Pie Recipe Gluten Free Crust
Recipe details
- 1 pie
- Prep time: 20 Minutes Cook time: 50 Minutes Total time: 1 hr 10 min


Comments
Share your thoughts, or ask a question!