


Best Cauliflower Pizza Crust

Allow me to be dramatic for a minute- cauliflower crust saved me.
When I discovered I had a sensitivity to just about every grain on the planet, there were a few foods I had a hard time saying goodbye to. But, perhaps the hardest food to give up was pizza. The thin, crispy yet doughy, crust of a well-done Neapolitan pizza topped with fresh tomatoes and mozzarella is a thing I crave. OFTEN. So, I knew I had to come up with an alternative that would agree with my system.
This cauliflower crust is gluten-free, grain-free and keto, which eliminates all chances of the nasty wheat-belly bloat or post-pizza carb-oh-my-god-I-ate-too-much feeling. But, the thing that makes this the very BEST cauliflower crust recipe is that it totally passes for traditional pizza crust both in flavour and texture. Golden brown and crispy on the outside but doughy on the inside? Strong enough to pick up and eat with your hands? A quick and easy way to sneak an extra serving of veggies into your day?
SIGN. ME. UP!
I won’t lie … cauliflower crust can be a bit tricky to get just right. I went through a few versions of this recipe before nailing one I felt really good about sharing. My takeaway from all the failed attempts was this- method matters! So, be sure to follow the instructions closely.
I know a lot of you will ask if you can use frozen cauliflower for this recipe. I get it- it’s convenient. In my experience, though, I wasn’t able to achieve as crispy a crust when using frozen florets vs. fresh. For the best results, I recommend sticking to a fresh head of cauliflower. It may require a little more work to chop, rice, and drain, but, trust me, it’s worth it!
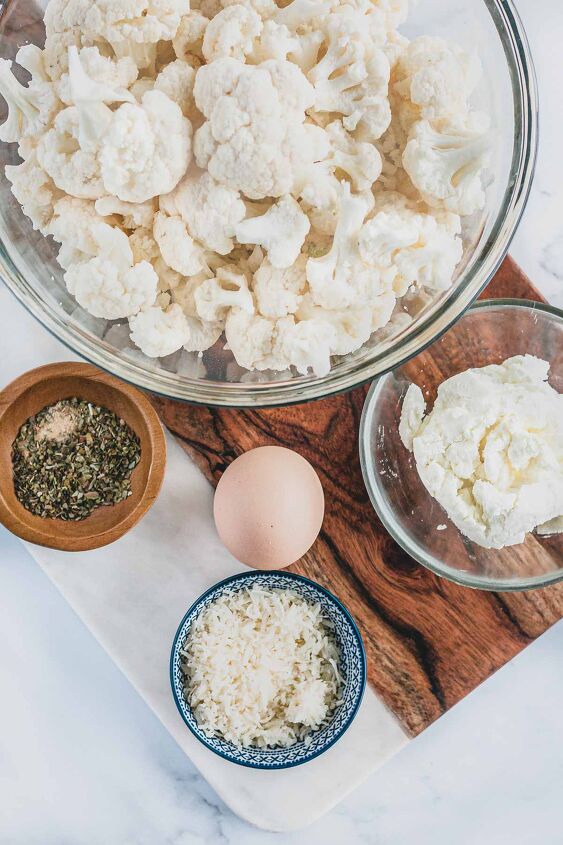
You also want to make sure you’re using good quality cheeses, and that you’re freshly grating the parmesan rather than buying it pre-grated or in powder form. If you want to know more about why I always use fresh Parmesan, visit my Baked Parmesan Crisps post.
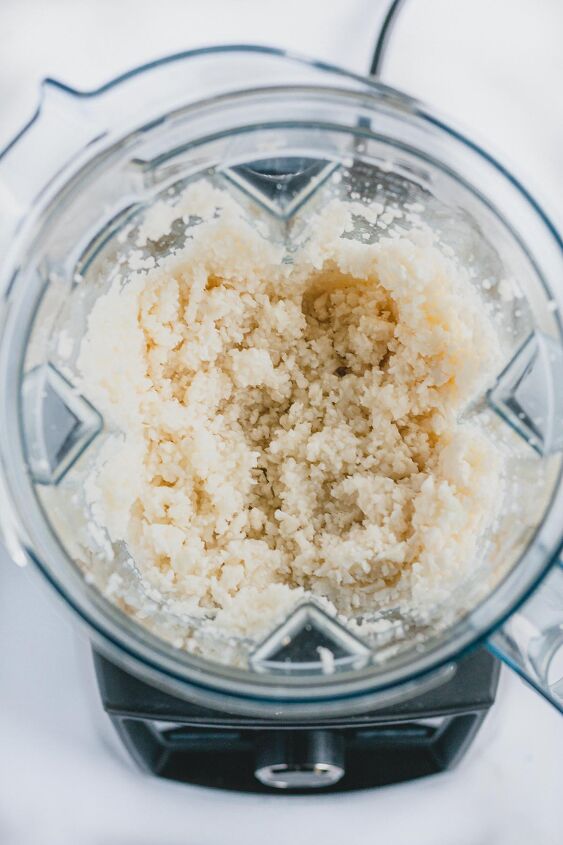
There are two methods you can use to achieve riced cauliflower. You can either use a cheese grater with medium holes or a food processor/ high speed blender. Having lost a few layers of skin in some cheese grating mishaps, I always opt for the latter option. I also just love my Vitamix and will use any excuse to bust it out!
If you’re using a blender or food processor, simply remove the florets from your head of cauliflower and toss the thick centre stem away. Pulse the cauliflower florets until they resemble little pieces of rice.
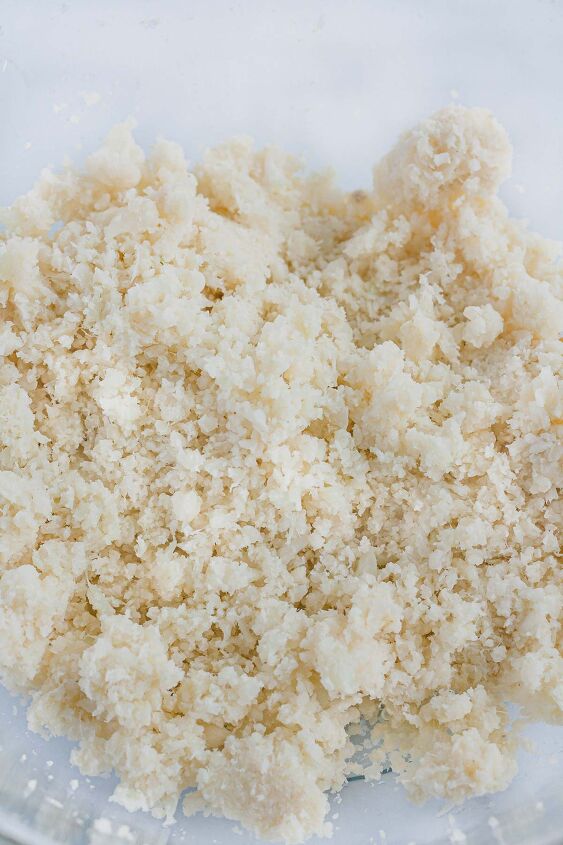
The most important step in achieving a perfectly crisp cauliflower crust, is to remove as much moisture as possible from the riced cauliflower.
I found that heating the riced cauliflower in a bowl in the microwave allows you to get even more moisture out. Use a tea towel or piece of cheese cloth to wrap the heated, riced cauliflower and wring dry. Make sure you squeeze carefully- the cauliflower (and water) will be quite hot!
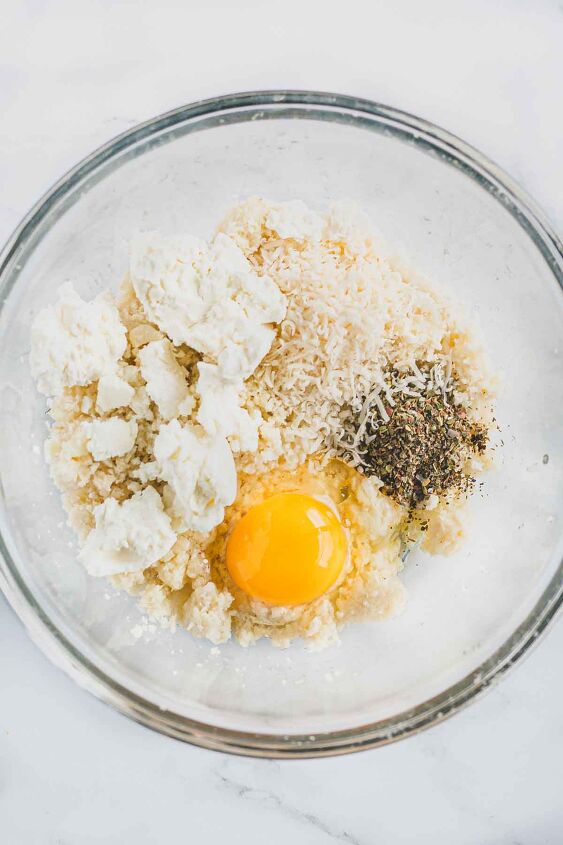
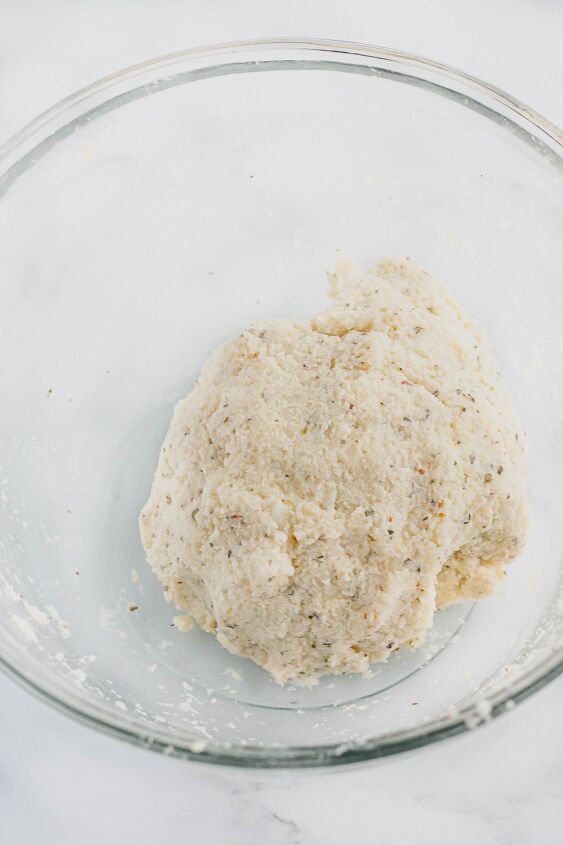
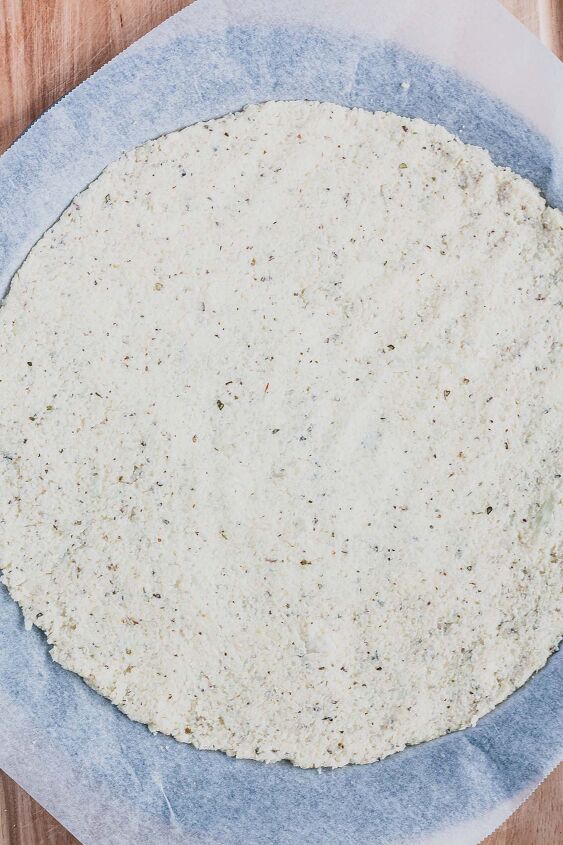
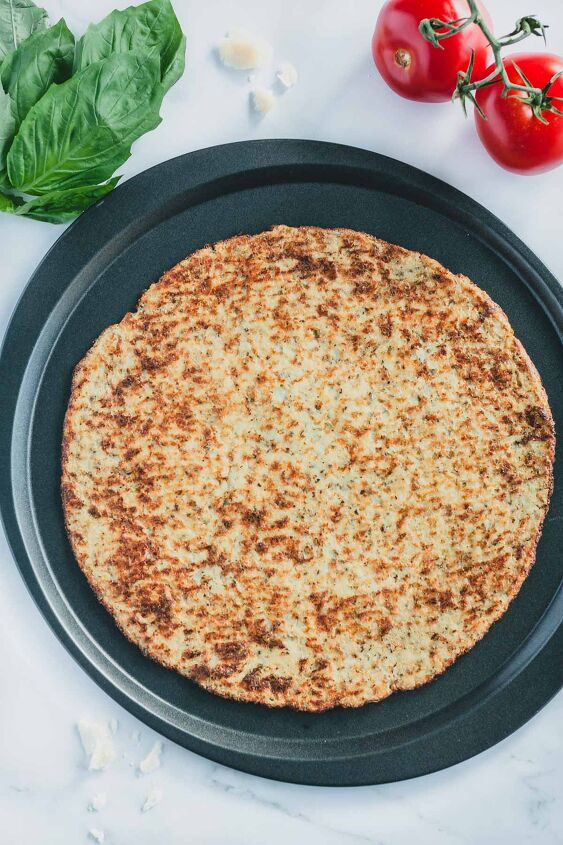
Once you’re confident the cauliflower is free of moisture, add it, the cheeses, seasonings and egg to a bowl and combine into a ball of dough. Flatten onto a baking sheet or pizza tray that is covered with a piece of parchment paper. Spread into a circle, making sure it is the same thickness all the way around. I aim for about 1/4 inch thick.
Place in a 425 degree oven on the top rack and bake for 15-20 minutes. The top will start to turn golden brown. Remove the crust from the oven and flip to cook the other side. At this point, you no longer need the parchment paper. Carefully flip the crust and place directly on your baking sheet or pizza pan. Bake for another 10 minutes, or until the top is perfectly browned.
Cauliflower Crust Pizza toppings
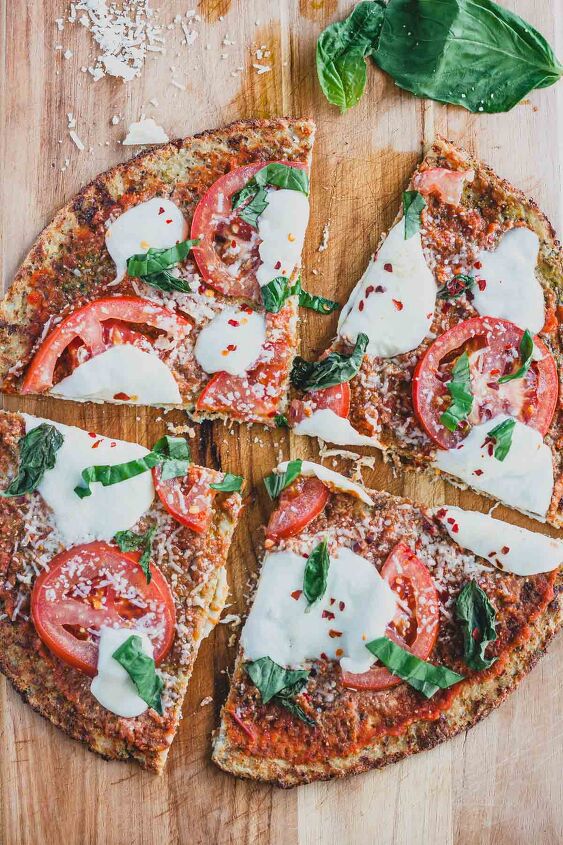
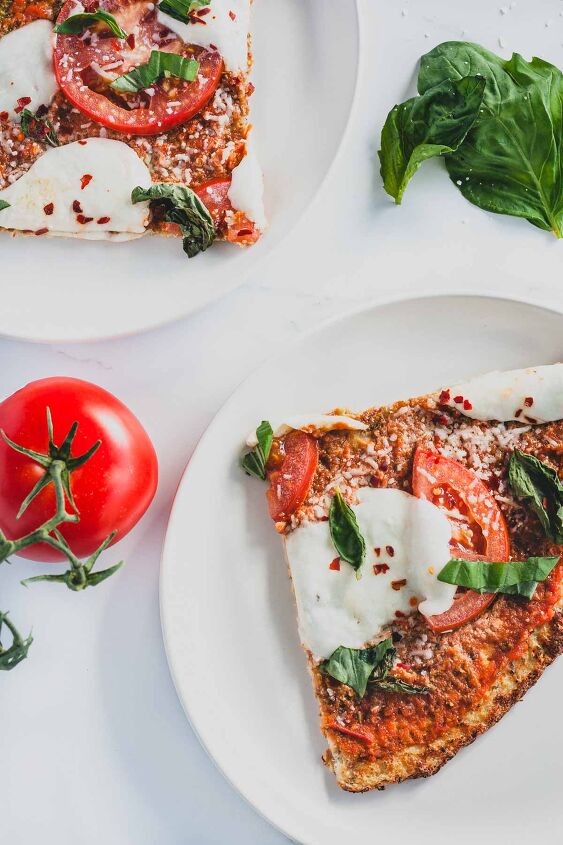
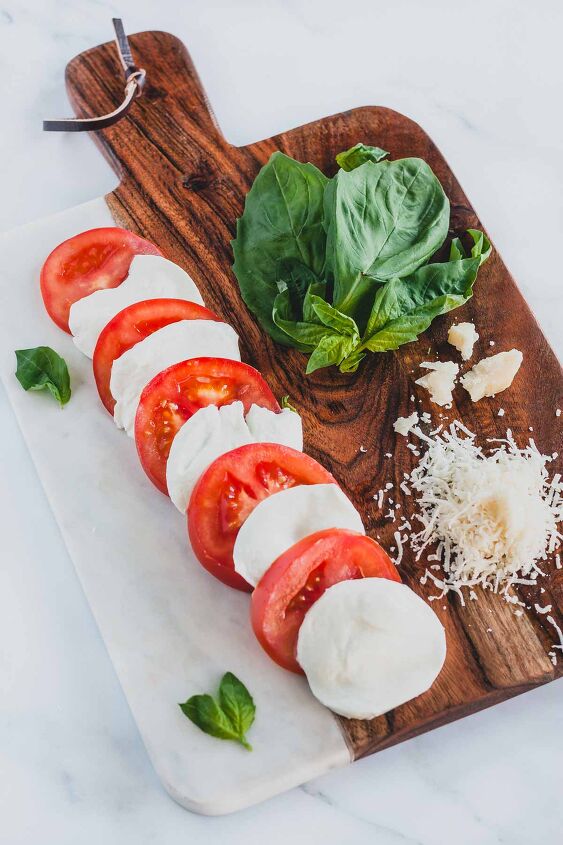
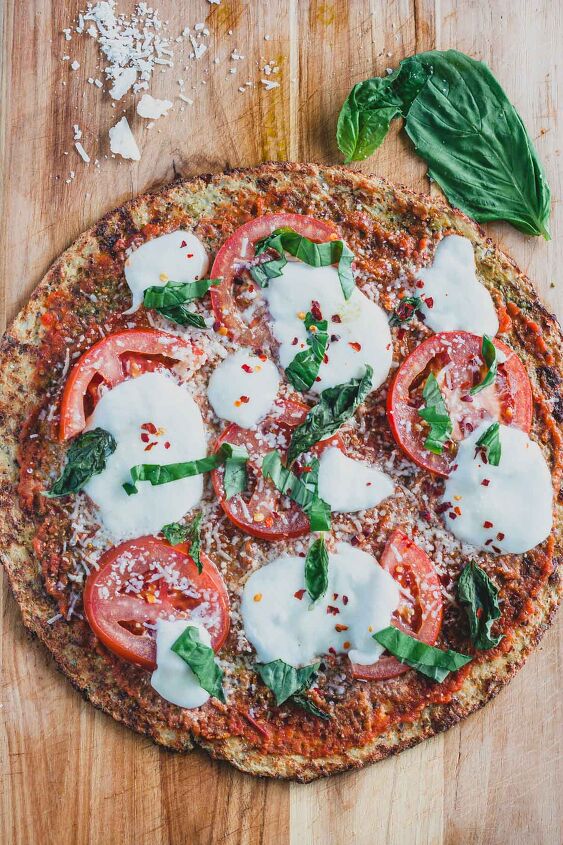
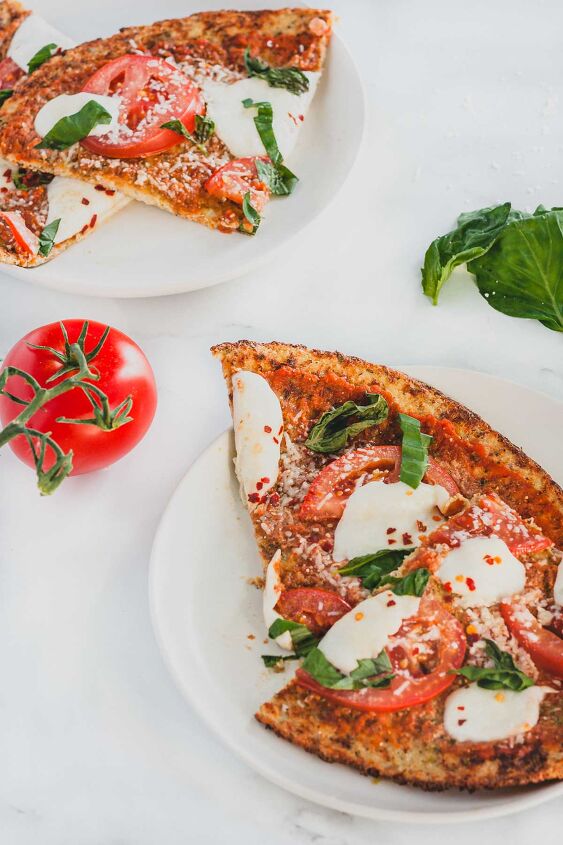
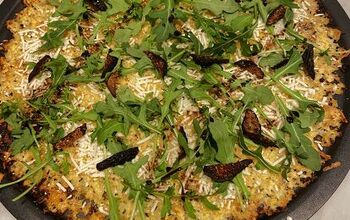
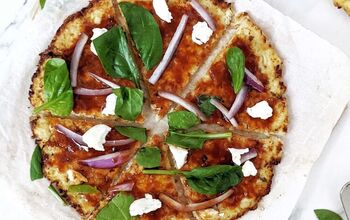
Now that your crust is completely cooked, it’s time to dress up your pizza however you please! My favourite pizza is, and always will be, a traditional margherita. It’s super simple and clean, and, with fresh ingredients, incredibly flavourful. I picked up some quality buffalo mozzarella cheese, a juicy, vine-ripened tomato, and some garden-fresh basil leaves for this pizza.
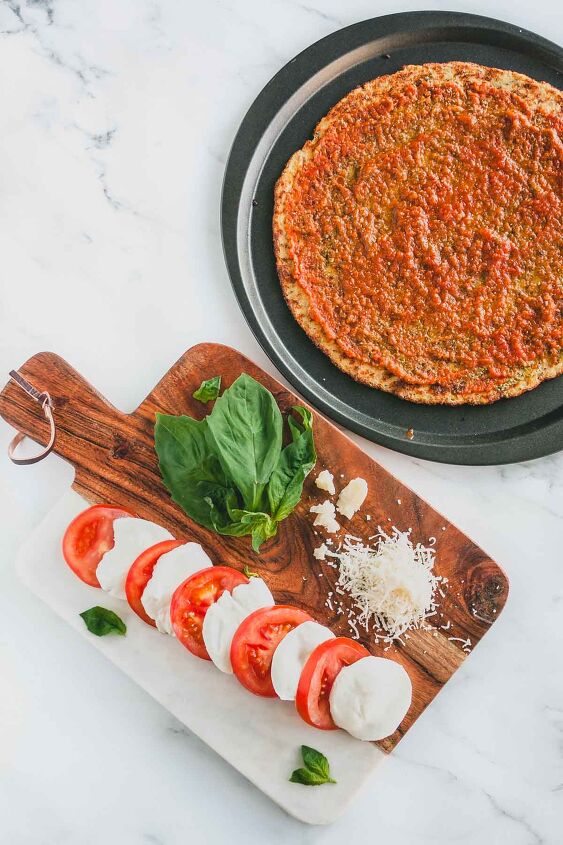
There are no real rules to follow for toppings, but I do recommend going light on whatever sauce you’ve selected. I used a pre-made pizza sauce I found at a local market and mixed it with a few tablespoons of pesto. Loading a cauliflower crust pizza with a lot of sauce will make it too soggy to pick up and eat with your hands. Add just enough sauce to thinly cover the crust, as pictured below.
Arrange your toppings on the crust and spread evenly. Place the crust back on your baking sheet or pizza pan and return it to the oven for about 5 more minutes. Since the crust is already cooked through, you only need to bake the pizza until the toppings are slightly cooked and/or melted.
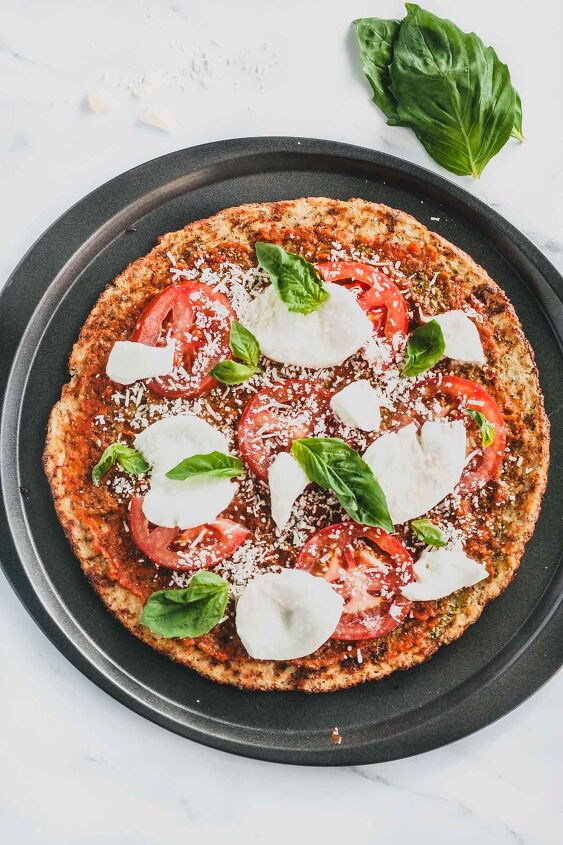
Remove the pizza from the oven once the cheese on top melts and garnish with some additional fresh herbs or spices as desired. I added some more freshly cut basil and red pepper flakes!
Yes! In fact, since the process of making cauliflower crust is somewhat involved, I recommend doubling the batch and freezing one of your baked crusts. Be sure to let it completely cool before wrapping it and placing in the freezer.
Another option is to freeze your extra riced, squeezed cauliflower in a sealed bag or container and thaw it just before you’re ready to make a crust. Make sure once it’s thawed, it is still quite dry. It may be worthwhile to give it another wring with a tea towel or cheese cloth to make sure your crust turns out properly.
If you’re looking for other cauliflower inspo, check out some of my favourites:
- Pinch of Yum’s 15 Minute Cauliflower Fried Rice
- Detoxinista’s Mexican Cauliflower Rice Casserole
- All Day I Dream About Food’s Cauliflower Risotto with Mushrooms
In the meantime, I’m working on developing a modified version of a recipe close to my heart that uses cauliflower as a substitute for potatoes. Stay tuned!
Best Cauliflower Pizza Crust
Recipe details
- 6 slices
- Prep time: 15 Minutes Cook time: 30 Minutes Total time: 45 min


Comments
Share your thoughts, or ask a question!
Will frozen riced cauliflower work?
Once baked, can I keep this pizza crust in the fridge for future use? If so, for how long? Can freeze it? Thanks.