


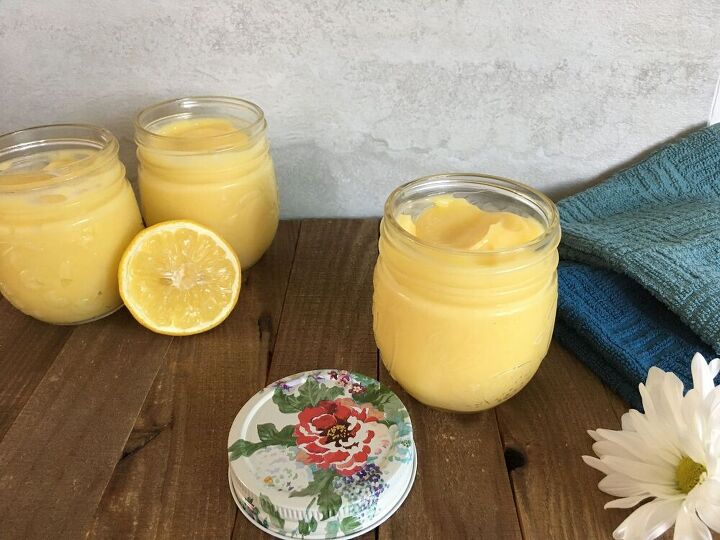
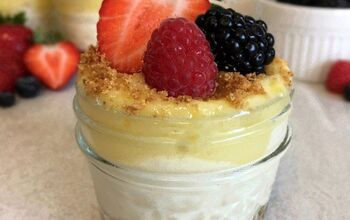
Luscious Lemon Curd Filling
2 Cups
1 hr 45 min
A slightly thicker version of lemon curd with just as much ‘zest,’ I use this to fill cupcakes, enhance shortcake or puff pastry, fill tarts, and layer in parfaits! You can also serve this fresh berries and scones.
I really love the “Perfect Lemon Curd” recipe from Homemade & Yummy; however, I wanted something a little thicker to use as a cupcake filling. With some experimentation and additional tips and tweaks, I now give you my Lemon Curd Filling recipe!
This recipe is adapted from Homemade & Yummy’s Perfect Lemon Curd
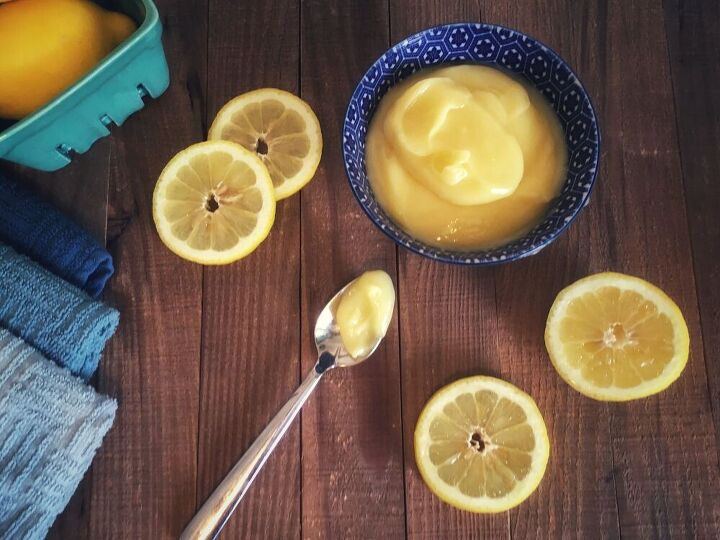
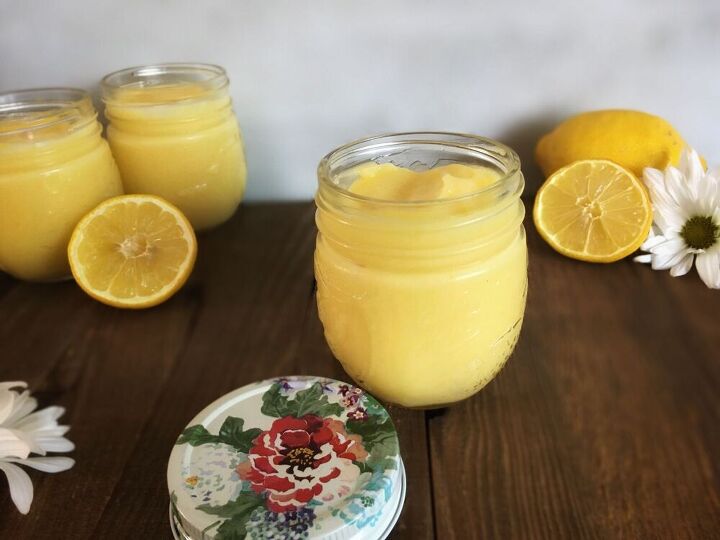
Stores beautifully in the fridge for 1-2 weeks
Luscious Lemon Curd Filling
Recipe details
- 2 Cups
- Prep time: 90 Minutes Cook time: 15 Minutes Total time: 1 hr 45 min
Show Nutrition Info

Want more details about this and other recipes? Check out more here!


Comments
Share your thoughts, or ask a question!
It came out so delicious and very easy to make! I used it as a pie filling.
Why not use 2 more lemons instead of bottled sauce?