


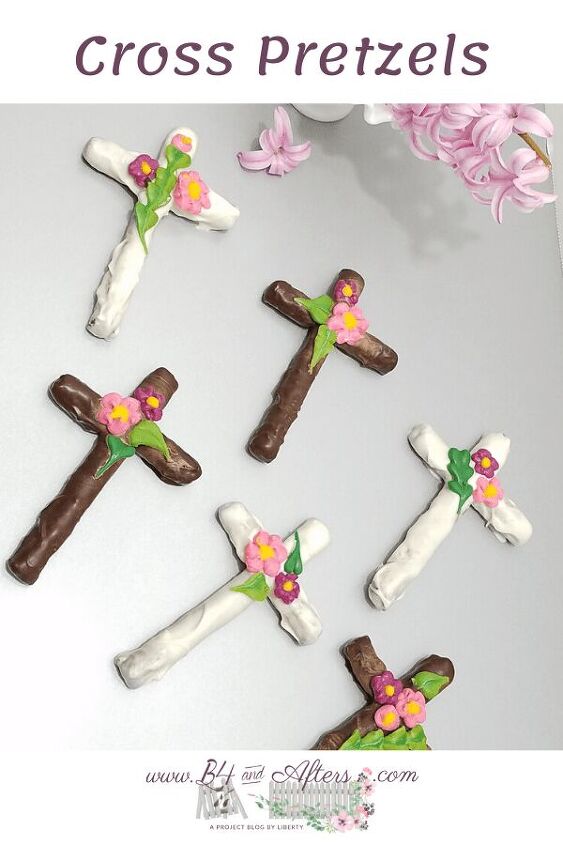
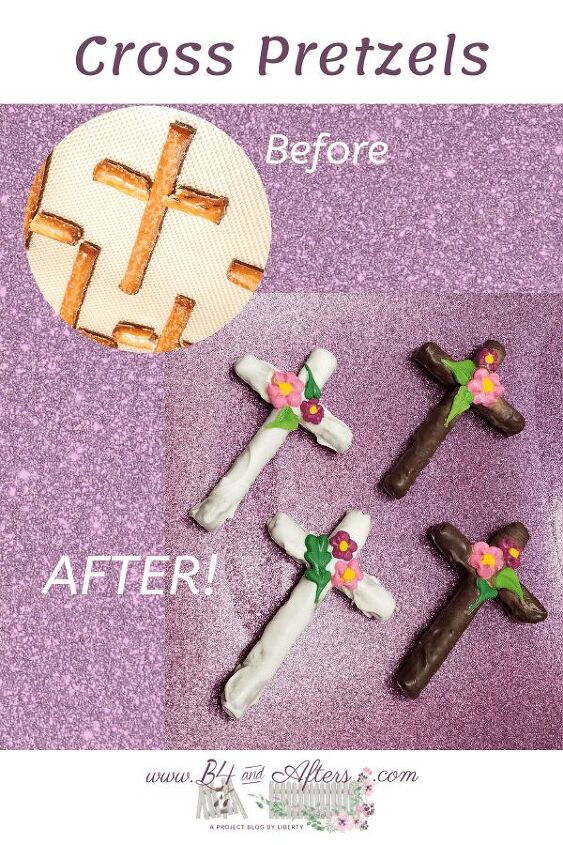
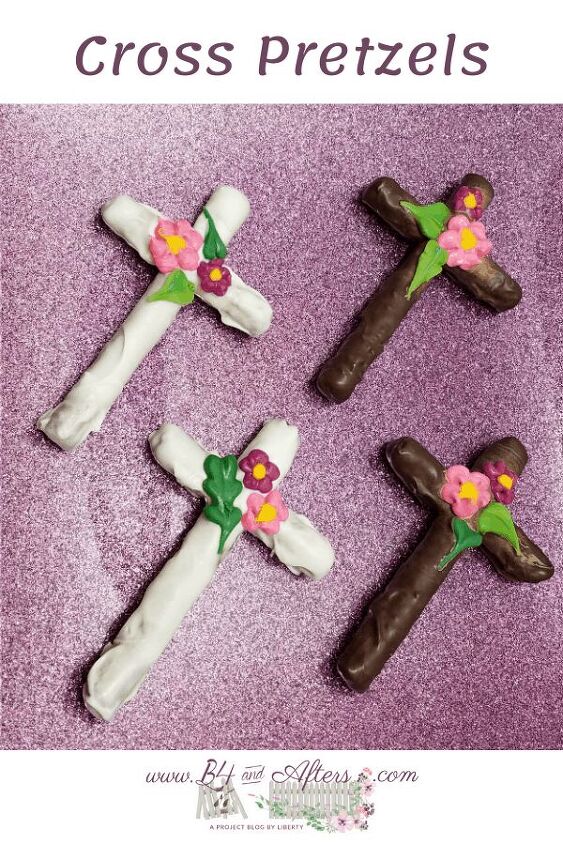
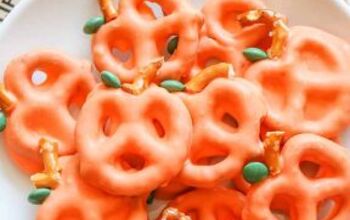
Chocolate Covered Cross Pretzels
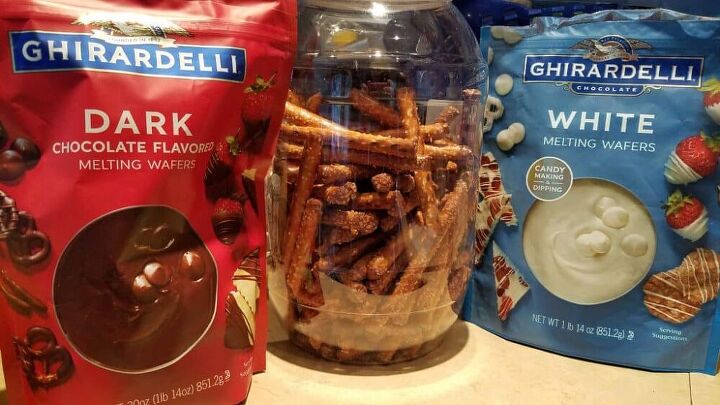
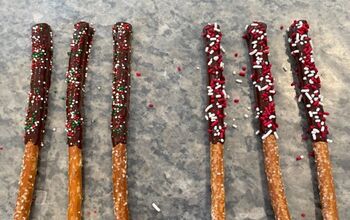
I hope you like seeing how I created these Chocolate Covered Cross Pretzels for Easter all from scratch! I enjoy eating Chocolate covered pretzels, but the ones you buy at the store don’t always taste the best. When I make my own using Ghirardelli Melting Wafers, I know these pretzels will always taste amazing!
Flower Embellishments
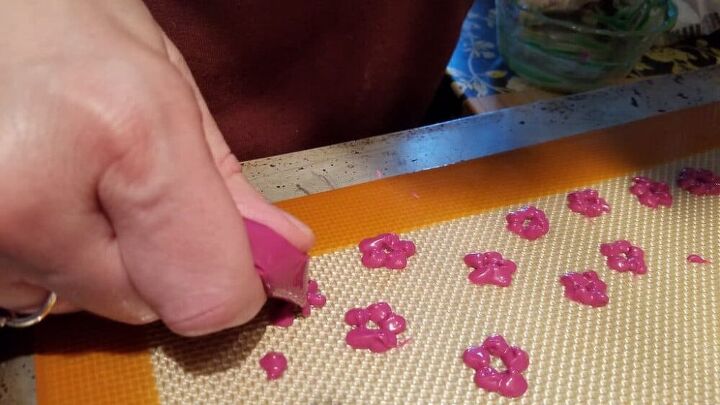
I knew that when I constructed the crosses, there would be some joints. So several days ahead of time, I made some flowers and leaves to cover up the joints. If you color chocolate yourself, it can seize up and get too hard. So to save myself some time and trouble, I used Wilton’s colored candy melts for the flowers and leaves.
I melted a few wafers in a glass ramekin, and then scraped it into a small ziplock bag. Then I cut a small corner off of the bag and squeezed out tiny amounts in the shapes of flowers. I piped them onto a silicone baking mat, so after they hardened they came off with no trouble at all– no need to use non-stick spray or anything!
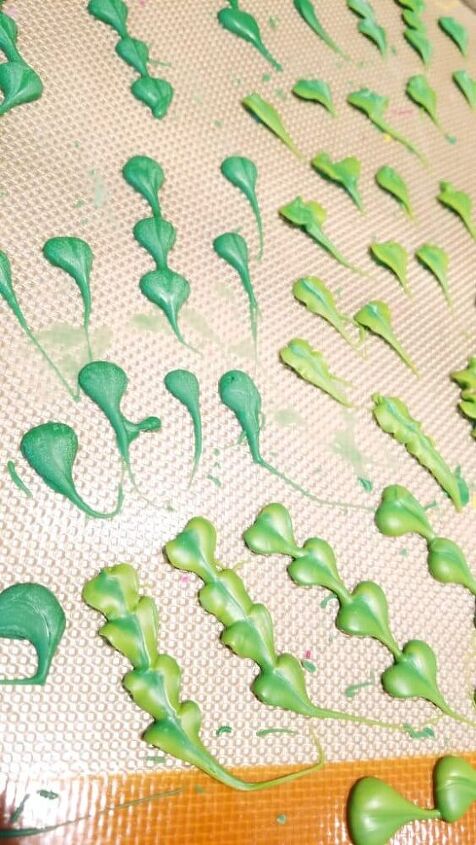
For the leaves, I used a piping bag with a leaf tip. My dark green chocolate was too warm, and didn’t look like leaves.
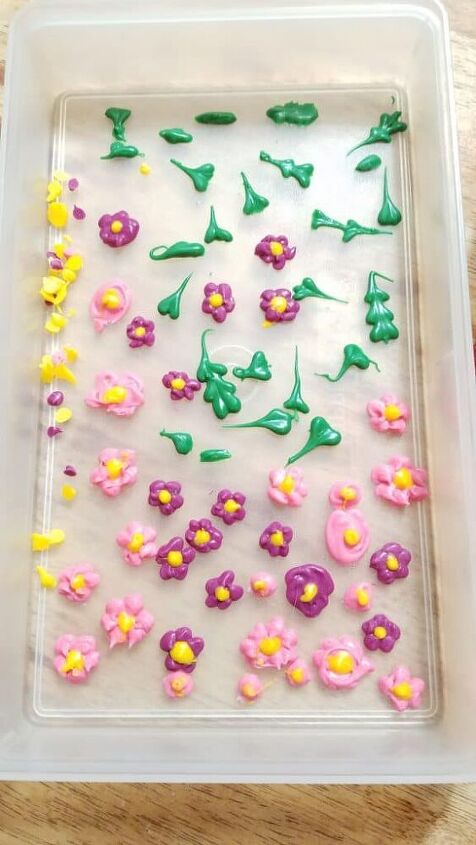
Then I got the idea to mix some yellow with the dark green, for a lighter green. This produced a very pretty effect, since I used the same piping bag and it still had some dark green in it! It also helped that the chocolate was cooler and just the right consistency.
Construct the Crosses
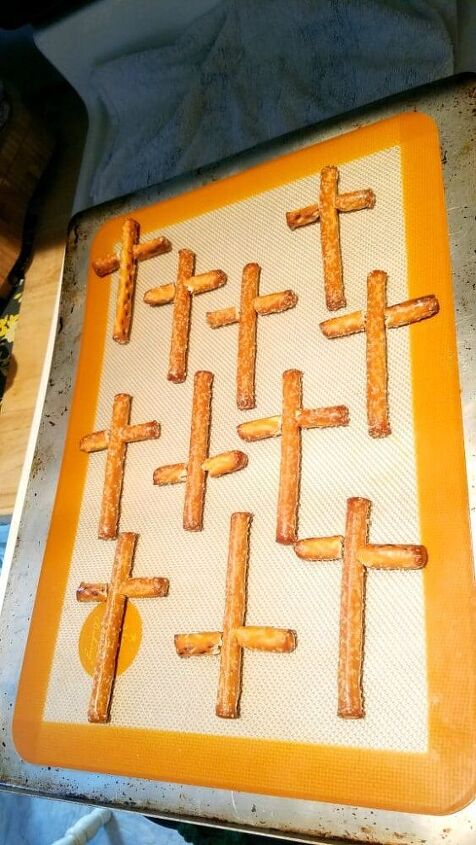
To make the cross bases, I used 4 inch long pretzel rods.
I used a serrated knife to “saw” one inch cross bars on a cutting board. It is okay if the pretzel breaks and is not a straight cut– in fact, an angled cut actually fits better onto the round main base. You will discover what I mean if you try it yourself.

I laid the crosses out on the same silicone mat that I used for making the flowers and leaves.
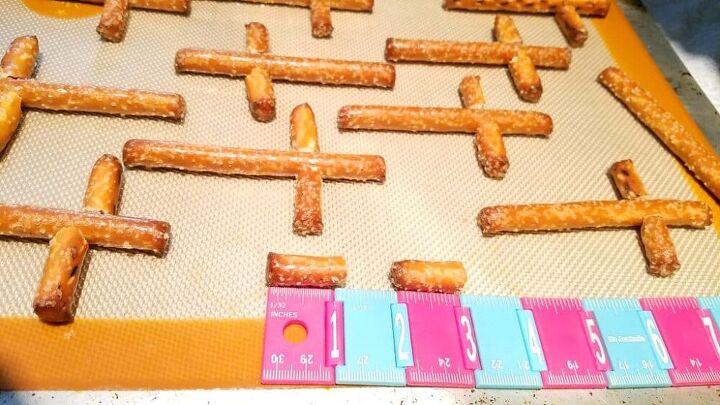
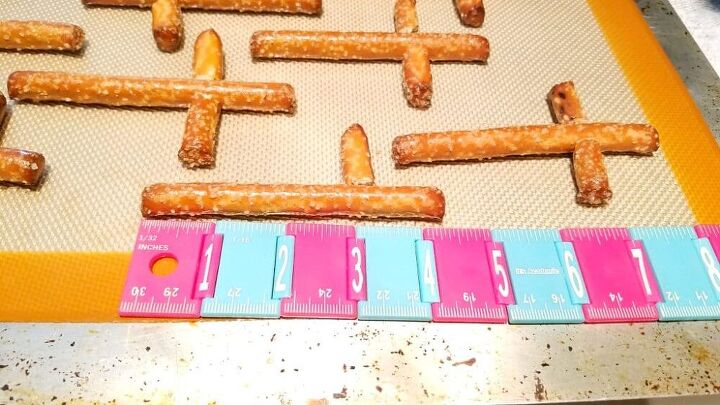
These are pictures with a ruler to show you the measurements of the pretzel pieces.
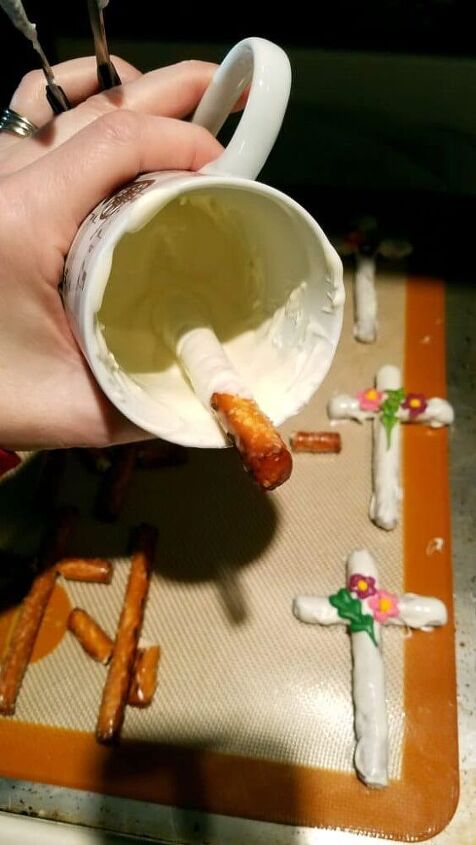
When I make chocolate covered pretzel rods, I like to put the melting wafers into a tall, narrow coffee mug. I can melt the Ghirardelli wafers right in the mug. Because the mug is tall and narrow and has a handle, I can easily tilt the mug and coat the rods in chocolate. Since I was coating the entire rod this time, I turned the rod upside down into the mug, and lifted it out with small serrated tongs like these. To coat the little cross pieces, I tossed them into the mug and rolled them around with the tongs. Then I used the tongs to lay them back onto the mat.
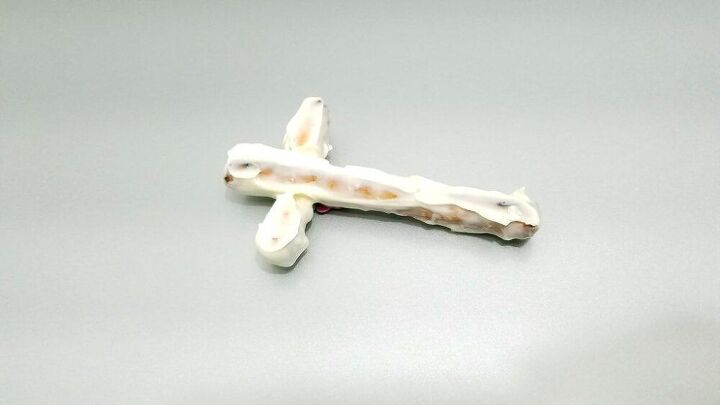
Once the cross pieces are covered, lay them into place. You can see below that the right side is in place, and I still need to coat the left side.
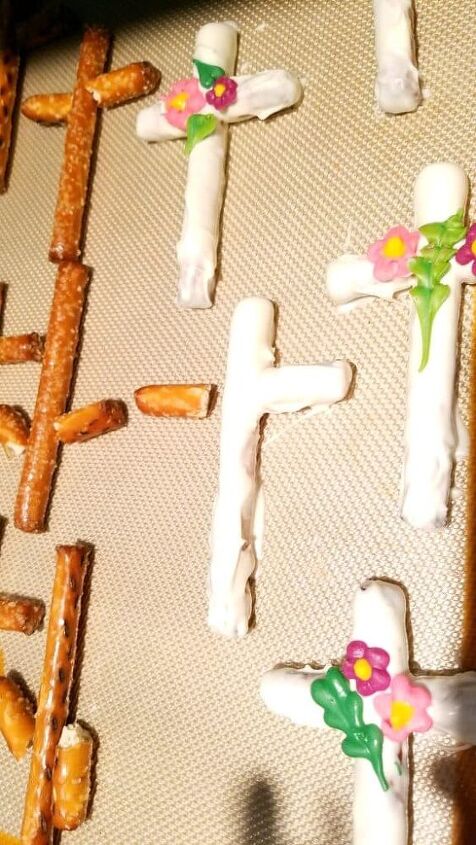
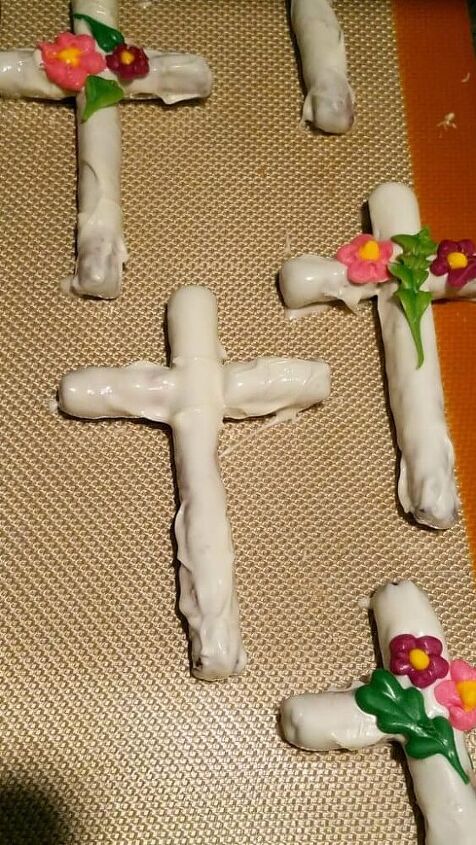
Here the entire cross is coated in white chocolate. You can see where the joints are, which is exactly why I made the flowers and leaves! As soon as all three cross pieces were coated and in place, I put the prepared flowers and leaves on while the cross was still wet. This helped everything to harden and stay all put together.
Here are the dark chocolate ones being assembled.

Here is what the back looks like.
Here are my Chocolate Cross Pretzels all decorated with flowers and leaves for Easter!
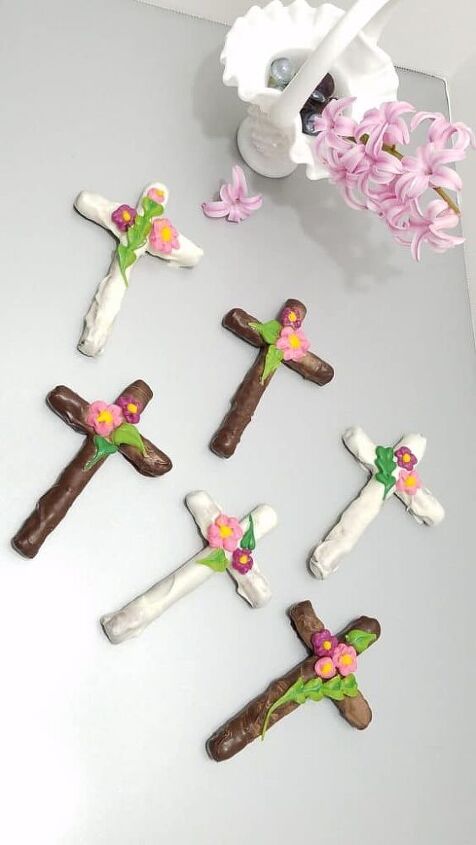
I placed the flowers directly on the joints to cover them. I think it also ended up strengthening the entire design, too!

I did have some store bought sprinkles and pearls ready that I did not use. If you did not want to make your own flowers, you could certainly use pre-made frosting flowers instead.

I hope you have enjoyed seeing these gorgeous chocolate covered cross pretzels for Easter!
Chocolate Covered Cross Pretzels
Recipe details
- 8 Crosses
- Prep time: 30 Minutes Cook time: 5 Minutes Total time: 35 min


Comments
Share your thoughts, or ask a question!
These are beautiful! Thank you for sharing how you did it. Your instructions are very concise with out a lot of un necesssary jibber - jabber. I like every thing about them. I will make them this Easter! so awesome.
Stunning! 🤩 I will make these for Easter!