


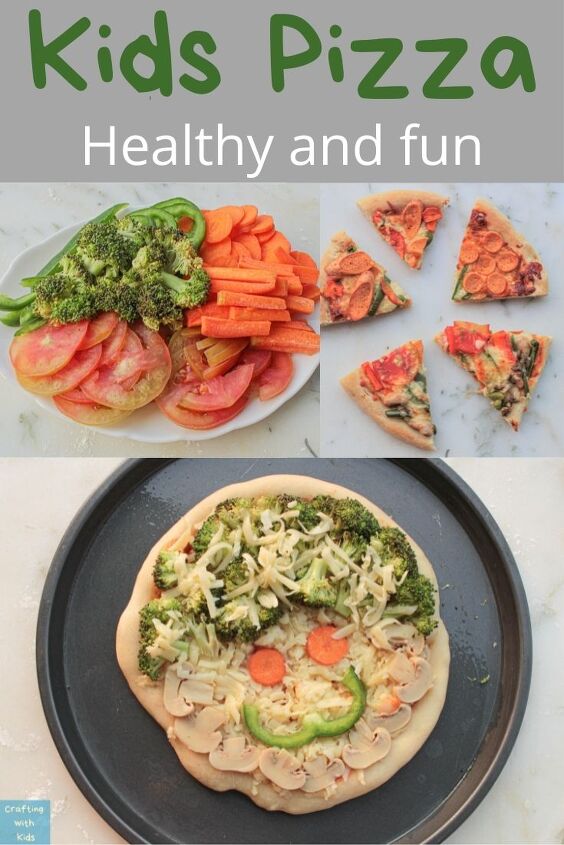
Healthy Kids Pizza Recipe With Pillsbury Pizza Crust and Vegetables
Learn how to make a healthy kids pizza with vegetables and pillsbury pizza crust. Your kids will have fun making these cute personalized pizza’s that even have a smiley face!
Pizza is one of those foods most people love. Since the ingredients are so versatile, they could easily be made to suit anyone’s food choices. While we all love eating pizza, what about making them?
My kids love anything made with Pillsbury Pizza dough. Using pre-made pizza dough makes this food staple super easy! If you prepare the ingredients ahead of time, it can be a great recipe that kids can make themselves!
Did I mention that this was a healthy recipe? This not only engages them in the kitchen, it makes it fun to cook with vegetables. We’re all about hiding healthy ingredients in fun and yummy food.
What you will need:
- Pillsbury Pizza Crust
- Vegetables of your choice
- Sausages, salami, mushroom, or any other topping of your choice
- Pizza sauce
- Loads and loads of cheese of your choice
Step 1:
Take out the pizza crust from the packaging and tear it into 2 or 3 pieces so that you can make mini-sized personal pizzas.
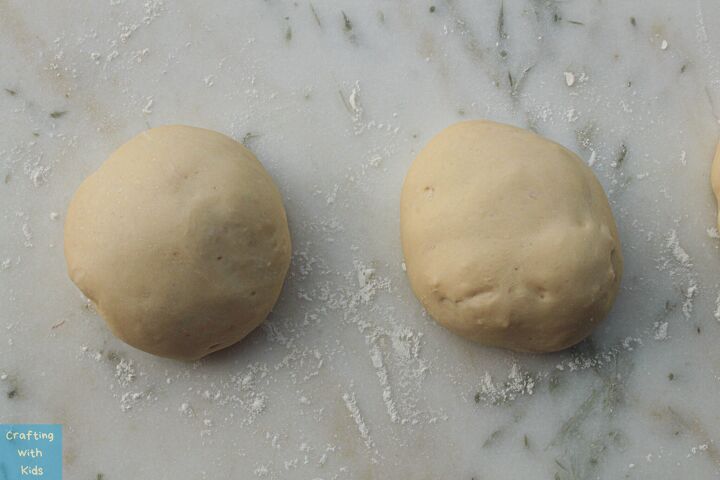
Once you tear them, unroll each of the pieces and form them into little balls of dough.
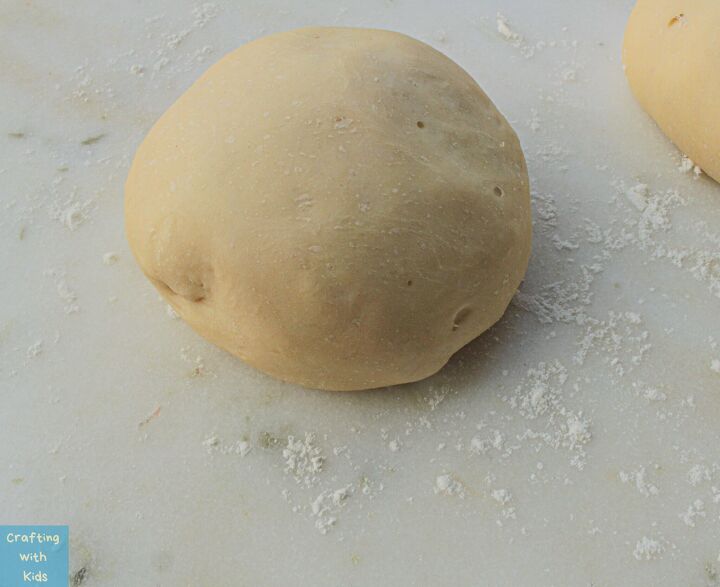
Step 2:
Take the dough balls and pull and rotate them in your hand to form a circular shape. You could also put it on a pan and spread it to form the shape.
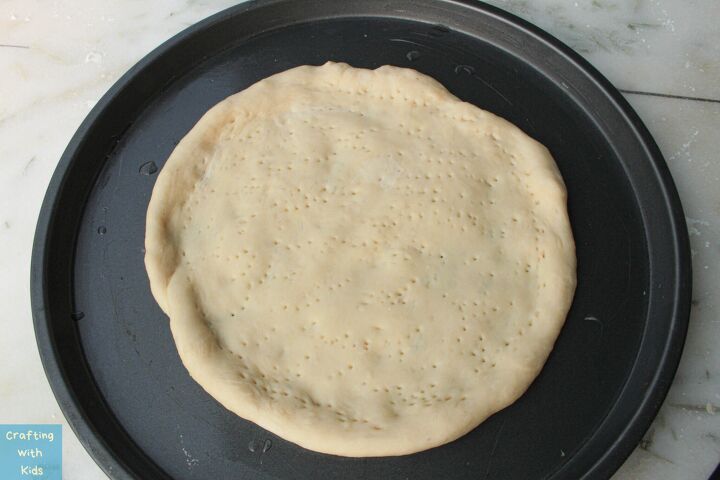
Step 3:
Once the base is formed, use a fork to punch holes in it making sure it doesn’t become too thick. Do not do this on the crust if you want your crust to be fluffier and higher than the middle.
Preheat the oven to 350 degrees Fahrenheit.
Step 4:
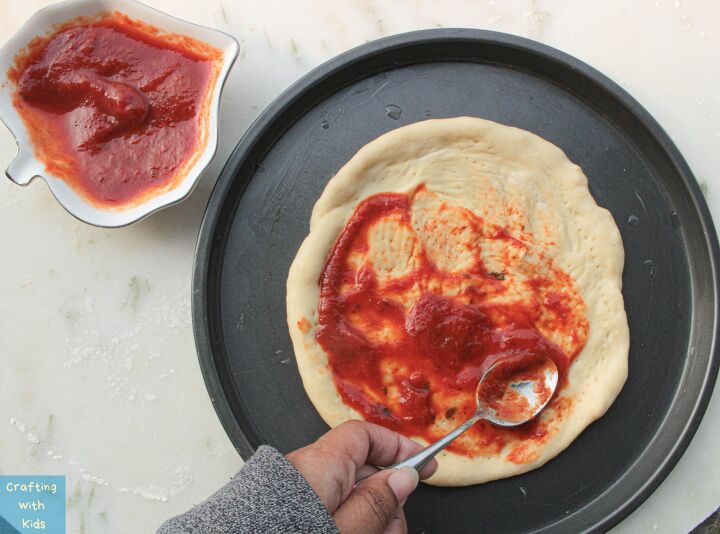
Add pizza sauce to the personal-sized doughs using a spoon or brush.
This is the perfect time to let kids start in this activity. Give them their individual pizzas and allow them to add the sauce as they wish.
Step 5:
Bake the pizza for about 10 minutes at 350 degrees in the oven.
Step 6:
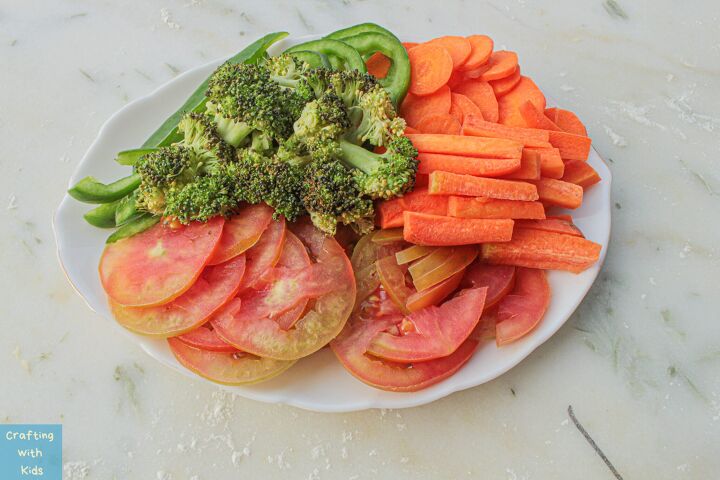
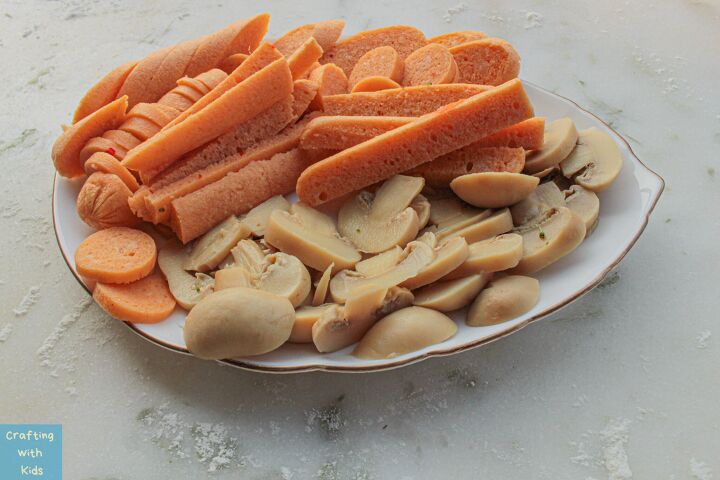
While the pizza bakes, cut the vegetables, sausages, and all other toppings into different sizes. It is better to cut them into both strips and rings, maybe even cubes, so there will be more options for the little ones to play with their imagination.
Step 7:
Once the pizza has prebaked, take it out and let it cool for a while. Be sure to keep it away from the kids while it is hot, to prevent any unwanted accidents.
Step 8:
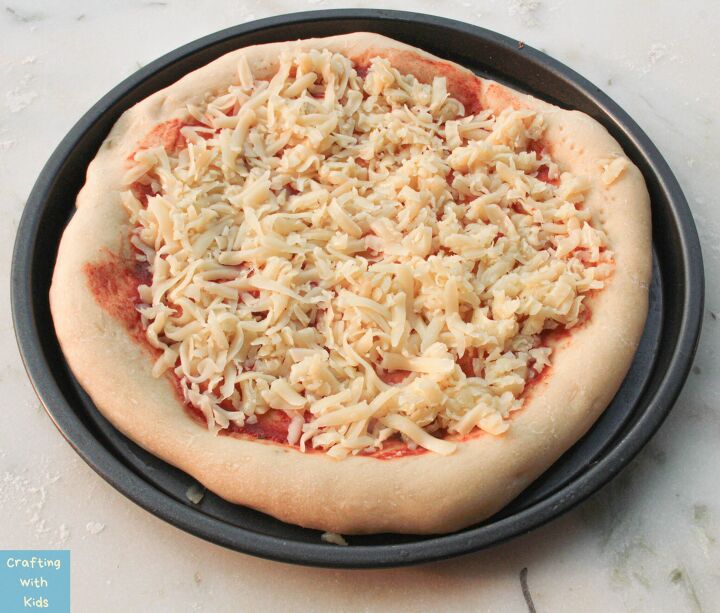
When the pizza has cooled down, make it snow with the shredded cheese, and cover the entire base with it.
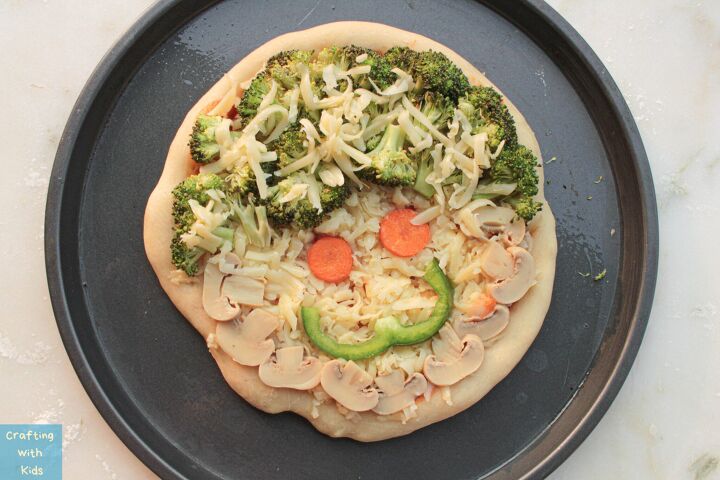
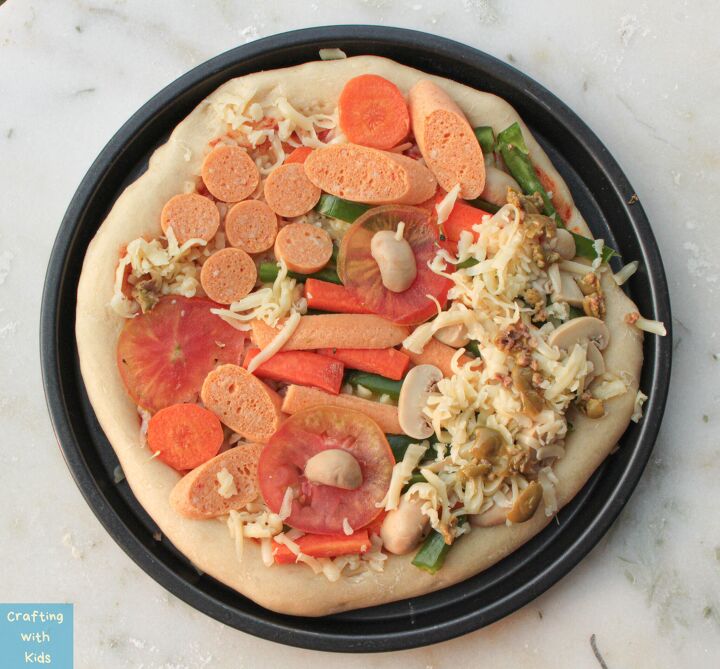
Step 9:
This is the most exciting step in the process. Bring the cut pieces of all the topping and let kids create whatever their little hearts desire. It could be a scenery, a garden, a face, or just their version of abstract art. Whatever it is, it’s more important that they have a good time while making it.
Step 10:
Once done, add more cheese if needed.
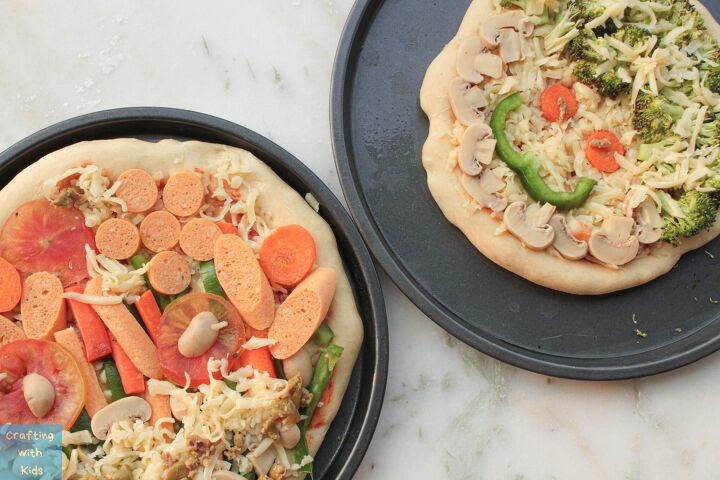
Step 11:
Bake the pizzas according to the instructions on the packaging or until it shows the color you want.
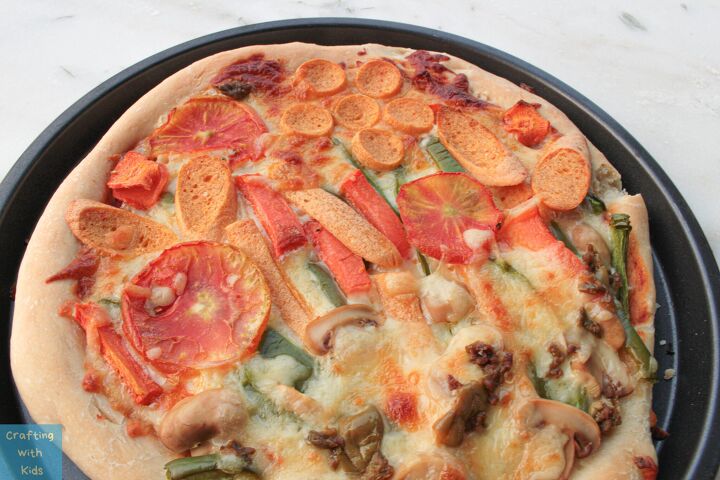
It’s that simple and so much fun to make these pizzas rather than just a regular pizza.
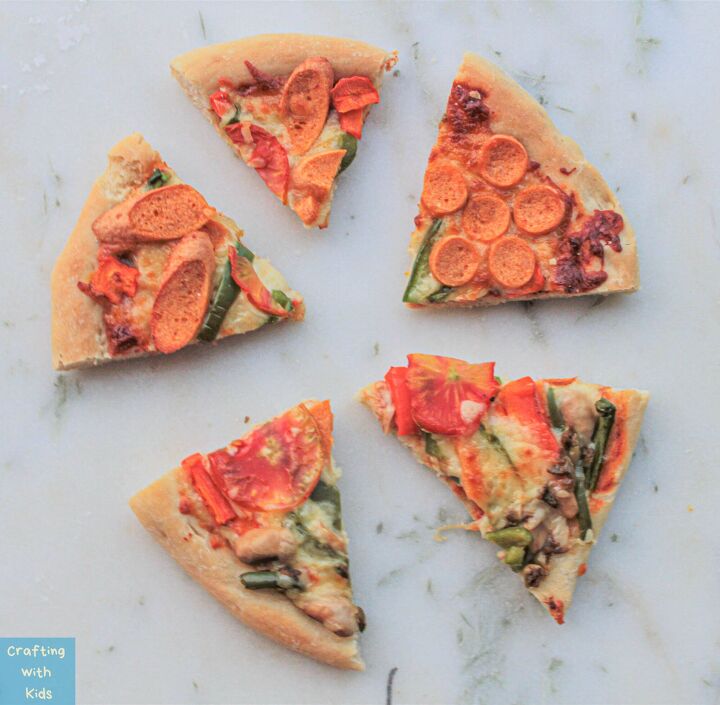
Make sure to show your kids how their incredible creations came out before you cut it into slices. Enjoy your delicious works of art!
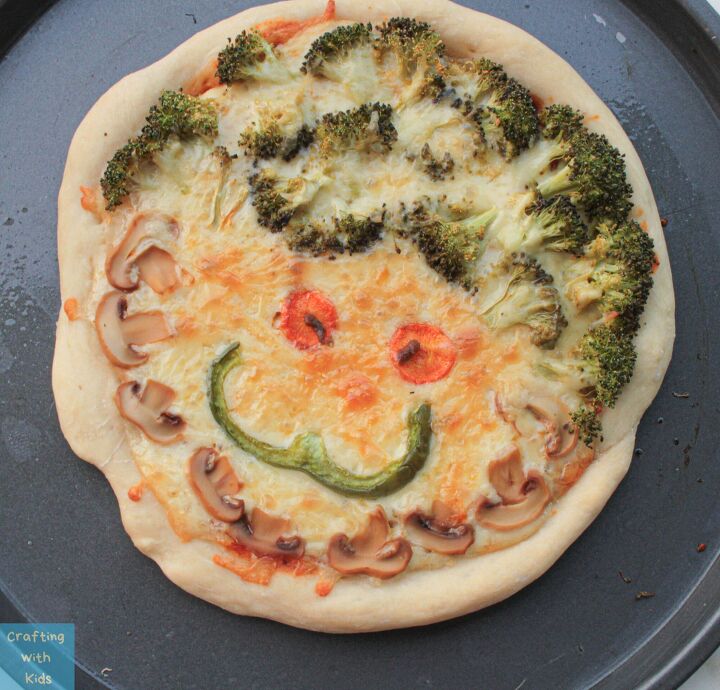
It’s almost too cute you don’t want to cut it!
Healthy Kids Pizza Recipe With Pillsbury Pizza Crust and Vegetables
Recipe details
- 1 pizza
- Prep time: 15 Minutes Cook time: 20 Minutes Total time: 35 min


Comments
Share your thoughts, or ask a question!