


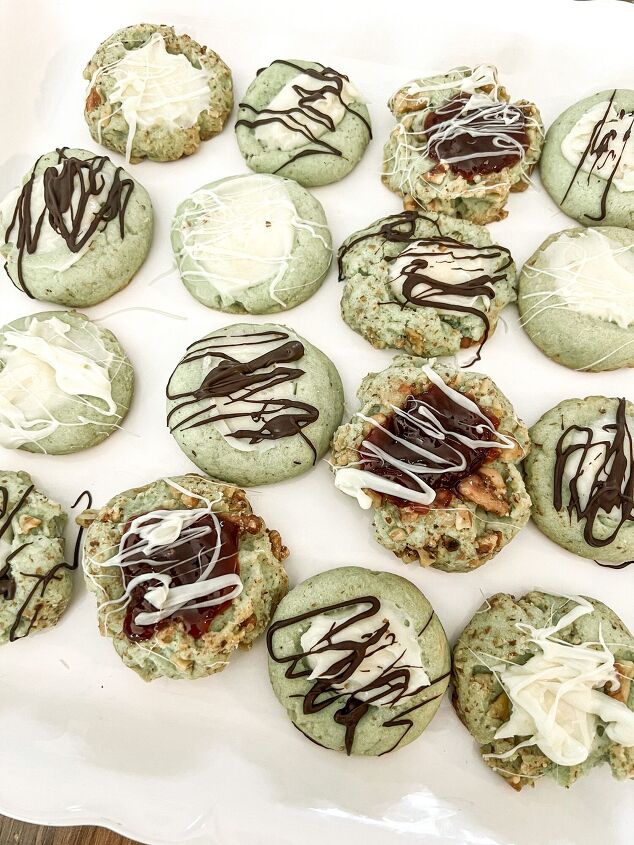
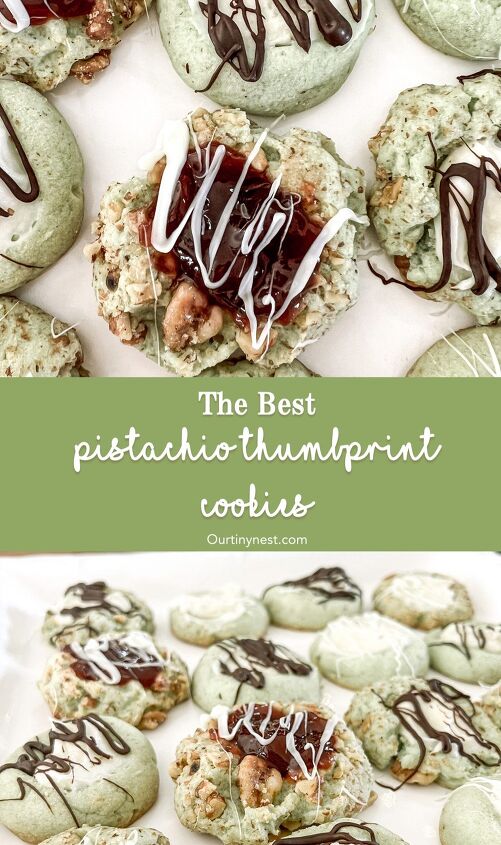
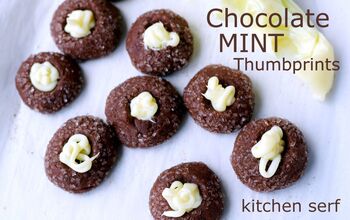
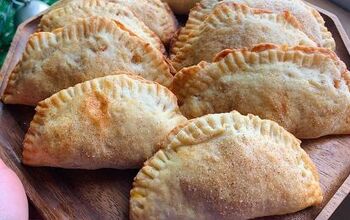
The Best Pistachio Thumbprint Cookies
These are the best pistachio thumbprint cookies and will easily become a favorite Christmas cookie! Sweet pistachio topped with a cheesecake filling or raspberry jam are the perfect bite and look festive for your Christmas cookie swaps or platters.
And I’m sharing 15 other delicious Christmas treats for you from some of my most favorite bloggers. Scroll down to see all of their recipes.
If you’re coming from Michele at Vintage Home Designs, welcome! I hope you will stick around here and continue to follow along. Also how delicious do her shortbread cookies look?
The best pistachio thumbprint cookies
One of my favorite things that I used to have every Christmas is my grandmother’s pistachio ambrosia. I loved it so much and it just wasn’t Christmas without it. This recipe combines my favorite flavors of pistachio with my favorite Christmas cookie – my sister’s almond raspberry thumbprints.
I made a yummy cheesecake filling for these cookies but you can also fill with raspberry jam too!

Ingredients
- 1 cup butter softened (I used unsalted)
- 1/3 cup powdered sugar
- 1 large egg
- 1 teaspoon vanilla extract
- 1 teaspoon almond extract
- 1/2 teaspoon salt
- 2 cups flour
- 1 package instant pistachio pudding mix
- 2 cups nuts chopped (I used walnuts/pecans)
For the filling
- 1/2 cup cream cheese.
- 2 cups powdered sugar
- 1 teaspoon vanilla extract
- or raspberry jam (optional)
- 1/2 cup chocolate chips
- 1/2 cup white chocolate chips
Directions:
1.) Start by preheating the oven to 350 degrees.
2.) In a large bowl, cream together the butter and sugar until fluffy.
3.) Beat in the eggs, salt and extracts.
4.) Add in the flour and pistachio pudding mix, beating together until combined.
5.) Roll the batter into individual balls, about 1 inch. Roll some or all of the balls into the chopped nuts and place on a prepared baking sheet.
6.) Using your thumb, make a thumbprint in the center of each cookie.
7.) Bake in the oven for about 10-12 minutes. You want to take them out just before the edges start to get golden.
8.) Using a spoon or your thumb, re-shape the thumbprint if necessary as sometimes it changes shape after baking.
9.) Allow the cookies to cool.
10.) While the cookies are cooling, start to prepare the cheesecake filling. In a mixing bowl, cream together the cream cheese and sugar.
11.) Beat in the vanilla and make sure there are no lumps.
12.) Fill in each cookie with either the cream cheese filling or raspberry jam. I chose to do some of each.
13.) In a microwave safe bowl, melt some chocolate chips, stirring at 30 second intervals.
14.) Once melted, use a fork to drizzle some chocolate over each cookie.
15.) Allow the chocolate to cool before eating.
These also freeze really well so you can make ahead of time! I line some parchment paper in an airtight storage container and freeze until the day of.
Enjoy!!!
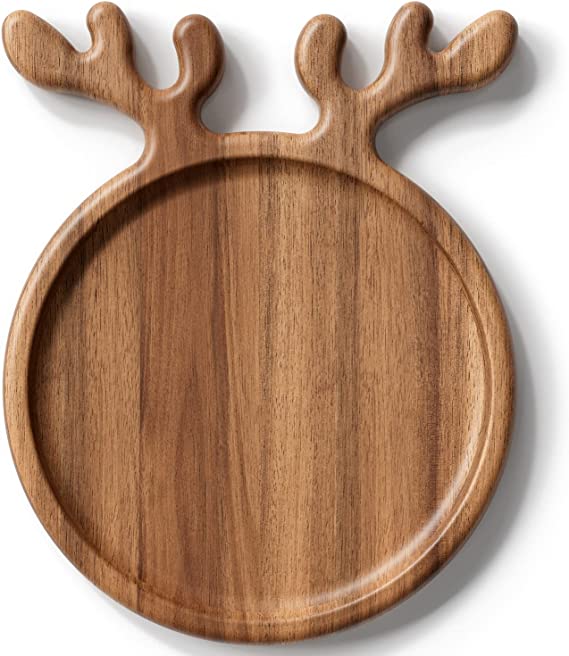
Linking some cute things to serve your cookies below

For more of my favorite Christmas treats check out
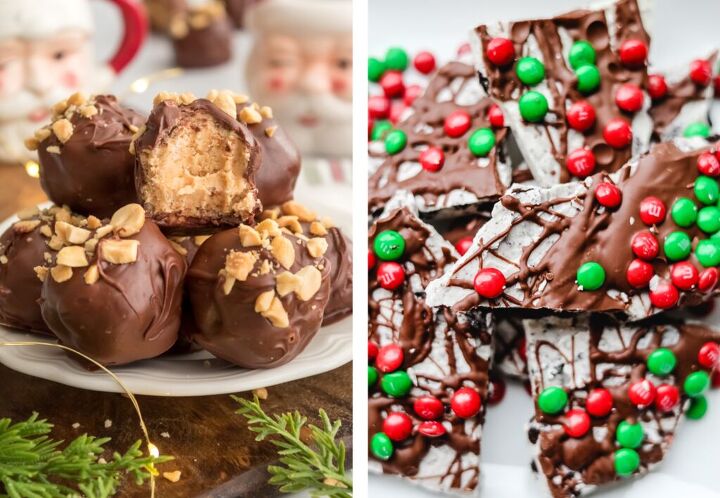
These boozy chocolate hazelnut truffles
The best Christmas tree dip
Now head on over to Stacy at Bricks ‘n Blooms for her decadent fudge!!!
Pin for later
Christmas Cookies and Holiday Treats
Are you looking to add some new recipes to your holiday rotation this year? Click on the links below to go to each post and see more.
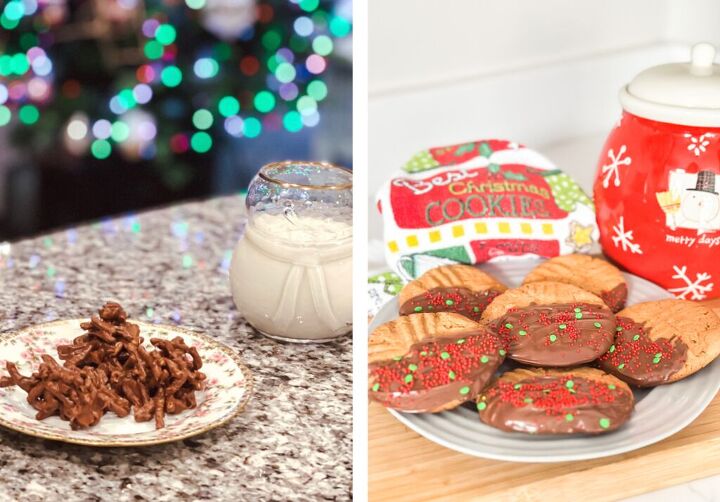
Midwest Life And Style – Peanut Butter Balls | Cottage On Bunker Hill – Double Chocolate Oreo Bark | White Lilac Farmhouse – No Bake Christmas Cookies | Cottage In The Mitten – Holiday Peanut Butter Cookies
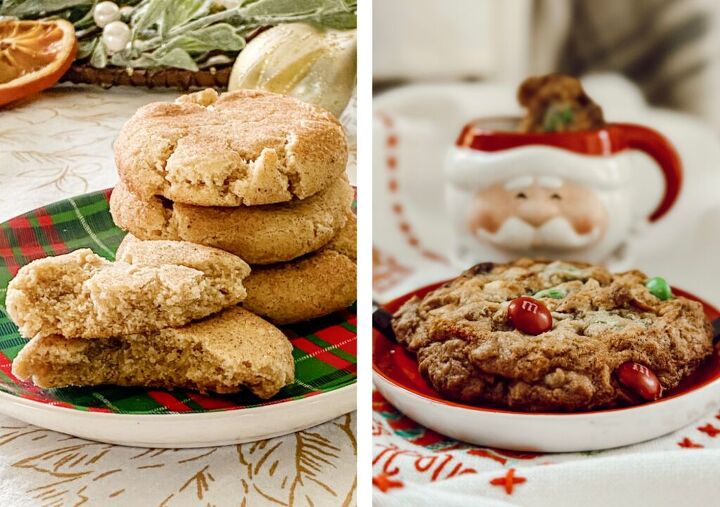
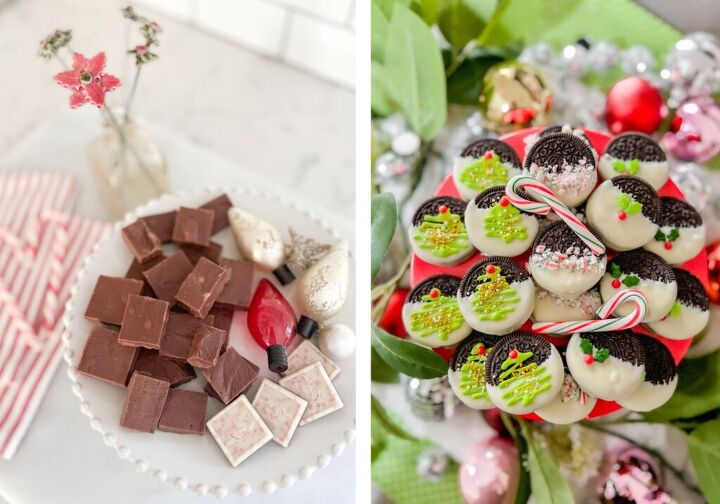
My Family Thyme – Eggnog Snickerdoodle Cookies | Eleanor Rose Home – Christmas Monster Cookies | Pasha Is Home – Christmas Fudge | Tatertots And Jello – Holiday Dipped Oreo Cookies

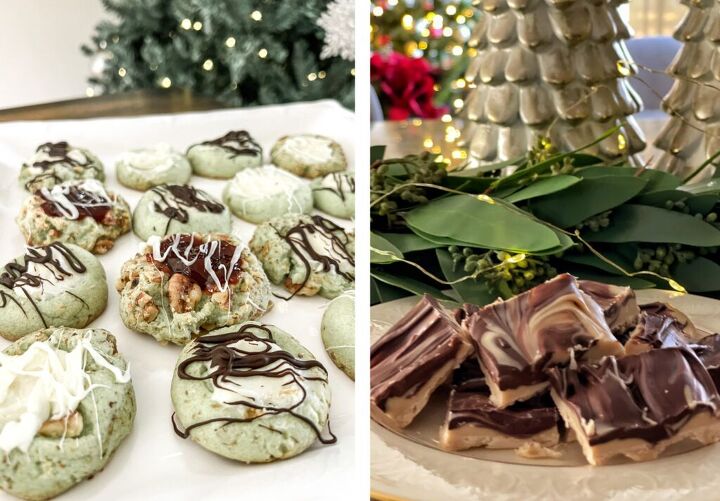
The Ponds Farmhouse – Dark Chocolate Pomegranate Bark | Vintage Home Designs – Cranberry Orange Shortbread Cookies | Our Tiny Nest – Pistachio Thumbprint Cookies | Bricks ‘n Blooms – Tiger Butter Fudge
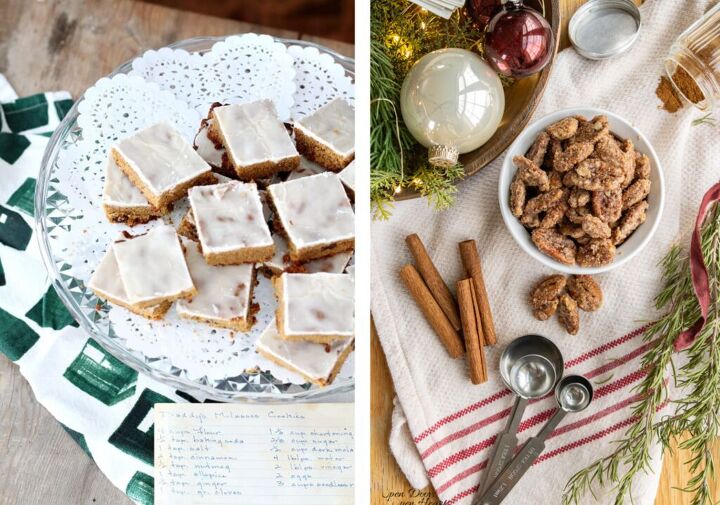

The Tattered Pew – Daddy’s Molasses Cookies | Open Doors Open Hearts – Cinnamon Sugar Pecans | WM Design House – Cinnamon Popcorn | She Gave It A Go – Holiday Punch
Sign up below to never miss another recipe!
The Best Pistachio Thumbprint Cookies
Recipe details
- 24 cookies
- Prep time: 15 Minutes Cook time: 10 Minutes Total time: 25 min


Comments
Share your thoughts, or ask a question!