


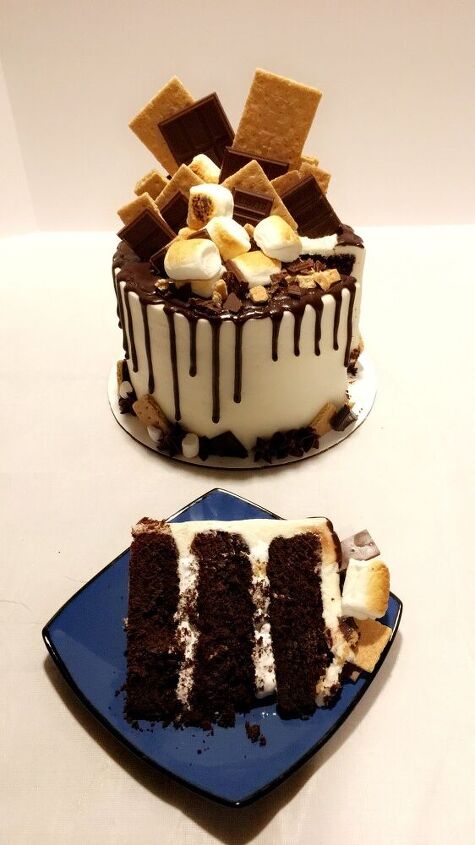
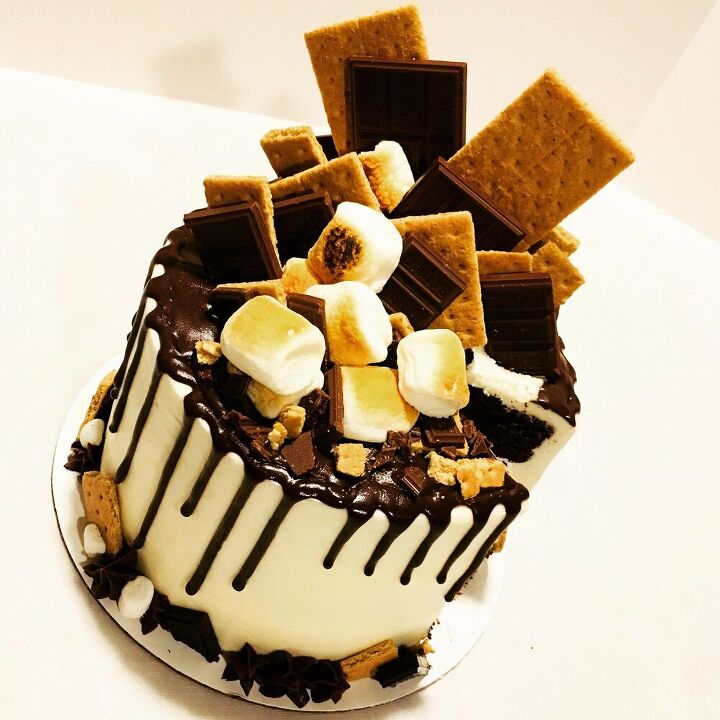
Deconstructed S'Mores Cake
Okay....well maybe I'm the only one, but grocery stores all around me seem to be trying to sell tons and tons of S'mores ingredients, so what better time than the very beginning of summer-ish weather to make a S'mores cake?
One word of warning - I filled this cake with marshmallow cream, which I'd never done before. It looked and tasted great the day I assembled and first cut pieces out of the cake....but by the middle of the next day, a lot of the filling had leaked out onto the base of my cake carrier. With the loss of structure, it was about another 18 hours before the entire remainder of the cake basically fell apart! It was unexpected, kind of hilarious, and a good learning point for me - I don't know that I'll recommend *against* filling your cake with marshmallow cream, because it was delicious ;) HOWEVER....be forewarned that a marshmallow-cream-filled cake has a fairly short stable shelf life. ;)
Okaaaay! With that out of the way - onto the recipe!

Deconstructed S'Mores Cake
Recipe details
- 1 8" cake
- Prep time: 90 Minutes Cook time: 35 Minutes Total time: 2 hr 5 min


Comments
Share your thoughts, or ask a question!
Wow!! This looks delicious!