BBQ'd Rotisserie Chicken

We’ve been inspired to explore cooking techniques that we’ve never tried. There’s nothing more delicious than rotisserie barbecue chicken, but up until now we’ve never attempted it.
When my husband and I were married my parents gave us a barbecue with a rotisserie attachment as a wedding present. It almost went forgotten and we hardly gave the rotisserie a second thought. That is, until my brother-in-law mused at a mid-summer family BBQ a few years ago about how he missed his old rotisserie.
Watch the video to see how easy it is!
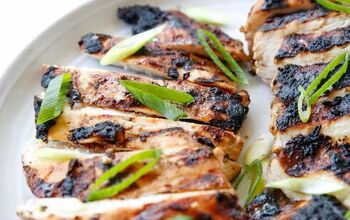
I don’t know why it took us so long try the rotisserie: nothing could be simpler! The prep time is negligible and it only take two ingredients – chicken and spice rub – to make a roasted chicken better than any restaurant.
Yes, you can get fancy with herb butters, basting and injecting, but a straight up spice rub is just as delectable. More importantly, it’s fast – giving you more time to enjoy the summer weather – and of course whoever you share your chicken with 🙂
We always use an instant read thermometer to test for doneness; nothing spoils a delicious dinner more than the possibility of getting food poisoning if any of the chicken is still raw. Bacteria such as E. coli, Salmonella and Campylobacter can survive in chicken that is not cooked to at least 165 degrees Fahrenheit, so I think a thermometer is a must!
I firmly believe that one of the keys to a happy marriage is having a partner who loves the dark meat when you prefer the white!
Carve up that chicken and enjoy!
BBQ'd Rotisserie Chicken
Recipe details
Ingredients
- Chicken (ours was 1.8 kg or 4 pounds by weight)
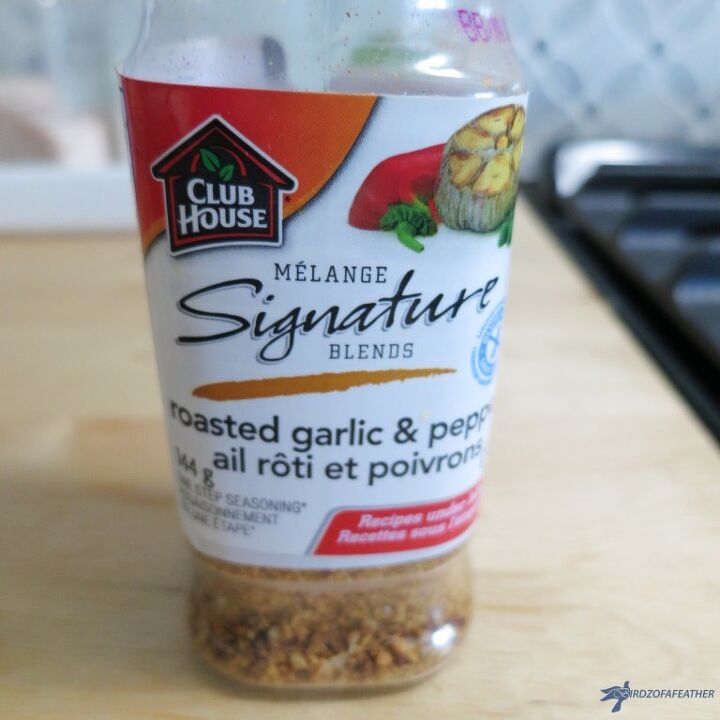
- Spice rub (we used roasted garlic & pepper by Club House)
Instructions
- Truss chicken if it doesn't already have twine around the legs and wings
- Remove the warming rack and turn the rear burner on high. Let the BBQ heat up until the temperature is between 450 – 500 degrees Farenheit.
- While the BBQ is heating up, apply the spice rub. We shook on on a ready made (and gluten free!) spice blend all over the chicken and rubbed it in.
- Skewer the chicken onto the rod, secured the two prongs into either end of the chicken (tightening the thumbscrews to keep them in place) and added the counterweight (which also gets tightened on the rod). Watch the video the see how that's done.
- Mount the rotisserie motor onto the bracket and plug in motor. The barbecue should be good and hot by now! Slide the spit rod onto the brackets on either side.
- Place bird onto slots. Be sure to place an empty drip tray directly underneath the chicken to catch all the fat. If you skip this step you’ll end up with a greasy mess on your barbecue and flare ups! At this point, pull down the cover and leave it for 15 minutes so the chicken skin crisps up.
- After 15 minutes, open the BBQ lid and check the chicken. If it looks like the skin is crisping up, turn the barbecue down to medium heat to let it finish cooking on a lower setting. Then close the lid again. For every pound of chicken, cook it for 20 minutes. Our chicken weighed 4 pounds so it needed an hour of cook time.
- When it’s done, remove the rotisserie from the barbecue and put it onto a pan. The rod, prongs and counterweight are all too hot to remove at this point so leave them alone for now.
- Take the pan inside where you’ll tent the chicken for another 10 minutes.
Tips
- After the allotted cook time, the chicken should register at least 165 on a meat thermometer. We cooked our chicken to 180 degrees fahrenheit; anything ranging from 165 – 180 is fine and safe to eat.














Comments
Share your thoughts, or ask a question!