


Small Batch, Gluten-Free Cinnamon Rolls
8 Rolls
55 min
There are few things better than homemade cinnamon rolls. This small batch recipe of gluten-free buns is sure to be an instant family favorite!
An Ode to the Cinnamon Roll
Whether you’re enjoying them on Christmas morning or a casual midweek breakfast, there’s truly no bad time for cinnamon rolls. In my house, cinnamon rolls were reserved for three special occasions: the first day of school, my birthday and Christmas. Like many, I grew up on the Pillsbury Cinnamon Rolls. It was the best way to start each of these special days and was one of my favorite traditions. The only time these cinnamon rolls were enjoyed outside of those days was the morning of my college graduation. So, it’s safe to say that cinnamon rolls hold a very special place in my heart.When I went gluten-free in 2018, one of the things I missed most was cinnamon rolls on Christmas morning. While I looked for gluten-free options, they were few and far between. Even the gluten-free bakeries couldn’t replicate the cinnamon rolls I grew up on. As I got more comfortable with gluten-free baking, I tried to create the perfect gluten-free cinnamon roll. The perfection was defined by the texture of the cinnamon roll. Was it fluffy? Soft? Buttery?After many, many attempts and failed doughs, I finally have my perfect recipe! These Small Batch, Gluten-Free Cinnamon Rolls are fluffy, soft, buttery, and everything in between. Their texture mimics that of non-gluten free cinnamon rolls so well that family members didn’t know the difference! This recipe makes eight cinnamon rolls; which, is great for a small family! It’s a must make anytime of year!
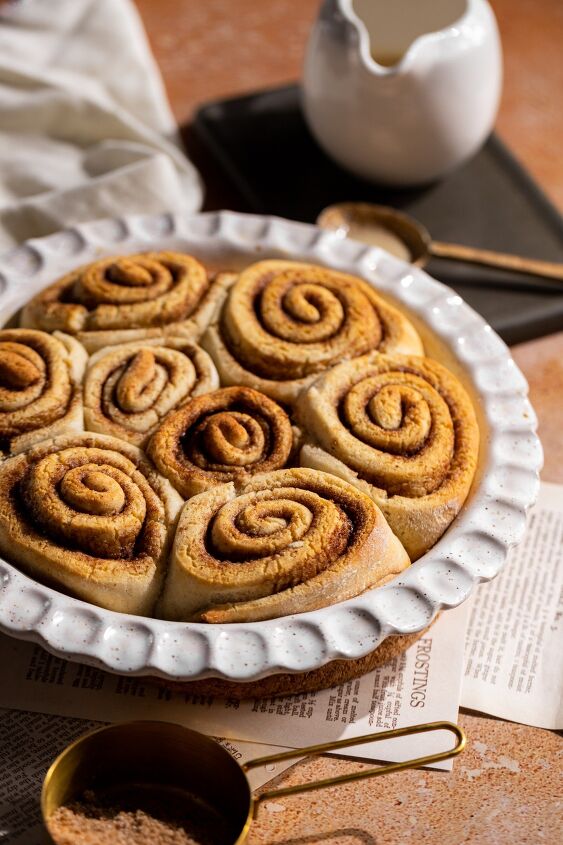
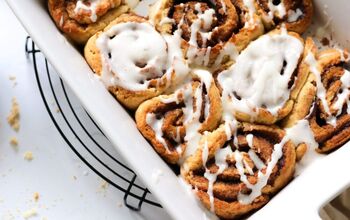
Nothing quite like the smell of freshly baked cinnamon rolls in the morning!
The History Behind the Swirl Is there anything better than warm cinnamon rolls right out of the oven? Cinnamon rolls are one of the ultimate comfort foods. It has countless names from cinnamon roll, swirl or bun. While the name may differ and countless recipes have evolved, the core ingredients remain the same. The sweetness of the cinnamon combined with the fluffy dough and sugary glaze is nothing short of the perfect bite.Have you ever wondered where the cinnamon roll came from though? Did you know that they supposedly originated from Sweden? This sweet bun is a staple in Scandinavian baking and dates back to the 17th century. The cinnamon roll then made its way over to America, where it became popular in the 1950’s. The main difference between the Swedish version and America’s is that ours are loaded with butter and sugar, while cardamom is used in Sweden.Today, there are so many different versions of cinnamon rolls. Even in America, there are some cinnamon rolls that have honey and raisins. Some have molasses and brown sugar in the filling. And of course, the internet is home to every version from pumpkin to gingerbread cinnamon rolls. All this to say that the cinnamon roll is not only very popular but a staple across countries.
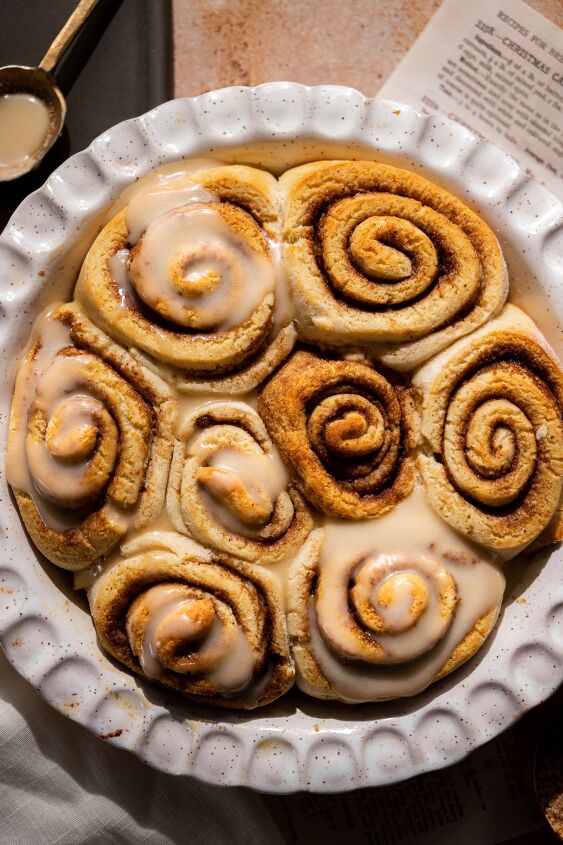
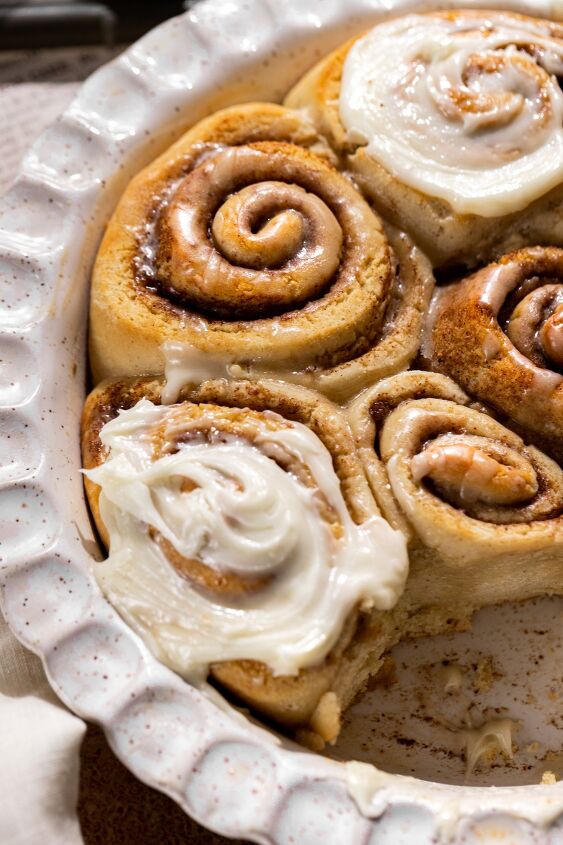
Whether you ice or frost your cinnamon rolls, you can’t go wrong either way!
The Elements of the Gluten-Free Dough I’ll be the first to admit that gluten-free baking isn’t always the easiest. The lack of gluten, which binds ingredients together, means a replacement is needed. While xanthin gum is often used as an effective thickening agent, emulsifier and stabilizer- sometimes you need a helping hand. After much research (and trial & error), I found that Psyllium Husk Powder was just what my gluten-free dough needed! Psyllium Husk Powder acts as a binder; which, gives gluten-free bread dough the elasticity and flexibility that it needs to actually knead and shape without breaking. This also allows the cinnamon rolls to rise similar to regular baked goods, and bake without cracking.While psyllium husk powder was a key ingredient in making the perfect gluten-free dough, flour is another key component. If you’ve visited my blog before (thank you!), then you know I’m a huge fan of Bob’s Red Mill Gluten-Free 1-to-1 Baking Flour. While I tried other gluten-free blends and gluten-free all purpose flours, I kept coming back to my good ol’ reliable baking flour. I love this baking flour because is so light and soft; two things that are a must when it comes to the texture of cinnamon rolls! Plus, it already has xanthin gum in it, so no need to add more. We will also be using a bit of tapioca flour, a starchy flour that is also a thickening agent!Finally, the yeast. Like breads, cinnamon rolls need time to proof before baking. Proofing is a process in baked goods when the dough is allowed to rest in a warm environment before baking. During this time, the dough rests and rises (typically, doubling in size). In order for baked goods to rise effectively, you need yeast. For this recipe, I used Fleischmann’s Active Dry Yeast. This yeast is commonly used to for sweeter bread recipes (or in this case, cinnamon rolls) and yields a richer flavor.
These cinnamon rolls are a must make during the holiday season.
Making the Perfect Dough We’re going to pick up where we left off… with the yeast. Yeast needs time to activate before it can be incorporated into a recipe. To activate the yeast, we will need sugar, a packet of active dry yeast, and warm milk. Did you know that yeast is a living organism and needs food to thrive? Luckily, sugar provides the perfect food source for the yeast to thrive and activate. Even with the right ingredients, yeast can be temperamental. So, follow these steps to ensure success:
- Warm the milk in a glass container in the microwave for 40-45 seconds.
- Once warm, add a tablespoon of sugar and stir to dissolve.
- When the milk is 110 degrees, add the packet of active dry yeast and stir for a few seconds. Ensure the milk is not warmer or colder than 110 degrees. The yeast needs a warm environment to thrive, but if the milk is too hot it will die.
- Allow the yeast to sit for 10 minutes to activate. When the yeast begins to activate, it will give off a wheat-like aroma that may smell like beer. It will also look foamy on top.
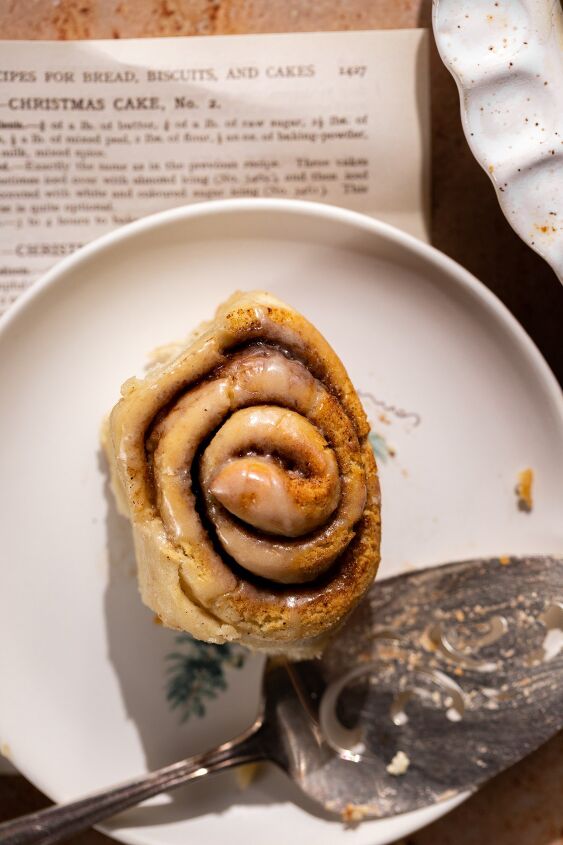
Who could resist just one?
The Key to Perfect Proofing This is third most important step in baking gluten-free cinnamon rolls. Like the yeast, if proofing fails (the dough doesn’t rise), then we will have to start over. Luckily, there are a few simple tips to avoid that!
- Use a warm, greased metal or glass bowl. I like to use a glass bowl and to warm the bowl, I microwave it for 35 seconds or run it under warm water. Then, I grease the inside of the bowl to prevent the dough from sticking.
- Proof in a warm spot. I like to proof my dough in a sunny spot, but the oven will work too. If you don’t have a proofing setting, preheat your oven to 200 degrees Fahrenheit. Once it reaches the desired temperature, turn off the heat and set the oven to “keep warm”. Then, place the greased bowl in the oven.
- Cover the dough with a tea towel or Saran Wrap. I like to use Saran Wrap, but that’s just my personal preference.
- Give the dough enough time to rise. You need to proof the dough for at least an hour, preferably an hour and a half. This will ensure the dough has time to double in size.
These gluten-free rolls will be devoured in the blink of an eye!
How to Roll & Slice After proofing, you should have a dough that is doubled in size and is soft. Before you begin working on the dough, first dust a workspace (cutting board or marble counter) with flour to prevent the dough from sticking. Then, oil your hands to transfer the dough to the prepared work space. If the dough is sticking to your hands, add one tablespoon of flour at a time to the dough. This will ensure that you don’t over flour the dough. Work the added flour into the dough until it no longer sticks. Once the dough has the desired consistency and has been kneaded, it’s time to roll out the dough!Sprinkle flour over the dough, then use a rolling pin to gently roll the dough into a rectangle. The dough should be about 1/4″ inch thick and 10″ x 14″ long. Make sure you don’t roll the dough too thin! If the dough isn’t as long as instructed, that’s okay. It’s more important to ensure the dough is the right thickness. Before we sprinkle it with a cinnamon sugar mixture, the dough first needs to be buttered. Melt a stick of butter and then allow it to cool to room temperature. Next, use a silicone brush to spread a thin layer of butter evenly across the dough. Then, combine cane sugar, brown sugar, cinnamon, nutmeg, and a pinch of salt in a small bowl. Use a spoon to evenly distribute the mixture across the dough.Now it’s time to roll and slice! While many recipes instruct you to first roll the dough and then slice, I like to do the opposite. With a sharp knife or pizza cutter, cut eight 1/2″ to 3/4″ strips. As much as possible, make sure the strips are even so that the cinnamon rolls will bake evenly. Once you have your strips, take one end and begin rolling to the other side. You do not need to roll the dough as tightly as possible. Just roll the dough tight enough so that it doesn’t come undone. Once you have rolled the right strips of dough into a cinnamon roll, place each one in a grease pie tin. Arrange each roll next to one another. If there is a little space between them, don’t worry as it will get filled!
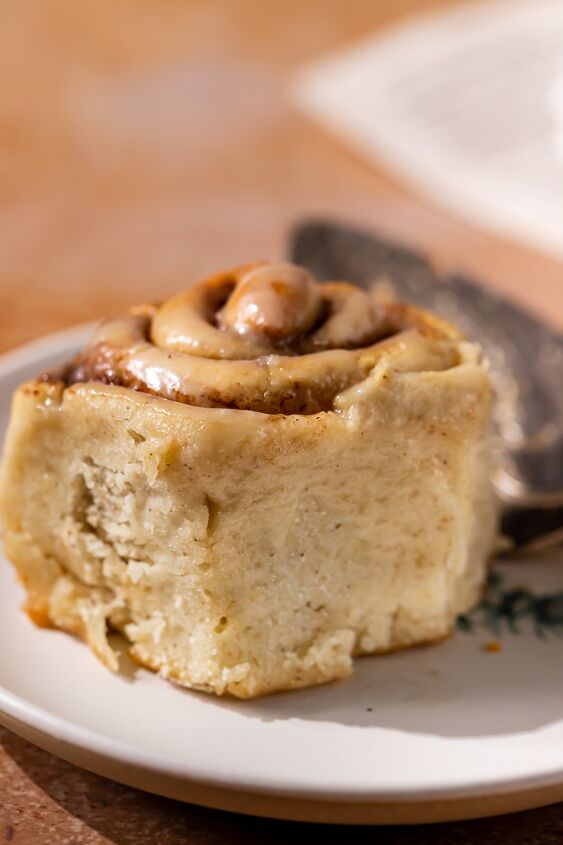
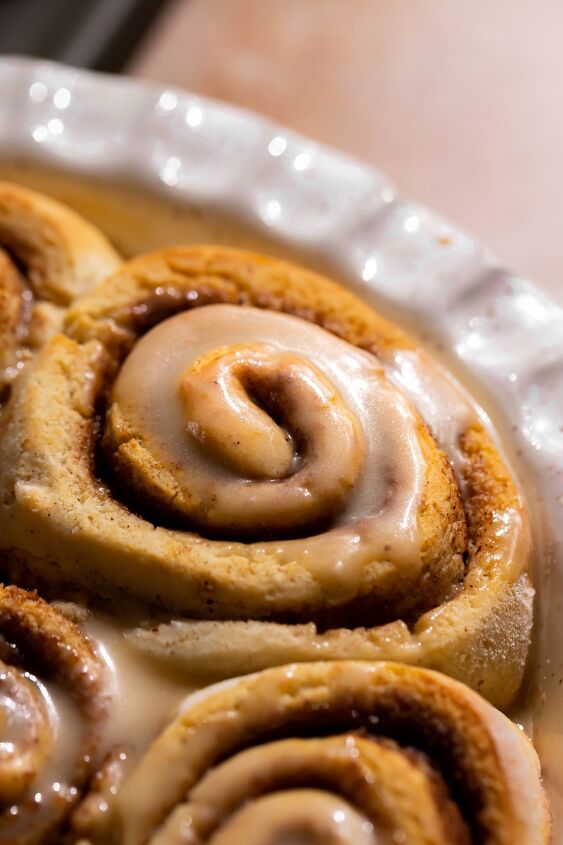
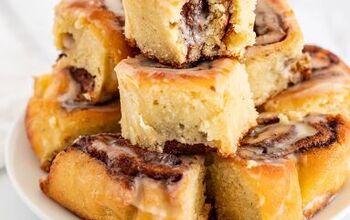
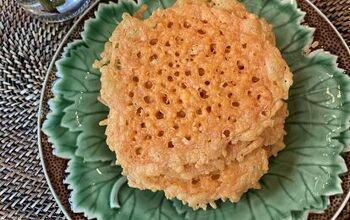
Just look at that texture!
Before We Can Bake We Must… If you guessed rest & rise again, then you’d be right! Now that the cinnamon rolls are rolled and arranged in the pie tin, we need to give them another thirty minutes to rest. Like proofing before, cover the rolls with Saran Wrap or a tea towel and place in a warm area. During this time, each roll will spread ever so slightly and fill up any empty space in the pie tin. After the thirty minutes, the rolls should look slightly fluffier. Finally, we can bake the cinnamon rolls!Bake the cinnamon rolls at 350 degrees Fahrenheit for 25 minutes. At the halfway mark, turn the pie tin 180 degrees so that the rolls that were in the back of the oven are now in the front. This will ensure each roll bakes evenly. After the allotted time, the rolls should be golden brown on top! Remove from the oven and allow them to rest for a few minutes.The final step of this recipe is choosing whether you want to ice or frost the cinnamon rolls. If you love the classic cinnamon rolls (like the Pillsbury version), I would go with the icing. However, if you’re looking for a richer option, then the cream cheese frosting is for you! Either way, you can’t go wrong with how you finish off these delicious gluten-free cinnamon rolls.
Small Batch, Gluten-Free Cinnamon Rolls
Recipe details
- 8 Rolls
- Prep time: 30 Minutes Cook time: 25 Minutes Total time: 55 min
Show Nutrition Info

Want more details about this and other recipes? Check out more here!


Comments
Share your thoughts, or ask a question!
This recipe seems really long and the procedure is way too long. Or so it seems to me.