


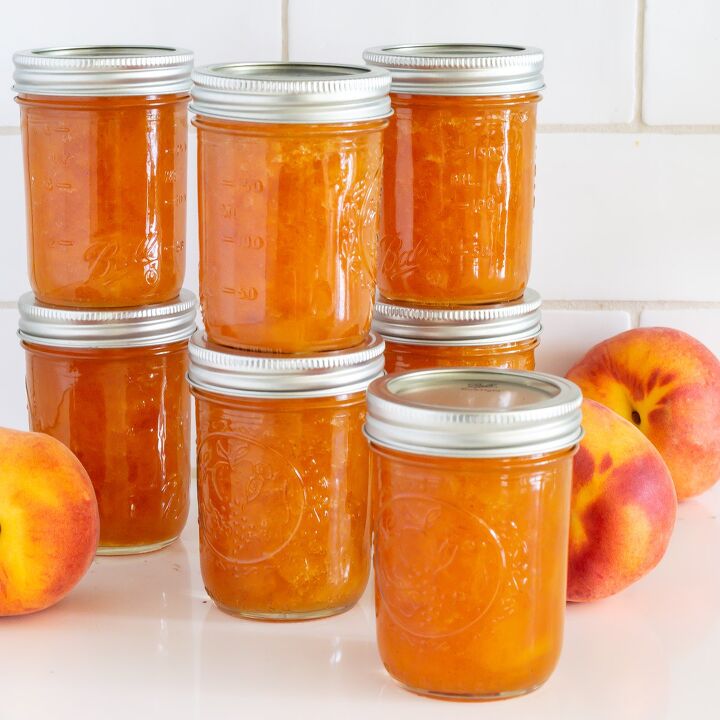
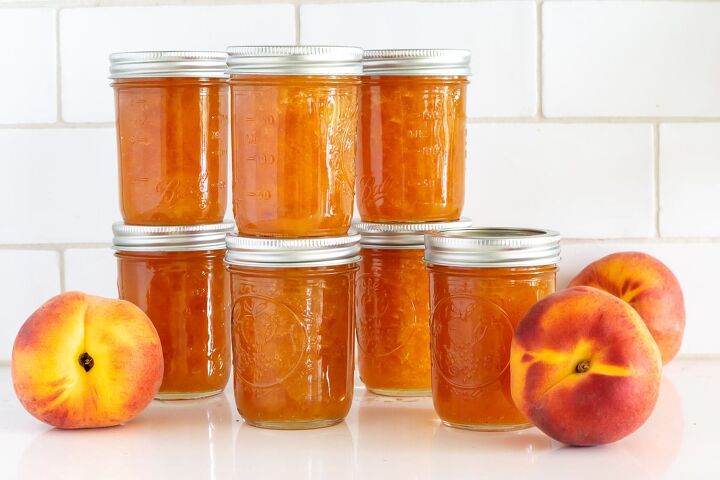
Peach Preserves
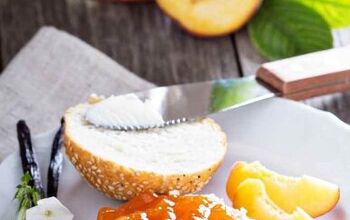
Use summer’s peach bounty to make home made peach preserves with an optional hint of vanilla.
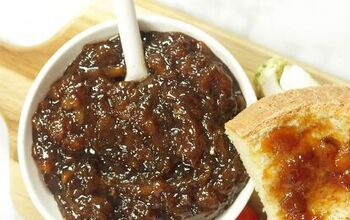
Combining fresh, ripe peaches with sugar produces a delicious and sweet preserve that can be used in various ways, such as spreading it on toast or incorporating it into baking recipes. This recipe includes instructions for water bath canning and freezing homemade peach preserves.
I’m hard-pressed to say ‘this’ is my favorite jam or jelly, but it is in the top two of my favorite sweet preserves if it has apricot and peaches. This very easy peach preserves recipe uses only two ingredients for a very peachy treat.
why you’ll love making peach preserves
There are many reasons to love these homemade peach preserves.
- Flavor: First and foremost, the taste is delicious! Fresh, ripe peaches lend a sweet, slightly tart flavor far superior to any store-bought version. The optional addition of vanilla bean pods provides an extra depth of flavor that complements the natural peachiness beautifully.
- Only two ingredients! Peaches and sugar.
- Versatility: These peach preserves are incredibly versatile. They can be spread on toast, filled in pastries, swirled into yogurt, or served alongside savory dishes.
- Long Shelf Life: Following the water bath canning process described in the recipe, these peach preserves can last for two years unopened, allowing you to enjoy the taste of fresh peaches even when they’re out of season. If you freeze your preserves, plan to use them within 6 months.
- Fewer Additives: Unlike many store-bought preserves, when you make your own, you know exactly what’s going into it. There is no high fructose corn syrup or artificial preservatives, just fruit, sugar, or optional vanilla beans.
- Fun and Rewarding: Making preserves is a fun, rewarding process, especially when you see the fruits of your labor (quite literally) lining your pantry shelves. It can be a great family activity too.
- Economical: If you have a peach tree or peaches are in season and on sale at your local market, making preserves is an economical way to use the bounty and avoid waste.
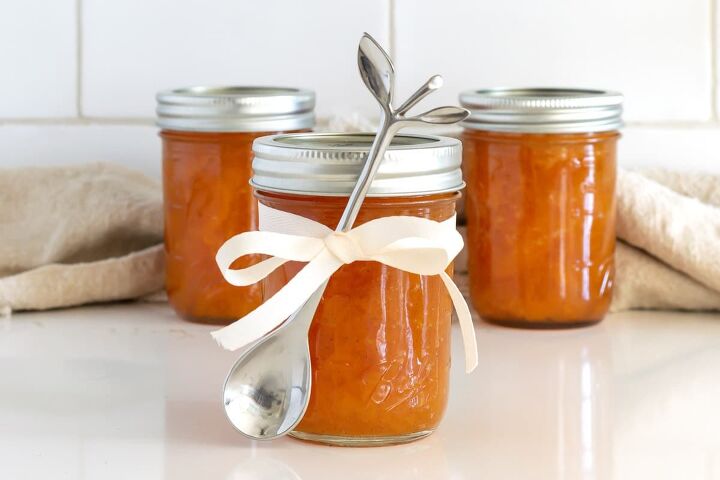
- Gift Giving: Homemade preserves make wonderful gifts. They’re delicious treats handmade by you and can be beautifully packaged with just a little effort. My favorite way to give a jar of jam is to attach a vintage or unique spoon to each jar.
In short, making and enjoying homemade peach preserves is a delightful experience that’s well worth the effort.
ingredients in this peach preserve recipe
One of the reasons I love this peach preserves recipe is the minimal number of ingredients. Two ingredients! Name another recipe that produces such a delightful treat with just two ingredients…go ahead; I’ll wait.🕝
And those two simple ingredients are peaches and sugar:
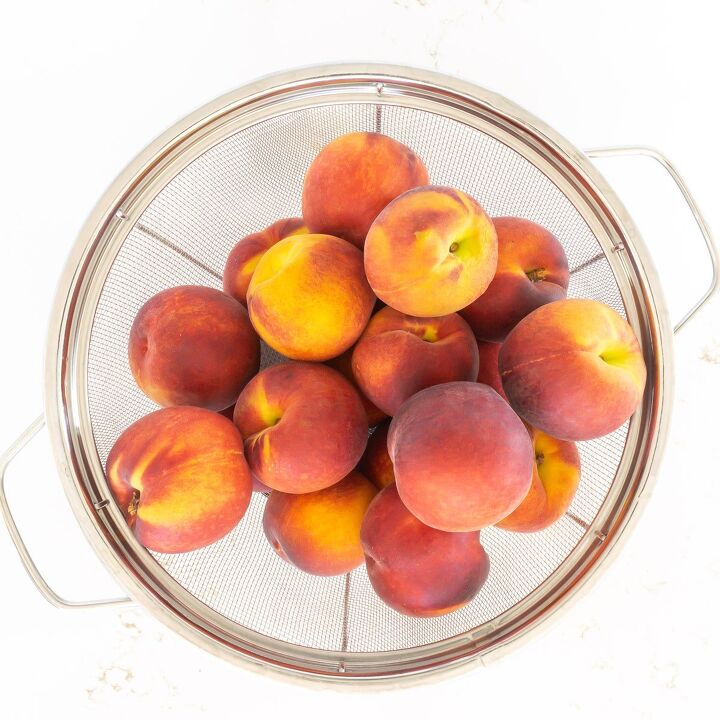
Peaches
Choose barely ripe peaches, as they will have more pectin than ripe or overripe peaches. The more pectin in your fruit, the quicker it will reach a gel stage. When making jams, jellies, and preserves, it is always preferable to cook them quickly. This is because the final product will be fresher than fruit that has been cooked for longer periods.
Sugar
Simple, white granulated sugar is all that is needed for this peach preserves recipe.
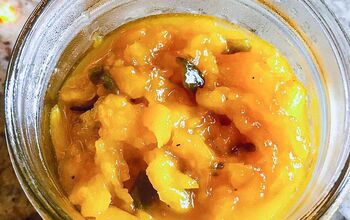
Vanilla Bean (optional!)
I added two sliced vanilla bean pods to the pot, adding just a hint of aromatic vanilla. Feel free to add more or leave it out altogether. If you want a hint of vanilla, but don’t have pods, substitute two teaspoons of vanilla at the end of cooking the preserves before you tuck them in the jars.
tips for successful peach preserves
Choosing Peaches: The quality of your preserves largely depends on the fruit you use. Choose just ripe peaches that are free of blemishes. Avoid overly ripe or bruised fruit. Peaches are a highly pesticided fruit; when I can, I try to find organic fruit when making jams, jellies, and preserves.
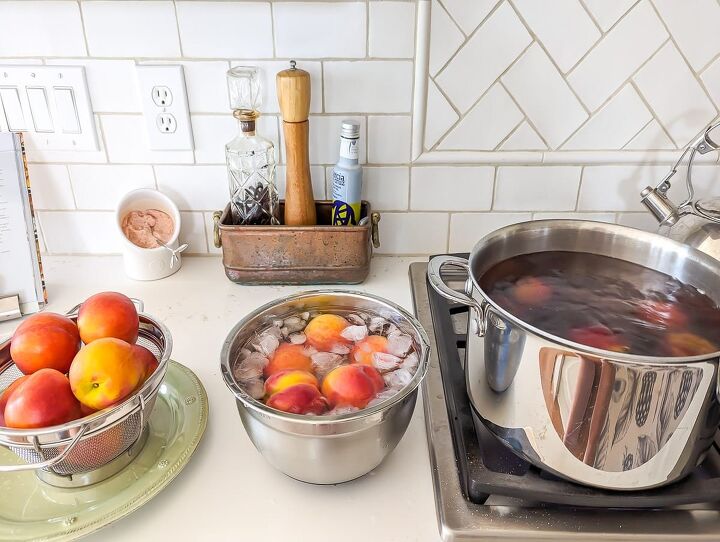
Peeling Peaches: Peeling peaches can be made easier by blanching them. To do this, cut a small “x” on the bottom of each peach, plunge them into boiling water for about 30-60 seconds, and then quickly transfer them to a bowl of ice water. The skin should slide off easily. This technique works best for riper peaches and less so for underripe peaches.
Macerate the Peaches: Maceration means to soften something by soaking it in a liquid. In this case, the liquid is produced by tossing fresh peaches with sugar, as sugar pulls liquids from fruit. At a minimum, macerate your fresh peaches for at least 12 hours. I have let my peaches macerate for up to 48 hours when making this jam.
In effect, we are ‘precooking’ the peaches by macerating them. When we add the peaches to our jam pot, it is already soft, and the juices have already been released. This preserves recipe uses the power of maceration to reduce the cooking time of the peaches.
Use the Best Pot: When cooking your preserves, be sure to use a large, wide-bottomed pot. The distinctive shape of a jam pan or maslin pan (wide and shallow) increases the surface area of the jam or preserves exposed to heat. This allows for quicker evaporation of water, which helps thicken the preserves faster and reduces the cooking time. It also helps prevent overcooking of the fruit.
Stir Frequently: To avoid burning, be sure to stir the preserves frequently, especially as it starts to thicken.
Test for Doneness: Use the frozen plate method to check if your preserves are ready. Spoon a little bit of the preserve onto a chilled plate, then return it to the freezer for a few minutes. If the preserve wrinkles when you nudge it, it’s done. If it’s still runny, continue to cook and test again in a few minutes.
Sterilize Your Jars: Be sure to properly sterilize your jars and lids before canning. This ensures that your preserves remain safe and free of bacteria.
Leave Proper Headspace: When filling your jars, leave about 1/4 inch of space at the top (this is called ‘headspace’) if water bath canning and 1 inch if freezing. This allows the preserves to expand during the canning process.
Seal Tightly But Not Too Tight: Screw the lids securely, but not overly tight…the term is ‘fingertip tight’. When applying the lid and band, secure them firmly enough to prevent leakage but not so tight that air cannot escape from the jar during processing. Use your fingertips to screw the band down until you meet resistance instead of using your whole hand or additional tools that could overtighten it.
Achieving the correct tightness is important because it allows air to escape from the jars during processing. This is part of the process that creates a vacuum seal as the jars cool. Tightening the bands too much can prevent air from escaping and cause a failed seal or, in some cases, lead to the jars breaking in the canner due to pressure buildup.
Once you have sealed and cooled the jars, remove the screw bands for storage. The vacuum seal that has formed on the lid is what keeps the jar’s contents preserved, not the band.
Store Properly: Store your sealed canned preserves in a cool, dark place after processing. Refrigerate any jars that don’t seal, and always refrigerate after opening.
Remember that making preserves is as much art as it is science. Don’t be disheartened if your first batch isn’t perfect; it will still taste delicious! The more you practice, the better you’ll get.
water bath can or refrigerate peach preserves
Water bath canning is a method of preserving preserves, jams, and jellies to make them shelf-stable for up to two years. I walk you through the water bath canning process but HIGHLY RECOMMEND The All New Ball Book of Canning and Preserving if this is your first time making canned preserves.
To make your peach preserves shelf stable, all you need is an additional 30 minutes of your time, a water bath canner or pot deep enough to cover your jars by 2 inches, and Half-Pint Mason Jars with Self-Sealing Lids. A few more inexpensive pieces of equipment make your canning experience more enjoyable and efficient: a jar/ can lifter, magnetic canning lid lifter, and headspace gauge itemized below.
All that said, you can refrigerate or freeze this jelly if you aren’t into water-bath canning. Just make sure you leave at least 1″ of headspace at the top of your jars.
Peach Preserves
Recipe details
- 7 half pints
- Prep time: 20 Minutes Cook time: 1 Hours Total time: 1 hr 20 min


Comments
Share your thoughts, or ask a question!