


How to Make Easy Chocolate Candy Cups
Hello all, my name is Cindy and I blog at Cloches & Lavender. Here I share easy recipes, crafts and home decorating inspiration.
Can you believe Memorial Day weekend is almost here? Well today I’m sharing how to make easy chocolate candy cups! These are so easy and fast you are going to love these!
First of all, these are HUGE crowd pleasers and are delicious! I actually should have added a row of exclamation marks because these are so simple, but I won’t. Okay maybe one more time!!!!!!
Items Needed:
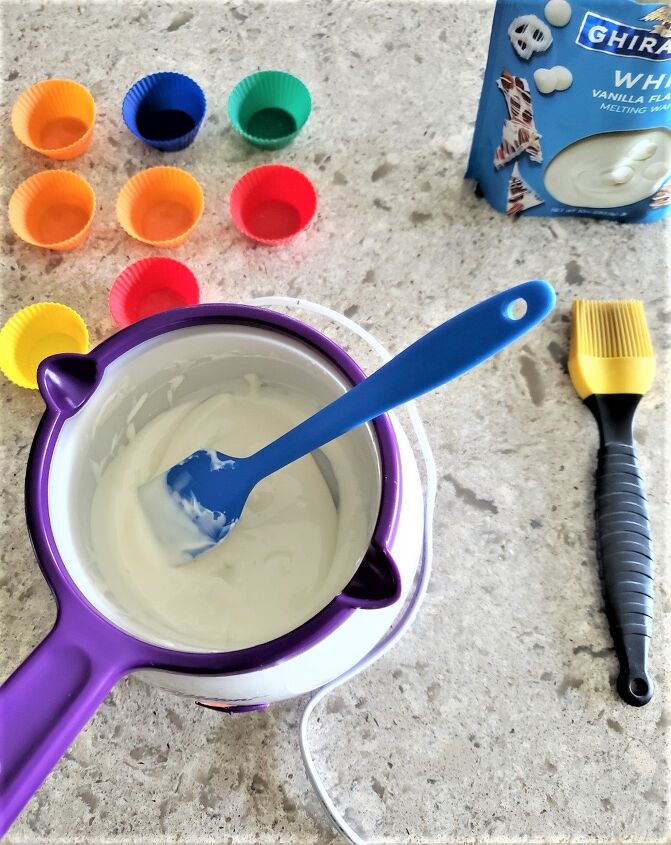
- Chocolate Melt or double boiler
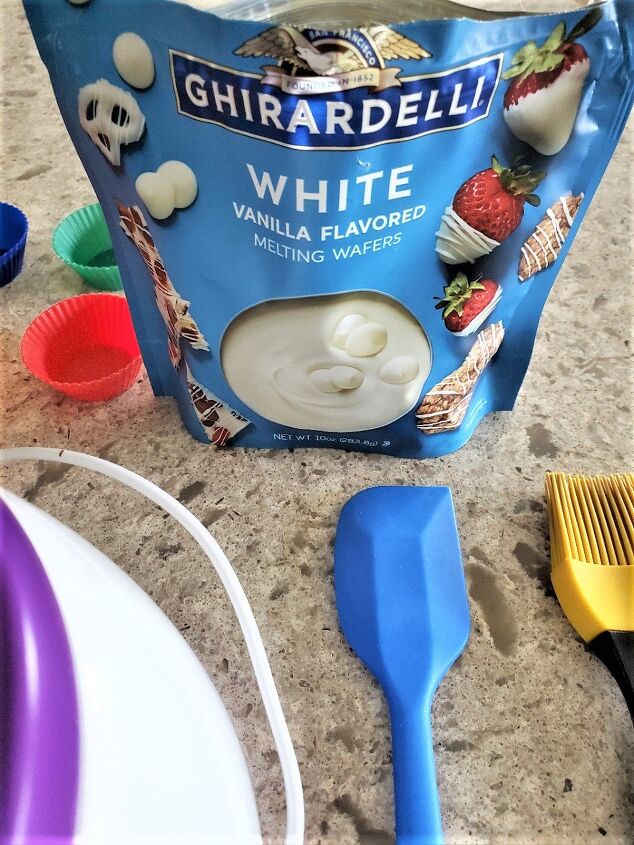
- Chocolate melting wafers
- Mini silicone cupcake holders
- Silicone spatula
- Silicone pastry brush
Tip 1: If you are using white chocolate and not melting wafers, add a bit of vegetable oil. This helps it have a tempered affect.
Tip 2: It’s especially important to continuously stir the candy in a double boiler to avoid seizing which happens extremely easy to white chocolate
Tip 3: Never get water in chocolate when melting because it will seize
How to Make Easy Chocolate Candy Cups for Company
Begin with melting the chocolate wafers. If using a candy melt, follow the instructions on the packaging. I highly recommend a Chocolate Melt.
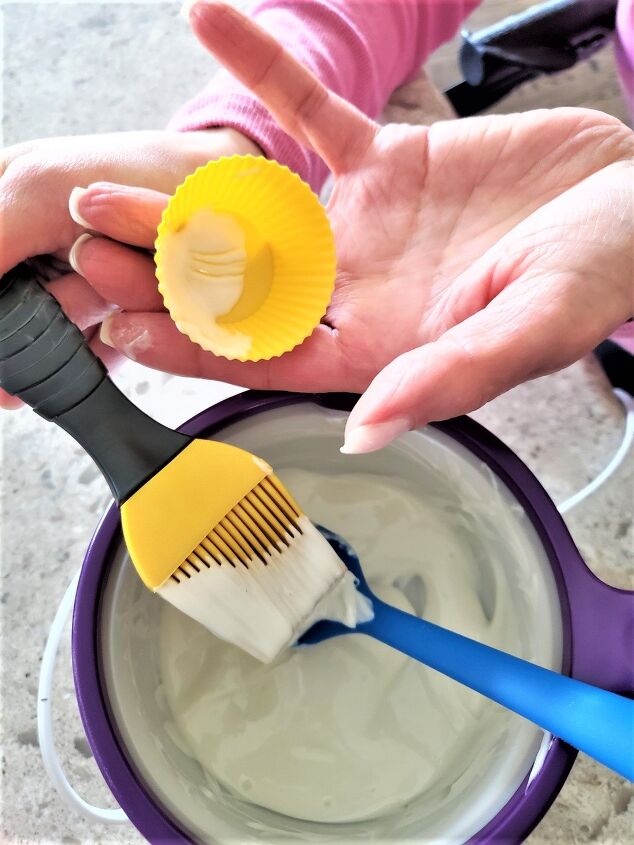
After melting using a silicone pastry brush begin adding a layer of your chocolate. Because this sweet treat is melted when adding this to the cup it will drop to the bottom a bit. This is normal so don’t worry.
By the way, do one cup at a time and as soon as the first one is finished put it in the freezer.
It’s particularly important to make sure to get all the edges well. Continue filling as many cups as you like until the first layer of the candy is done.
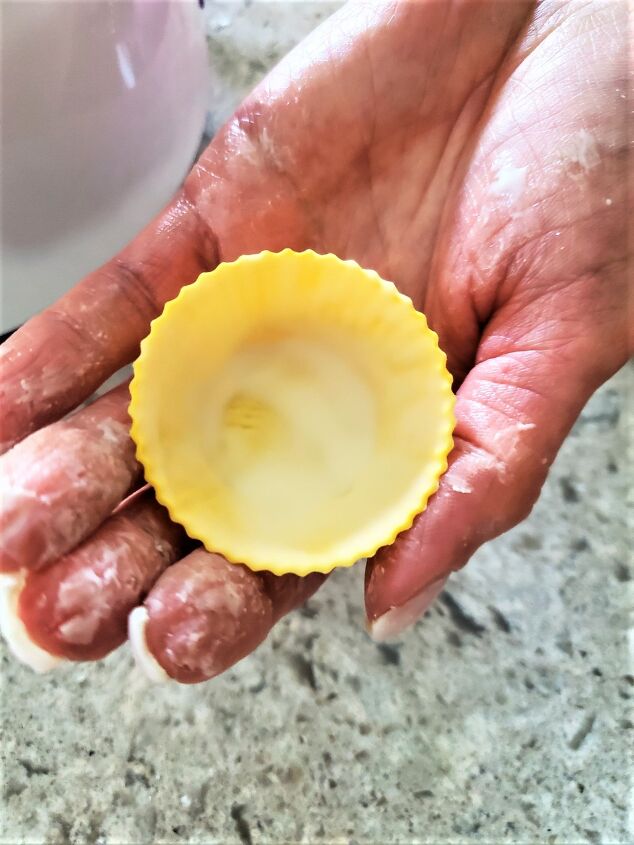
Now grab the first cup you filled with white chocolate and do the same process again.
Tip 4: Make sure the silicone cups are covered completely with no empty spots
Throw these immediately into the freezer for a minimum of 4 hours to make them solid.
Tip 5: Why am I using small cupcake cups? I am using a smaller size because I am sharing this specifically for summer, they are easier to eat. Two bites and done. No mess for your guests to deal with when enjoying their dessert!
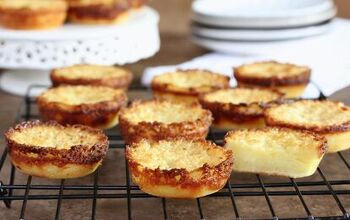
Removing the Sweet Treats from the Cups
This is an easy process to do. Begin by taking the edge of the silicone wrapper off. After you begin peeling the edge the candy will release from the cup.
And you’re ready to go, now how is that for easy chocolate candy cups?
Recommendations for Cold Fillings to Add to the Cold Candy Cups
And fill them with your desired filling. These dessert cups are great filled with a variety of tasty ideas.
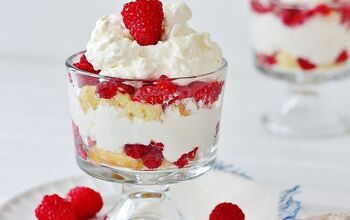
For example, if you are using dark chocolate raspberry sorbet is a fantastic combination. How about adding a small amount of mini semi sweet chips to the top for an easy garnish?
Mint Chocolate chip ice cream is also another great option for these sweet treats especially dark chocolate.
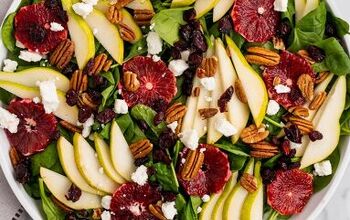
Another example for the dark chocolate cups is adding coconut gelato or ice cream and toasting coconut shavings to add to these sweets for an easy extra touch.
These are also very good filled with raspberry sorbet.
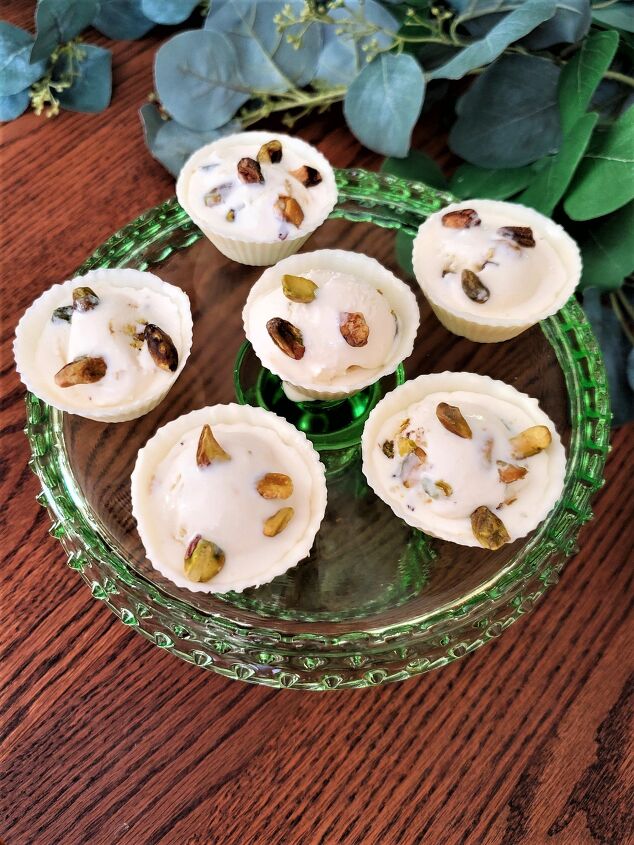
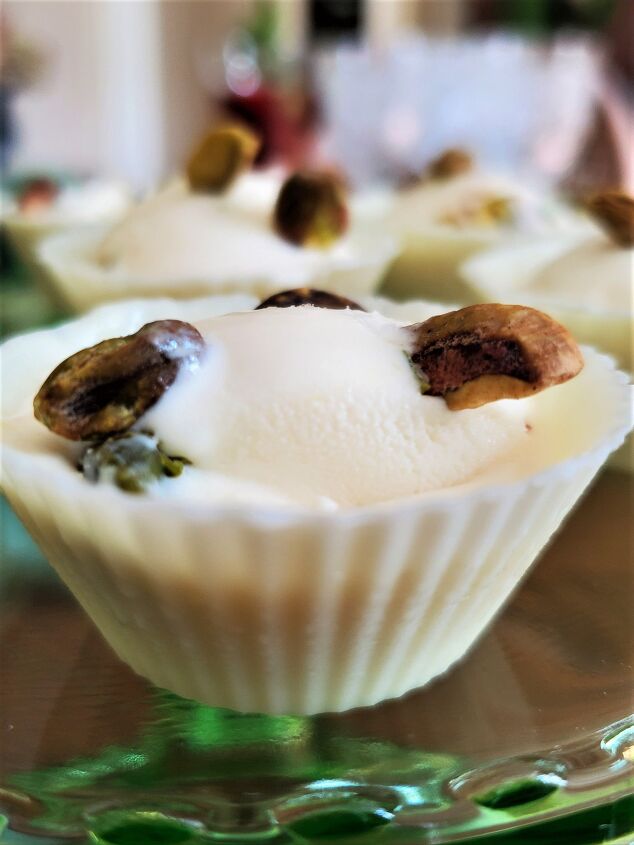
Also, pistachio ice cream and garnish with roasted nuts to add a nice touch this sweet summer treat.
Lastly, add a chocolate mousse to these desserts too! Add sprinkles for garish and done!
I hope you enjoyed this post on how to make easy chocolate candy cups. I hope you give these a try, they truly are very fast and simple! These are perfect for gatherings!
I'd love for you to stop over to see what else I am sharing at Cloches & Lavender
How to Make Easy Chocolate Candy Cups
Recipe details
- 6 people
- Prep time: 5 Minutes Cook time: 5 Minutes Total time: 10 min


Comments
Share your thoughts, or ask a question!