


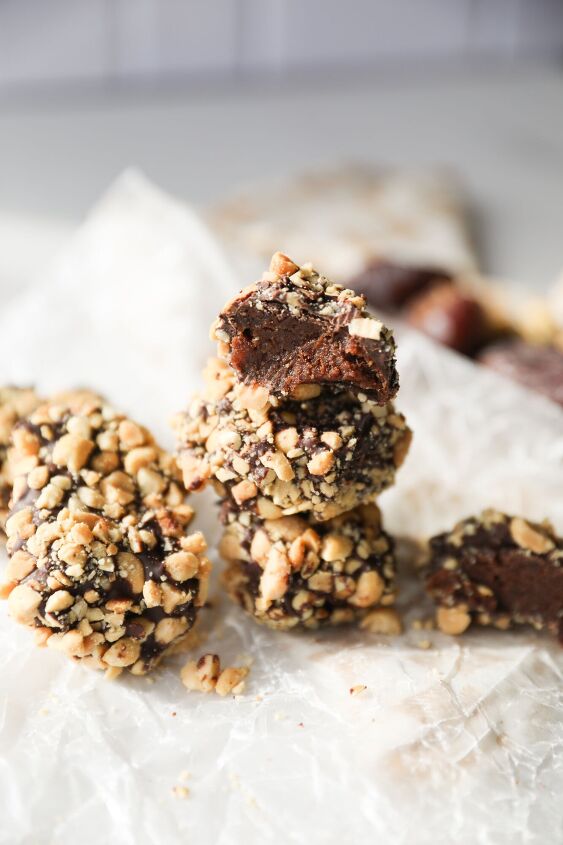
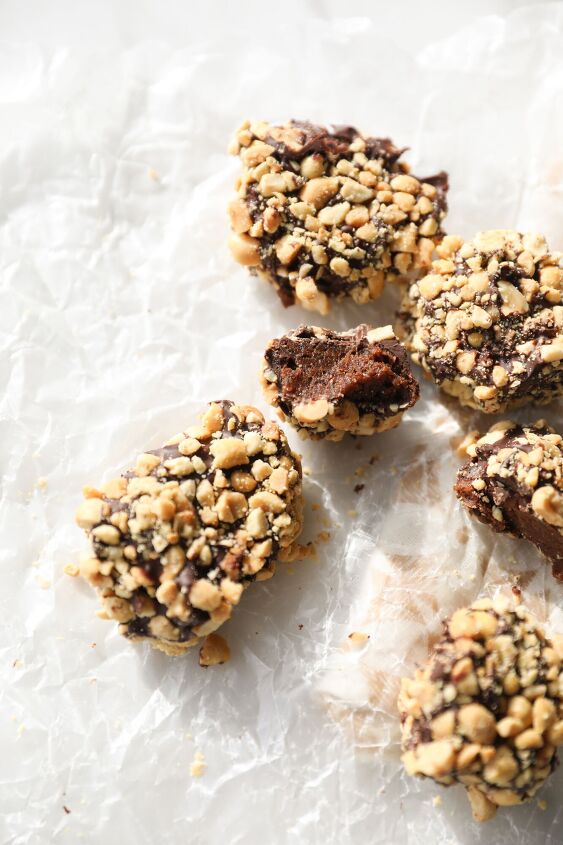
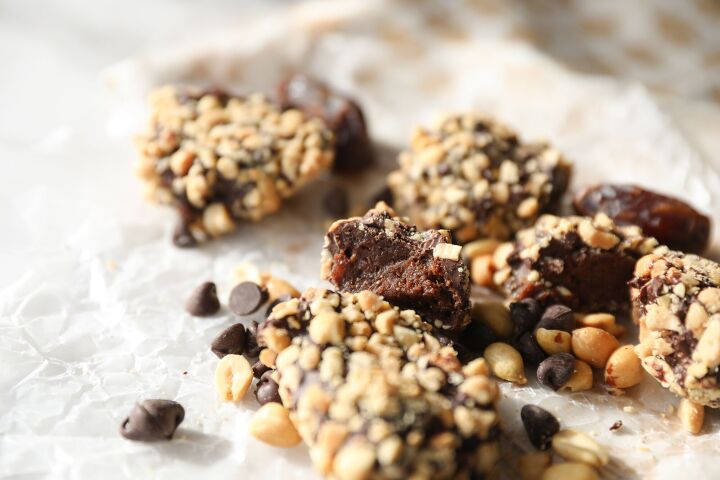
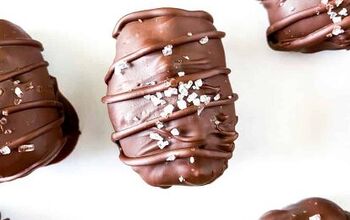
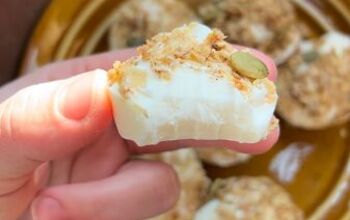
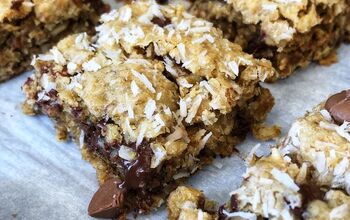
Chocolate Peanut Butter Date Bars
Welcome to your newest craving!
I’ve been wanting to experiment with dates for quite some time, and I’m happy that my first exploration into them led me here, because I LOVE the result!
These Chocolate Peanut Butter Dates Bars are perfect to satisfy your chocolate craving, but are also a great snack with chunks of peanuts and filling dates. And what I love about them is that there’s no added sugar! The natural sweetness of the dates comes through just enough to make a perfect combination of sweet, salty, crunchy, soft… they really are divine!
I originally made these to go with a charcuterie board I assembled, which they worked fabulously for. But I think I might whip these up (did I mention they’re easy to make?) just to have on hand. They’re perfect little nuggets of goodness.
So don’t miss out on this one, scroll down for the full recipe. And make sure to let me know what you think in the comments below! And don’t forget to follow along on Instagram and Pinterest on @theflouredcountertop.
Chocolate Peanut Butter Date Bars
Recipe details
- 12 Bars
- Prep time: 20 Minutes Cook time: 30 Minutes Total time: 50 min


Comments
Share your thoughts, or ask a question!
Looks wonderful
How much water do you use for the dates?