


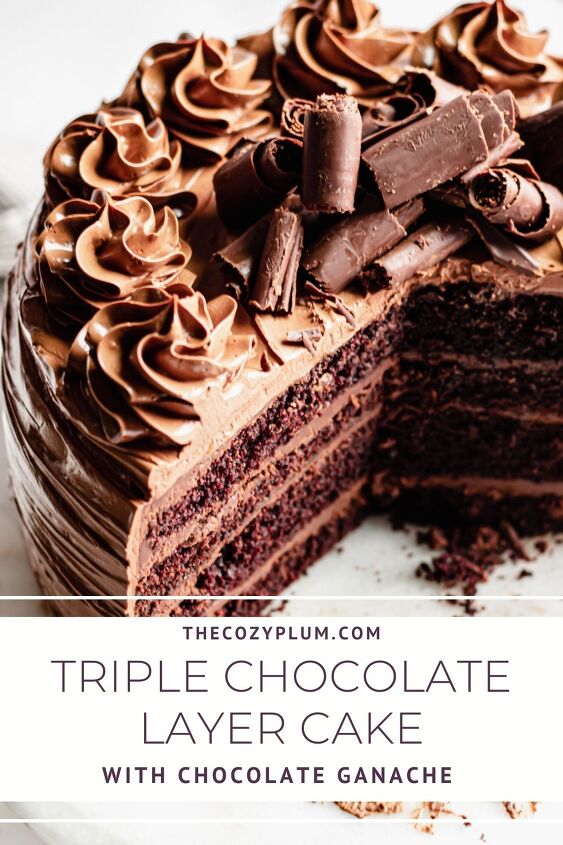
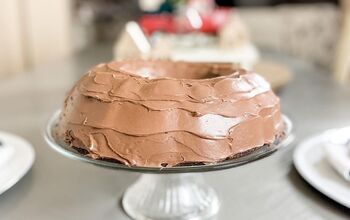
Triple Chocolate Layer Cake
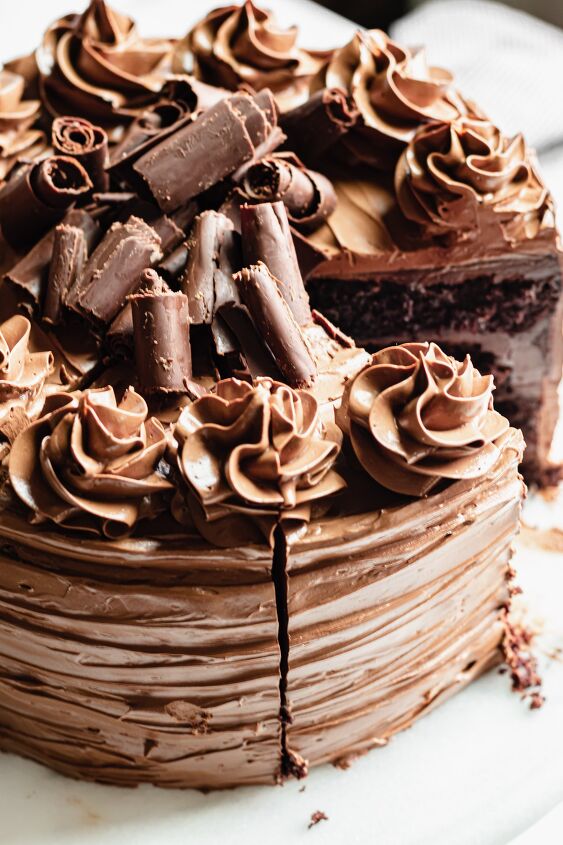
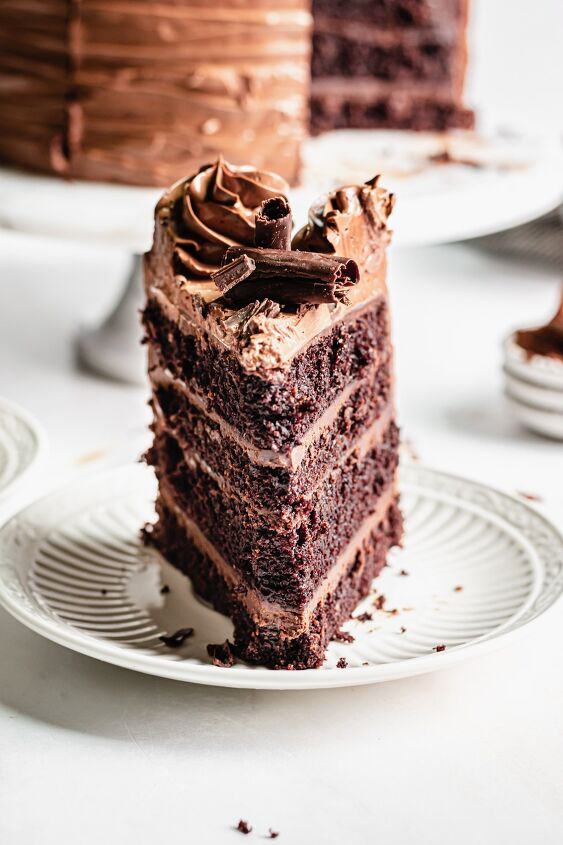
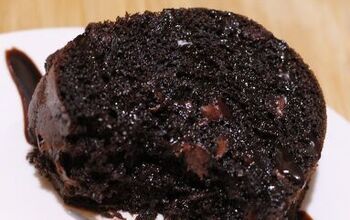
This Triple Chocolate Layer Cake is so moist, fudgy, and packed with chocolate flavor. Ganache is used in between the layers and the whole cake gets covered in a silky chocolate Swiss meringue buttercream. It's SO decadent and is the best cake to celebrate the birthday of a chocolate lover.
Posted: 5/16/2020; Republished: 12/1/2021
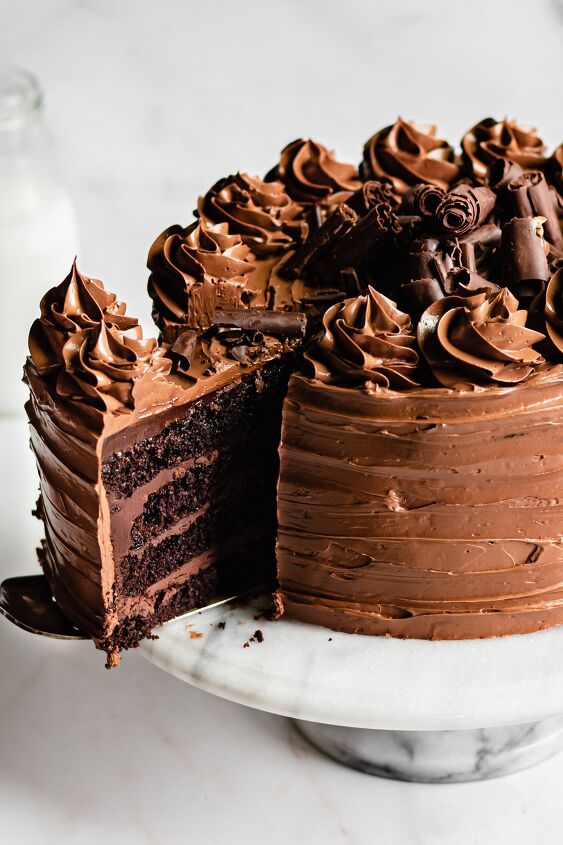
Looking for the BEST chocolate cake? This Triple Chocolate Layer Cake is it. Four layers of chocolate cake filled with a creamy chocolate ganache and covered in the most luxurious chocolate Swiss meringue buttercream.
This cake is better than box mix, made totally from scratch, and is so incredibly decadent. Rather than using a super sweet American buttercream, this Swiss meringue buttercream is only lightly sweet which compliments the chocolate in the cake and the ganache layers perfectly.
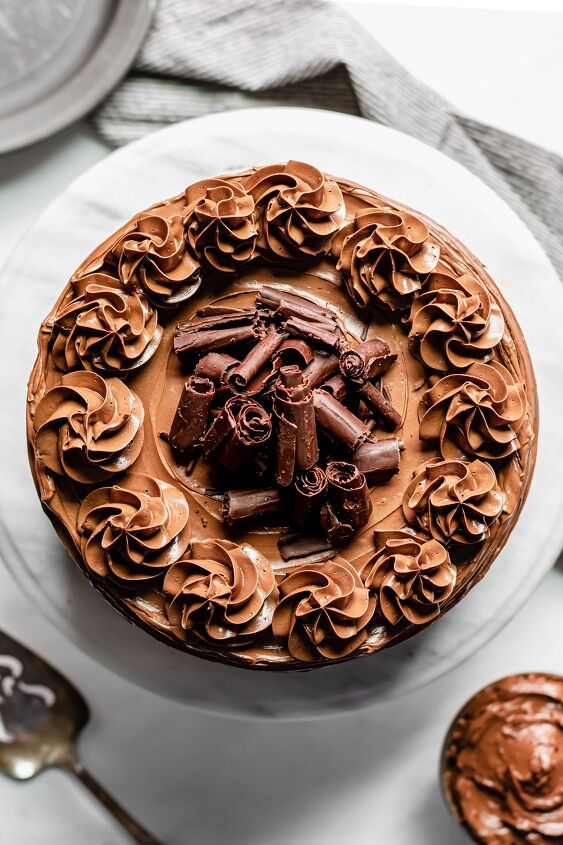
Top the cake with these fun (and super easy) chocolate curls for the most festive version. This cake is perfect for any birthday celebration, or for any reason, really!
Want the chocolate cake in cupcake form? Follow the instructions for my Double Chocolate Strawberry Cupcakes and sub out the strawberry frosting for the chocolate frosting in this recipe!
For this Triple Chocolate Layer Cake recipe, you'll need chocolate in three forms: for the cake, ganache, and frosting. Be sure all butter, dairy, and eggs are at a true room temperature before using. Unsure what room temperature butter means? Check out my Butter 101 post.
- Dry ingredients. All-purpose flour, baking soda, baking powder, cocoa powder, kosher salt.
- Cocoa powder. This recipe uses dutch-processed cocoa powder. In most grocery stores, this will be the Hershey's Special Dark Cocoa, but I like to use Rodelle and order online.
- Large eggs. You'll need full eggs, some yolks, and some whites. The whites will be used for the frosting. You'll need 6 eggs in total.
- Unsalted butter. Four sticks total (452g) are needed between the cake and should be at room temperature.
- Vegetable or canola oil. The oil is necessary to offset the cocoa powder, as it's a particularly drying ingredient. The oil keeps the cake moist!
- Dairy. Rather than using buttermilk, this cake uses both sour cream and whole milk. Greek yogurt can also be used in place of sour cream.
- Coffee or water. This needs to be simmering hot from a stove (tap water won't be hot enough). The coffee helps with depth of flavor, but water can be used instead. The hot liquid also helps to bloom the cocoa powder, enhance the flavor, and get it evenly distributed in the batter.
- Semi-sweet chocolate (60-70% cacao). It's best to use chocolate bars and chop them up as they melt best this way. Semi-sweet chocolate chips can be used in a pinch.
- Heavy whipping cream. For the ganache - this cannot be substituted.
- Granulated sugar. For both the cake and the buttercream.
- Stand mixer with whisk and paddle attachment. A handheld mixer can also be used, if necessary.
- Offset spatula
- Piping bag. For decorations (optional)
- Bench scraper. For chocolate curls (optional)
Before beginning, be sure all ingredients are at room temperature. This includes the butter, eggs, sour cream and milk.
Because this cake includes quite a few ingredients, I like to measure everything out before hand to be sure I'm not missing any ingredients as I go along.
STEP 1: Preheat the oven to 350℉/177℃. Grease and parchment line two 8-inch round cake pans and set aside. I like to use pre-cut parchment rounds, but you can also follow this parchment tip to line the bottom of your cake pans.
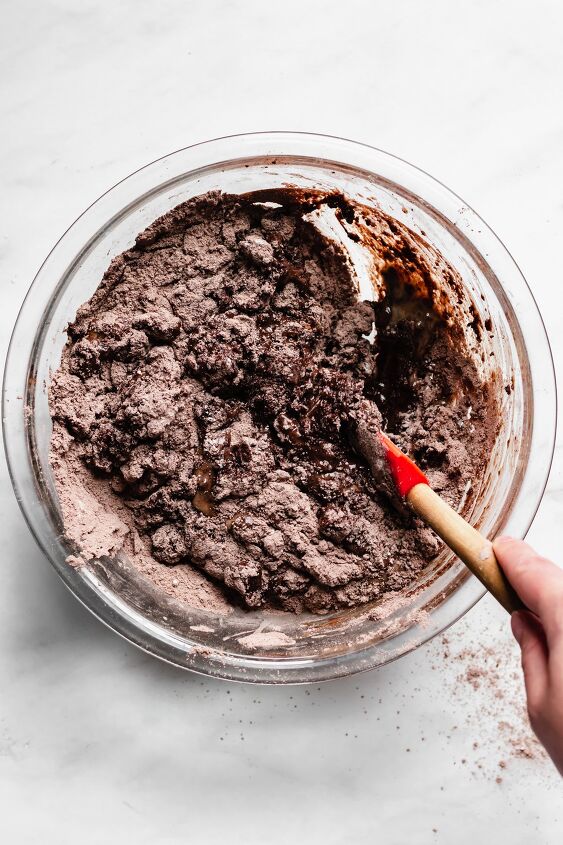
In a large bowl, whisk together the dry ingredients (flour, sugar, cocoa powder, baking soda, baking powder and salt).
In a separate bowl, whisk together the eggs and egg yolks, oil, butter, greek yogurt, milk and vanilla until smooth, then add to the dry ingredients and mix until incorporated.
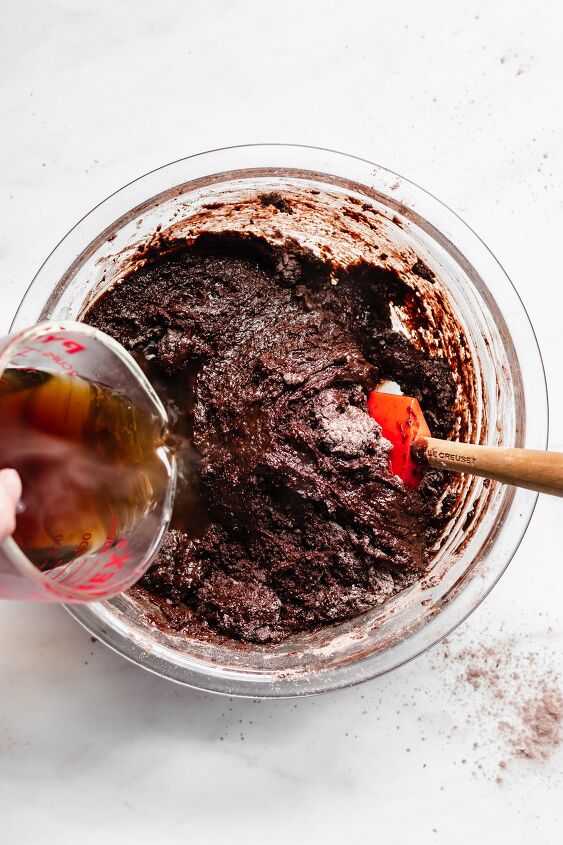
Next, add in about ⅓ of the hot coffee and quickly stir to temper the mixture. Add in the remaining coffee and mix until fully combined, careful not to slosh it over the sides. It's a very loose batter.
STEP 2: Divide the batter evenly between the two pans (I like to use a digital kitchen scale for this) and bake on the middle rack for 30-35 minutes or until a toothpick inserted in the center comes out clean and the sides are starting to pull away from the pan.
Cool on a wire rack for 10 minutes, then remove the cakes from the pans, take off the parchment layer, and finish cooling on the racks. When cool, wrap each cake layer in plastic wrap and transfer to the fridge for about an hour while you work on the next steps.
Don't skip the fridge time! This helps the layers to firm up, which will make frosting and assembling the cake much easier.
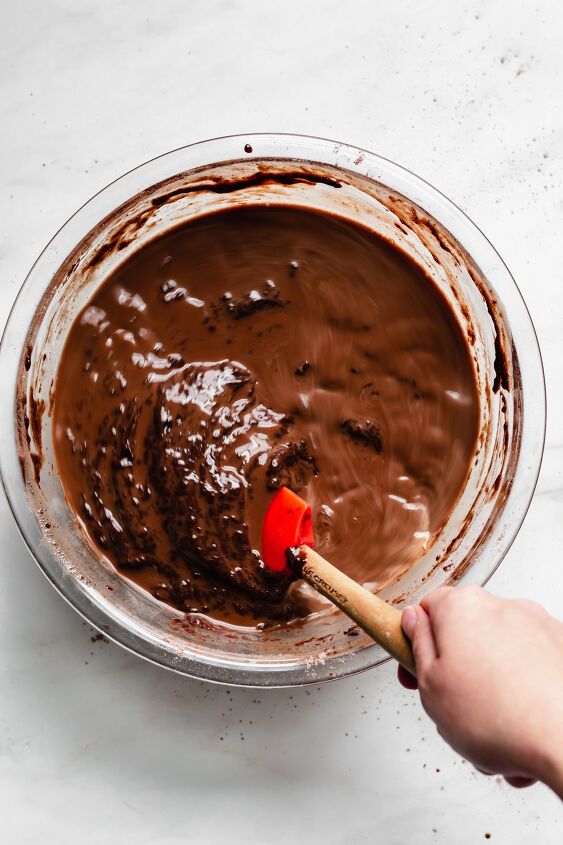
STEP 3: Begin by chopping the chocolate and placing in a heatproof bowl. Heat the heavy whipping cream in a small saucepan until it's just about to simmer, then pour over the chopped chocolate.
Allow it to sit for about one minute, then use a mini rubber spatula or spoon and mix, stirring from the center and slowly move outwards until the mixture is totally combined.
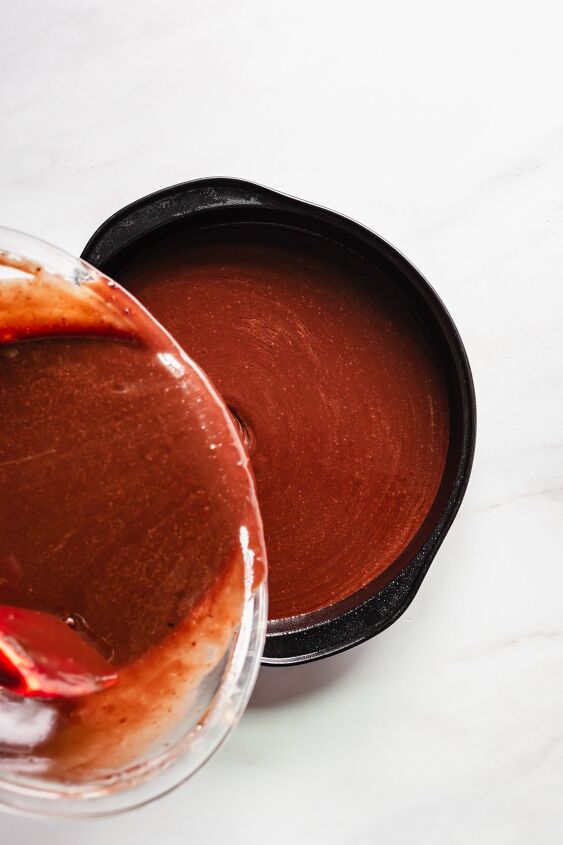
Keep the ganache at room temperature as the cake chills in the fridge and allow it to cool off and thicken up. Once it's at a spreadable consistency (think creamy peanut butter), it's ready to use.
If you need to speed up the thickening process, pop it in the fridge or freezer and stir it every 5 minutes until it becomes the correct consistency.
This buttercream is the most luscious buttercream you'll ever eat! It's far less sweet than a traditional American buttercream and compliments the cake perfectly.
STEP 3: Start by chopping and melting the chocolate. I do this in 20-second bursts in the microwave and stir in between each until it's smooth. You can also do this in a double boiler.
Once melted, stir the mixture occasionally to help it cool.
STEP 4: Next, prepare a double boiler for the meringue. Add about 1 inch of water to a saucepan and place a heatproof bowl over top. Be sure the bottom of the bowl does not touch the water.
Separate the eggs and take care not to get any yolks in the whites. Then, add the whites, sugar, and salt to the bowl. Whisk, and turn to medium heat. Continue whisking occasionally until the sugar dissolves and the mixture becomes slightly foamy and warm to the touch.
To test if the sugar is dissolved, rub your fingers together in the mixture. If you can still feel sugar granules, keep heating and whisking until you can no longer feel the granules.
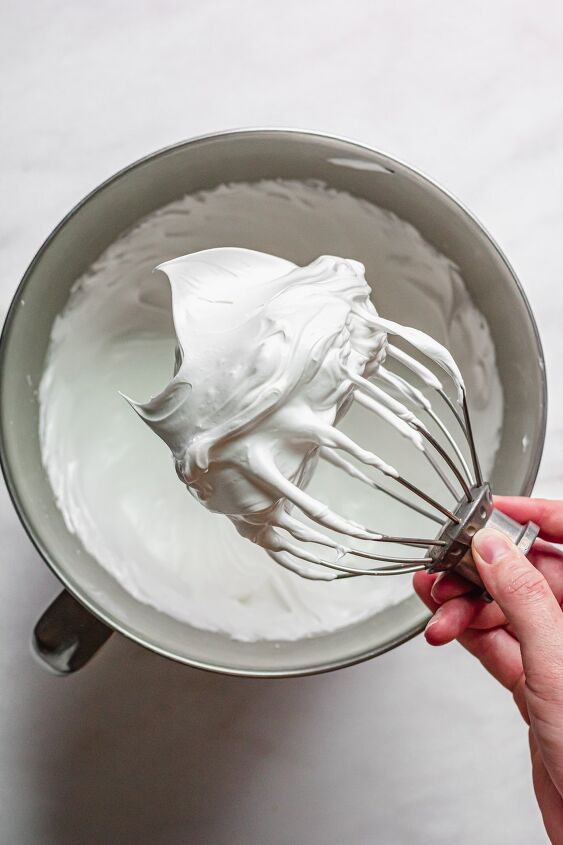
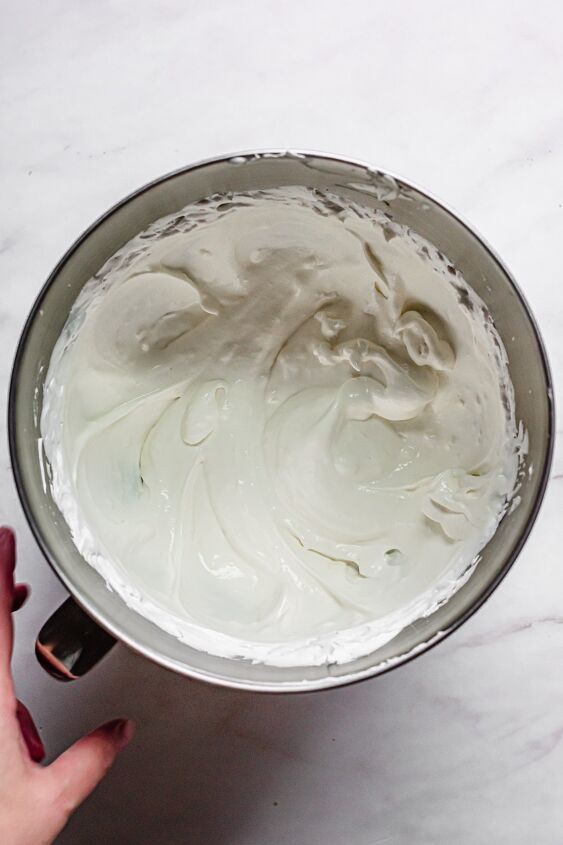
STEP 5: Transfer the egg white mixture to the bowl of a stand mixer fitted with the whisk attachment and mix on high speed until the meringue reaches stiff peaks and a ball of meringue holds in the center of the whisk.
Be sure the bowl is no longer warm to the touch before adding the butter. If stiff peaks have formed but the bowl is still warm, allow it to sit until it cools off.
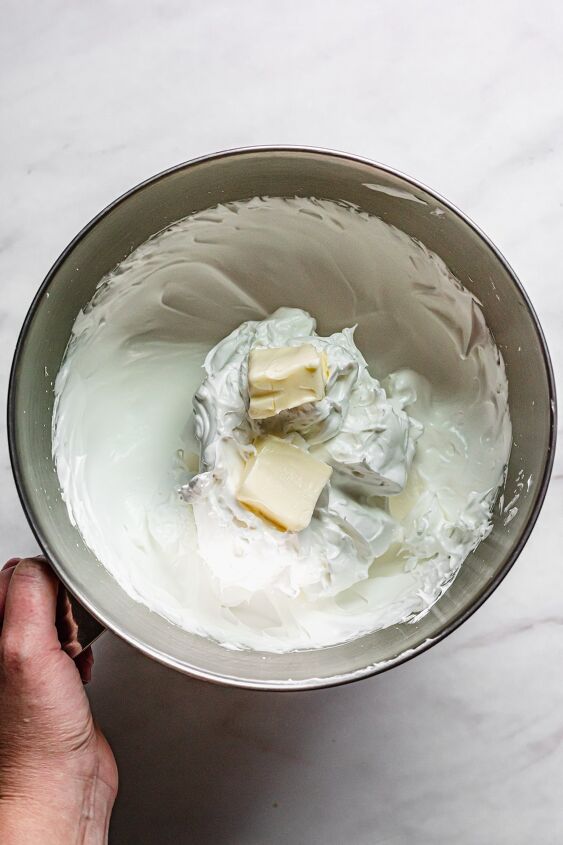
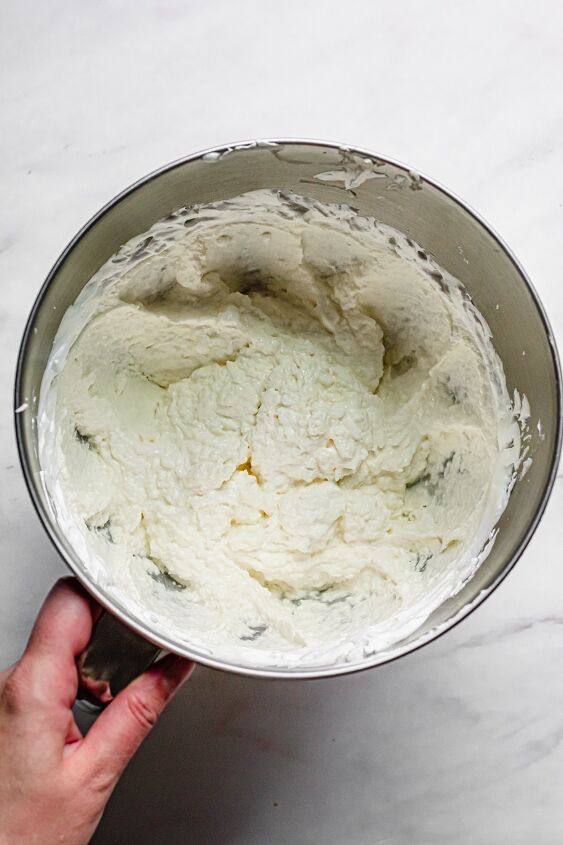
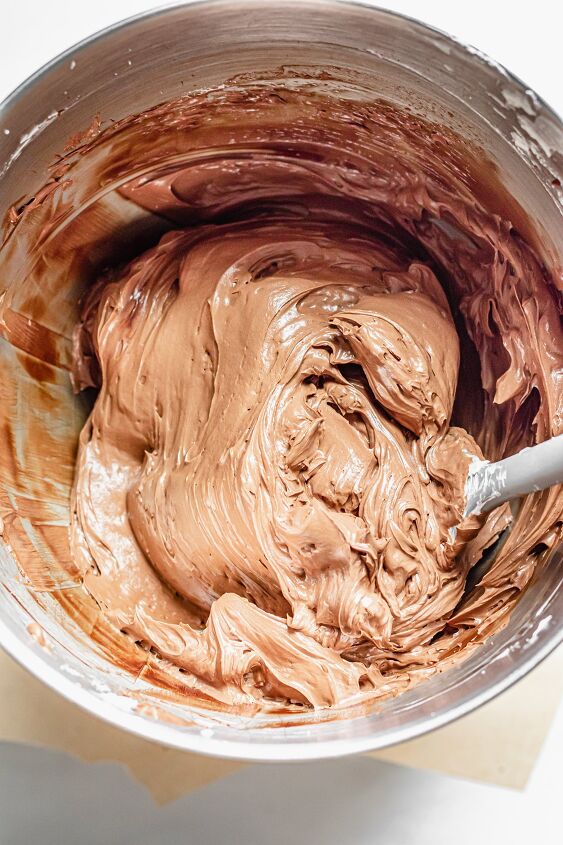
STEP 6: Once the bowl is cool, switch to the paddle attachment, turn the mixer on medium and add the room temperature butter two tablespoons at a time. Wait to add the next bit until the previous addition is incorporated.
Note that after about half of the butter has been added that the mixture will look thin and potentially curdled. This is normal! Continue adding the butter until it's gone and then let the mixer run until it starts to thicken and look smooth. About a minute.
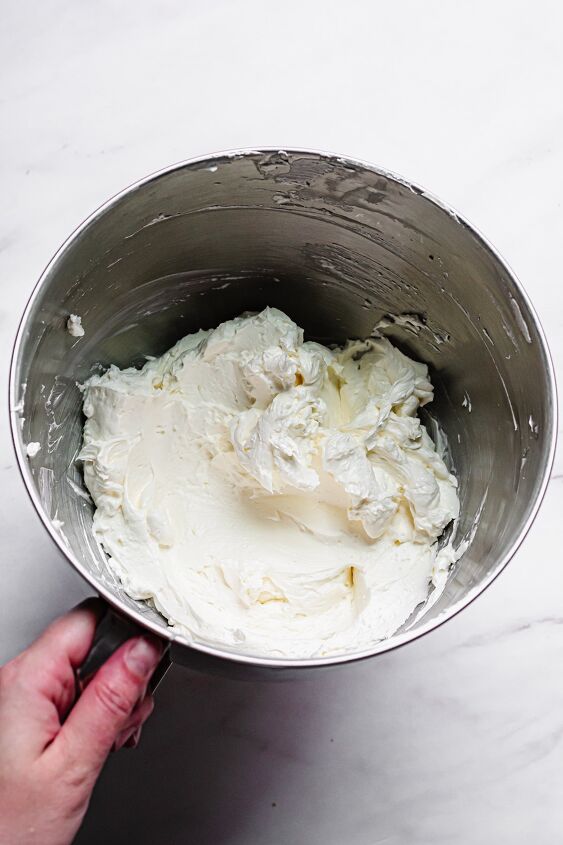
At this point, a swipe through the mixture with your finger will show a fluffy, creamy frosting.
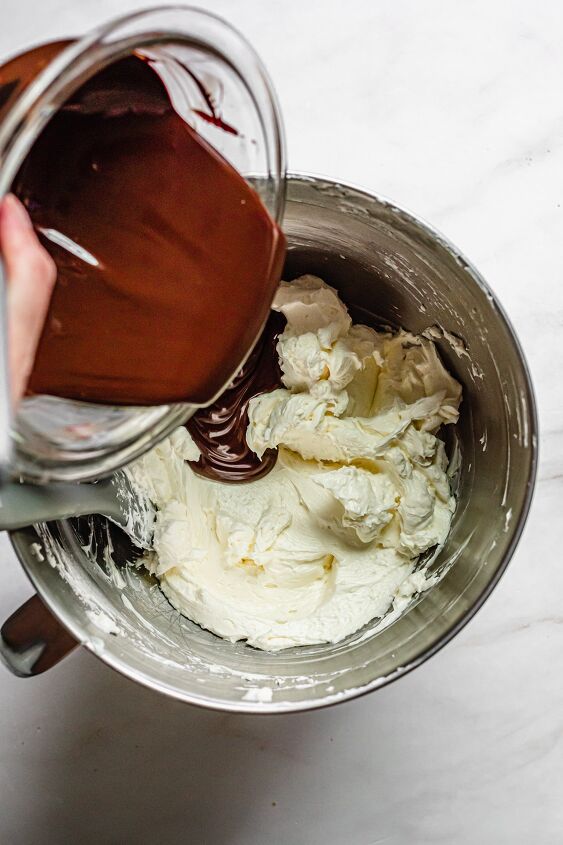
STEP 7: With the mixer on low, add in the cooled and melted chocolate and mix until combined.
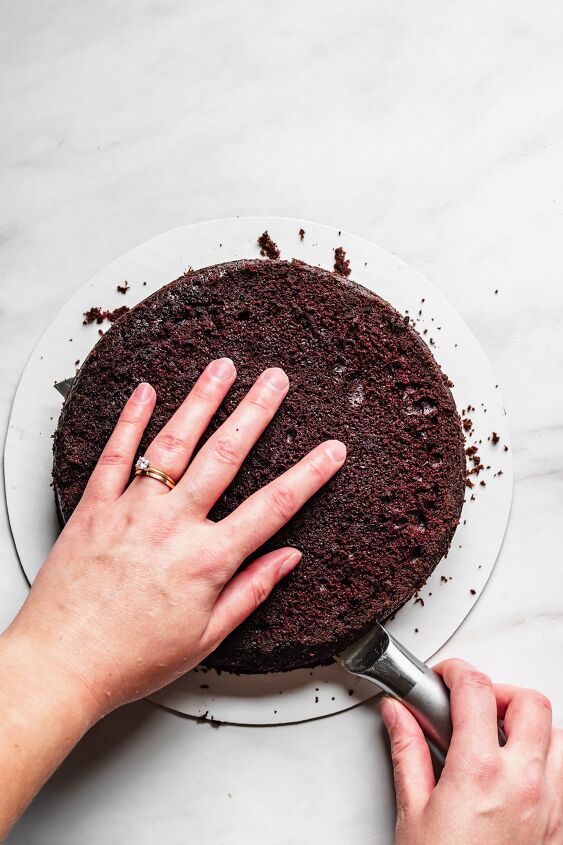
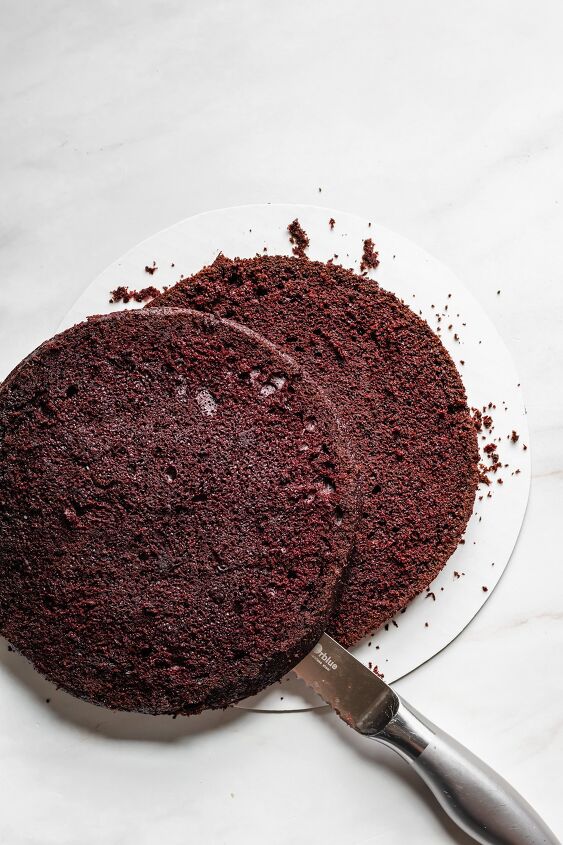
STEP 8: Remove the cake layers from the fridge and using a serrated knife, cut any dome off of the top so the cake becomes flat. Then, cut each cake round evenly in half so you have 4 layers.
Score an edge around the outside to make sure it's even, then begin pulling the knife towards yourself and the center, moving the cake in a circular motion.
Add a small dollop of buttercream to a cake stand or whatever you plan to serve the cake on and add the first cake layer. This helps the cake from moving around.
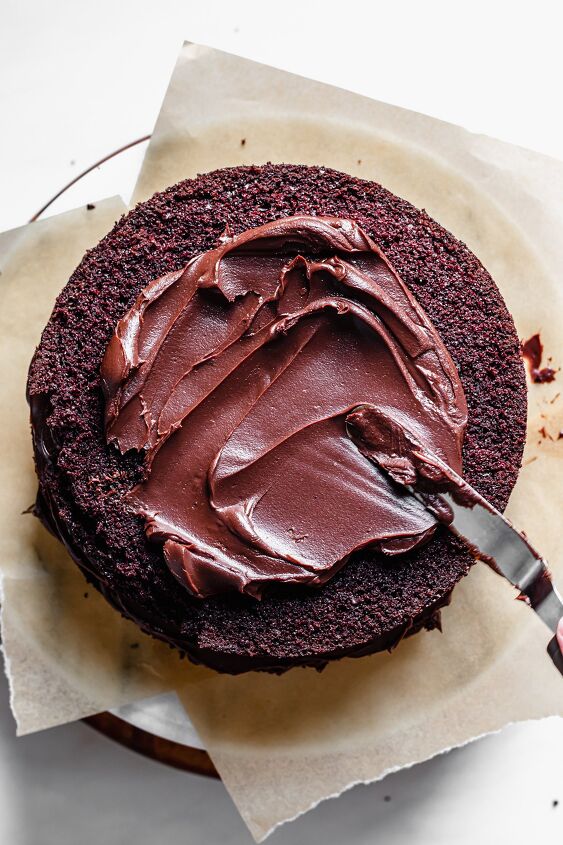
STEP 9: Add a large dollop (~⅓ cup) of ganache to the first layer and spread evenly to meet the sides. Add the next layer and repeat until all 4 cake layers are assembled and stacked.
Add the remaining ganache (be sure to scrape out every last bit, there's just enough to cover the entire cake) and fully cover the top and sides with a very thin layer.
Transfer the cake to the fridge to chill for 15-30 minutes or until the ganache has hardened and sealed the cake.
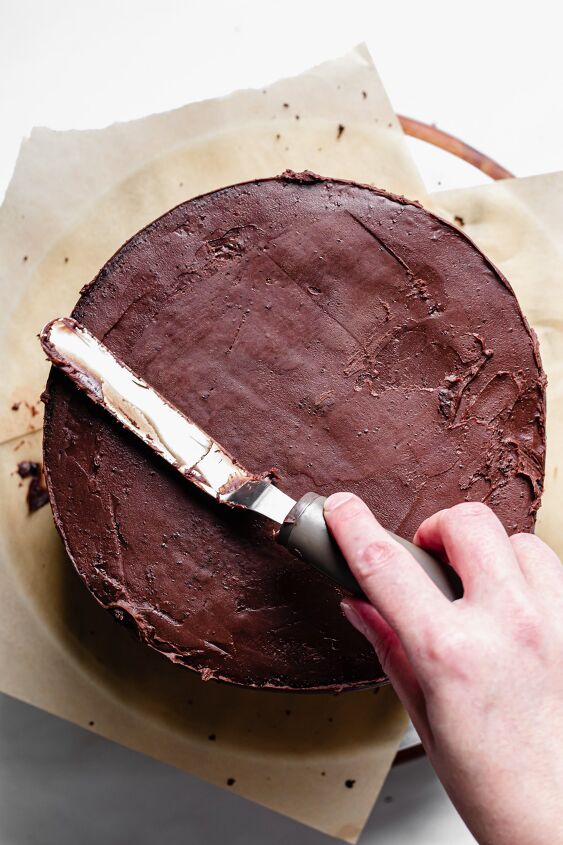
Cut 3-4 rectangular pieces of wax or parchment paper and slide it under the cake on all sides. You will remove these when you’re done icing the cake - this helps to keep a clean presentation surface.
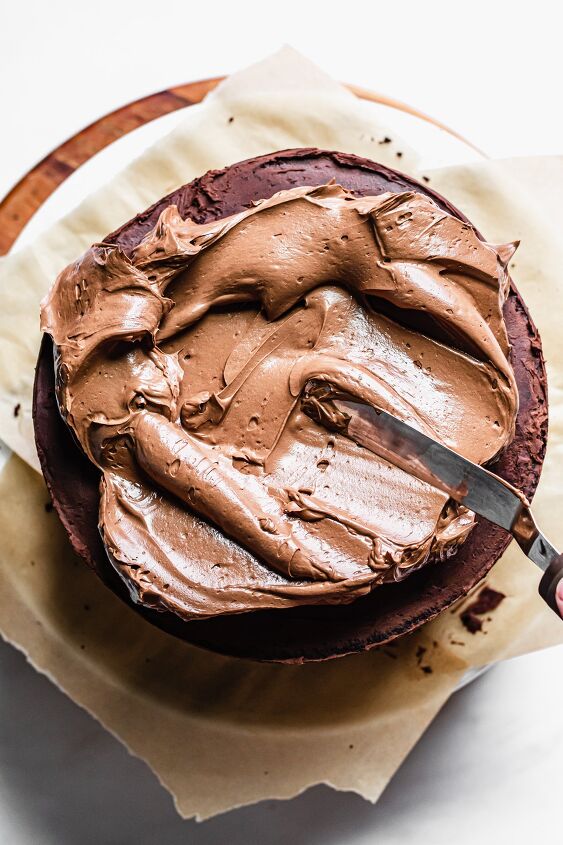
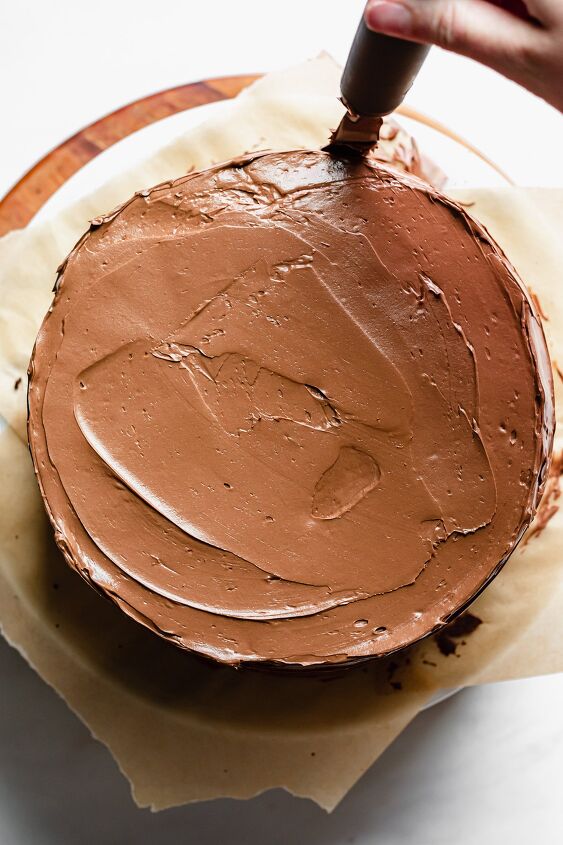
STEP 10: Cover the cake completely with the chocolate Swiss meringue buttercream. I like to add a few large dollops to the top, and work it down the sides. Then, smooth it out with the offset spatula (or a cake scraper).
If you have a turn table, you can replicate this design by holding the tip of the offset spatula at the bottom of the cake and slowly move upwards as the table turns. For the top, start from the center and slowly move the spatula outwards as the table turns.
STEP 11: Using a piping bag with a piping tip (I used a Wilton 1M), pipe swirls onto the top. This step is optional, but makes for a nice presentation.
STEP 12: To make the chocolate curls, melt together ½ cup chocolate and 1 tablespoon of vegetable or canola oil. Spread evenly into a very thin layer on the bottom of a clean cookie sheet and place into the freezer until solid.
Remove from the freezer and let stand for about 2 minutes, the use a bench scraper at a 45 degree angle to push from the bottom to the top to create the curls.
If the chocolate isn't curling and just making shards, it may still be too cold, so give it another minute and try again. If it becomes too soft and just folds, return to the freezer for a few minutes.
You'll get the hang of it after a few rounds! Watch me make the curls.
Store the cake at room temperature for two days, only covering the cut and exposed cake pieces with plastic wrap.
After two days, move the cake to the fridge and keep for one week total. Allow the slices of cake to come to room temperature before eating.
To freeze, flash freeze sliced pieces on a baking sheet with parchment paper, then wrap completely in plastic wrap and transfer to a ziptop bag. Store the slices for up to two months. Unwrap completely and thaw at room temperature before enjoying.
If you have any leftover buttercream, it stores at room temperature for two days and in the fridge for a week. After being in the fridge, you’ll have to bring it back to room temperature and whip it again for a minute or two.
It can also be frozen and stored in an airtight container for 3 months. Transfer it to the fridge to defrost, and whip to make airy and light again.
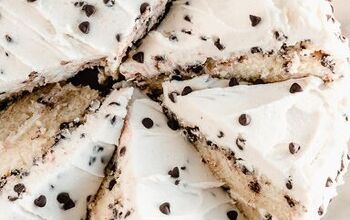
I would highly suggest making these One Yolk Chocolate Chip Cookies by Buttermilk. Rave reviews and absolutely delicious.
How to make a cake moist?The best way to get a moist cake is to include fat and sugar. Sugar is hygroscopic, meaning it absorbs and holds liquid. The more sugar, the more moist your cake will be!
- Double Chocolate Strawberry Cupcakes
- Chocolate Snack Cake (with Salted Caramel Frosting)
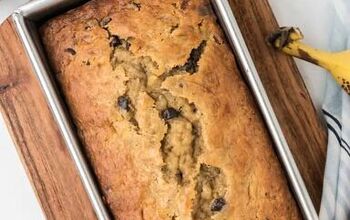
- Double Chocolate Banana Muffins
- Chocolate Espresso Tart
- Chocolate Chai Snickerdoodles
- Caramel Brownie Pie
Be sure to tag me on Instagram @thecozyplum and use I can't wait to see your creations. For more ideas, follow me on Pinterest.
Triple Chocolate Layer Cake
Recipe details
- 12 servings
- Prep time: 1 Hours Cook time: 30 Minutes Total time: 1 hr 30 min


Comments
Share your thoughts, or ask a question!
Looks Devine. It’s a lot of steps but will definitely try to make it.