


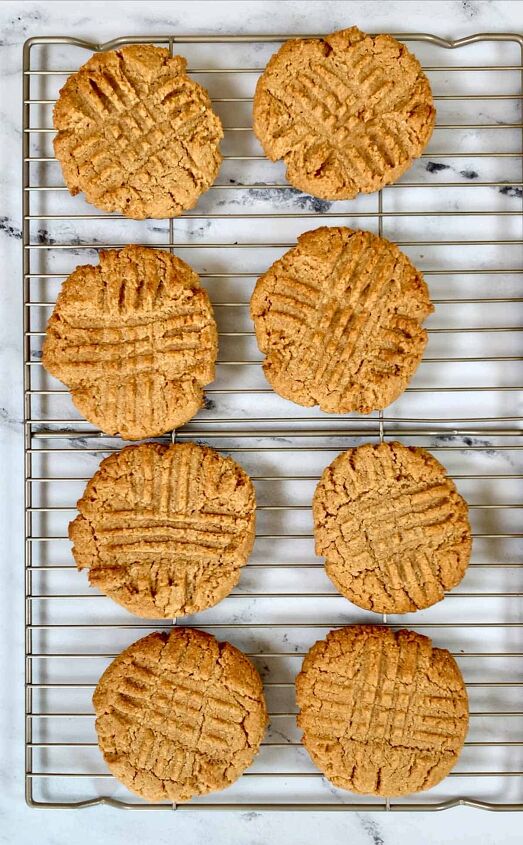
Almond Flour Peanut Butter Cookies (Video)
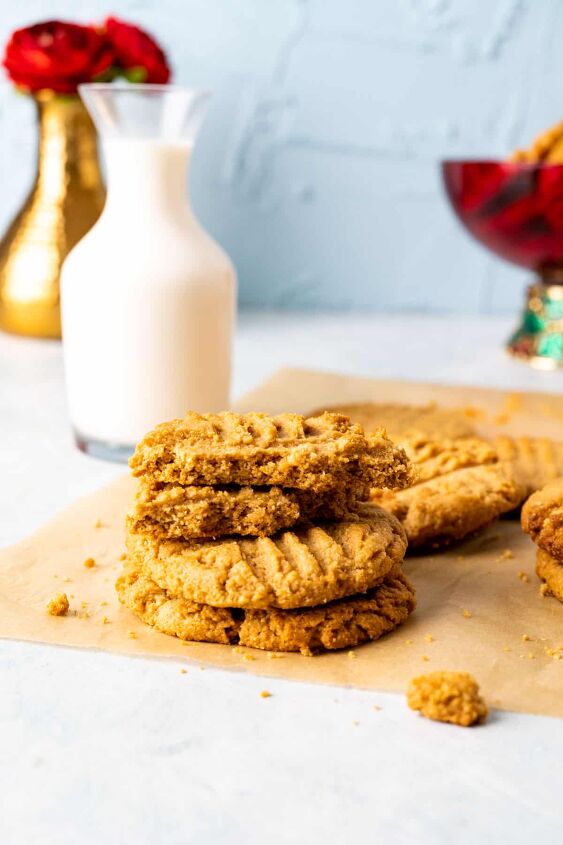
With these peanut butter cookies you are in for a treat for a bursting peanut butter flavor, soft, delicious, amazingly tasteful and chewy cookies. These cookies have crunchy golden edges with nuttier flavor and the best part is they are super easy to put together.

I love using peanut butter in my bakes. I posted Peanut Butter Cookies and 1930’s depression era Peanut Butter Bread recipe a while ago, which were both loved by the readers.
This is a personal favorite fool-proof recipe that requires simple ingredients and a few minutes of your time.
Almond flour, as the name suggests, is made by blanching almonds in boiling water to remove the skin. The almonds are then ground and sifted into fine flour.
Gluten Free: Almond flour is gluten-free and wheat-free. Anyone who has a gluten intolerance because of celiac disease and/or wheat intolerance can use almond flour as a substitute for many recipes.

I prefer regular creamy peanut butter but you can use crunchy peanut butter, it’s all about the preference.
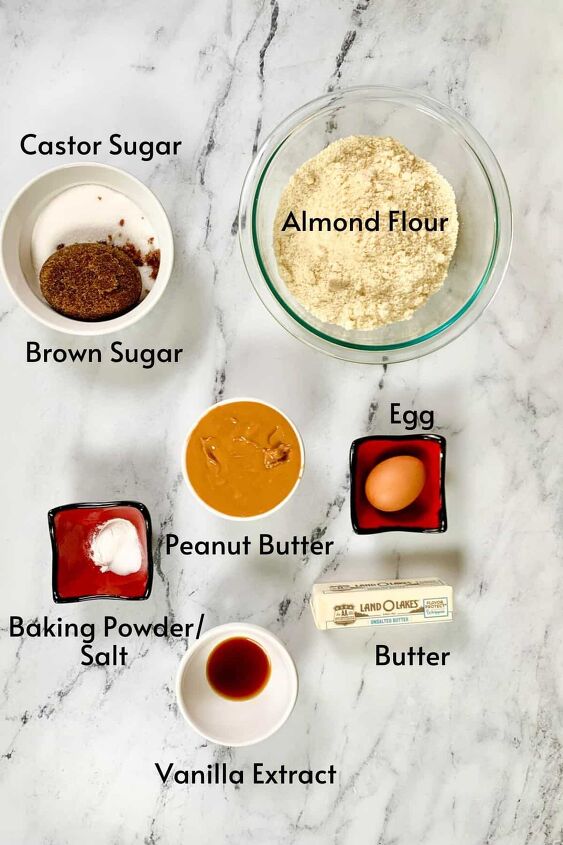
Almond Flour – Blanched almond flour (I purchase mine from Costco). Do not use almond meal.
Step 1: Take a bowl and combine almond flour, baking powder and salt. Whisk and set aside.
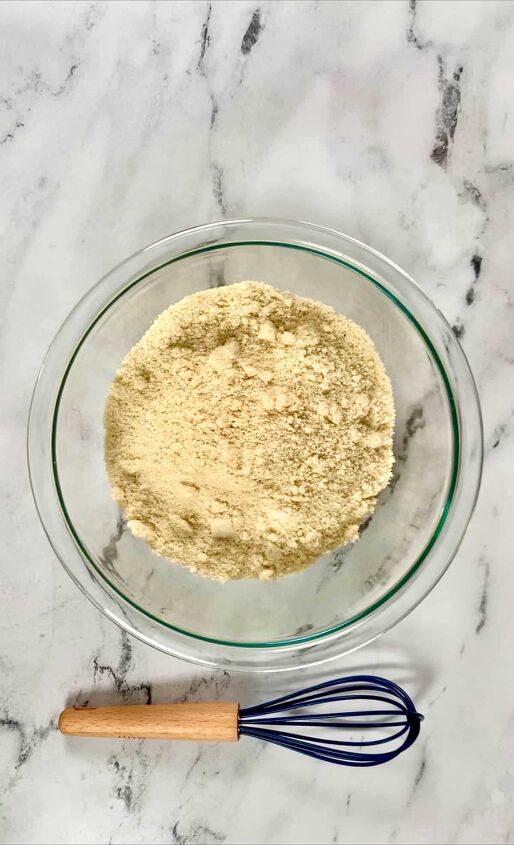
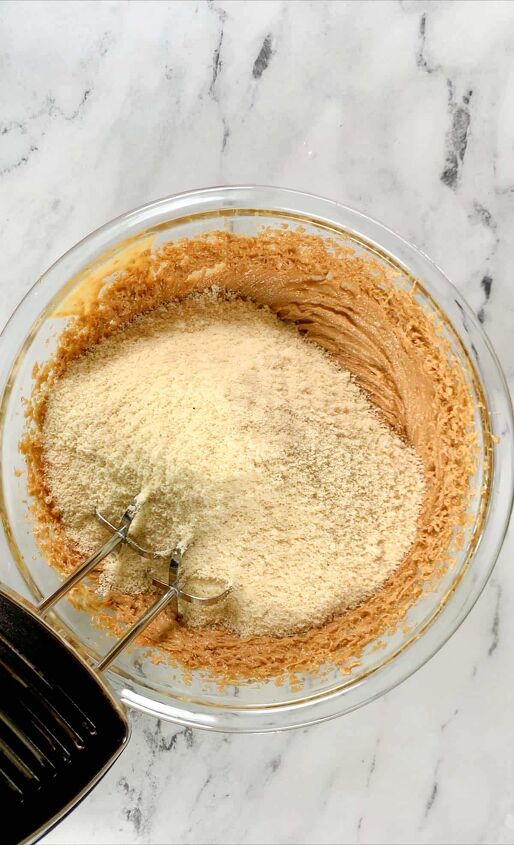
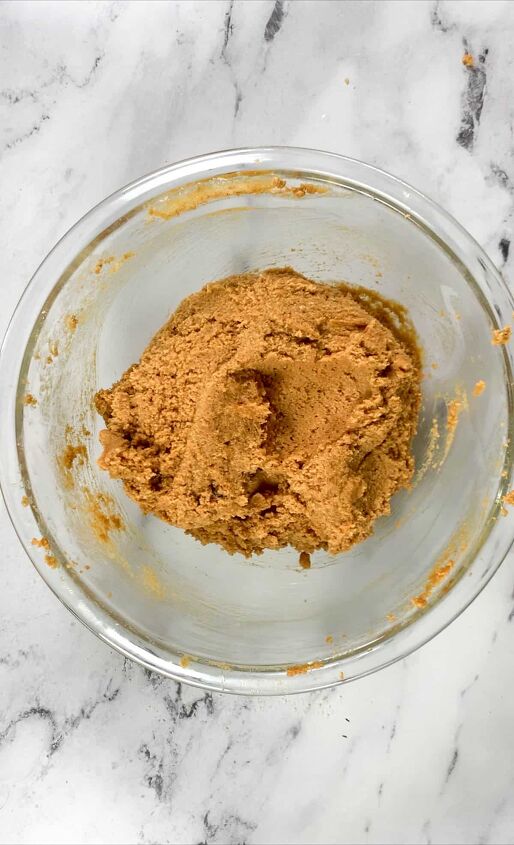
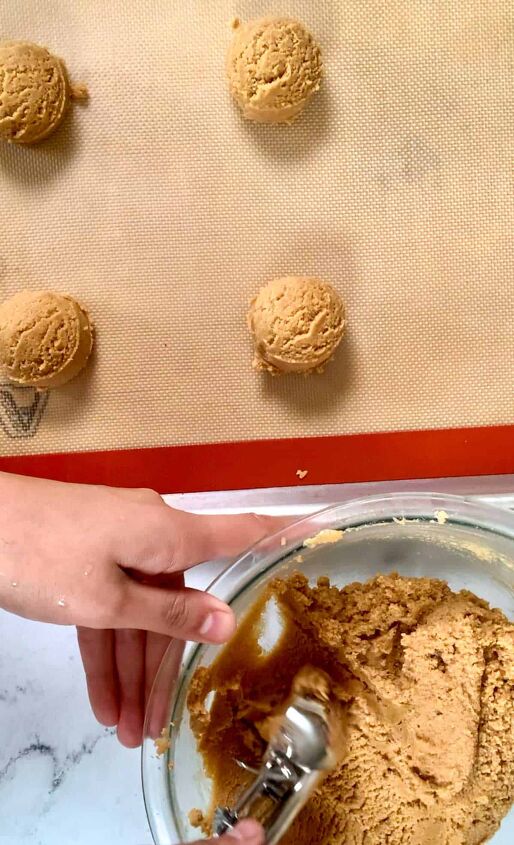

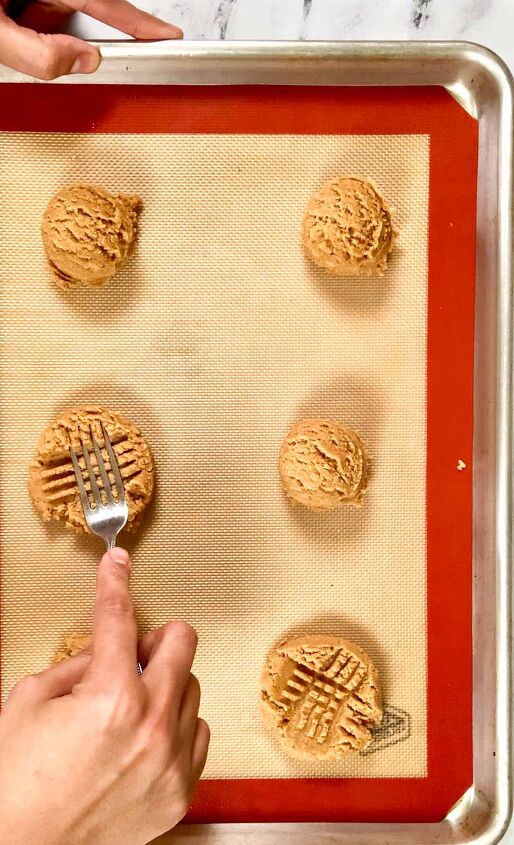
Step by Step Instructions
There are a few variations depending on your choice that you can add in the recipe.
Chill the Dough: Chill the dough in the fridge for at least one hour. You can leave it overnight in the fridge as well. The chilling will help with the cookies to rise properly in the oven.
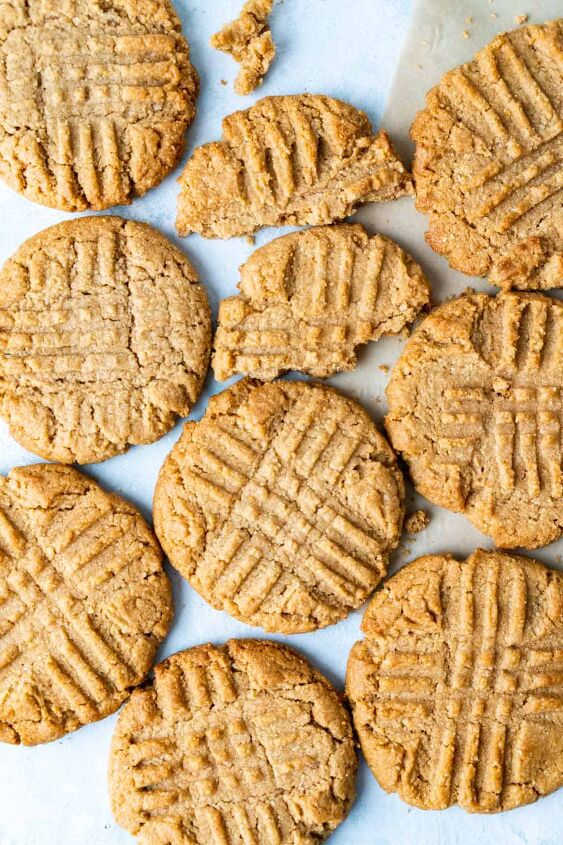
Do not Over-Bake the Cookies: Keep an eye on the cookies while they are baking in the oven. The baking time may vary from 9 – 12 minutes but you want to make sure you take the cookies out when the edges are light brown in color.
Yes – you can do it. The difference between almond flour and almond meal is that almonds are blanched, peeled and then ground while almond meal is almonds ground with almond peels.
Can I use chunky peanut butter instead of the natural peanut butter?Yes, you may use any type of peanut butter for this recipe, crunchy or creamy – both will work fine and give you the desired results.
Can I make the dough ahead of time?Yes, you can make the dough and keep it in the fridge for 2 – 3 days. Bring the dough to room temperature before baking as the fats will solidify in the fridge. You can also freeze the dough balls. Scoop out the cookies on the baking tray, place in the freezer and once the balls are harder, put them in a plastic bag and freeze for up to 3 months.
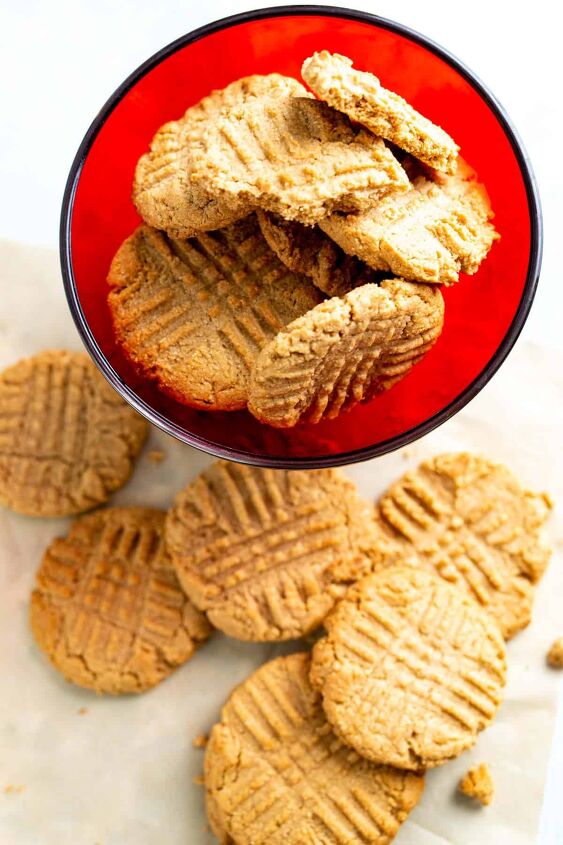
On the Counter: These cookies will keep fresh in an air-tight container for up to 3 – 4 days.
- Peanut Butter Cookies
- Peanut Butter Bread
If you have tried this recipe and loved it, please leave a rating and comment below. Your valuable feedback means a lot and helps me to tailor the content on the blog accordingly.
Almond Flour Peanut Butter Cookies (Video)
Recipe details
- 17 cookies
- Prep time: 10 Minutes Cook time: 10 Minutes Total time: 20 min


Comments
Share your thoughts, or ask a question!
I would like to add choc chips to the batter..prob mini chips. What so you think?
thanks.