


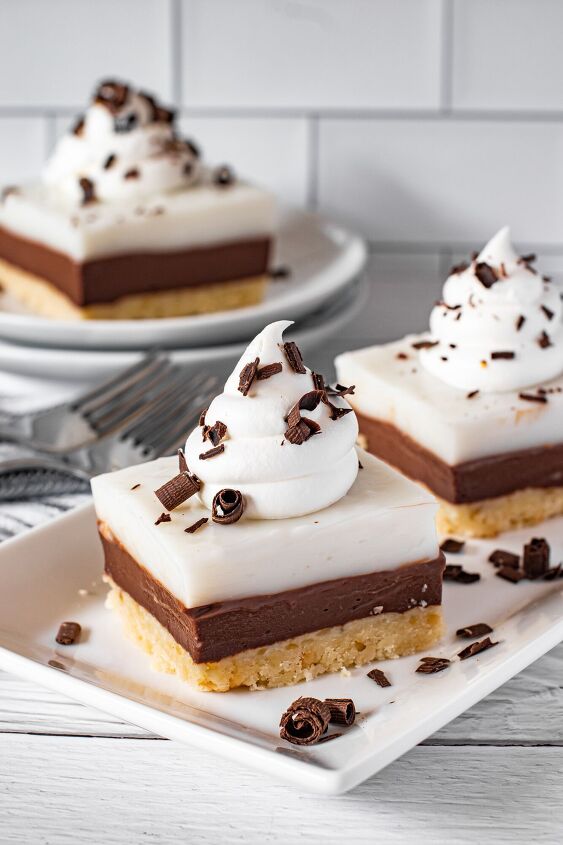
CHOCOLATE HAUPIA BARS
These bars have the best of both worlds; a rich, delicious chocolate layer topped with creamy smooth haupia. The macadamia nuts in the shortbread crust complement the other flavors in the dessert perfectly, creating a dessert that promises to be a real crowd-pleaser.

I love creating desserts that combine haupia with other desserts. Haupia is so versatile and goes well with so many different flavors. I’ve made a Chocolate Haupia Cream pie, which this dessert is based on, as well as a Pumpkin Haupia Pie. But, of course, haupia is delicious enough as a stand-alone dessert.
What is Haupia?
Haupia is a classic Hawaiian dessert made with coconut milk, sugar, and a thickener, usually cornstarch. Haupia thickens into a Jell-O-like consistency that is smooth, delicate, and creamy. Haupia is often served as a stand-alone dessert eaten at luaus or served with Hawaiian plate lunches. But you will also find haupia layered on other desserts, like this one, for unique and delicious combinations. Combining chocolate and haupia is a winning combination as the chocolate and coconut from the haupia complement each other perfectly.
How to Make Chocolate Haupia Bars?
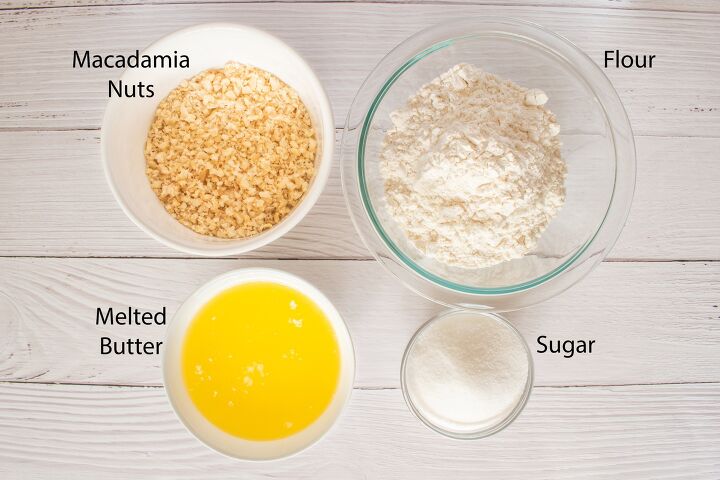
You start with the amazing macadamia nut crust. The crust is basically a shortbread crust with chopped macadamia nuts added. You’ll need:
- sugar
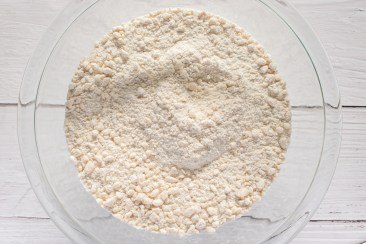
- flour
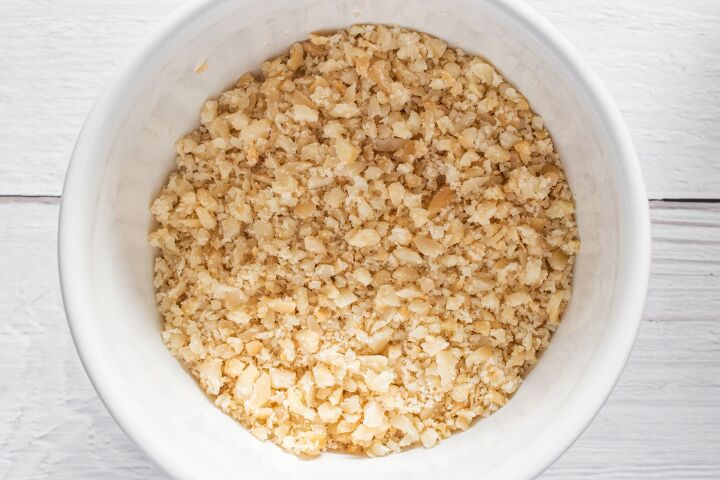
- macadamia nuts
- butter
I like to use a nut chopper to chop my nuts. It can be quicker than using a knife, and you will end up with more uniform pieces. You also often have a measuring cup built into the chopper, so it is easy to tell when you’ve chopped enough.
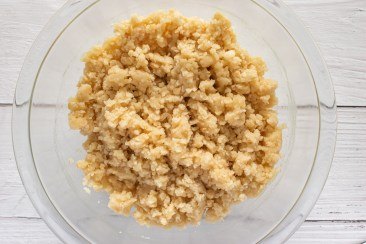
- To make the crust, combine the sugar, flour, and chopped nut. Add the melted butter and stir with a fork until evenly moist.
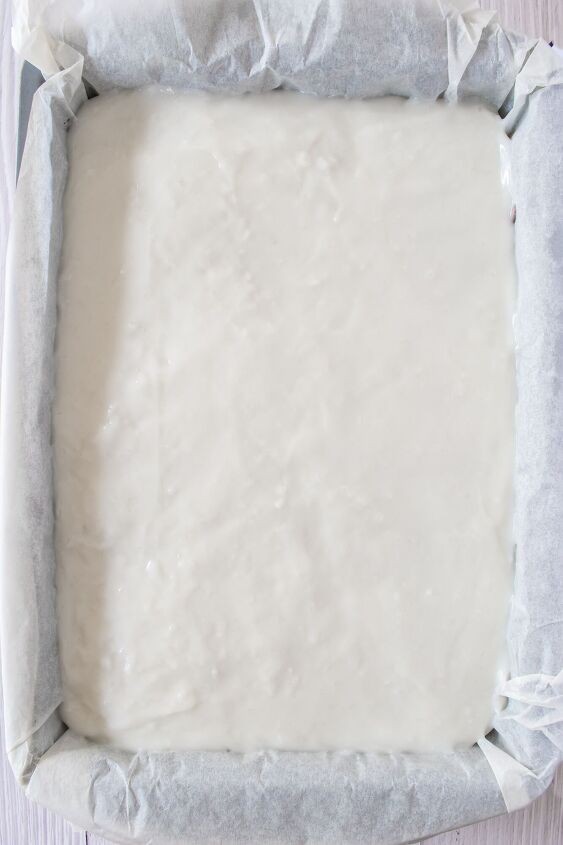
- Press the crust into a parchment paper-lined 9×13-inch pan.
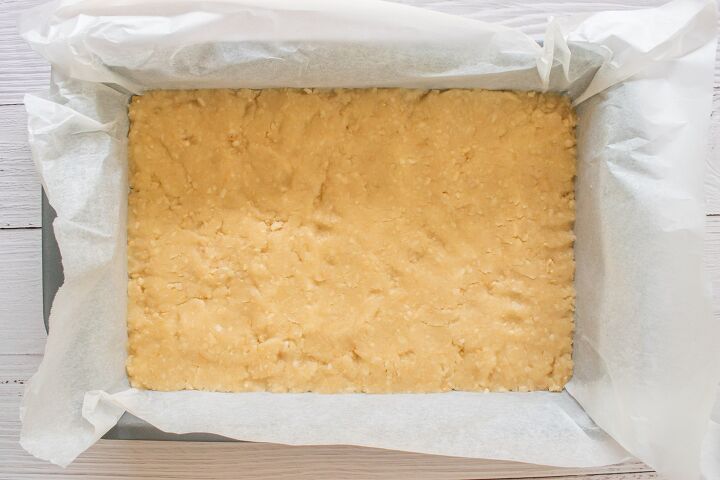
Bake at 350°F for 15 to 20 minutes. The edges should be golden brown. Allow the crust to cool before adding the haupia filling.

Making the Haupia Filling
- Combine the cornstarch and water, stirring until smooth. Set aside.
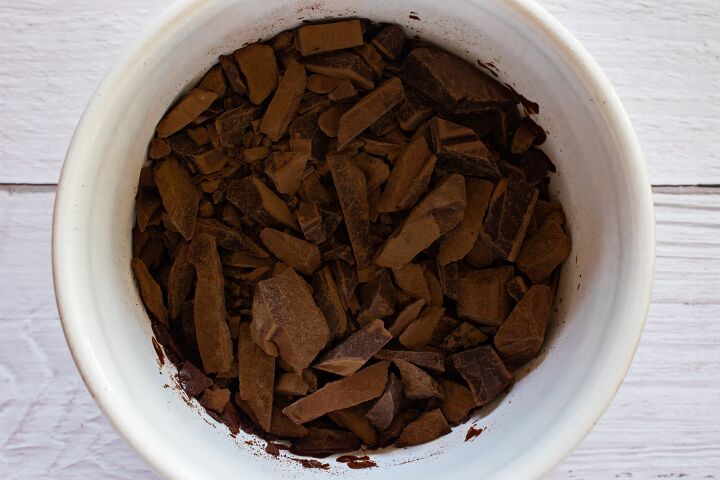
- Chop up 8 ounces of baker’s chocolate into small pieces. Add to a microwave-safe bowl and set aside for now.
- In a medium saucepan, combine the milk, coconut milk, salt, and sugar. Heat over medium-high heat, stirring frequently, bring almost to a boil (you should start to see bubbles, but do not allow it to come to a full boil).
- Immediately remove it from the heat and whisk in the cornstarch mixture. Return the pan to the stovetop and turn the heat down to medium-low. Continually whisk for 15 minutes. The mixture should thicken to the consistency of thick yogurt. Be sure to cook the haupia for the full 15 minutes!

- Remove from the heat and stir in the coconut extract. Allow to cool for a few minutes.
- While the haupia cools slightly, microwave the chopped-up chocolate in 15-20 second intervals, stirring between intervals. The chocolate is done when only a few small chunks of chocolate remain (stopping at this point prevents scorching the chocolate). Then stir the chocolate until it’s completely melted and smooth.
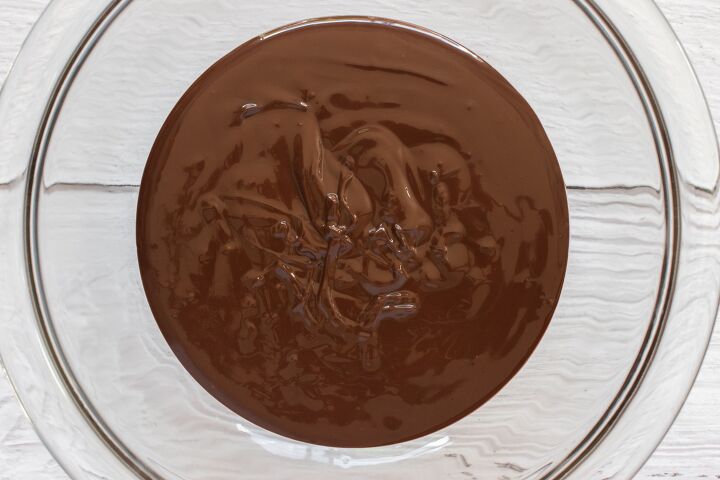
- Add 3 cups of haupia to the melted chocolate. Stir until thoroughly combined, with no more streaks of white.
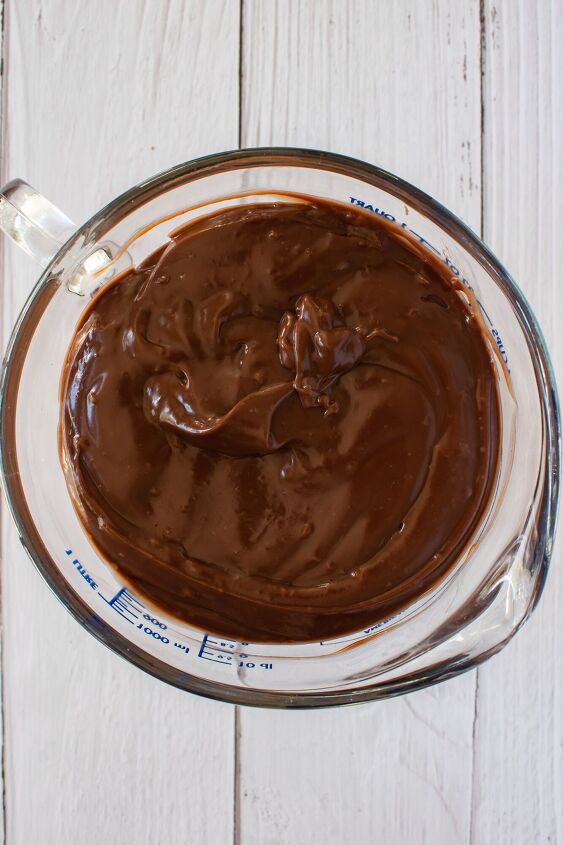
- Pour the chocolate haupia onto the crust, smoothing it into a flat, even layer. Place the pan in the refrigerator for 5 to 10 minutes to allow the chocolate layer to set up a bit.

- Meanwhile, whisk the remaining haupia to prevent lumps from forming. After the chocolate layer has chilled for 5 to 10 minutes, remove it from the refrigerator and pour the remaining haupia on top of the chocolate layer. Smooth the haupia into an even layer.
- Cover the pan tightly with foil and return it to the refrigerator and allow it to chill for at least 4 hours or overnight.
- To serve, pull up on the parchment paper overhang and remove the bars from the pan. Cut to the desired size, add cool whip or whipped cream, and a little shaved chocolate.
CHOCOLATE HAUPIA BARS
Recipe details
- 16 servings
- Prep time: 15 Minutes Cook time: 40 Minutes Total time: 55 min


Comments
Share your thoughts, or ask a question!