


Fall Pie Crusts

Have you ever wondered how those pie crusts that you see in magazines are created? Here are 11 super simple ways to wow your family and make your pies photo worthy.
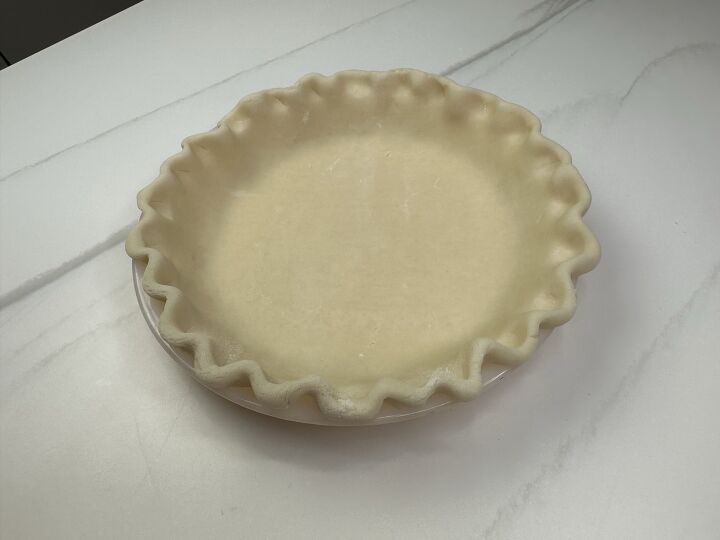
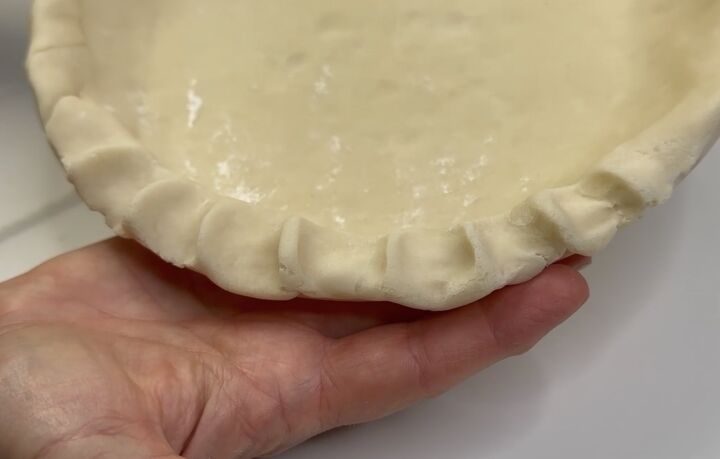
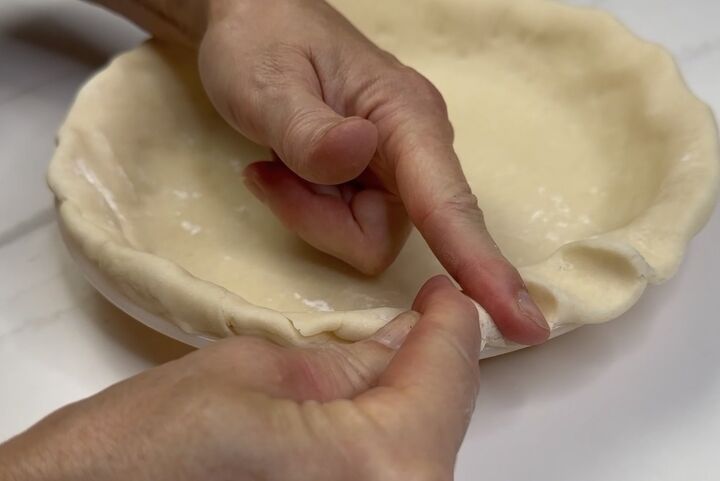
1 Simple Crimp
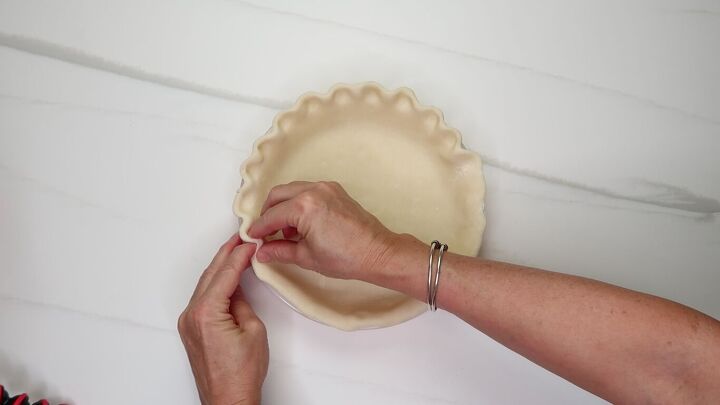
Place your thumb and forefinger on the inside of the crust
Place the forefinger of the other hand on the outside of the crust
Gently press your forefinger on the outside towards the inside between your thumb and forefinger of the other hand.
Continue around the entire rim
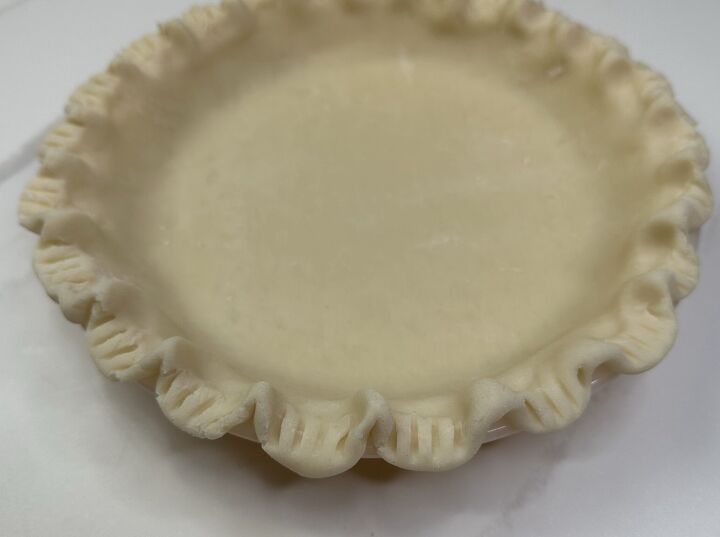
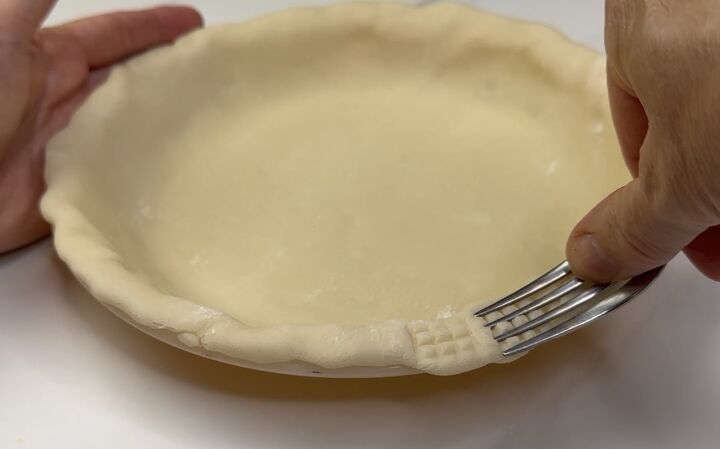
2 Fork Crimp
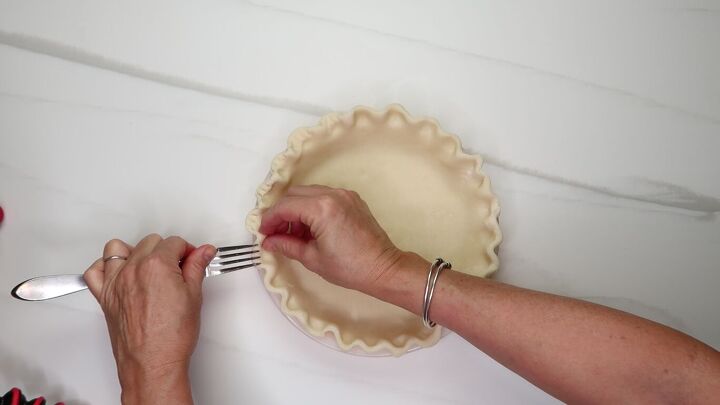
Using the simple crimp, gently press a fork down, into the outer crimped edge.
3 Twisted Crimp
Place both forefingers at an angle on top of the crust.
Gently press your fingers together
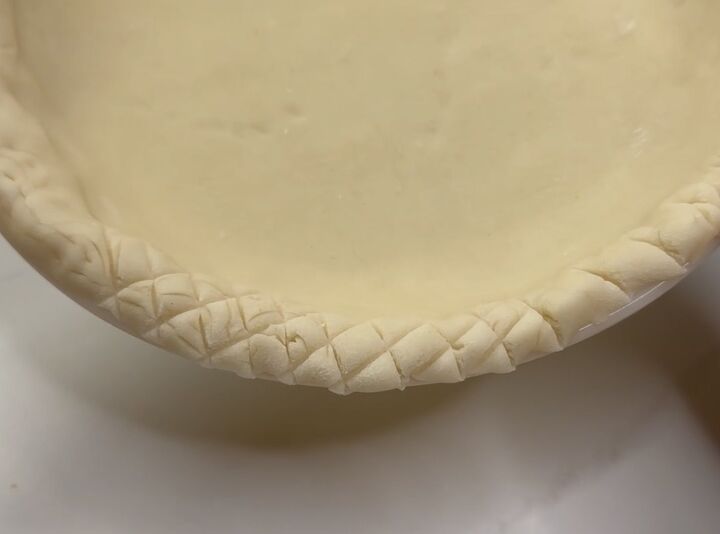
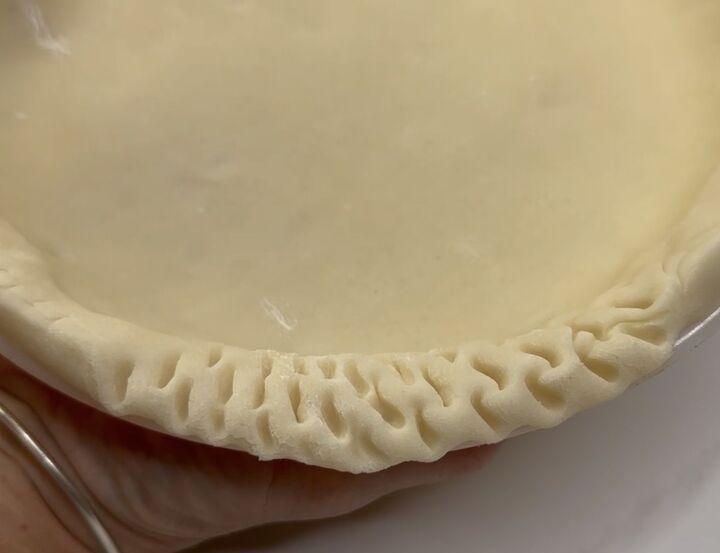
4 Twine Rope/Braid
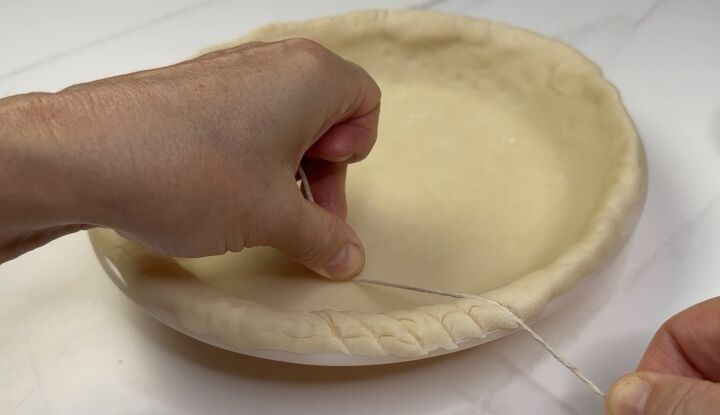
Stretch a piece of baker's twine over the crust
Gently press the twine on an angle into the crust. This will create a rope effect into the dough.
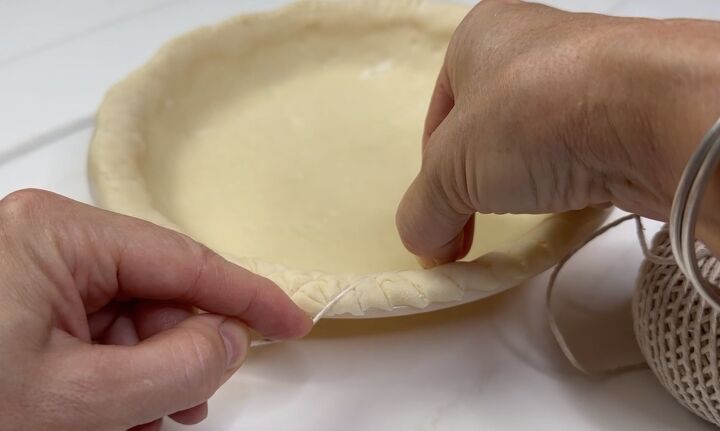
To make a braid effect, gently press the twine into the crust at the opposite angle, crossing over the prior lines made with the twine
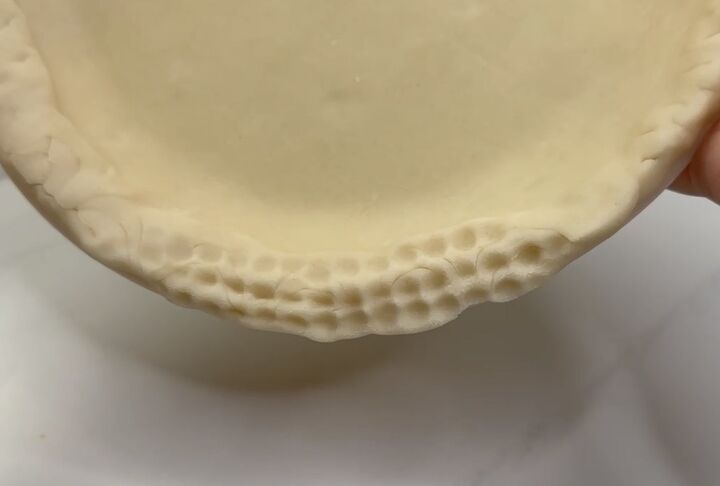
5 Beaded
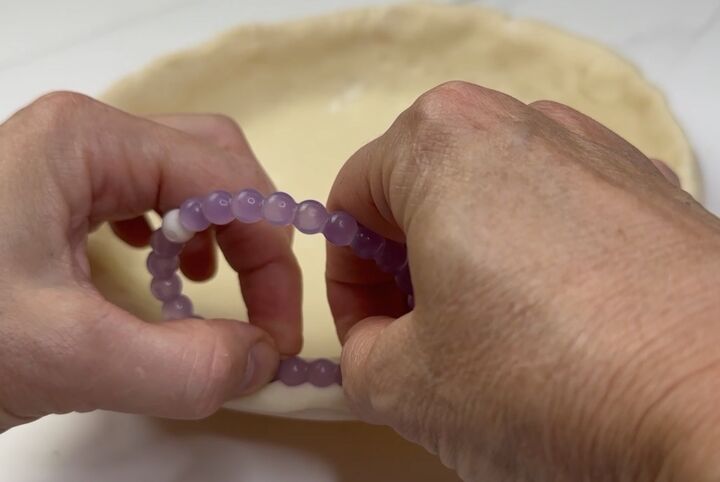
Gently press a beaded bracelet or necklace (that has been thoroughly cleaned) into the dough.
You can make as many rows as you desire.
6 Corkscrew
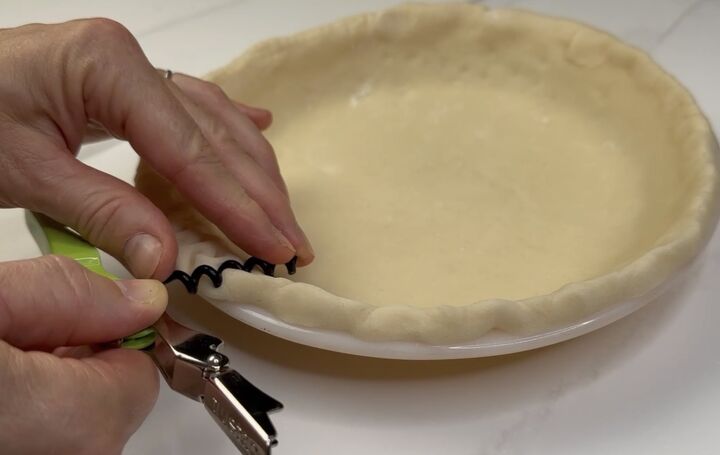
Gently place a clean corkscrew on an angle into the dough.
Continue to press the corkscrew into the dough, one beside the next.
7 Inverted Spoon
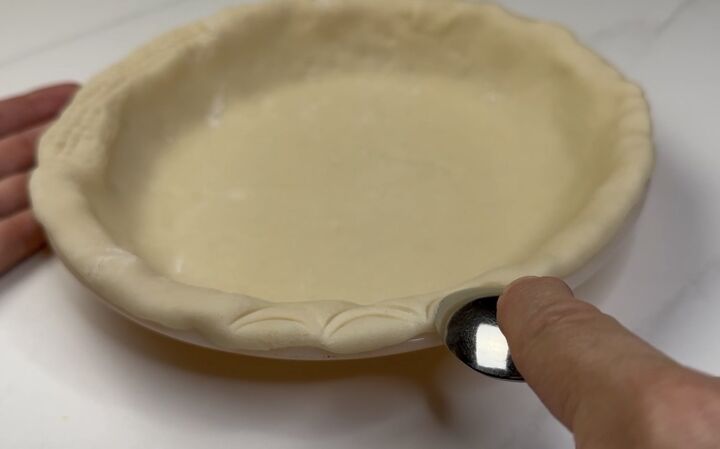
Gently press an inverted spoon into the dough towards the inside of the edge.
Move the spoon below the first mark and gently press again.
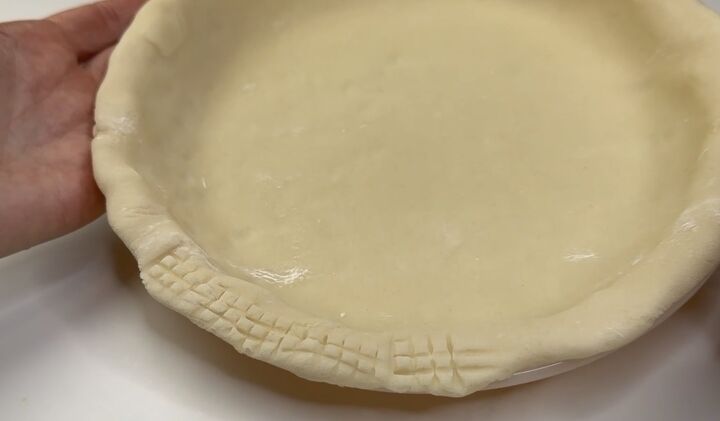
8 Cross Hatch
Place a fork along the crust, pointing towards the inside of the pie. Gently press into the dough.
Now place the fork pointing sideways, on top of the first marks and gently press into the dough.
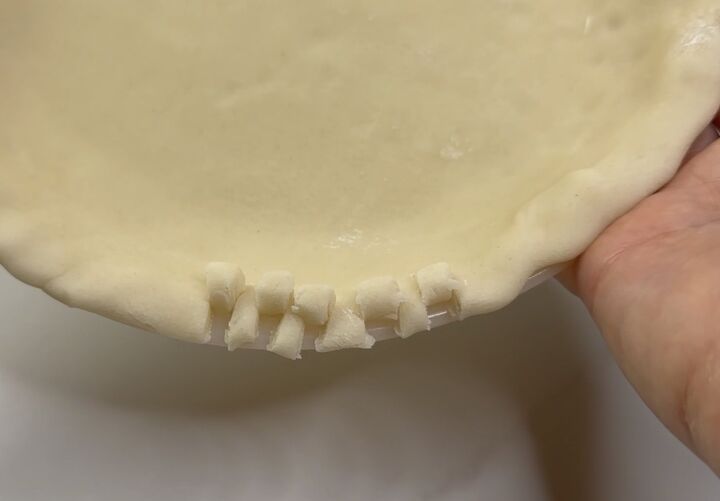
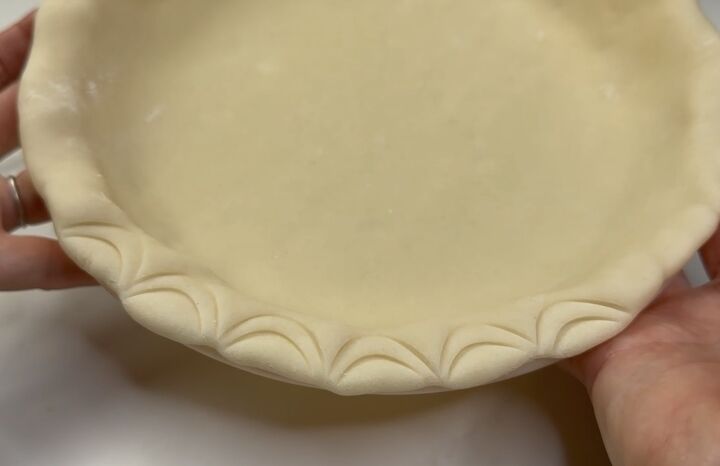
9 Up and Down
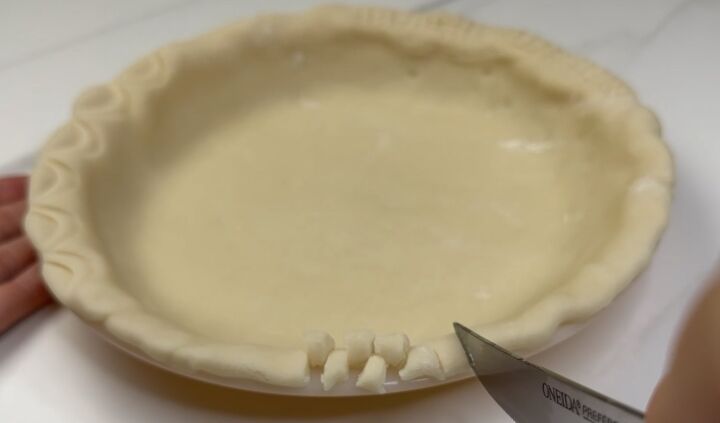
Using a sharp knife, cut into the crust at quarter of an inch intervals.
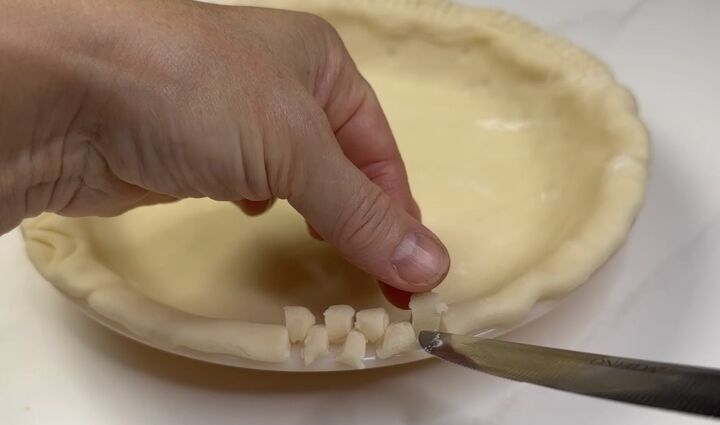
Once the cuts are made, using the tip of the knife, gently lift every other cut piece.
Lift the piece so it is standing up
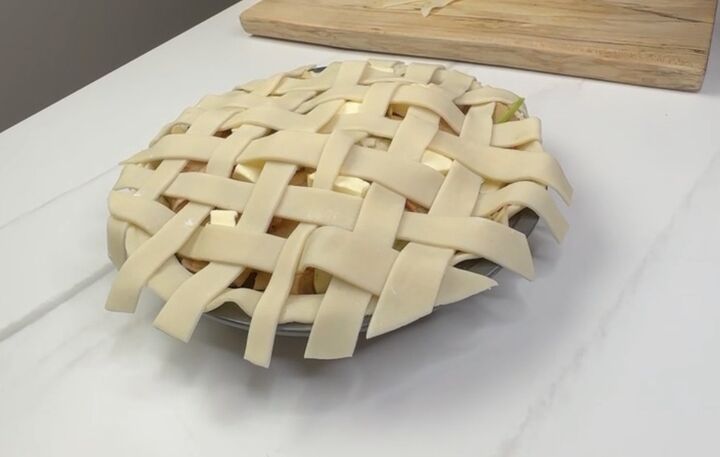
10 Lattice Top

Using a second pie crust, cut one inch strips using a pizza cutter
Place one strip vertically onto the middle of the top
Place a second strip vertically beside the first strip, leaving about a quarter of an inch between the strips
Place a third strip horizontally onto the middle, crossing over the 1st and 2nd strip
Place a fourth strip horizontally beside the 3rd piece.
Gently lift the 1st strip and place it under the 3rd strip
Gently lift the 2nd strip and place it under the 4th strip.
Continue to weave the strips under and over each other
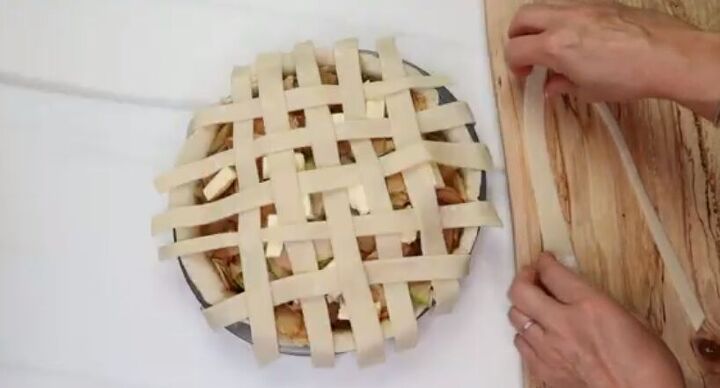
Once all of the strips are woven, gently fold the ends under the bottom crust to secure.
Brush the entire crust with an egg wash to adhere the strips together and it adds a golden color once it's baked.
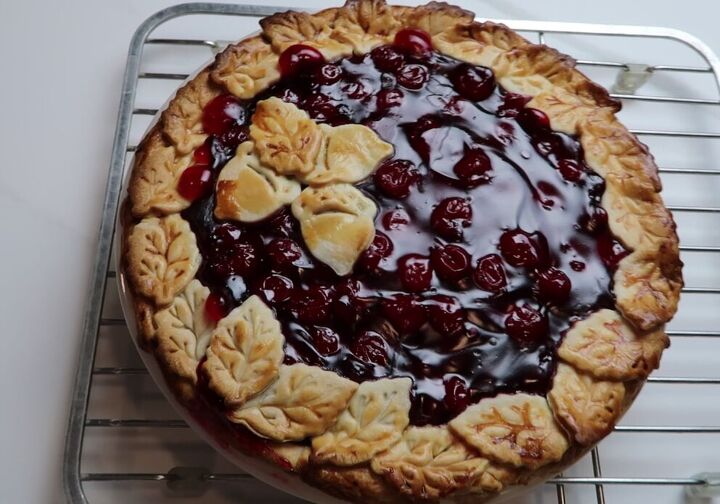
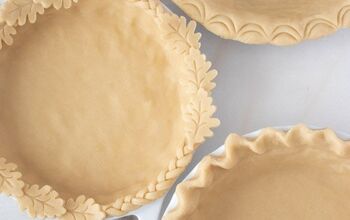
11 Cookie Cutters
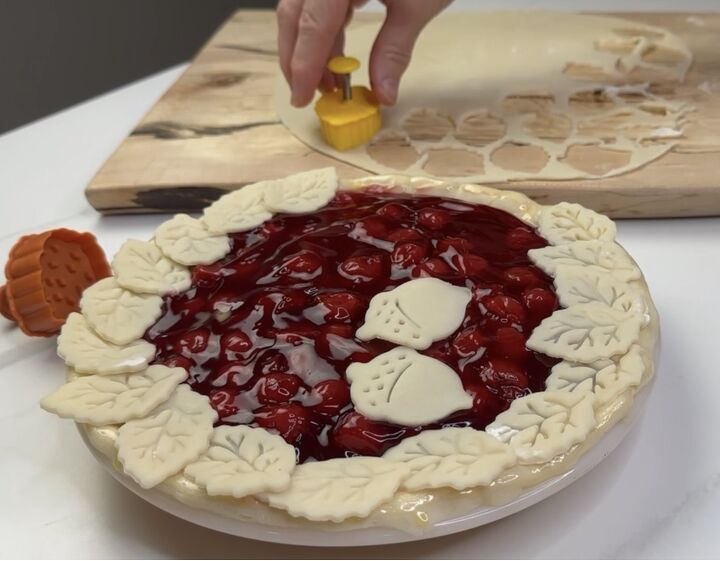
Place a crust into the bottom of the pie plate.
Fill with the filling of your choice.
Brush the outside edge with an egg wash to adhere the cutouts.
Using a second crust, cut out seasonal shapes using cookie cutters.
Once you've completed your design,
Brush top with egg wash to adhere cutouts and it adds a golden color once it's baked.
Fall Pie Crusts
Recipe details
- 1 serving
- Prep time: 1 Minutes Cook time: 1 Minutes Total time: 2 min


Comments
Share your thoughts, or ask a question!