


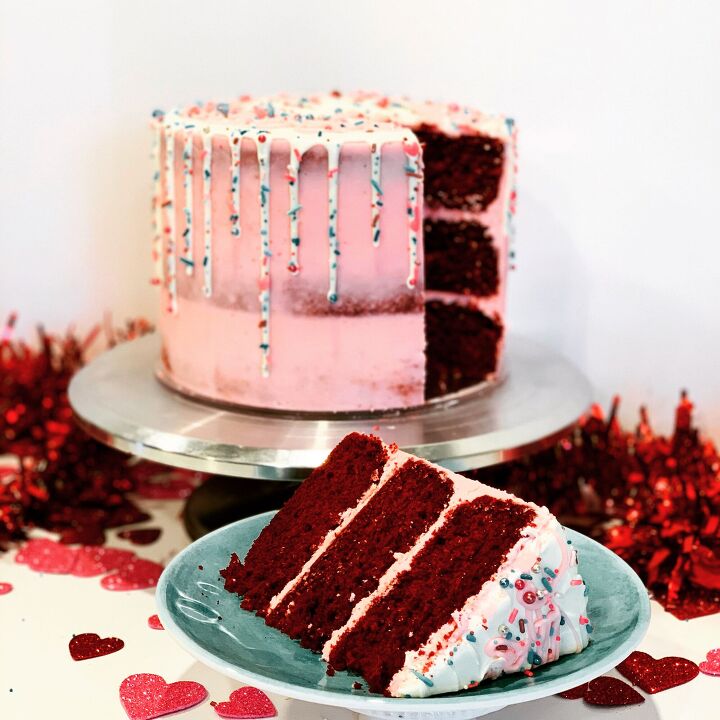
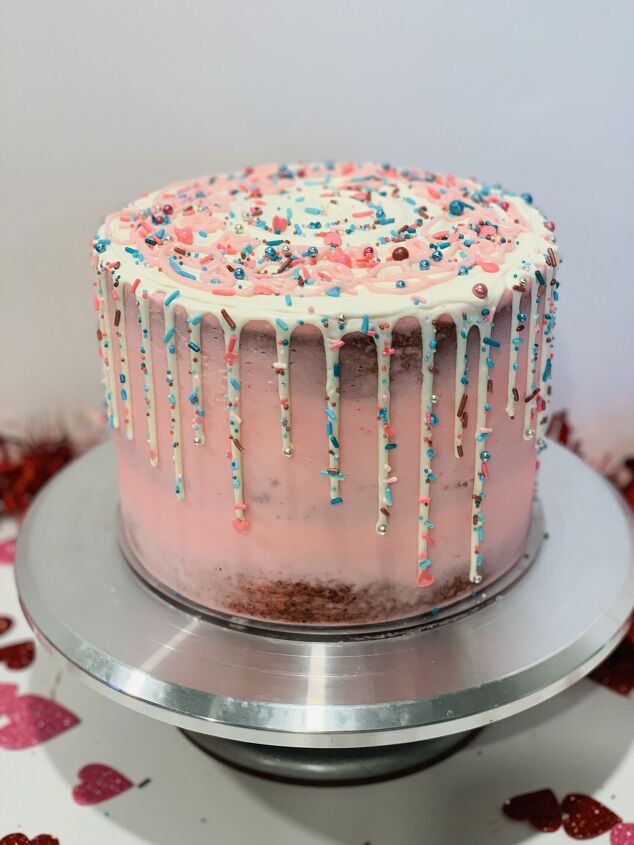
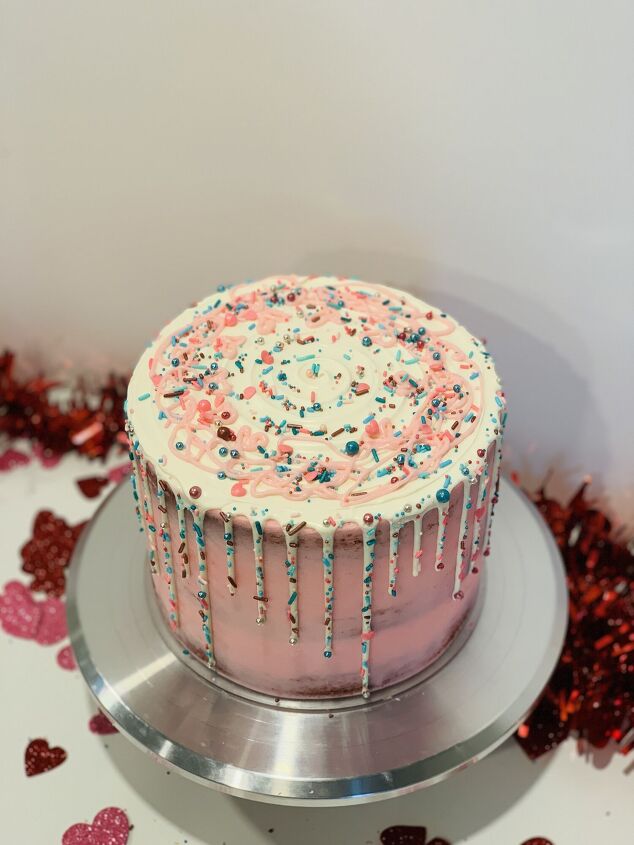
Valentine's Sprinkle Drip Cake
1 Cake
1 hr
I don’t think there’s a more perfect cake for Valentine’s Day than red velvet!
{
"id": "6709649",
"alt": "",
"title": "",
"video_link": "https://www.youtube.com/embed/mvY-1z-6t2s",
"youtube_video_id": "mvY-1z-6t2s"
}
{
"width": 634,
"height": 357,
"showRelated": true
}
Valentine's Sprinkle Drip Cake
Recipe details
- 1 Cake
- Prep time: 30 Minutes Cook time: 30 Minutes Total time: 1 hr
Show Nutrition Info

Want more details about this and other recipes? Check out more here!


Comments
Share your thoughts, or ask a question!