


How to Make Dutch Oven Sourdough Bread

Welcome to the delicious world of homemade Dutch Oven Sourdough Bread! First off, there’s absolutely nothing that quite compares to the delightful crackle of a crusty loaf, the soft, airy interior, and the amazing tangy aroma that fills your kitchen. Baking sourdough bread in a cast iron Dutch oven, an age-old tradition, made from simple ingredients and fermented with natural yeast, sourdough isn’t just a bread, it’s a labor of love.
*Don't forget to go to my website to get detailed FAQ's for this recipe!
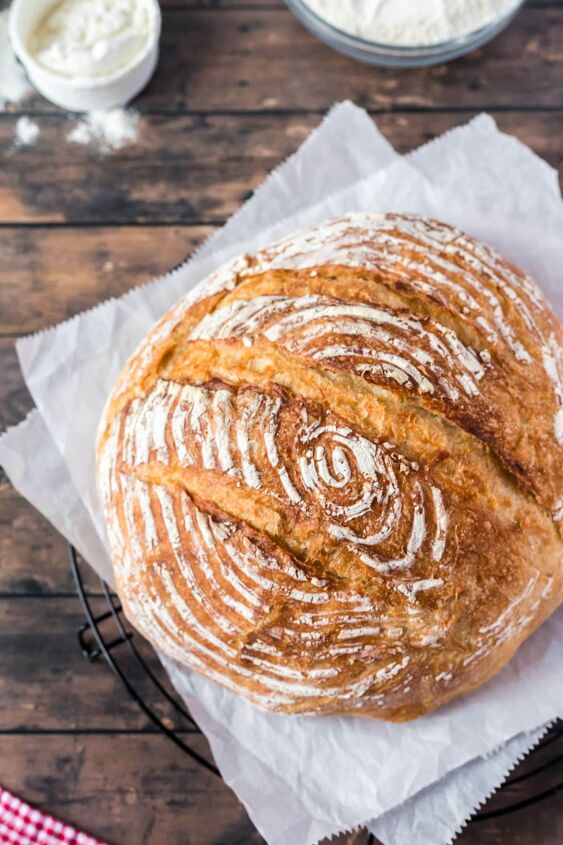
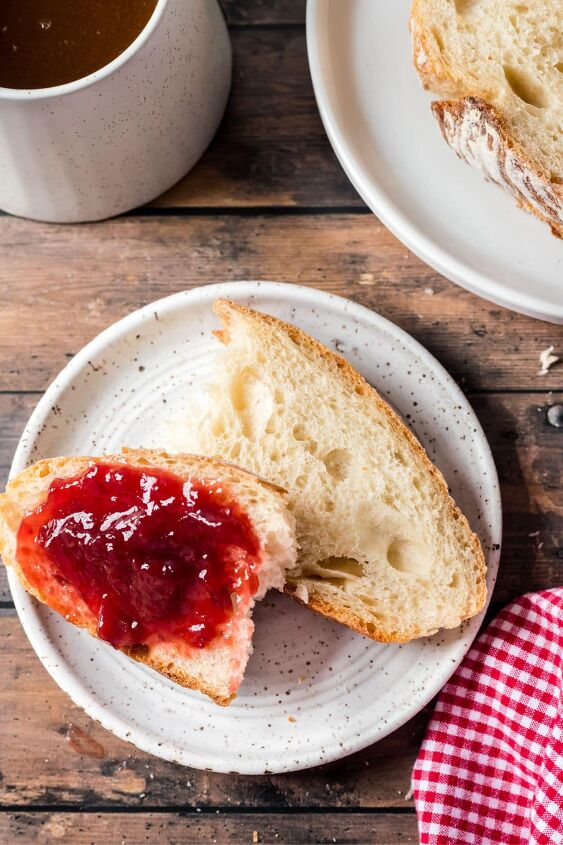
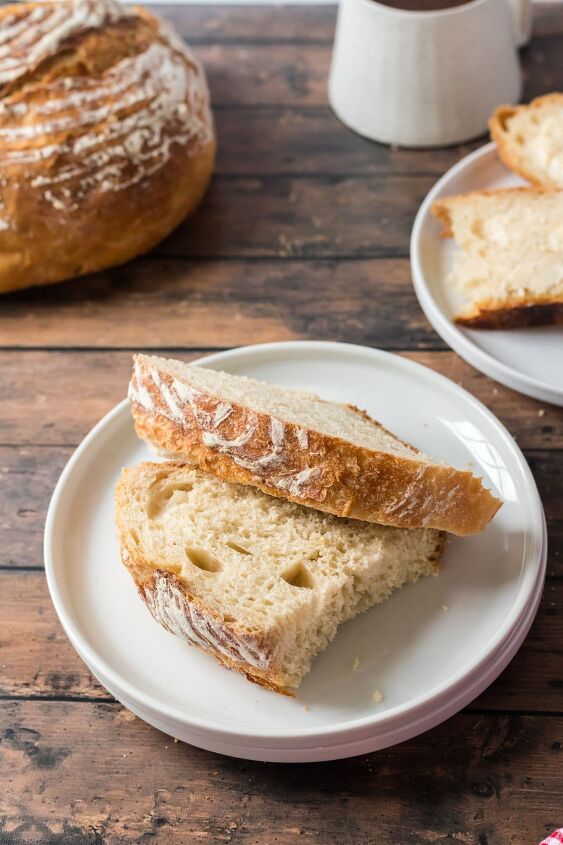
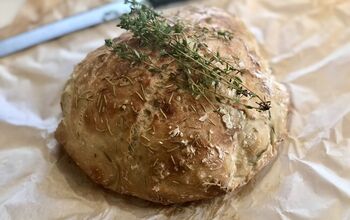
The exterior of a sourdough loaf boasts a beautiful, golden crust that’s delightfully crispy, providing an audible crunch with every bite. The interior, or crumb, is soft and chewy, dotted with characteristic air pockets that vary in size. It holds a complex flavor profile, perfectly balanced between mild tanginess and a subtle, inherent sweetness from the grains.
What is Dutch Oven Sourdough Bread?
Sourdough bread is the end product of an age-old technique that uses natural yeast and bacteria to make bread rise. The Dutch oven, with its superb heat retention and circulation, ensures your loaf bakes evenly and achieves that picture-perfect, artisan crust. The result? A rustic, beautifully browned sourdough loaf that’s sure to rival the most amazing bread.
What you’ll love about this recipe:
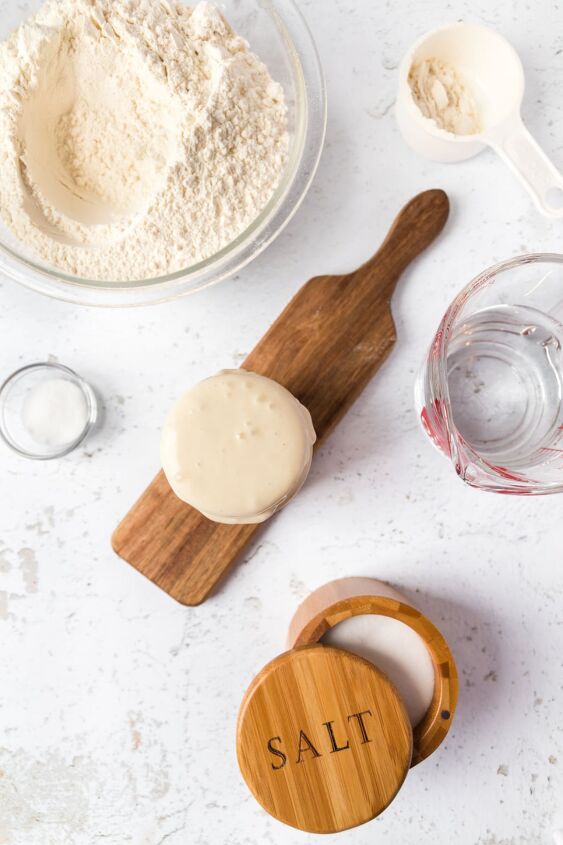
- MINIMAL INGREDIENTS – It only requires 4 ingredients, starter, flour, water, and salt, plus a little time and love.
- CRUSTY PERFECTION – Baking the bread in a Dutch oven creates the ideal conditions for achieving a crispy, golden crust that crackles with each bite
- HEALTH BENEFITS– Sourdough bread offers potential health benefits, it’s generally easier to digest, and also better nutrient absorption, thanks to the natural fermentation process. That means less tummy discomfort.
Ingredients you’ll need for this amazing sourdough bread:
- active sourdough starter- nice and bubbly!
- warm water- not too hot or it will kill the yeast, just warm like you’d bath a baby in
- salt- sea salt, or regular will do
- flour- I prefer to use bread flour
Step-by-step Instructions for this homemade sourdough bread:
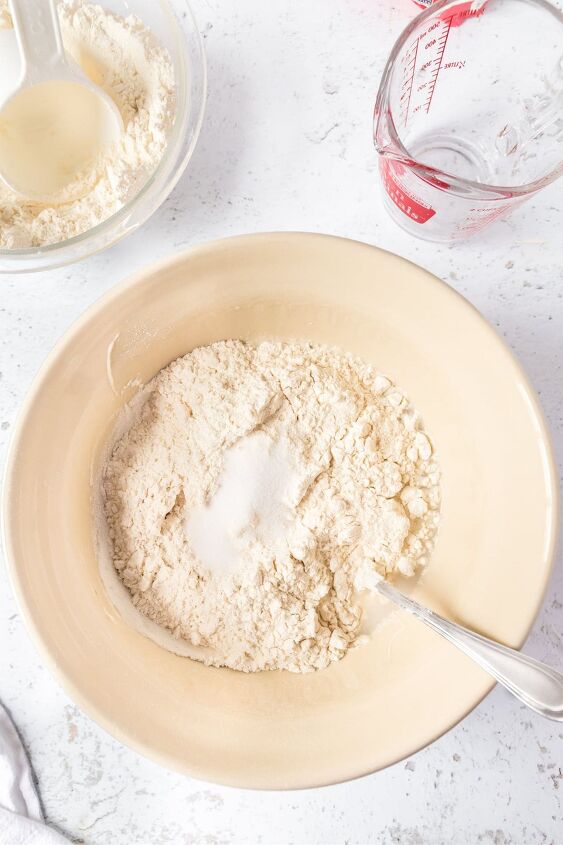
- Prepare the Dough: To start off, take a large mixing bowl and combine the active sourdough starter, warm water, and salt. Following this, stir the mixture until the point where the salt completely dissolves.
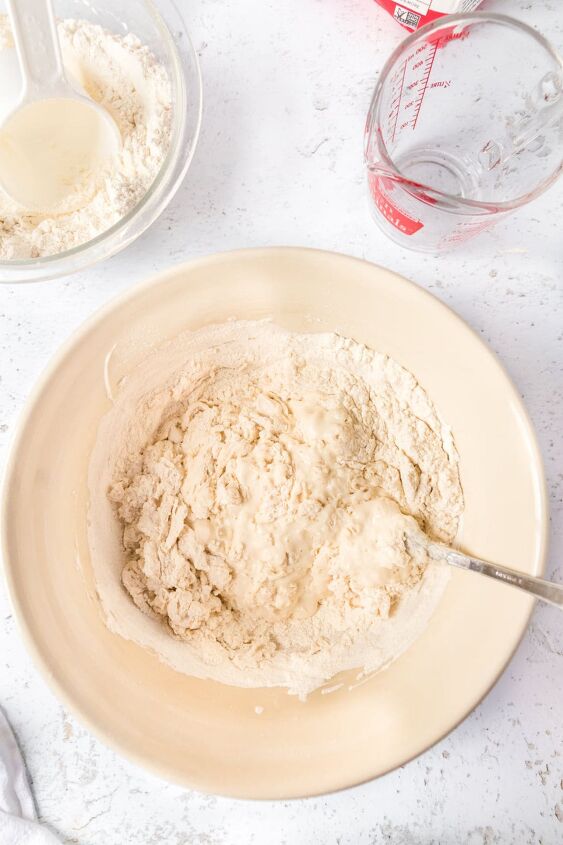
- Add the Flour: Gradually add the bread flour to the bowl. Stir with a wooden spoon or a dough whisk until the mixture comes together into a shaggy dough.
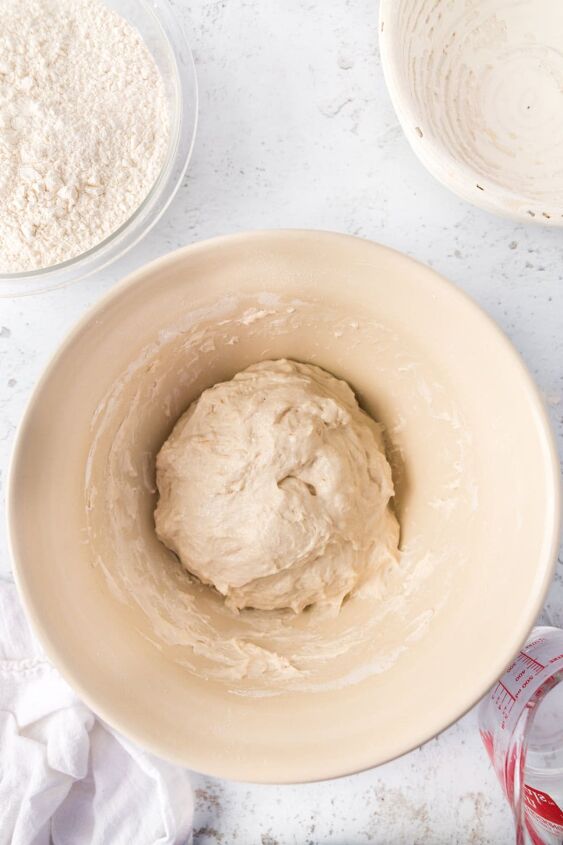
- Knead the Dough: Turn the dough out onto a lightly floured surface. Begin kneading the dough by pushing it away with the heel of your hand and folding it back towards you. Continue kneading for about 10 minutes until the dough becomes smooth and elastic.
- First Rise: Place the kneaded dough back into the mixing bowl. Cover the bowl with a damp cloth or plastic wrap and let it rise at room temperature for about 4-6 hours. The dough should roughly double in size.
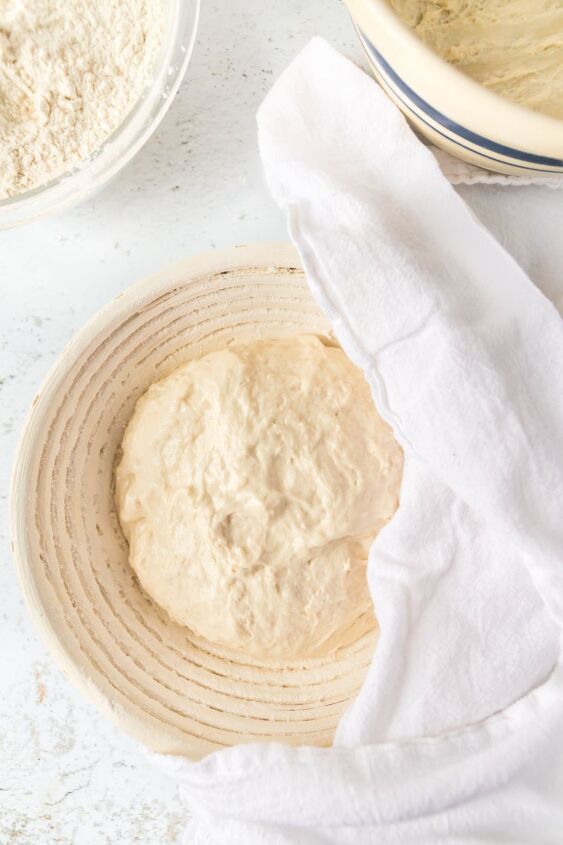
- Shape the Loaf: Once the dough has risen, gently turn it out onto a lightly floured surface. Shape it into a round shape. Place the shaped dough into a banneton bread basket that has been generously dusted with flour, or lined with parchment paper.
- Second Rise: Cover the dough loosely with a clean kitchen towel and let it rise for another 2-3 hours at room temperature. The dough will puff up slightly and take on the shape of the banneton.
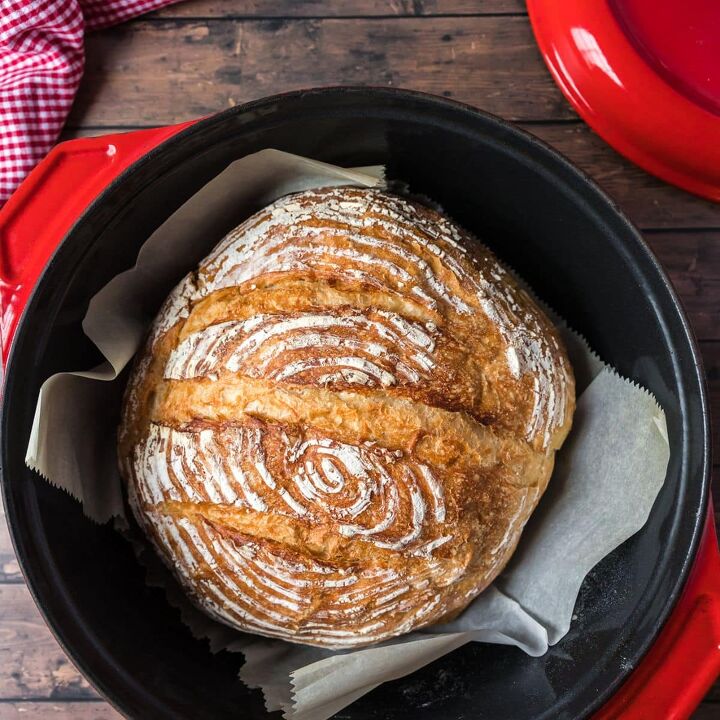
- Preheat the Oven: About 30 minutes before baking, preheat your oven to 450°F. Place a Dutch oven with a tight fitting lid on, inside the oven as it preheats.
- Score and Bake: Once the oven is fully preheated, carefully remove the hot Dutch oven. Turn the dough out onto a piece of parchment paper, scored side up. Transfer the parchment paper with the dough into the preheated Dutch oven. Cover it with the lid and place it back in the oven.
- Bake with Lid: Bake the bread covered for 20 minutes. Having the lid on will create steam, which helps the bread rise and develop a crispy crust.
- Bake without Lid: Following the initial 20-minute baking period, it’s time to take the lid off the Dutch oven. Proceed then with the baking process for an additional span of 20-25 minutes. This subsequent baking period should continue until the bread exhibits a golden brown hue and emits a hollow sound when tapped on the bottom, indicating that it’s perfectly baked.
- Cool and Enjoy: Once the bread is done baking, you’ll want to carefully lift it out of the Dutch oven. Then, place it on a wire rack to cool down. You’ll need to wait at least an hour before you start slicing. It gives the bread time to set and makes it easier to cut. Good things come to those who wait!
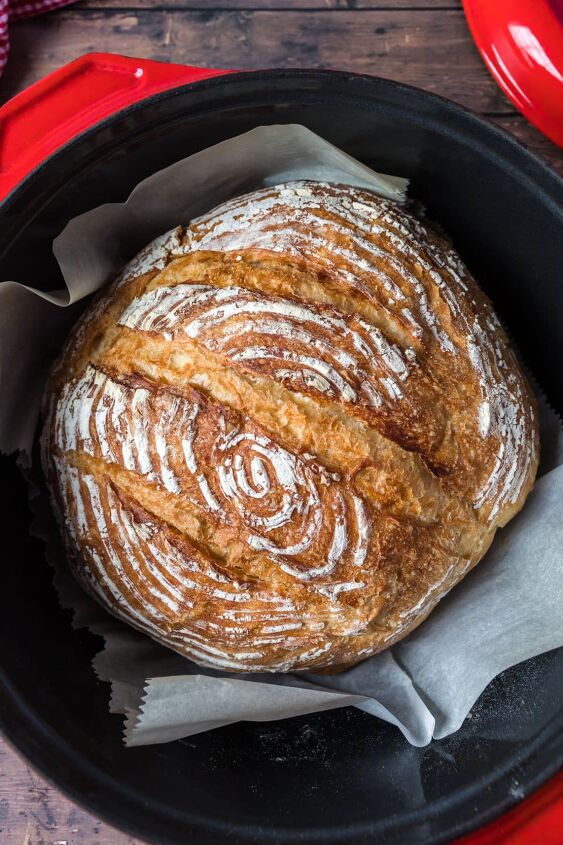
Want a pretty decorated loaf?
I love to use a Banneton bread proofing basket. The banneton basket has a woven structure that creates a pattern of ridges and flour-dusted indentations on the surface of the dough. These ridges help to create a beautiful spiral pattern on the crust of the bread as it bakes.
Get my FREE Meal Planning Guide
I give you my Top 5 Meal Planning tips to help you streamline your dinner menu, making mealtime organization a breeze!
EXPERT TIPS
- Starter Health: A healthy, active starter is key to good sourdough bread. Continuously maintain your starter by feeding it regularly. More importantly, ensure it’s active and full of bubbles prior to incorporating it into your dough.
- Hydration Levels: Hydration levels can greatly influence the outcome of your bread. The higher the hydration, the more open the crumb will be, however, a high hydration dough can be harder to handle. For beginners, a hydration level of around 65%-70% is a good starting point.
- Proper Kneading: Kneading helps develop gluten in the dough, which is crucial for the structure of the bread. Make sure to knead your dough thoroughly, until it becomes smooth and elastic.
- Bulk Fermentation: Be patient during this step. The dough should be allowed to rise until it is visibly puffy and has roughly doubled in size. This can take anywhere from 3 to 12 hours, depending on the temperature and the strength of your starter.
- Shaping the Loaf: Shape the dough firmly but gently to maintain as much of the air and structure as possible. The tighter the shape, the higher the loaf will rise.
- Score the Loaf: Right before you place the dough in the oven, score the top of the dough with a bread lame or sharp knife. This allows the bread to expand freely in the oven. I like to do 3 cuts with a bread lame, my knives usually deflate the dough.
- Preheat the Dutch Oven: Preheating the Dutch oven before placing your dough inside is crucial to achieving a crispy crust. The high heat helps the bread rise rapidly and the enclosed space traps steam from the dough, creating a crispy crust.
- Cool Before Slicing: As tempting as it might be to cut into your fresh loaf straight out of the oven, let it cool completely before slicing. This allows the crumb to set and the flavors to develop fully.
- Practice Makes Perfect: Don’t get discouraged if your first few loaves aren’t perfect. Sourdough is as much of an art as it is a science. So just keep practicing, and learning, and you’ll be making loaves that not only look great, but taste amazing too. Happy baking!
Tools you’ll need
*Disclosure: The links above are affiliate links. This means that, at zero cost to you, I will earn a small commission if you click through the link and make a purchase.
How to Make Dutch Oven Sourdough Bread
Recipe details
- 4 servings
- Prep time: 20 Minutes Cook time: 6 Hours Total time: 6 hr 20 min


Comments
Share your thoughts, or ask a question!