


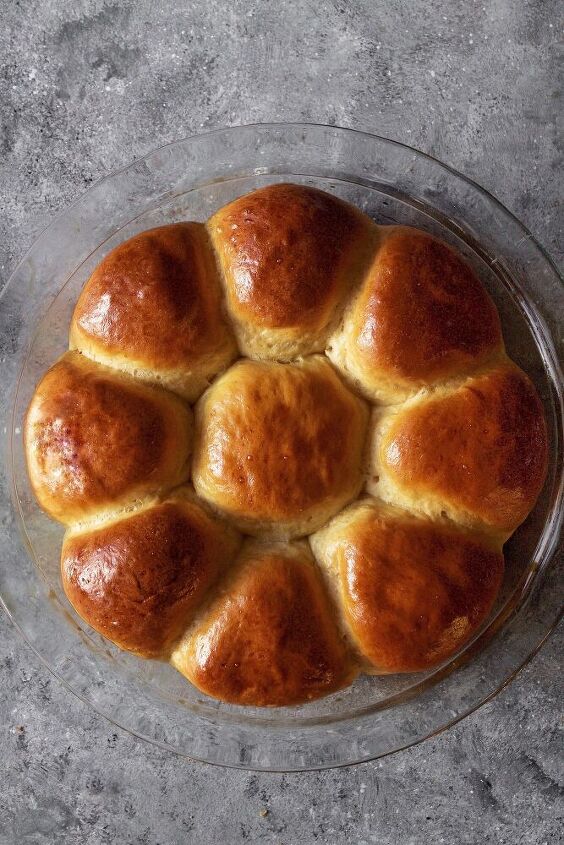
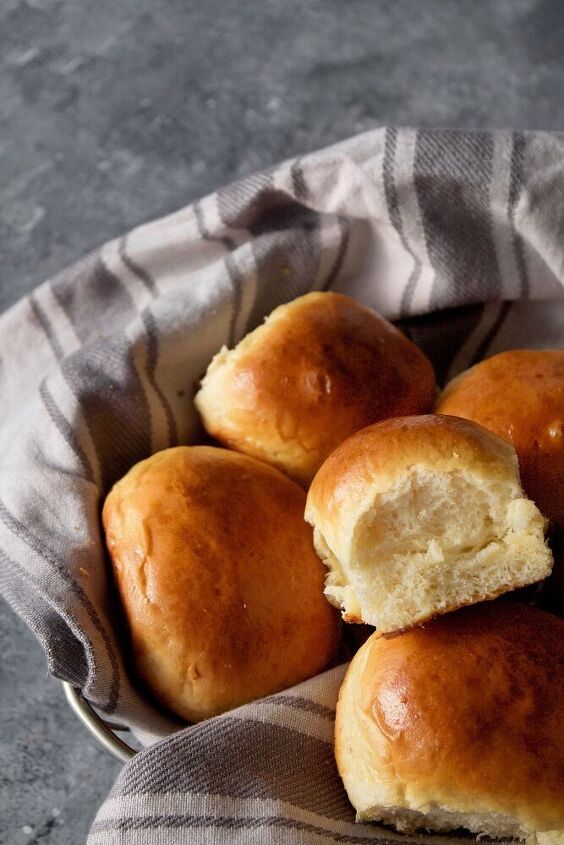
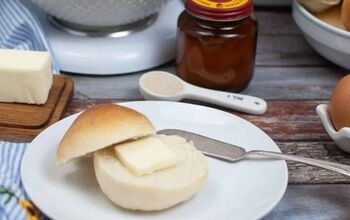
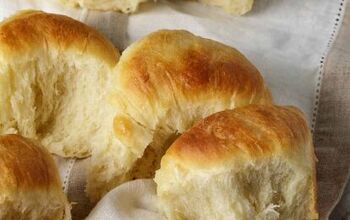
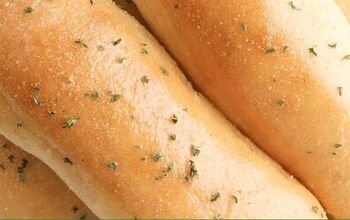
The Fluffiest Homemade Dinner Rolls
Thanksgiving is this week and y'all I could not be more excited! Today's recipe is definitely one of my favorites not only during the holiday season but throughout the year. These dinner rolls are so fluffy, soft and buttery. It's perfect for smearing with butter and jam, as a side for your saucy dinner (yumm!), with a bowl of soup, and any other delicious homestyle food. As you can see this bread is pretty versatile and can be paired with basically everything. That's how you know you just have to make them!
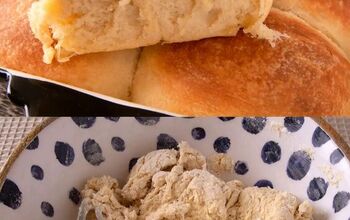
If I'm going to be honest with you, making bread scared me a little. Working with yeast... yeah no thank you. But these dinner rolls were so fun to make, the process was even therapeutic. You got this, have fun friends!
If you'd like more tips and tricks, like working with yeast and how to knead dough, check out the full post on my blog here.

Happy baking! :) If you make this be sure to tag us on Instagram @sarahskitchenofficial
The Fluffiest Homemade Dinner Rolls
Recipe details
- 16 rolls
- Prep time: 140 Minutes Cook time: 25 Minutes Total time: 2 hr 45 min


Comments
Share your thoughts, or ask a question!
Can you freeze these before the second rise?
Can these rolls just be refrigerated overnight? I might forget to allow 4 hours & wind up with no rolls!!