


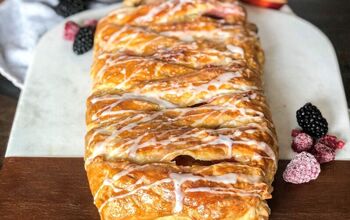
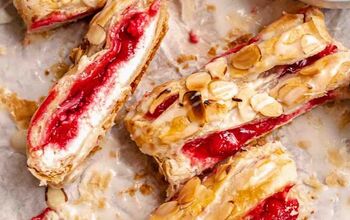
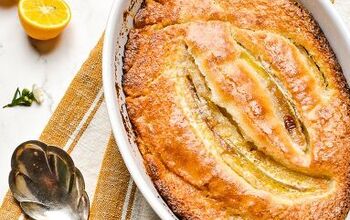
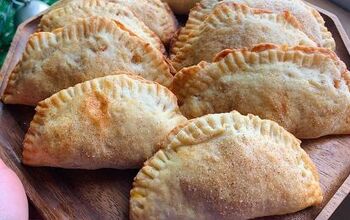
Easy Puff Pastry Cream Cheese Danish
A Puff Pastry Cheese Danish is a timeless breakfast pastry that is perfect at any time of the year or day. It’s great right out of the oven or at room temp!

Expert Tips, Ingredient List and Suggestions for Recipe Success
Cream cheese – you can use fat-free if you prefer.
Puff pastry dough – any brand you prefer.
What type of cheese is in a Danish?
Typically, cream cheese is the type of cheese in a Danish.
Are Danishes actually Danish?
A Danish pastry translated in Danish means “Viennese bread”. However, Danishes aren’t actually a true Danish pastry.
How long do these last?
Store uneaten pastries in the fridge for 3 days or freeze in an airtight container for up to 1 month.
How Do I Thaw These?
To thaw, simply remove from the freezer the night before or let rest on the counter for about an hour.
What is the difference between a Danish and pastry?
Danishes are made with yeast and pastries are made with puff pastry.
Step by Step Directions
You will find a complete list of the ingredients as well as the directions in the printable recipe card below.
Step 1: Preheat the oven and line a cookie sheet with a silicone mat, parchment paper, or spray with non-stick cooking spray.
Step 2: Prepare the puff pastry.
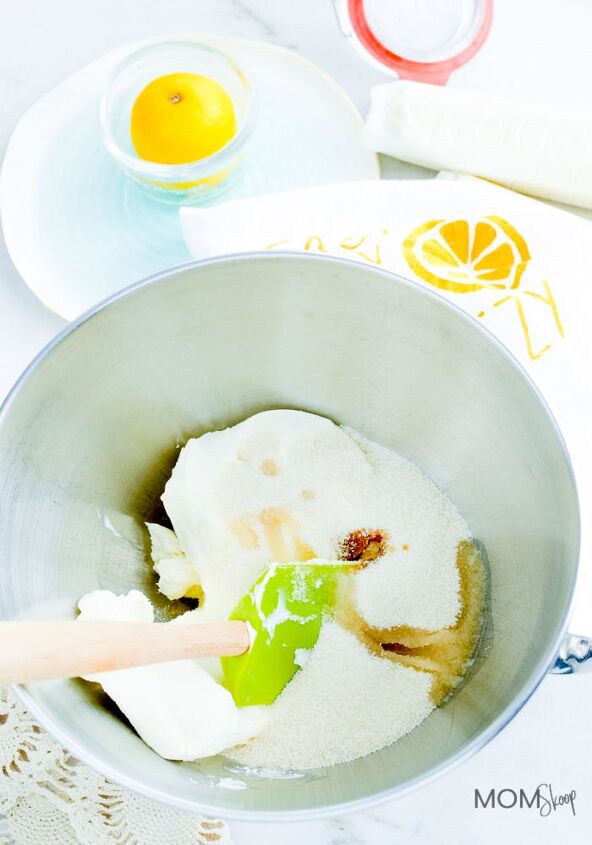
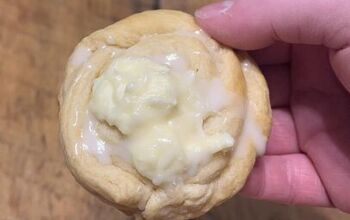
Step 3: Mix the filling together.
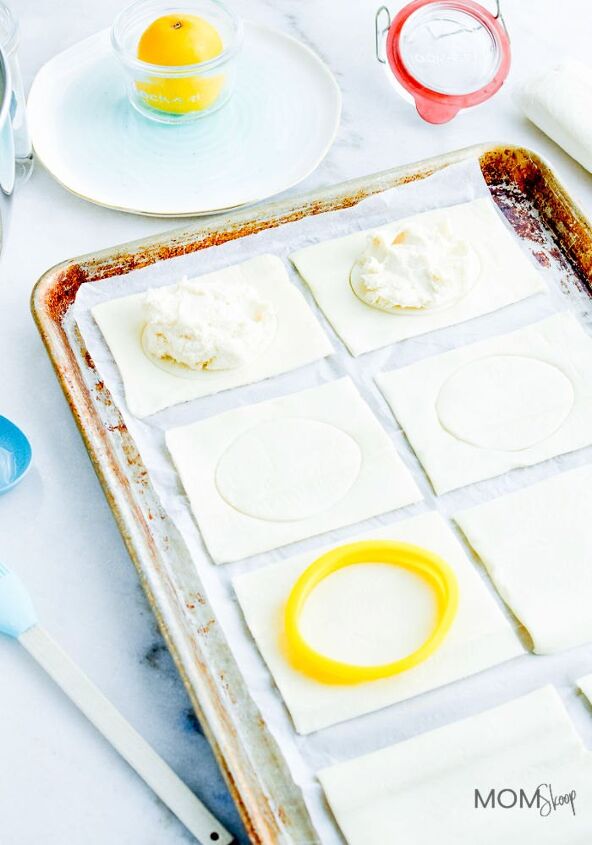
Step 4: Spoon the filling into the center of each pastry square.
Step 5: Brush with egg wash.
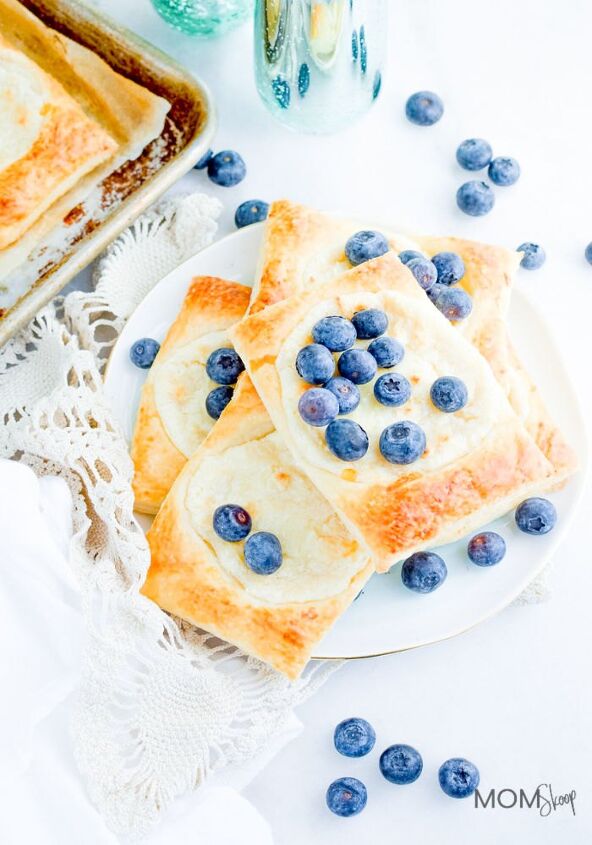
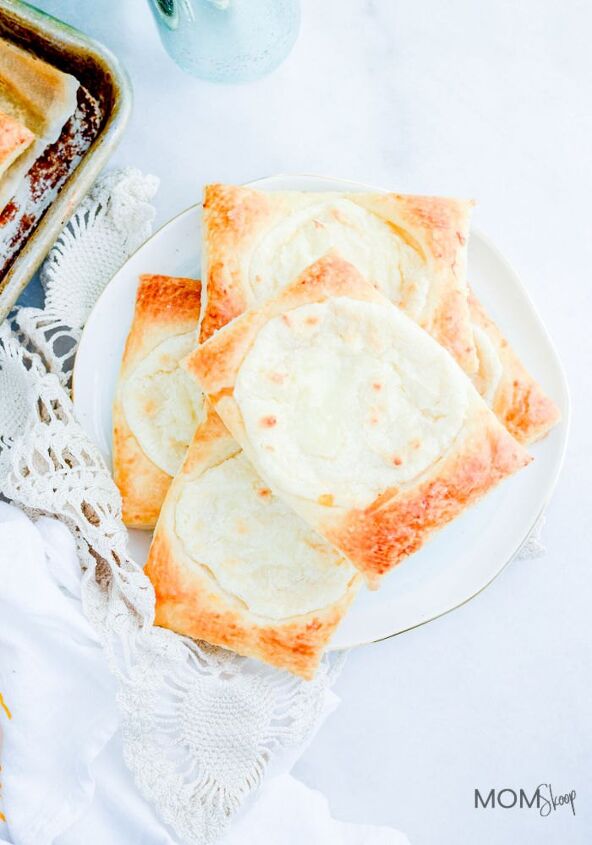
Step 6: Bake and serve.
Easy Puff Pastry Cream Cheese Danish
Recipe details
- 8 servings
- Prep time: 10 Minutes Cook time: 25 Minutes Total time: 35 min


Comments
Share your thoughts, or ask a question!
Looks good. Have you done this with apples?
Made these, Excellent, easy and delicious!! Will make Again, 5 Star!