


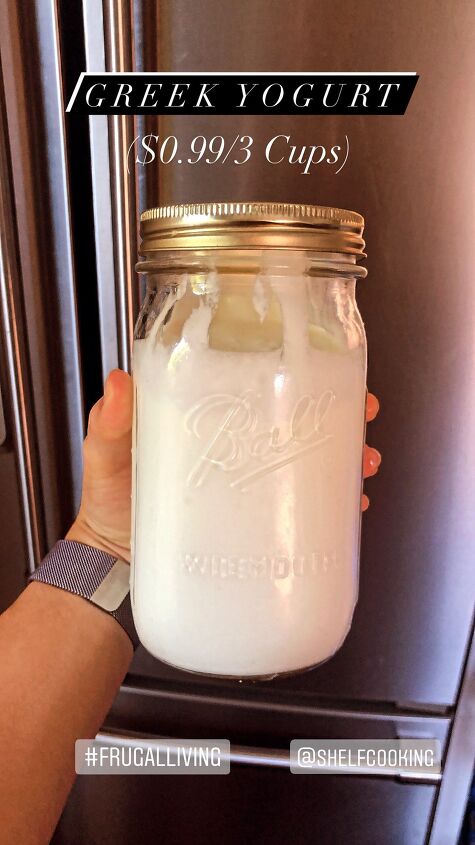
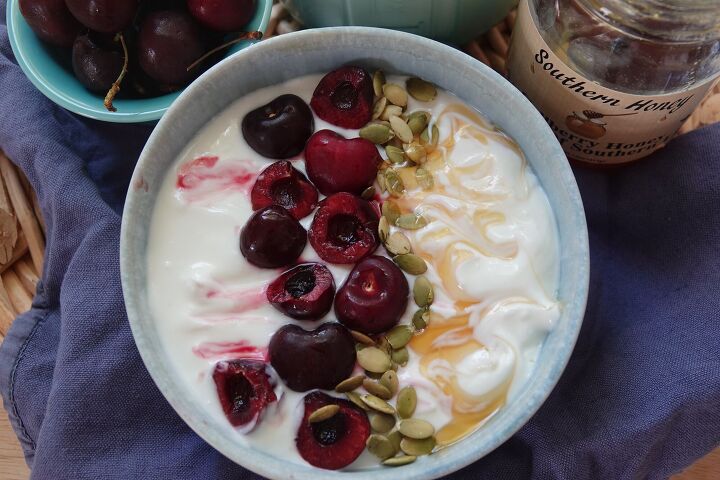
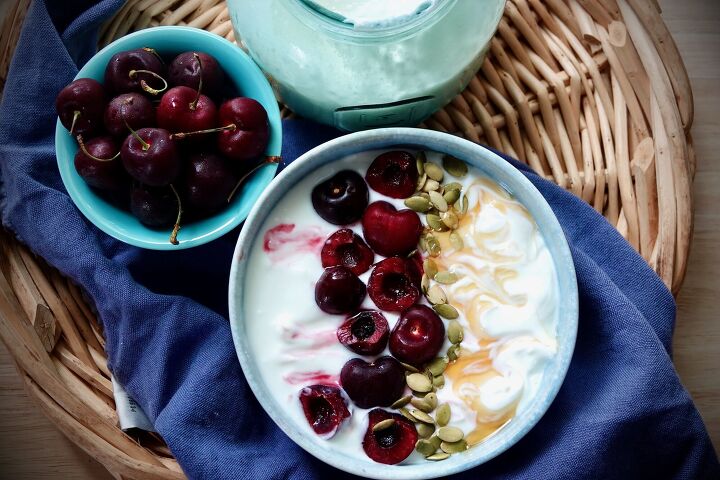
Perfectly Tart & Creamy Instant Pot Yogurt
3 quarts
16 hr 10 min
Warning: Making this recipe may result in discontentment with store bought yogurt and inability to settle for anything but this yogurt forevermore. You have been warned. It is so incredibly tart, creamy, thick (if you strain properly), that you'll wonder why you took so long to make it.
Now. Back in 1543 my 17th great-grandmother--just kidding. I detest those blog posts just as much as you do. Here we go. Make sure to read the notes after the recipe, as details really do matter with how your yogurt turns out. Maybe you're not picky about yours, but I sure am about mine. Let's get to it.
Perfectly Tart & Creamy Instant Pot Yogurt
Recipe details
- 3 quarts
- Prep time: 10 Minutes Cook time: 16 Hours Total time: 16 hr 10 min
Show Nutrition Info

Want more details about this and other recipes? Check out more here!


Comments
Share your thoughts, or ask a question!