


Iced Shortbread Cookies
Iced shortbread cookies are lightly sweetened, crispy and golden, and have the perfect surface area for icing and sprinkles. Or enjoy them plain with your morning cup of coffee!
Making treats for valentine’s day isn’t just delicious, it’s fun! Here are two more treats for your dessert table. Valentine’s Rice Krispie treats and Valentine’s hot chocolate bombs are so easy to make and perfect for sharing with all the special people in your life!

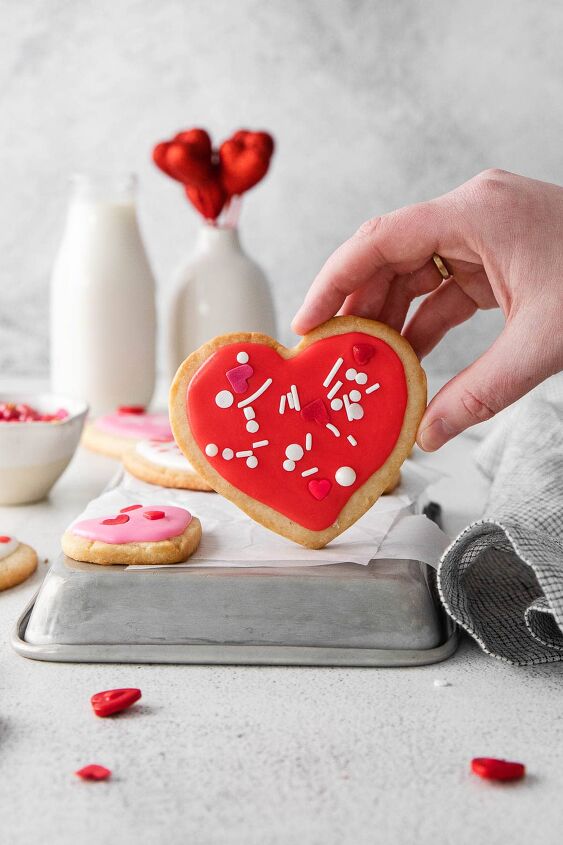
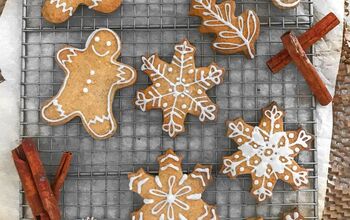
Frosted heart-shaped cookies are the epitome of Valentine’s day and these delicious cookies are one of my favorites to decorate. They’re simple buttery cookies that melt in your mouth, but when baked, they’re sturdy enough for all kinds of icing and sprinkles. They are also holiday favorites for so many occasions just by changing the color or the icing.
They are made with just 5 ingredients (including lots of butter!) and just 12-15 minutes of bake time. Sometimes I like to make two batches and freeze a log of dough for easy access to cookies later on. Don’t let the simplicity fool you, however, because once they’re cut out, baked, and decorated, they’ve got gourmet treats written all over them!
- An easy recipe that comes together quickly and effortlessly. A great one to get the kids involved in!
- These cookies are great for any occasion. During the holiday season, I like to switch up the colors of the icing and sprinkles and the shapes of the cookie cutters to reflect whatever occasion we’re celebrating.
- Perfect taste and texture thanks to the butter and powdered sugar that gives them a slightly crispy edge and a tender bite.
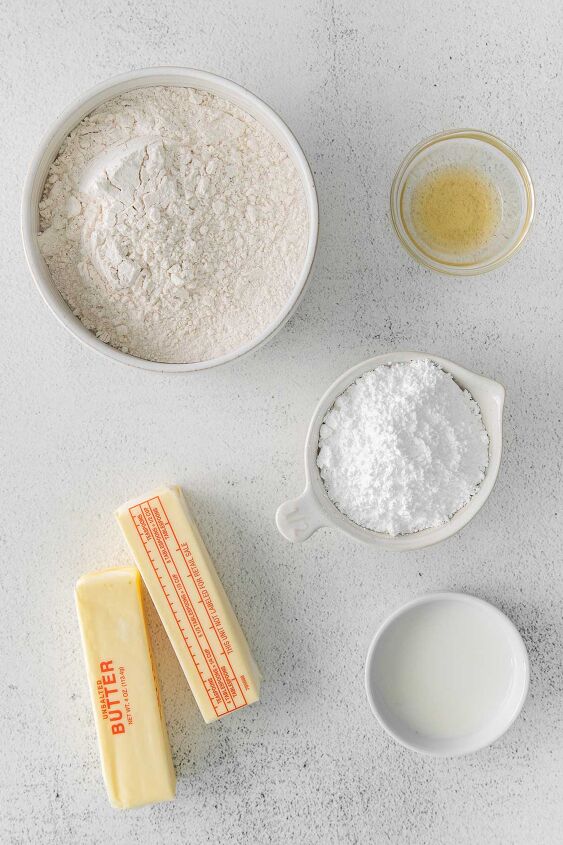
- Butter – You’ll need 2 sticks for this recipe and they should be taken out of the fridge at least half an hour before you begin. Softened butter makes it easier to cream. Using unsalted butter gives a richest buttery flavor, but salted is fine as well.
- Pure vanilla extract – When added to any baking it adds a warm flavor element that enhances the overall taste to another level of delicious!
- Powdered sugar – Otherwise known as confectioners’ sugar, this type of powdered sugar ensures the “melt in your mouth” properties of this cookie.
- All-purpose flour – Used as the foundation of the cookie that holds the structure together.
- Milk – The liquid component the brings everything together into a cookie dough.
For the optional icing
- Powdered sugar and milk – When combined they make a delicious frosting. Depending on the ratio, it can be thin and runny for glazed cookies or thicker for frosted cookies.
- Food coloring – Red and pink for valentine’s day.
- Sprinkles – Any sprinkles you like. Jimmies, hearts, little pearls, even some gold flakes would be nice!
This recipe is perfect for newer bakers and kids alike. It’s also a great freezer-friendly dough, so make a couple of batches and freeze one!
Step 1: In a large bowl or the bowl of a stand mixer, beat butter until fluffy on medium speed with the paddle attachment. Add the vanilla and reduce to low speed. Then, slowly add the powdered sugar and flour and continue beating on low until completely incorporated. Stop to scrape down the sides when needed. (a hand held electric mixer can also be used if necessary but since the dough is sticky you may have to push the dough out of the beaters a little more often.)

Step 2: Now you’ll add in the milk 1 tablespoon at a time until the dough forms into a ball. Transfer the sticky dough to a lightly floured surface and roll it out to about ¼” thick. Adding a little flour to the rolling pin will keep the dough from sticking.
Step 3: Grab your cookie cutters and cut out as many cookies that can fit. Place the cookies on a parchment-lined baking sheet. Combine the scraps and roll them out again to cut out the remaining shapes.
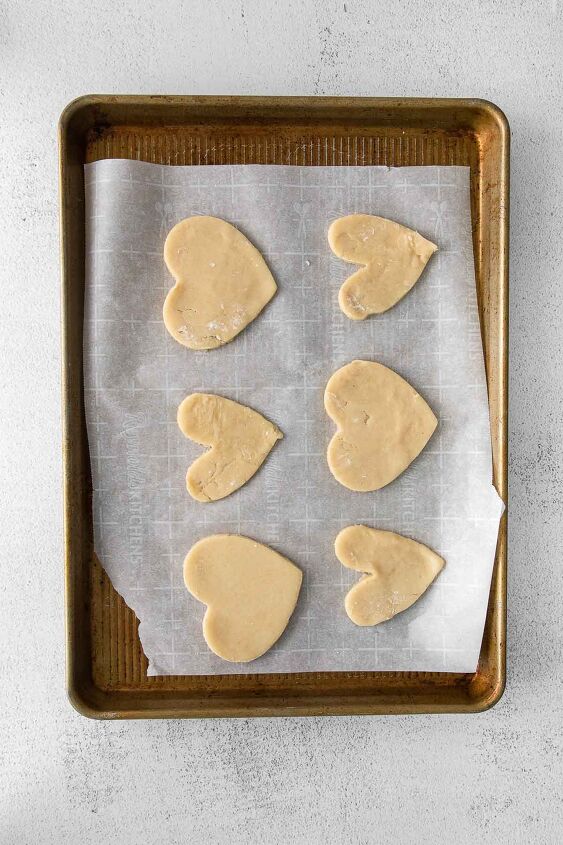
Step 4: Place the cookie sheet in the freezer for 15 minutes to set. DO NOT SKIP this step as it ensures the cookies will hold their shape.
Step 5: Preheat the oven to 350 degrees. Grab the chilled cookies and transfer them to the hot oven to bake for 12-15 minutes. The bottoms should be slightly brown.

Step 6: Allow the cookies to cool completely before decorating.
Step 7: Combine icing ingredients in a small bowl. Start with a few drops of food coloring and go from there, depending on how vibrant you want it. Add it to a piping bag and decorate as you please!
Allow them to set before taking a bite 🙂

- Add a teaspoon of almond extract if desired.
- Use chocolate icing or dip in melted chocolate chips if desired.
- Use gel food coloring for a more concentrated vibrant result.
- Substitute half and half cream for the milk, if preferred.
- To make life a little easier, you can always use a store-bought cookie icing.
- Set up a DIY decorating station for the kids. Have them pipe out their favorite color icing and add their own sprinkles!
- Use salted butter if preferred. There is no added salt anywhere else, so they’ll be fine.
- Measure flour using the spoon and level method. This is the way to get the right amount of flour for the perfect texture.
- Cut into any shape you desire. Rectangle, circles, squares, or any favorite cookie cutter. This is especially useful to keep in mind when baking for all different occasions!
- Do not skip the chill time! This allows the dough to set and the butter to solidify so that when they bake they do not spread.
- When they’re done baking they should be only lightly golden on the bottom and perhaps around the edges. Anything more than that and there’s a good chance you’re overbaking them.
- Allow cookies to cool completely before decorating. If you add the icing while the cookies are still warm, it will melt the icing into a thin runny glaze.
- No piping bag? No problem! Just use a Ziploc bag and snip the corner.
- If you’re adding sprinkles to the icing, add them while the icing is wet.
- Allowing them to set before doing anything with them is important not only for eating them but also for stacking them to package them. Especially if you’re wrapping them up to gift them to loved ones.
Keep any cookies stored in an airtight container in the fridge for up to 4 days.
Can I freeze shortbread dough?Once you’ve made the dough, you can do a couple of things. Roll it into a log, wrap it in a piece of plastic wrap, seal it up tightly, and freeze for up to 3 months. Then, when you’re ready to bake, allow it to thaw slightly at room temperature and slice them into cookies, and bake them.
Other Cookie Recipes
Old Fashioned Snowball Cookies
No Bake Chocolate Oatmeal Cookies
Chocolate Chocolate Chip Cookies
If you like this recipe, please leave us a comment and rate the recipe below. You can also find us on Facebook, Pinterest, Twitter and Instagram!
Iced Shortbread Cookies
Recipe details
- 15 cookies
- Prep time: 10 minutes Minutes Cook time: 15 minutes Minutes Total time: 25 min


Comments
Share your thoughts, or ask a question!