


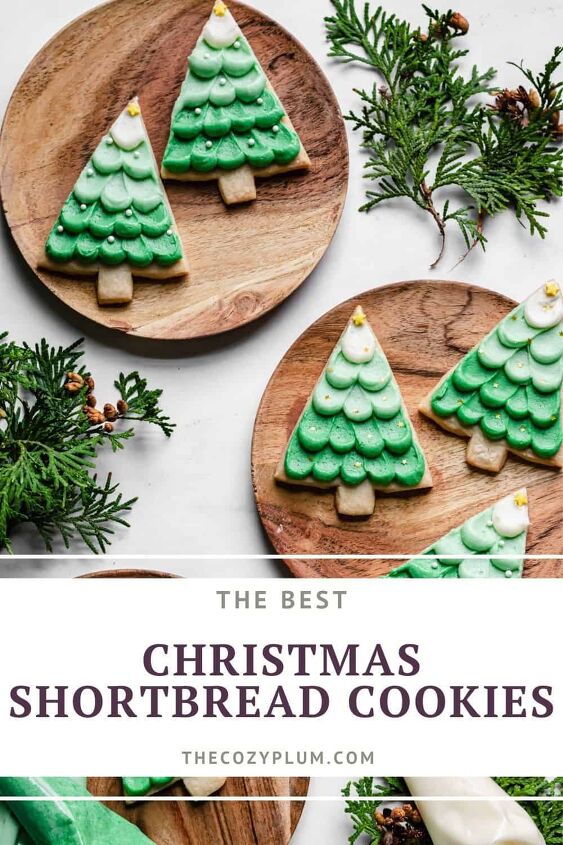
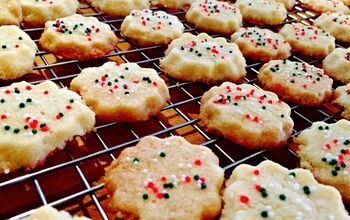
Christmas Shortbread Cookies
Buttery, almond flavored Christmas Shortbread Cookies are easy to make and decorate with icing and sprinkles. These are the BEST holiday cutout cookies.
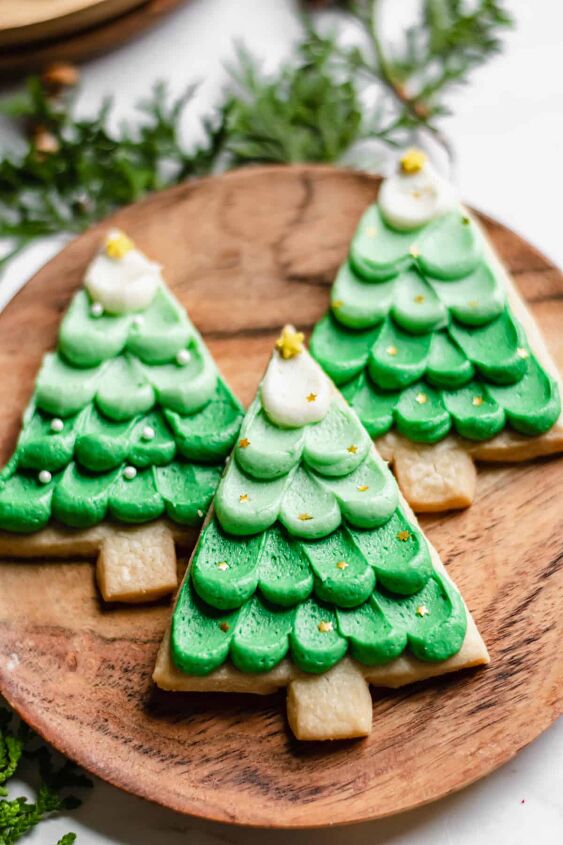
These crispy, buttery shortbread cookies are flavored with almond extract and cut into Christmas trees! They get covered in an almond buttercream using a decorating technique that couldn't be easier, and hold up for quite a few days.
While these are made in the shape of Christmas trees (the printable template is included below), you can cut these into any shape you'd like and use the same decorating technique.
- Unsalted butter. For both the cookies and icing.
- Sugars. Granulated for the shortbread and powdered sugar for the icing.
- All-purpose flour. Use a digital kitchen scale if you have one, or be sure to measure your flour correctly!
- Extracts. Almond and vanilla! The almond is really key here. See the FAQs at the end of the post for additional flavor ideas.
- Heavy whipping cream. For the frosting, but you could also use milk or water.
- Food coloring. I use Wilton gels so it doesn't add extra liquid to the icing. Adding too much coloring can sometimes split buttercream.
- Sprinkles. I like to use edible stars and nonpareiles. Use whatever you want, though! I've found most of mine at random times in my local grocery store.
Here are the tools you'll need:
- Stand mixer or hand mixer. For both the dough and icing.
- Rolling pin
- Baking pans
- Piping bags. Ziptop bags will also work!
- Offset spatula. A butter knife (or popsicle stick) can also do the job
- Tweezers. Optional, but is helpful for adding sprinkles.
- Microplane. Optional, but can help get super straight sides.
These are classic and traditional shortbread cutout cookies. It's a dough that is very forgiving and easy to work with, and any pieces that crack or fall apart before baking can just be squished up and re-rolled.
The true base of the recipe is a 3-ingredient shortbread: butter, sugar, flour. The vanilla and almond extracts (and salt) are added strictly for flavor.
This cookie recipe comes from a near and dear family friend, Lisa Vasco, who is an OG cookie decorator. She was making and decorating cookies with royal icing before it was cool! Thanks so much for letting me share this, Lisa.
The recipe makes about 24-30 cookies. Feel free to only use one disc of dough (and half the icing recipe) if you'd like closer to a dozen.
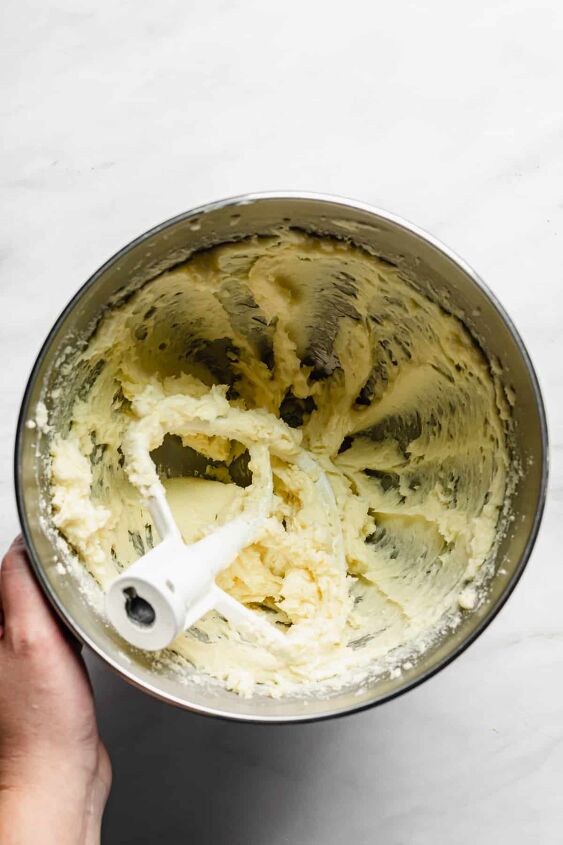
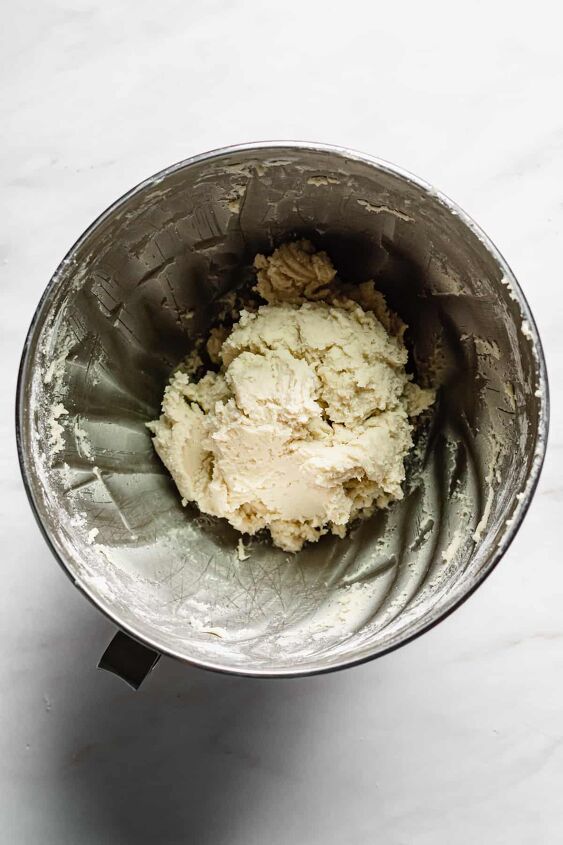
STEP 1: Start by creaming together the butter, sugar, and salt in the bowl of a stand mixer fitted with the paddle attachment. Do this on medium speed for about two minutes or until it becomes lighter in color and fluffy.
Add in both extracts and whip again to combine, then scrape down the sides of the bowl.
STEP 2: While the butter and sugar is working, sift the flour into a bowl. This helps to ensure a perfectly smooth cookie dough and shouldn't be skipped. If you don't have a fine mesh strainer, whisk the flour well to break up any clumps.
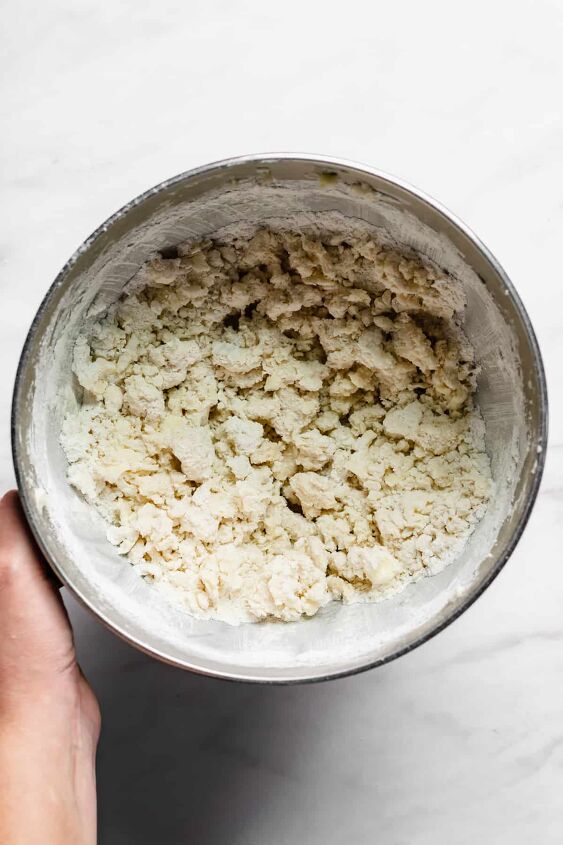
STEP 3: With the mixer on low, spoon in the sifted flour just until the mixture comes together. It will get slightly crumbly, then comes together.
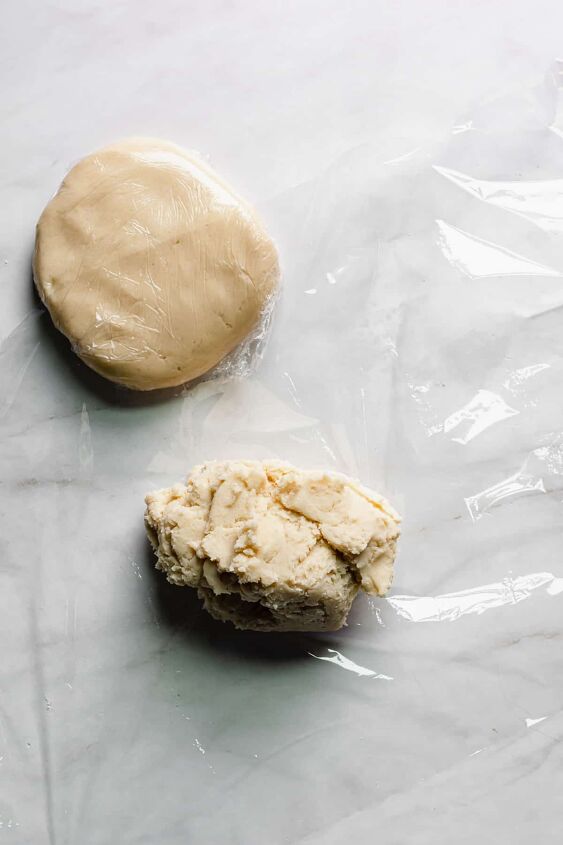
Separate the dough into two even pieces, wrap completely in plastic wrap, and form into 1-inch thick discs. Refrigerate the dough for 1 hour to hydrate.
STEP 4: After hydrating, allow the dough to stand at room temperature for 15 minutes before rolling out. Work with one disc of dough at a time. Preheat the oven to 325℉/163℃ and prepare two large baking sheets with parchment paper.
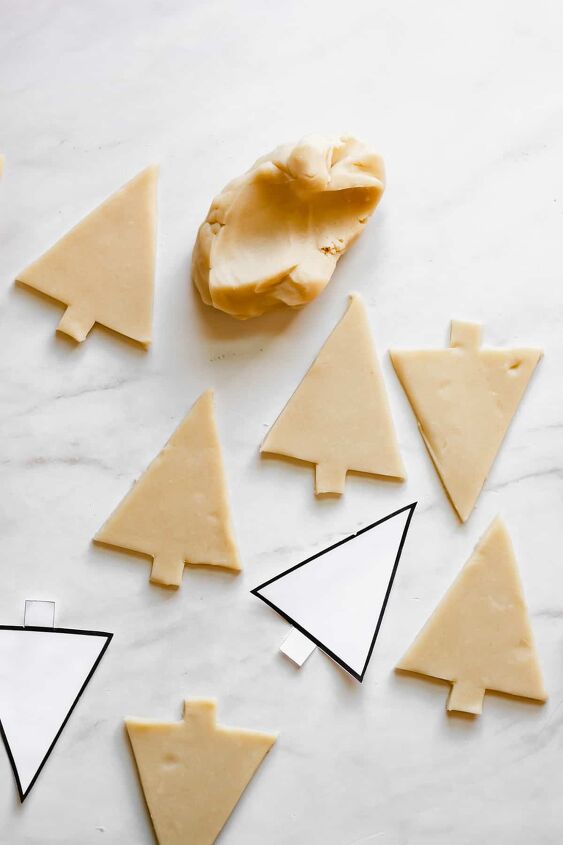
Then, lightly flour your work surface and rolling pin and roll out the dough into an even mass that's ¼" thick. This can be any shape, just be sure to keep it even throughout. Using the Christmas Tree Template (or a cookie cutter of any shape), cut out the tree shapes using a sharp paring knife.
Score out all of the cookies you can fit on one slab, transfer the cookies to the prepared baking sheets, then squish up the scraps and re-roll until all the dough is used. I find it helpful to use an offset spatula to get under each cookie and help to transfer.
Pro tip: These cookies don't spread (just puff slightly), so you can add them rather close on the pan. Just don't let them touch!

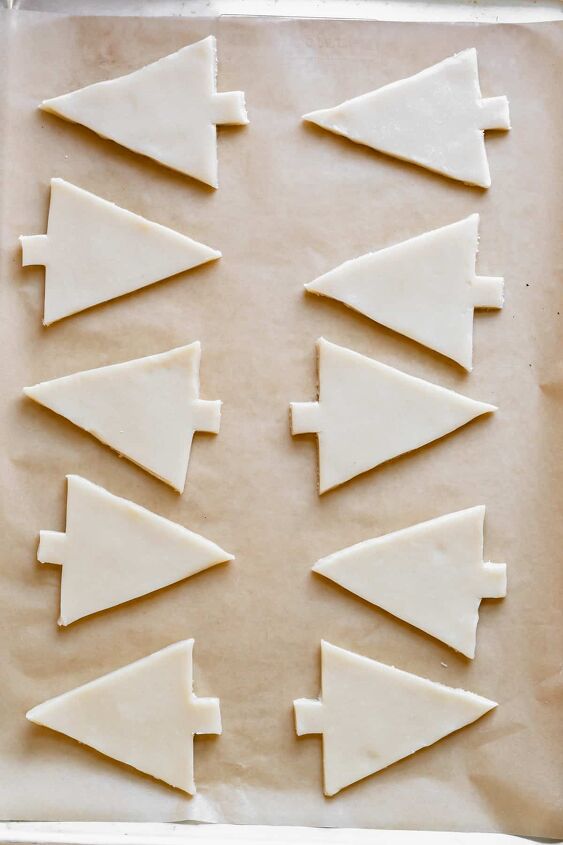
STEP 5: Bake the cookies for 10 minutes, then rotate the pan(s) and bake for another 12 minutes or until the edges are lightly golden. If baking two pans at a time, make sure the racks are in the middle and also switch the pans at the 10 minute mark.
Remove the baking pans and allow the cookies to cool completely on the pans. Do not try to move the cookies while they're still hot or they can break.
Pro tip: use a microplane on the sides of the cooled cookies to create super clean and even edges.
You can start prepping the icing and blending colors as the cookies are baking. Just be sure to wait until the cookies are completely cool to decorate.
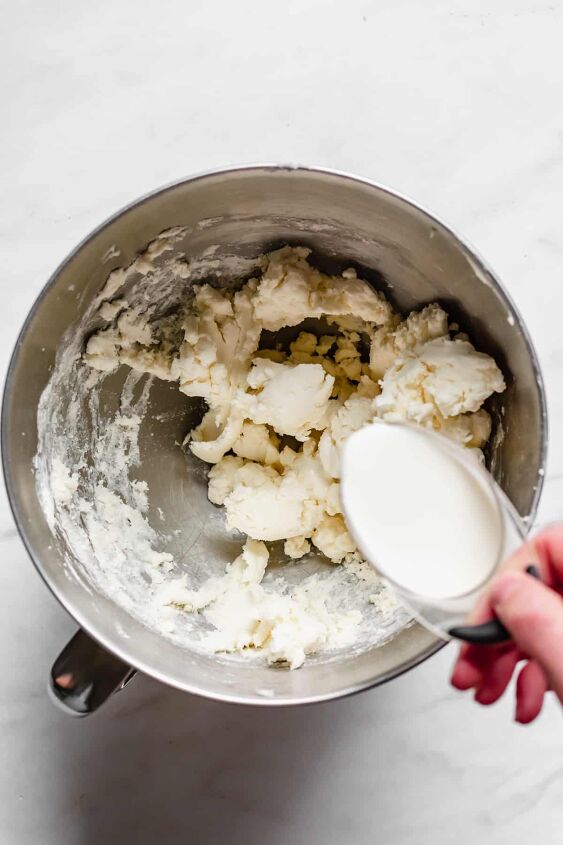
STEP 6: Beat the butter on medium speed for 1-2 minutes. Sift the powdered sugar into a separate bowl, then spoon in the powdered sugar, vanilla and almond extracts and mix on low until combined the sugar is combined. Scrape down the sides, then mix on medium high speed for about a minute. It will be rather pasty at this point.
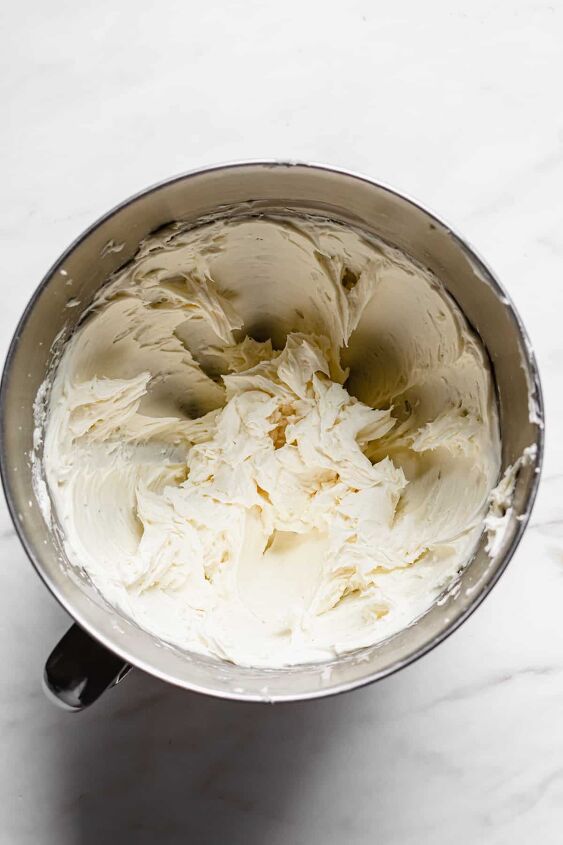
Drizzle in the cream/milk/water by tablespoon (with the mixer running) until the mixture becomes light, soft, and spreadable. If it feels too thick, add more liquid. If too thin, add more powdered sugar.
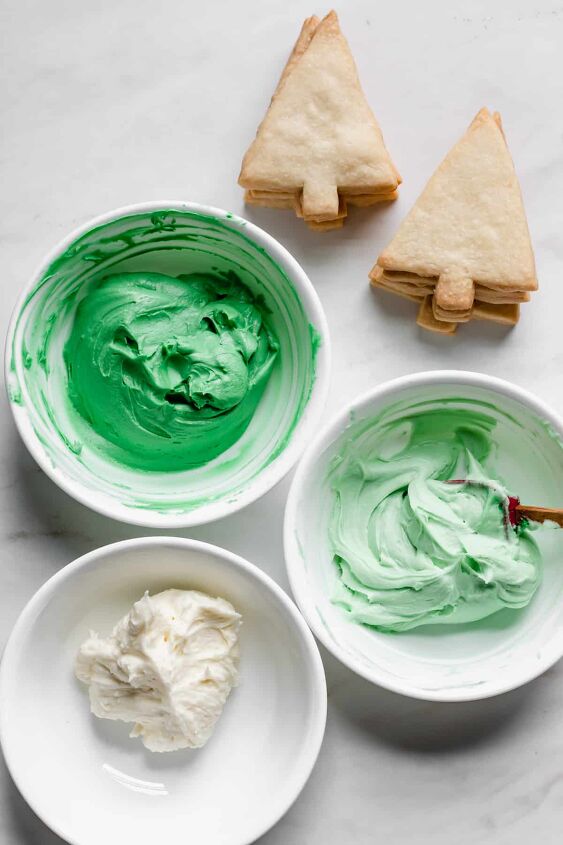
STEP 7: To color the buttercream as shown, separate the icing into three separate bowls. You'll need a 3:2:1 ratio for the dark green/light green/white colors. Add a small amount of food coloring at a time until the desired color is reached. Take care not to add too much for the darkest color, or else the butter cream can potentially split.
If you'd like to make the shades a bit more muted, try adding a wee touch of brown food coloring.
Be sure to mix completely, as sometimes the coloring can hide! I like to use a mini rubber spatula for this process (it's one of my most used kitchen tools, actually).
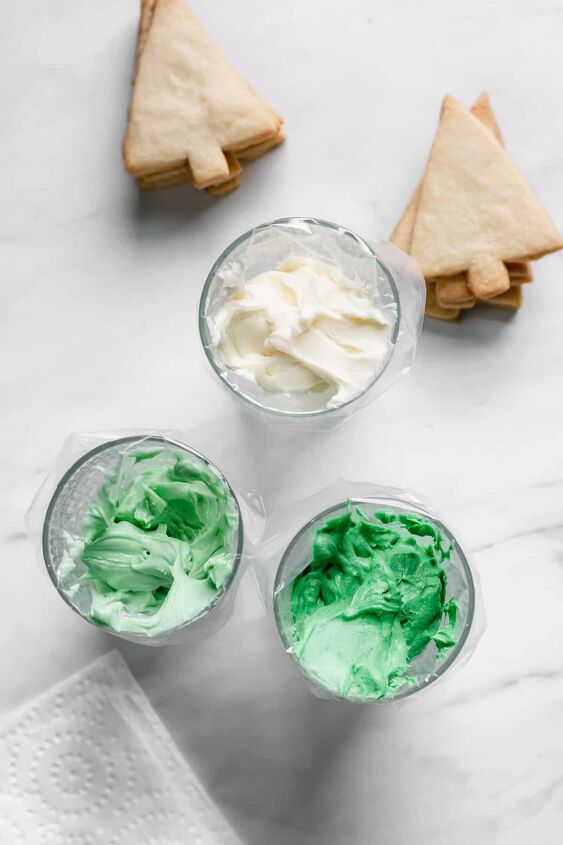
To transfer the icing to the piping bags (or ziplock bags), place the bag in a drinking glass and fold the sides down over the rim. Scrape the icing into the bag and twist the top closed. You can use a rubber band to keep it closed if you'd like. Piping tips aren't needed here, just snip off the tip of the bag.
I first saw this method for decorating by an awesome cookie artist on Instagram - @thesugarycookie I'd like to credit Morgan for this technique. Rather than using royal icing, I decided to use a standard American buttercream as it's much simpler icing and one that's easier to work with.
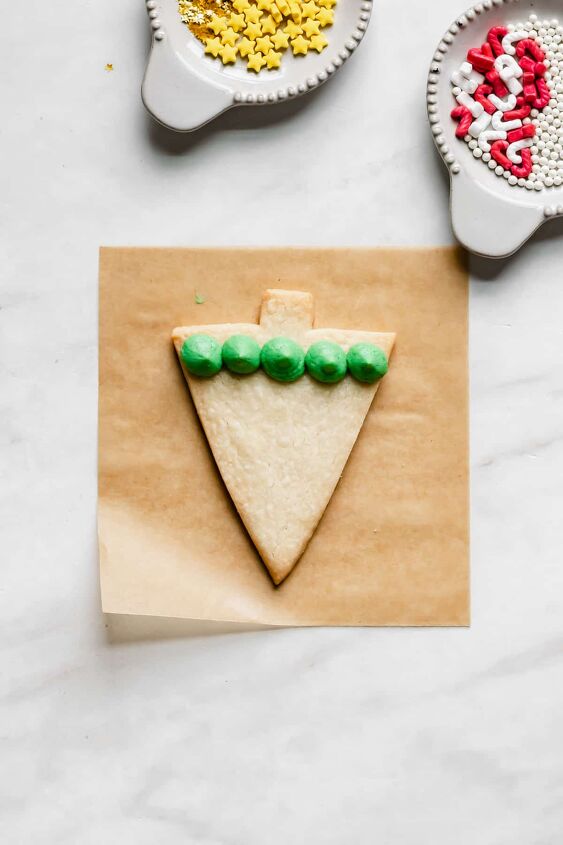
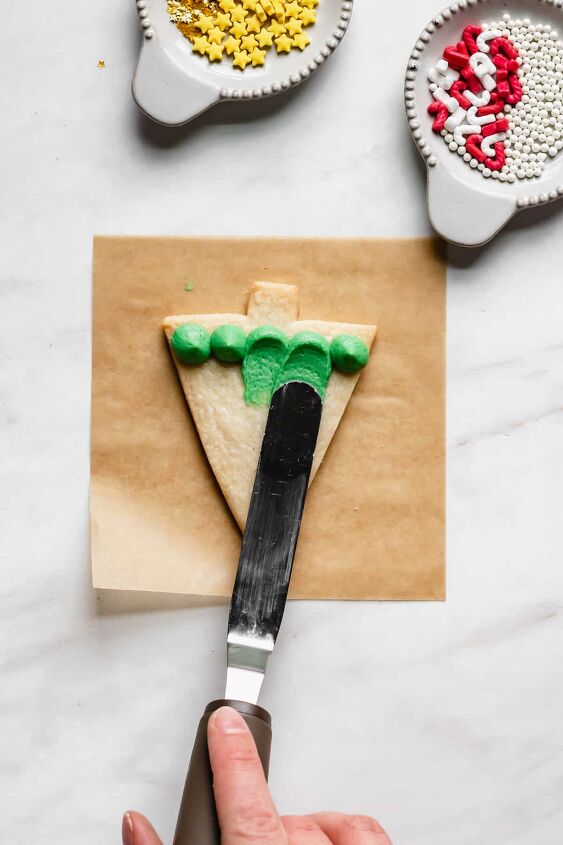
STEP 8: Starting with the darkest green color, pipe out 5 small dollops at the base of the tree. Then, using your offset spatula, press into the middle of each dollop and gently pull down to smear it.
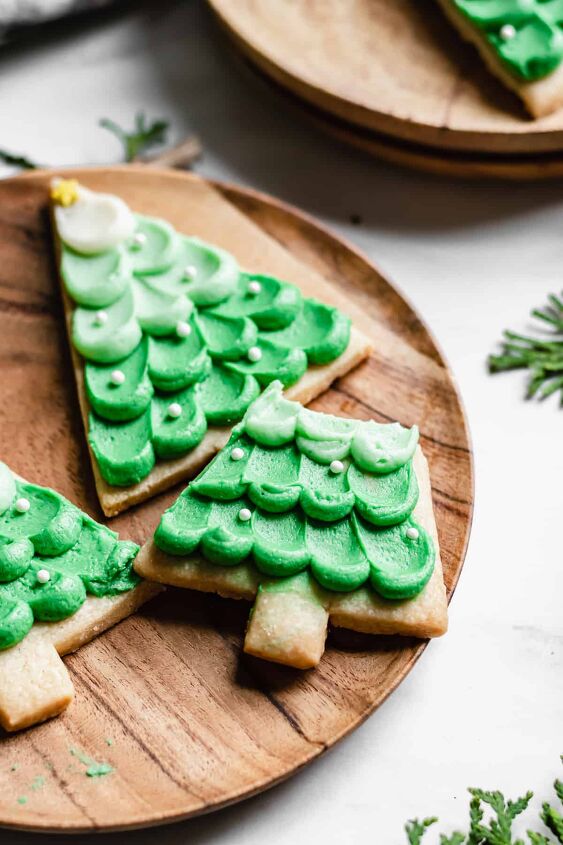
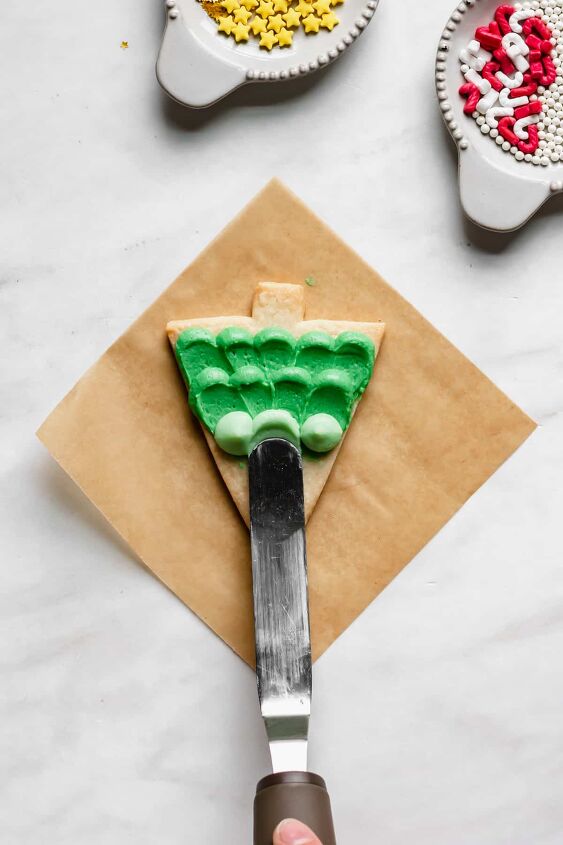
The next row is 4 dollops of dark green, followed by 3 dollops of light green, 2 dollops of light green, and one final dollop of white for the point of the tree.
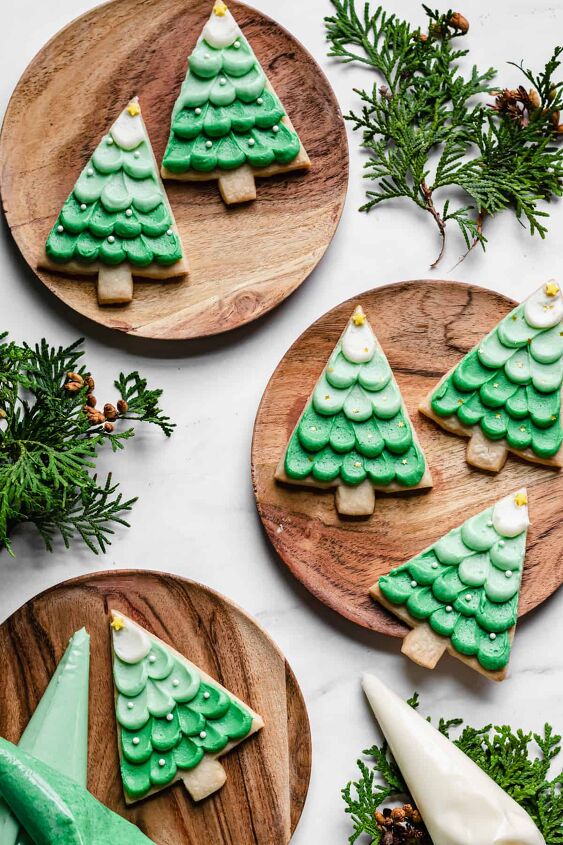
Once the cookie is iced, add on any sprinkles that tickle your fancy. I like to use tweezers for this, but you can definitely sprinkle them on with your fingers!
Pro tip: have a few pieces of paper towel next to your decorating area so you can wipe off the offset spatula after each section.


Store the cookies uncovered at room temperature for 2 days. Any longer and the cookies will need to go into the fridge. In total, they will last for about 5 days. If you used water in the icing (rather than milk or cream), they do not need to be refrigerated at all.
You can also freeze the cookies in a few different phases:
- The discs of dough can be frozen for 2 months, thawed in the fridge, then rolled out.
- The cut and pre-baked cookies can be frozen by flash freezing on a baking pan and then adding to a bag or container to freeze for 1 month. They can be baked straight from frozen, but you may need a few extra minutes of bake time.
- The baked cookies can be frozen in a bag or airtight container for 3 months. Uncover and thaw at room temperature, then decorate.
- The full baked, iced, and decorated cookies can be frozen in a ziptop bag or airtight container for 3 months. Leave at room temperature (uncovered) to thaw, then eat!
You can fully omit the almond extract if it's not a flavor you enjoy. You could simply use the vanilla extract, or you could also try peppermint, mint, lemon, orange or coconut extracts for a different flavor profile!
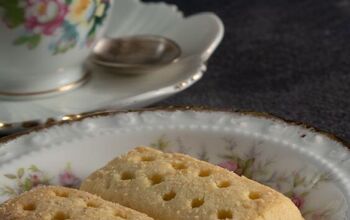
What is the difference between a shortbread cookie and sugar cookie?Shortbread cookies contain just butter, sugar, and flour while sugar cookies also include eggs. There is also a bit more butter in shortbread cookies, making them slightly more crumbly and sugar cookies more chewy.
What's the secret to good shortbread?Good quality butter! Because there is so much butter in shortbread, you really do taste it, so the quality of the butter can make a difference.
How do you know if shortbread is cooked?You'll want to use visual cues and look for the edges of the cookies to be lightly browned.
- Cookie Butter Cookies
- Stuffed Fluffernutter Cookies
- Best Brown Butter Chocolate Chip Cookie Recipe
- Chocolate Chai Snickerdoodles
- Classic Chewy Snickerdoodle Recipe
Be sure to tag me on Instagram @thecozyplum and use I can't wait to see your creations. For more ideas, follow me on Pinterest.
Christmas Shortbread Cookies
Recipe details
- 24 cookies
- Prep time: 1 Hours Cook time: 30 Minutes Total time: 1 hr 30 min


Comments
Share your thoughts, or ask a question!