


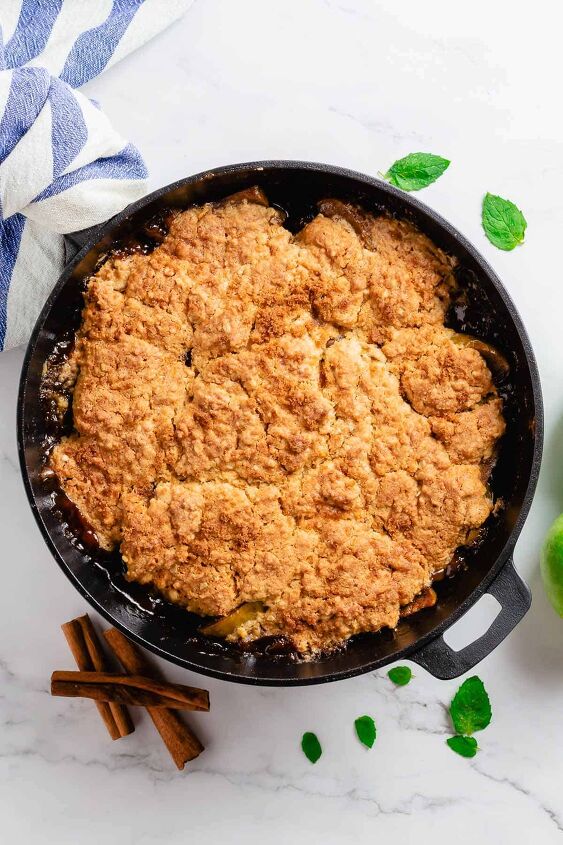
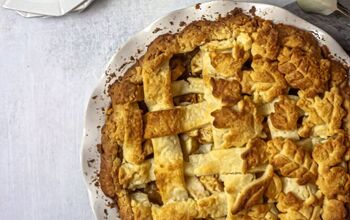
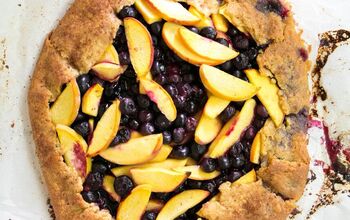
Gluten Free Apple Cobbler
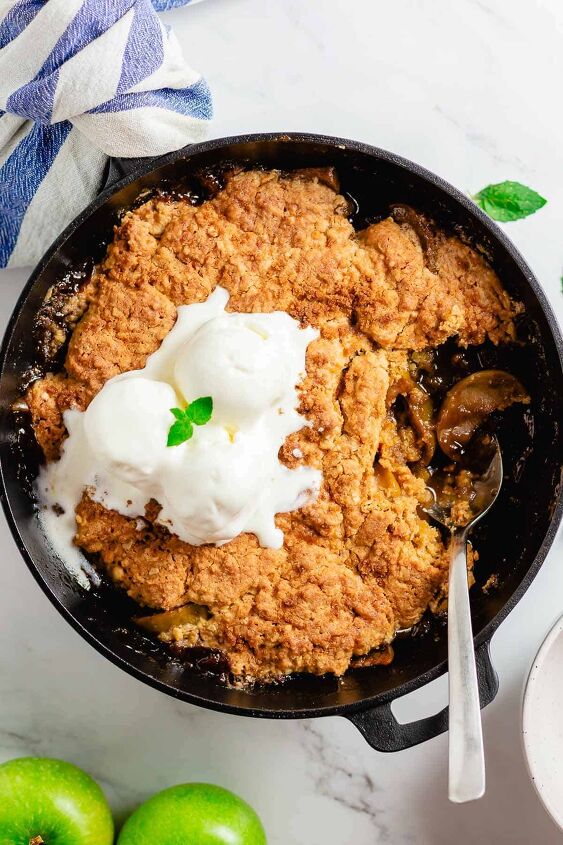
Gluten-free apple cobbler is the best and everyone’s favorite fall dessert every year. Made with delicious fried apples with cinnamon, and a fluffy cake-like topping that is simply irresistible. I highly recommend serving this apple cobbler with vanilla ice cream and caramel sauce.
Too sweet? But so worth it!
There is a skip-to-recipe button in the top left corner along with a clickable table of contents list (just below) that will quickly take you to the part you are more interested in. Enjoy!
If you like cozy fall dessert recipes be sure not to miss these too: Pumpkin Caramel Sauce, Cranberry Mini Loaves, Almond Cranberry Tart, Gluten-Free Berry Crisp.
- The perfect combination - Tender and soft apples inside and with a perfect crisp biscuit-style top on the outside.
- Best topping you'll ever find - Just like many apple crisp recipes, this apple cobbler has oats included as well but the difference is that cobbler has a thicker, fluffier almost cake-like topping. Which in my opinion, is more delicious!
- Made with these flavorful fried apples with cinnamon. But you can use a precooked canned alternative of choice as well.
- Just like my gluten free berry crisp, this recipe has very simple and straightforward process. It is foolproof, and bakes beautifully everytime. Now I know what I am saying becomes this is too addictive and I have made this at least 5 times last year alone, and this is a lot considering how many different recipes I tend to make all the time for the blog.
- Available all year - apple cobbler made in skillet has hints of cinnamon and nutmeg which automatically reminds me of a cozy fall evening and holidays. But the best part is that you are not limited to time of the year, you can bake this all year long, as long as you have access to apples, which are anyway, available throughout the year.
- Budget-friendly - it is cheap to make, as the most ingredients are accessible and probably already in your pantry and fridge. The only thing is that you’ll need to have the most ‘’fresh’’ is your baking powder and gluten free flour.
Pin this post now and save for later
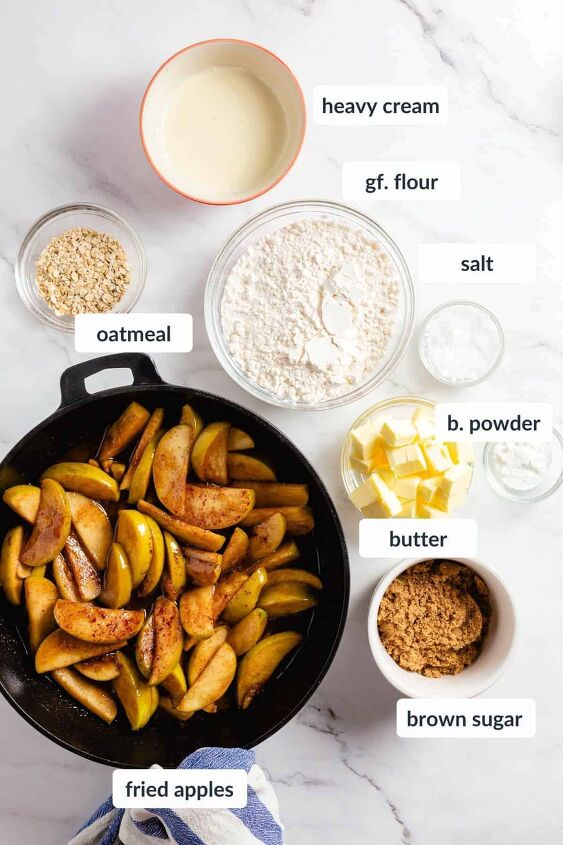
- Gluten-Free flour – use my Gluten Free Flour Blend or Schar gluten free flour which I really love to use in baking and is available in Europe. (Schar Mix B or Universal have worked well on multiple crumble baking recipes). In the US it is also available but the choices are limited, the best US alternative that my readers have reported is a Bobs Red Mill 1 to 1 all-purpose flour.
- Baking powder (with gluten free label) – this is also used as an extra thickening and rising agent. I can’t stress enough that for any kind of recipe to work please check your baking powder expiration date and that it is kept in a dry place and tightly sealed at all times. It is also recommended to sift the baking powder as well as the flour.
- Oats - I simply used what I had on hand, quick oats and just 3-4 tablespoons. You can definetly add more which will make the top even more crisp, especially when using old fashioned larger oats. Personal preference in the end and in fact, is totally optional here.
- Fried apples with cinnamon - get my simple recipe for these over here.
- Apples - so what best apples to choose for a cobbler or in my case, fried apples with cinnamon recipe? I’ll be short, your best candidates (but are not limited to) are Granny Smith, Honeycrisp, Gala and Pink Lady. Read more about apples in my fried apples recipe.
- Cast iron skillet
- Kitchen Scale
- Whisk
- Ice Cream Scoop
- Mixing Bowls
- Pie Server
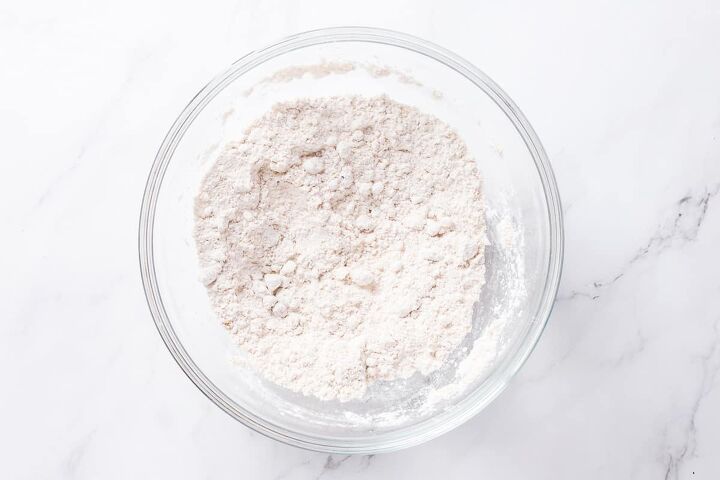
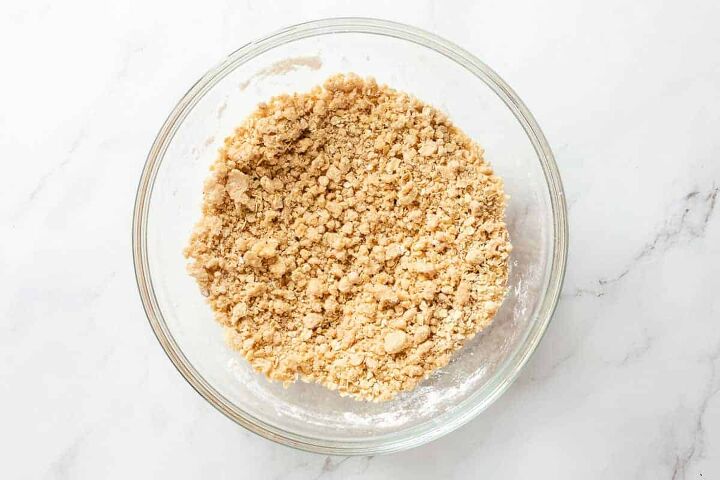
In a large mixing bowl whisk together flour, oats (if using), brown sugar, baking powder, salt.
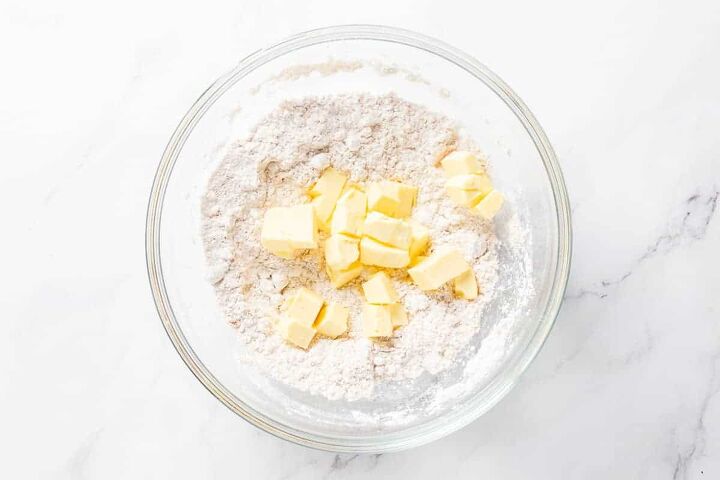
Add butter (cut into cubes) into the flour mixture and gently stir (either with a spoon, pastry cutter or your hands) until you have crumbs. But honestly, mixing everything with hands is the easiest and fastest way in my opinion!
Slowly stir half of the cream until incorporated and add little by little more until you get an almost wet texture.
Gently stir. The dough should not be smooth though.
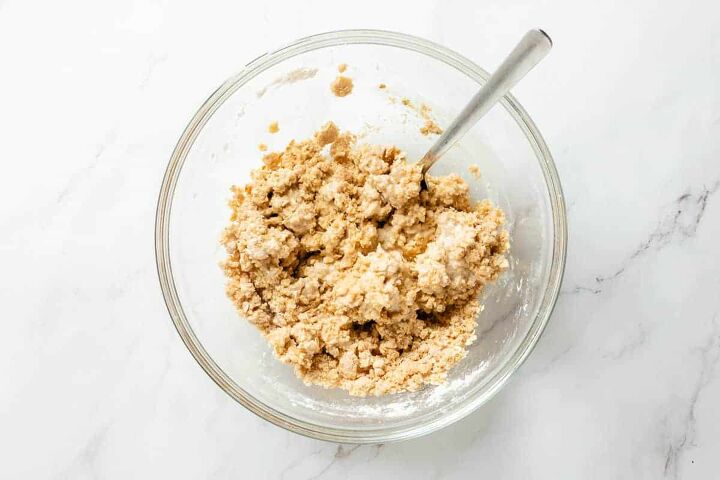
It is important to add the cream in batches otherwise you may lose the texture and the top will not bake as it should. Set aside.
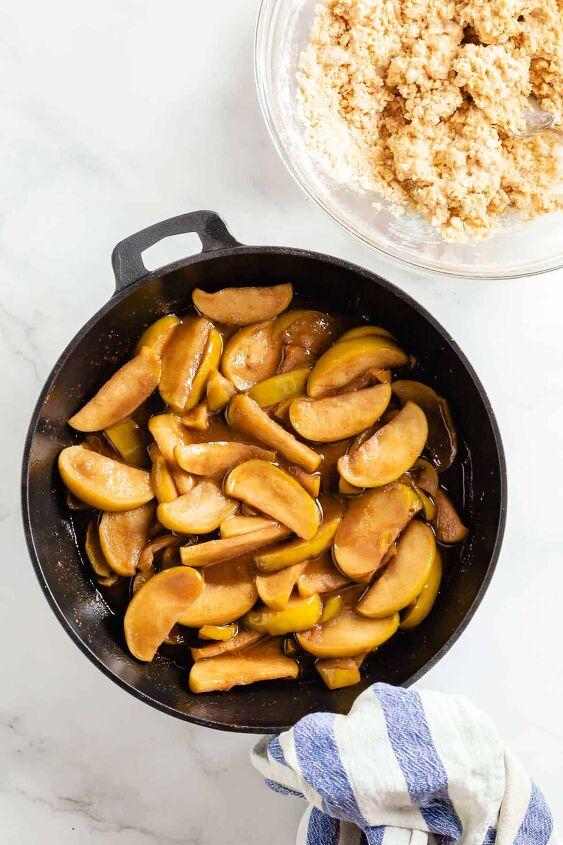
In a cast-iron skillet add fried apples with cinnamon or any homemade apple filling or a store-bought can.
Pour the flour mixture on top, spread it out evenly with a spatula.
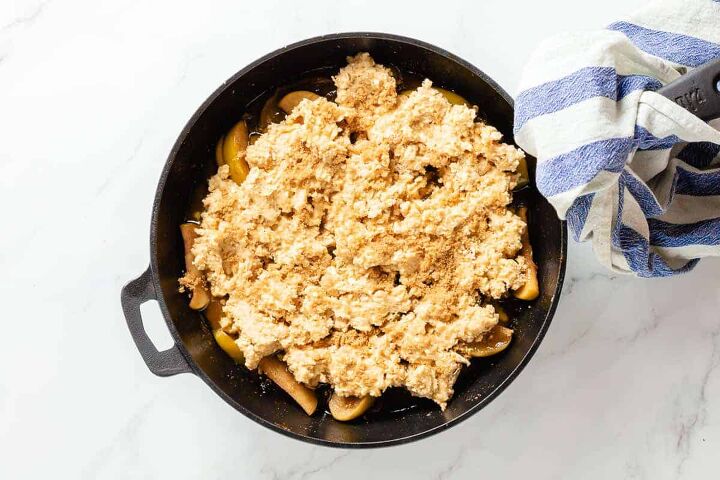
Tip: it is not so important to cover the apples entirely, you can leave few empty spots here and there for the apples to peek through and become bubbly through the crumble.
Bake at 375 F for 30-40 minutes or until the top is golden brown and crisp.
Take out of the oven and let sit for 5-10 minutes and serve with a scoop or two of your favorite ice cream.
- Lemon juice - if you are afraid this recipe may be too sweet for you, add a few spoonfuls of freshly squeezed lemon juice to the apples that will balance the sweet fried apples with cinnamon, and add a lovely tartness to the dish.
- Fried apples with cinnamon - if you are going to make my fried apples recipe for this cobbler, I suggest to use Granny Smith apples for this particular recipe because they are the most tart which pairs very well with the sweet cobbler batter. Overall I like the Granny Smith best for baking sweet recipes for their texture and flavor.
- For ensuring your crisp stays crispy please follow the recipe instructions and use a kitchen scale to measure out the ingredients. Over-adding the butter or in reverse, using too little butter may affect the crispiness of the pie.
- Top the crumbly topping with demerara brown sugar and not the raw cane sugar, it will be more crispy this way.
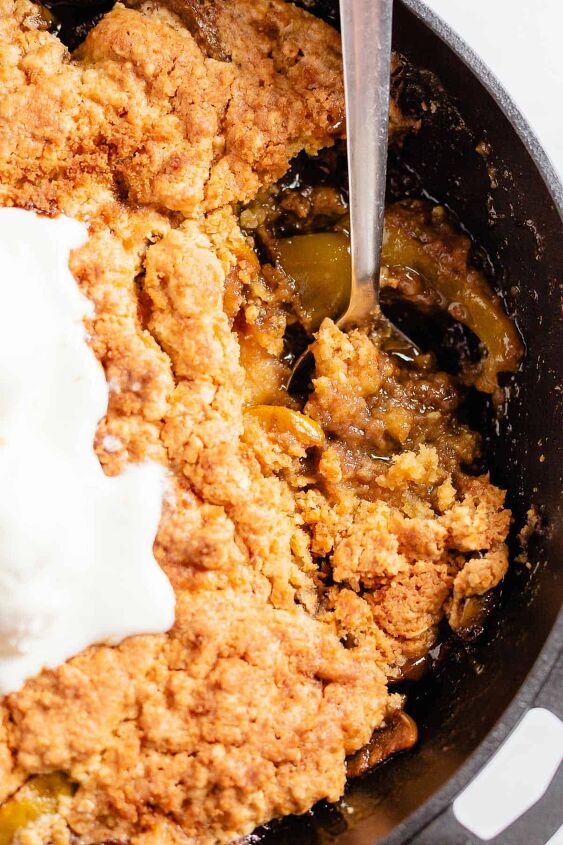
Divide the crumble using a pie server into desired portion sizes and serve in either a flat plate or smaller dessert bowl and top up with vanilla ice cream.
For best flavor serve the gluten-free apple cobbler warm and with melting ice cream on top. Delicious EVERY time.
Add a drizzle of caramel or other sweet sauce for an extra sweet treat.
Should you refrigerate an apple cobbler? If you really need to refrigerate the leftovers, then sure you can, however according to USDA it is technically not required because this dish contains plenty of sugar and is safe to be stored at room temperature. You can keep it at room temperature for up to 2 days.

If you can’t consume it within this time then it is better to refrigerate for up to 5-7 days. The Gluten free apple cobbler should be baked and cooled completely before refrigerating to ensure it will remain fresh for longer.
Make ahead instructions. It requires a few steps but is easy, I promise!
You can make the fried apples and whisk the batter (without the butter) a day or two before. Keep them both separated, sealed, and in an airtight container, refrigerated. When ready to bake, add and press the cold butter cubes into the flour mix and proceed as per the recipe.
I hope you'll enjoy this gluten free apple cobbler recipe and if you make it, please let me know down below in the comments or by tagging @theyummy_bowl under your picture on Instagram.
Thank you for reading,
Love,
Julia
- Berry Crisp
- Berry Banana Jam (Without Pectin)
- Cranberry Orange Mini Loaves Breads (Gluten-Free)
- Almond Cranberry Tart (Gluten-Free, Vegan, Dairy-Free)
- Raspberry Mango Crumble
ALL DESSERT recipes.
Gluten Free Apple Cobbler
Recipe details
- 6 portions
- Prep time: 30 Minutes Cook time: 40 Minutes Total time: 1 hr 10 min


Comments
Share your thoughts, or ask a question!