


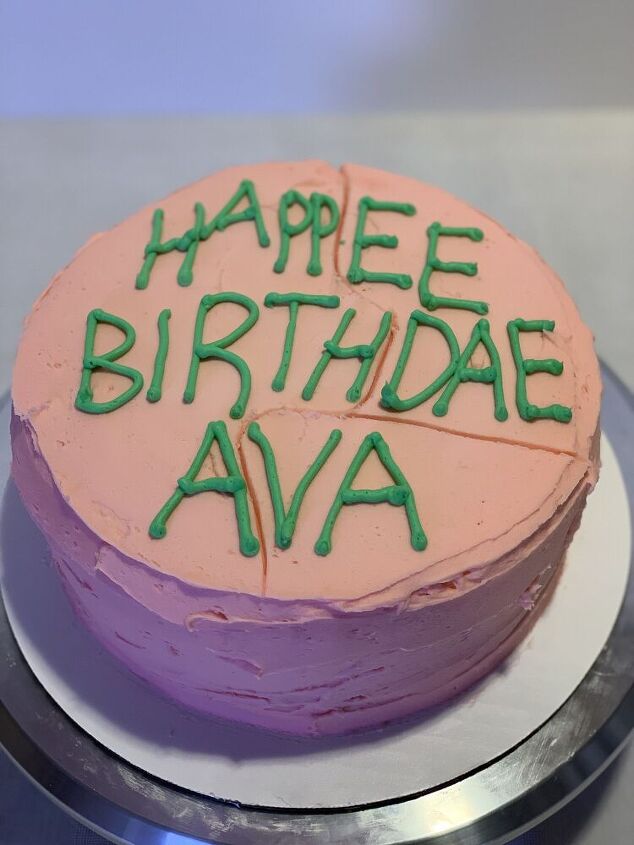
'Happee Birthdae' Harry Potter Birthday Cake
1 8" cake
1 hr 15 min
"It's not every day your young man turns 11 now, is it?"
If you've seen Harry Potter and the Sorcerer's Stone, you'll remember the scene where Hagrid brings Harry a birthday cake on his 11th birthday when he comes to hand-deliver his Hogwarts letter. Hard to pick a favorite scene from that movie, but that one's up there for me!
If you've never seen the Sorcerer's Stone.... honestly I'm super curious how you landed on this page, but you should see it regardless! ;)
And maybe the best part of that scene? - makers of birthday cakes for Harry Potter fans don't need to look too hard for inspiration! Recipe below!
{
"id": "6543119",
"alt": "",
"title": "",
"video_link": "https://www.youtube.com/embed/IjKebfDxBUA",
"youtube_video_id": "IjKebfDxBUA"
}
{
"width": 634,
"height": 357,
"showRelated": true
}
'Happee Birthdae' Harry Potter Birthday Cake
Recipe details
- 1 8" cake
- Prep time: 45 Minutes Cook time: 30 Minutes Total time: 1 hr 15 min
Show Nutrition Info

Want more details about this and other recipes? Check out more here!


Comments
Share your thoughts, or ask a question!