


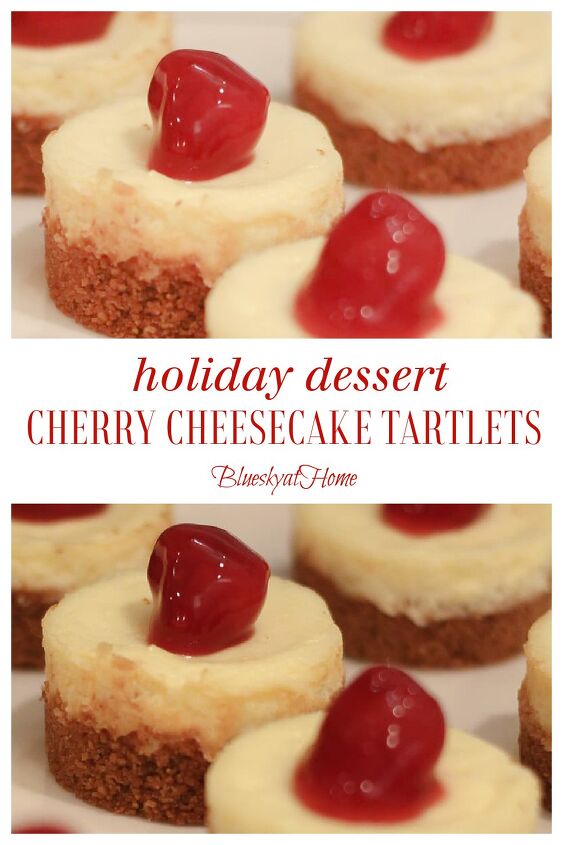
Cherry Cheesecake Tartlets for a Special Holiday Dessert

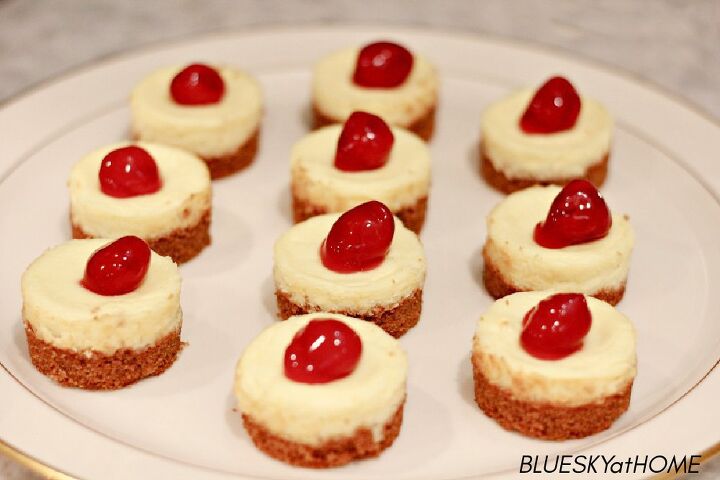
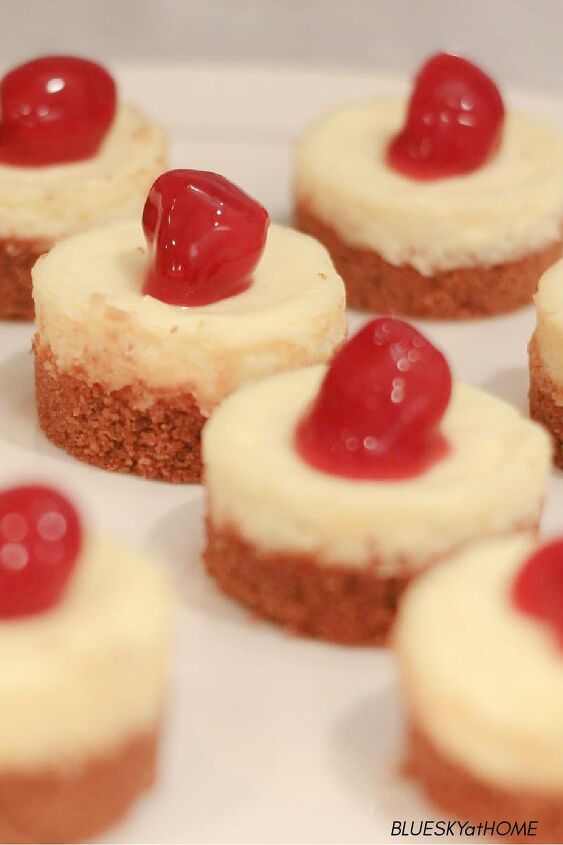
Do cherry cheesecake tartlets that are not too sweet and topped off like Rudolph’s red nose sound delicious? These bite-size treats are so pretty that Santa would trade in his milk and cookies for them.
Who doesn’t love cheesecake? Although delicious, a slice of this rich, cream cheese dessert can be filling at the end of a meal. I have an alternative – Cherry Cheesecake Tartlets – a little bite of goodness.
These mini-cheesecakes are a super small version. The just-right size dessert provides a satisfying finale to a holiday meal, but doesn’t leave you feeling like Santa Claus after a night of milk and cookies.
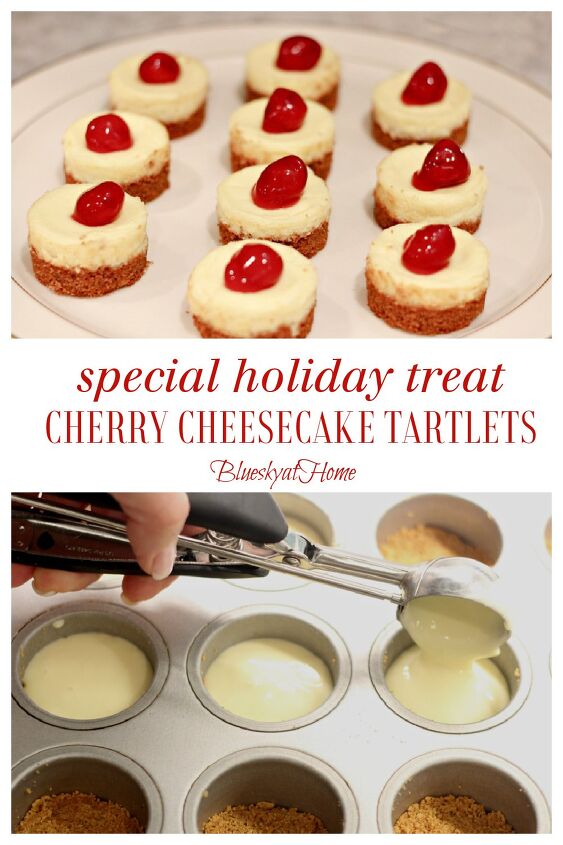
These cherry cheesecake tarts just have the look of Christmas to them.
You know me. I love mini-desserts. The great thing about the cherry cheesecake tarts is that they contrast beautifully with the brownies with raspberries that I’ve shared, both in flavor and presentation.
Nervous about making cheesecakes? (I used to hear that from students over the years.)
Don’t be. I’m going to walk you through the preparation. At the end of the post, I have a PRINTABLE CHEESECAKE TIPS for you.
Special Holiday Dessert: Cherry Cheesecake Tartlets
This post contains affiliate links to products used in the creation of this project. If you should order any item from this site, I may receive compensation, but you do not pay a penny more. Your purchase is greatly appreciated as it helps support the continued publication of this site.
How hard can a 6~ingredient dessert be? Most of these ingredients are ones you may keep in your pantry, fridge or freezer.
Ingredients for the Cherry Cheesecake Tartlets
Crust Ingredients
- graham crackers
- unsalted butter
Filling Ingredients
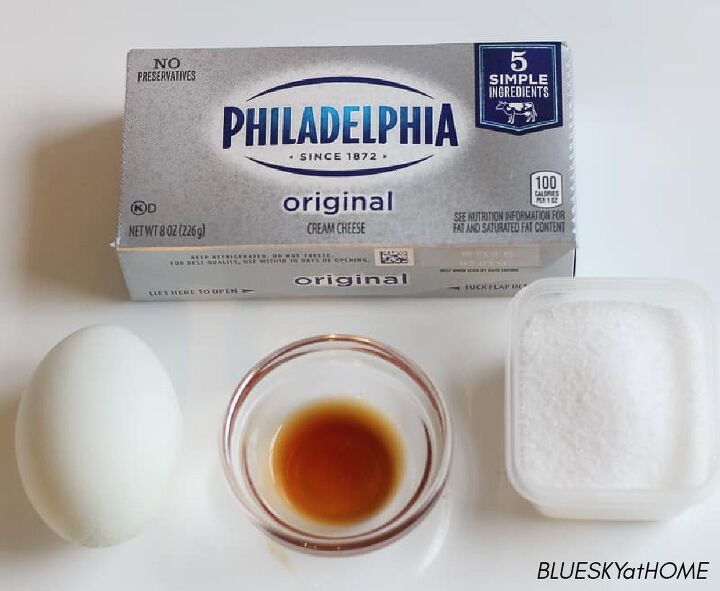
- cream cheese, softened
- large egg
- vanilla extract
- granulated sugar
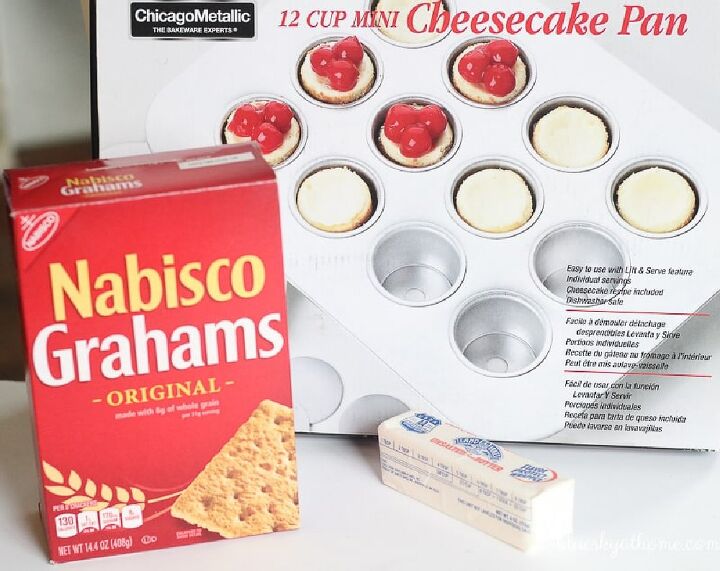
Equipment for the Cherry Cheesecake Tarts
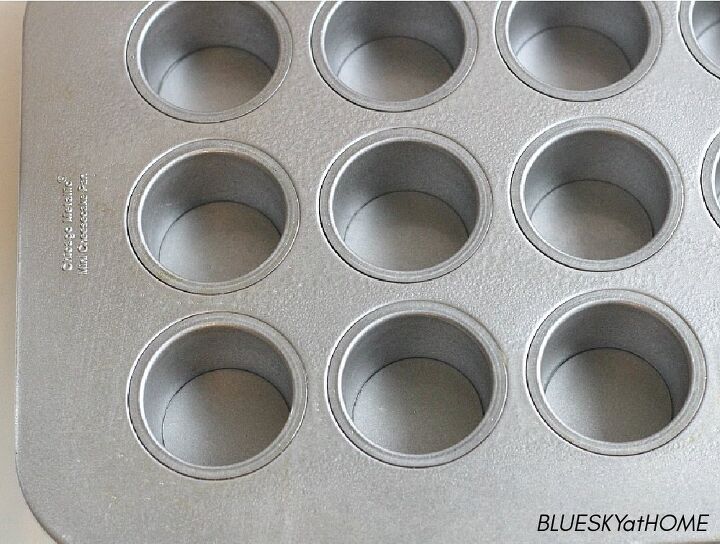
A regular-size cheesecake requires a cheesecake pan (It has solid sides with a pop~up bottom and at least 3~inch sides.).
These cheesecake tarts use a 12-cup mini cheesecake pan, readily available online or at your local kitchen store. Each cup has a removable bottom, making getting the cheesecakes out a breeze. I’ve also used this pan, each cup lined with foil, to make individual cakes.
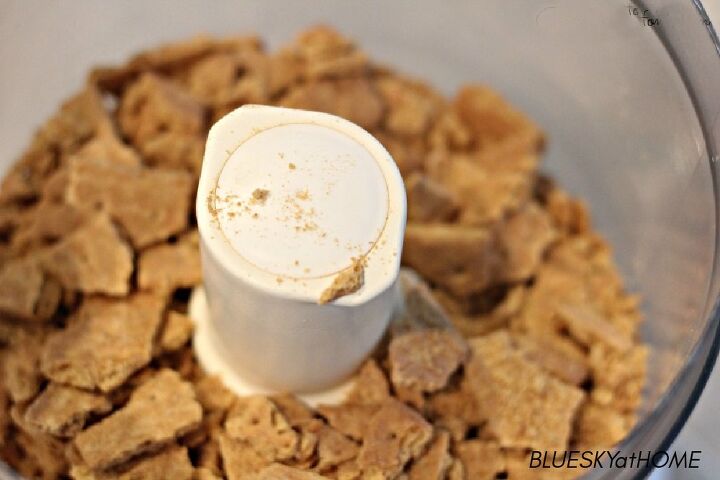
A food processor is the best tool to make your graham cracker crumbs. I’ve had my Kitchen Aid for about 18 years and it is just a workhorse.
An electric mixer is used to make the filling. Mine is also a Kitchen Aid and it’s the best mixer I’ve ever had.
Making the Cheesecake Crust
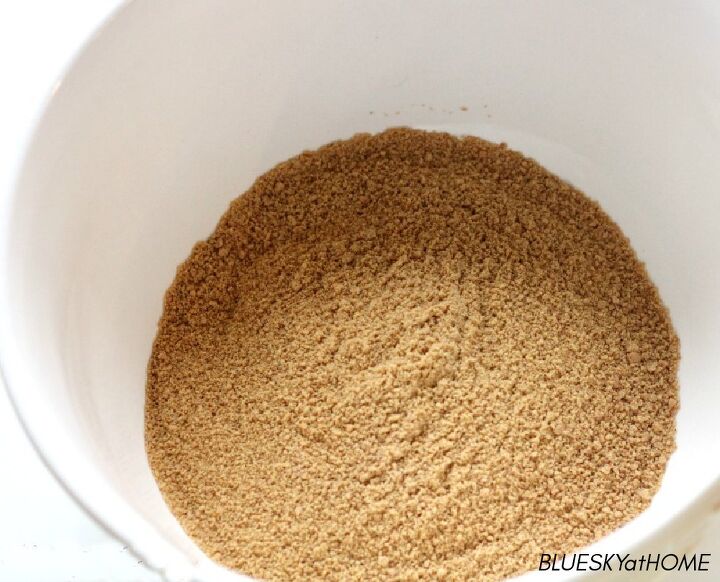
Make the graham cracker crumbs. Break the crackers up as you put them in the processor bowl. Pulse several times first and then turn to ON to process into fine crumbs. Pour into a medium bowl.
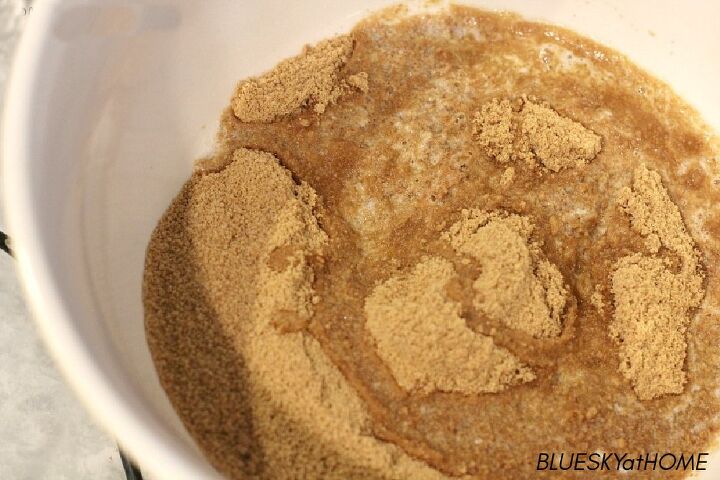
Melt 1/4 cup unsalted butter (1/2 a stick) in the microwave.
Add the melted butter to the cracker crumbs and stir until completely moistened. It may not look like there is enough butter, but I promise there is.
Spray the cheesecake cups with cooking spray.
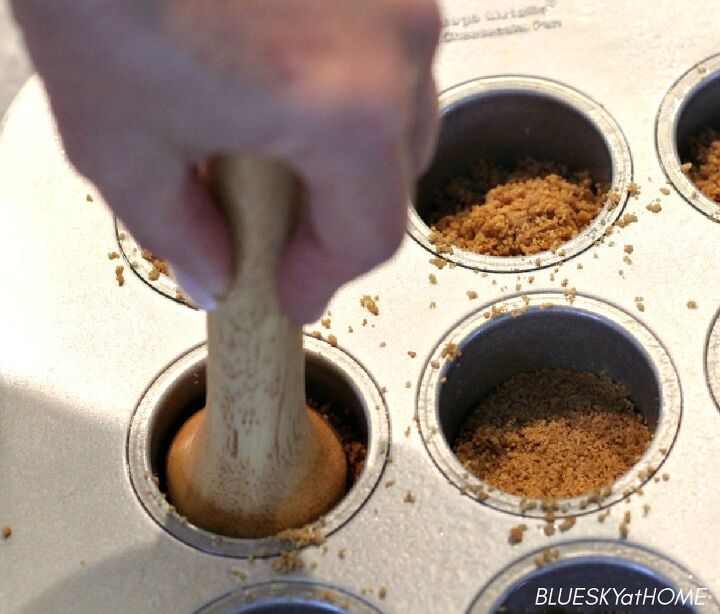
Spoon about 2 tablespoons of cracker/butter mixture into each cup. Equally divide any remaining crumb mixture among the cups.
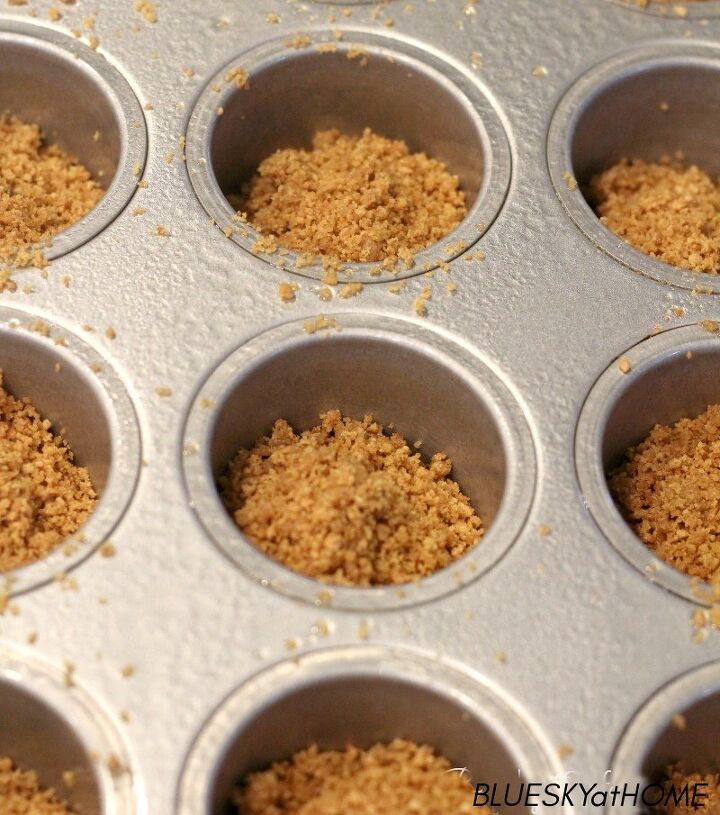
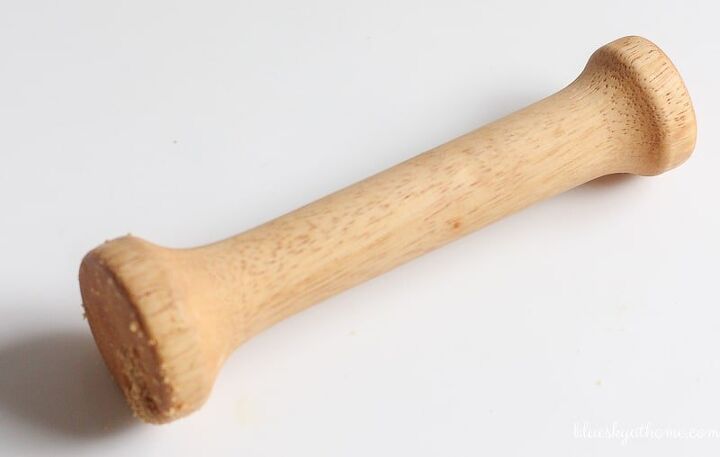
Using a tart tapper, press the crust down until firm in the cup. (I love this little gadget.)
Place in the freezer until chilled thoroughly.
NOTE: The crust can be placed in the freezer several hours ahead, if necessary.
Making and Baking the Cheesecake Filling
NOTE: Make sure that all your ingredients – the cream cheese and egg ~ are room temperature. It may take a few hours. It’s O.K. to leave out overnight if you are planning to bake in the morning.
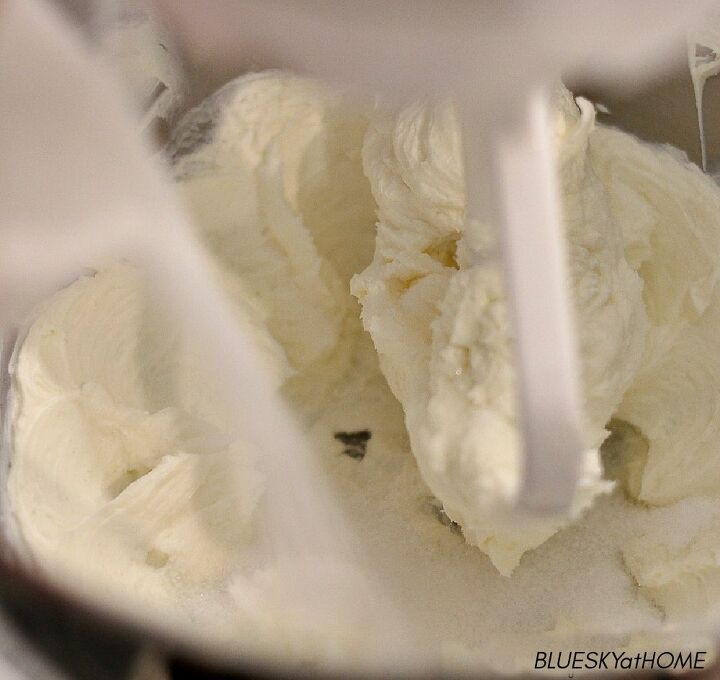
Beat the cream cheese in the electric mixer with the paddle attachment until light and fluffy, scraping down the sides of the bowl, about 2 minutes.
Gradually add the sugar and beat for another minute.
Add the egg and beat until completely blended. The batter will turn a pale yellow.

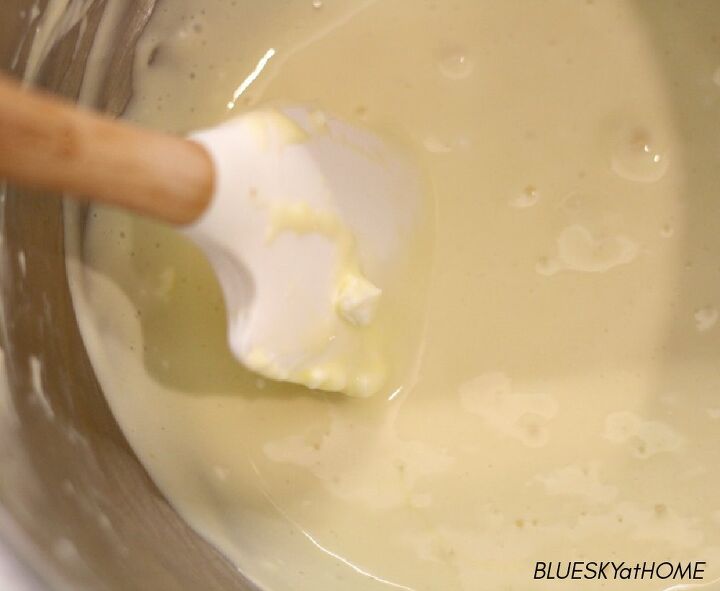
Stir in the vanilla extract.
Evenly divide the filling in the 12~cup pan.
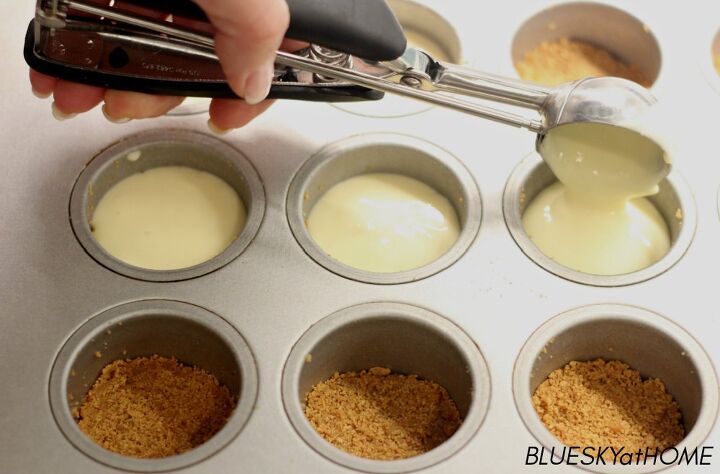
NOTE: I like to use an ice cream scoop for this step. Each cup will need a little over 2 tablespoons of filling. Use it all!
Bake the cheesecake tarts for 20 minutes in the preheated oven.
Remove the cheesecake pan from the oven and allow to cool for 20 minutes.
Using a small metal spatula or paring knife, go around the edge of each cheesecake tart, loosening the cheesecake from the side of the cup.
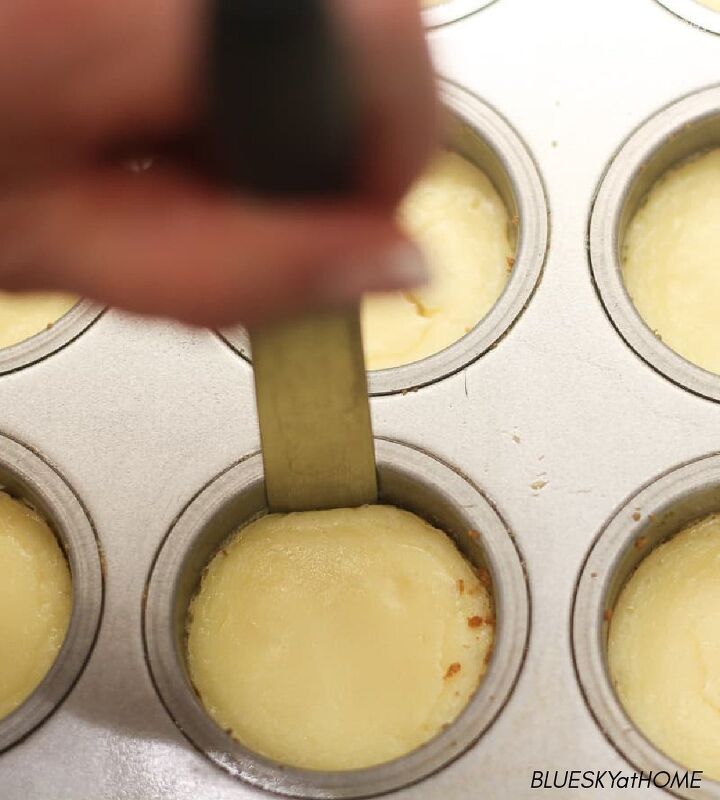
Using a wooden spoon handle or your finger, push up the bottom of the cup to release the cheesecake tart. Then use the tip of a paring knife to separate the metal bottom from the cheesecake.
Sometimes the bottom just falls off.
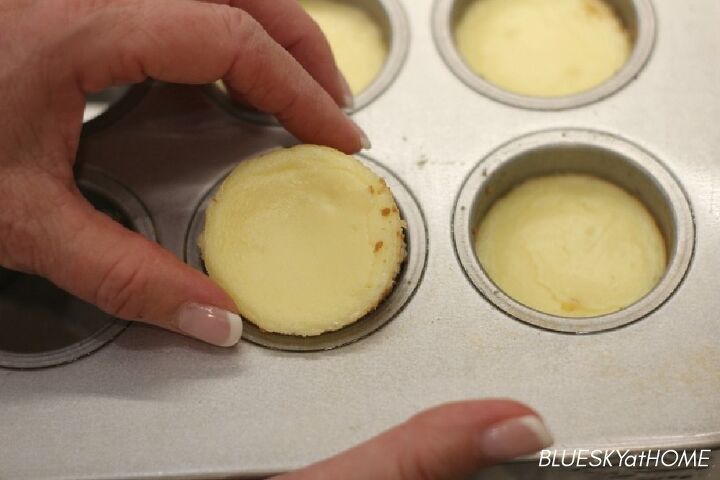
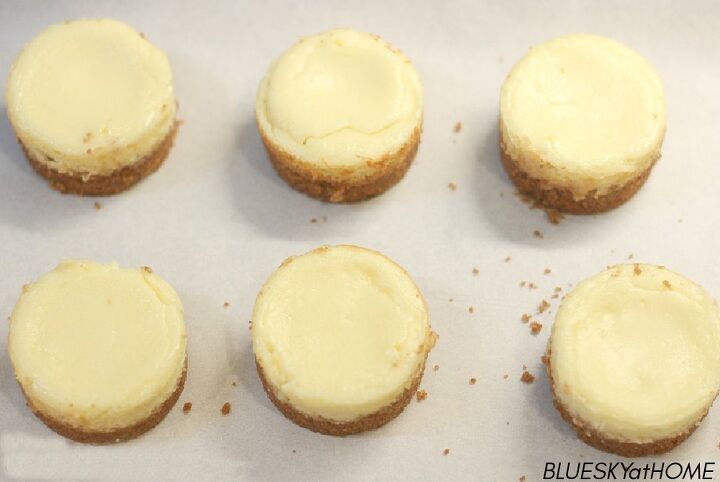
Set the cheesecake tartlets on a parchment-lined sheet pan and place in the refrigerator for several hours or overnight.
Garnishing the Cherry Cheesecake Tartlets
Using a small spoon, place 1 ~ 3 cherries on the center top of each cheesecake tartlet.
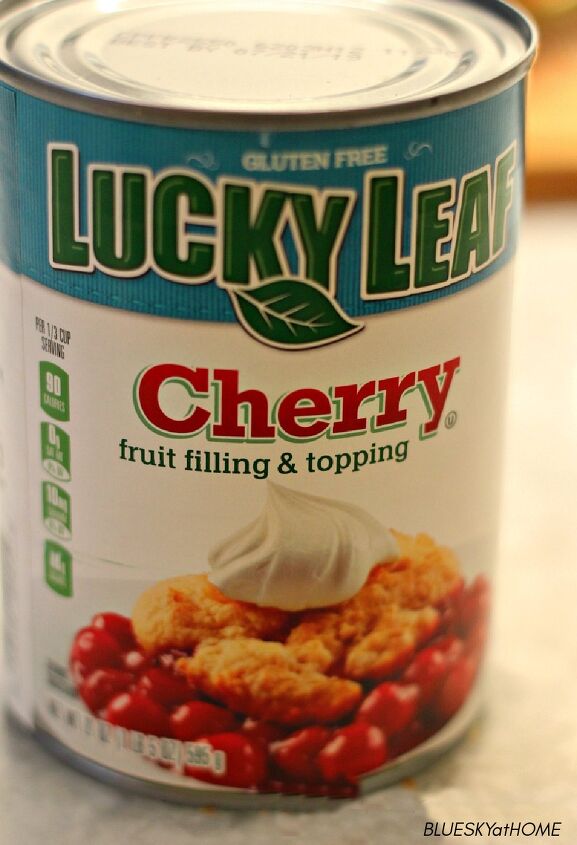
Other toppings: fruit preserves, such as strawberry or raspberry.
Return the cherry cheesecakes, covered, to the refrigerator until ready to serve.
Cherry Cheesecake Tartlet Recipe
Equipment You’ll Need for these Cherry Cheesecake Tartlets
Aren’t these the prettiest little bites of cherry goodness? I hope that you’ll make them. I’m taking them to an annual Christmas dinner for a group of my sorority sisters. I know they’ll love them. Wouldn’t you?
Get your Printable Cheesecake Tips and be sure to PIN this recipe and tutorial.

Cherry Cheesecake Tartlets for a Special Holiday Dessert
Recipe details
- 12 tartlets
- Prep time: 25 Minutes Cook time: 20 Minutes Total time: 45 min


Comments
Share your thoughts, or ask a question!