


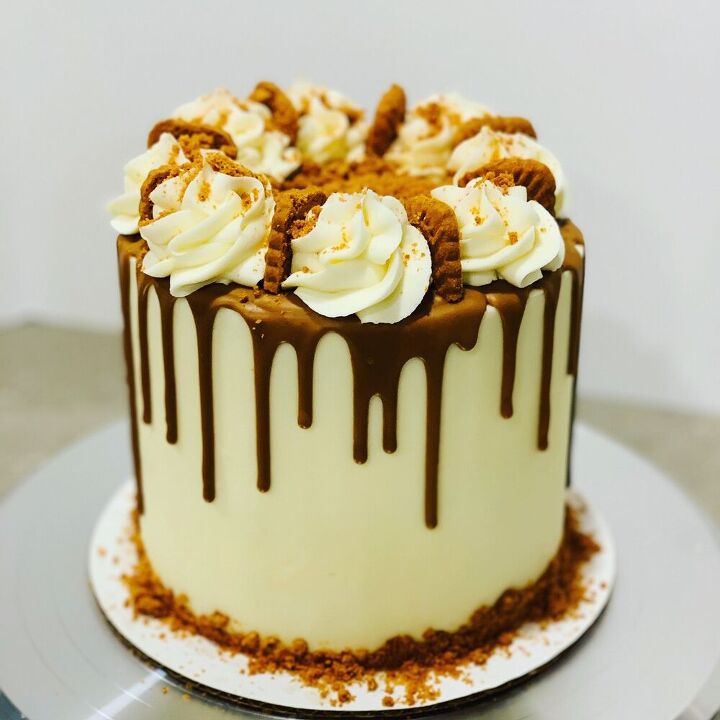
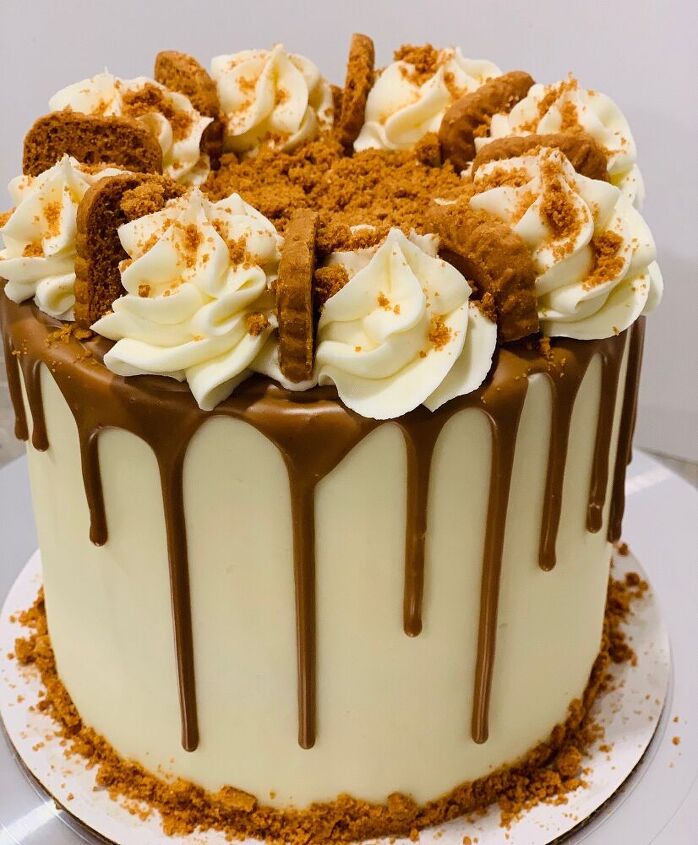
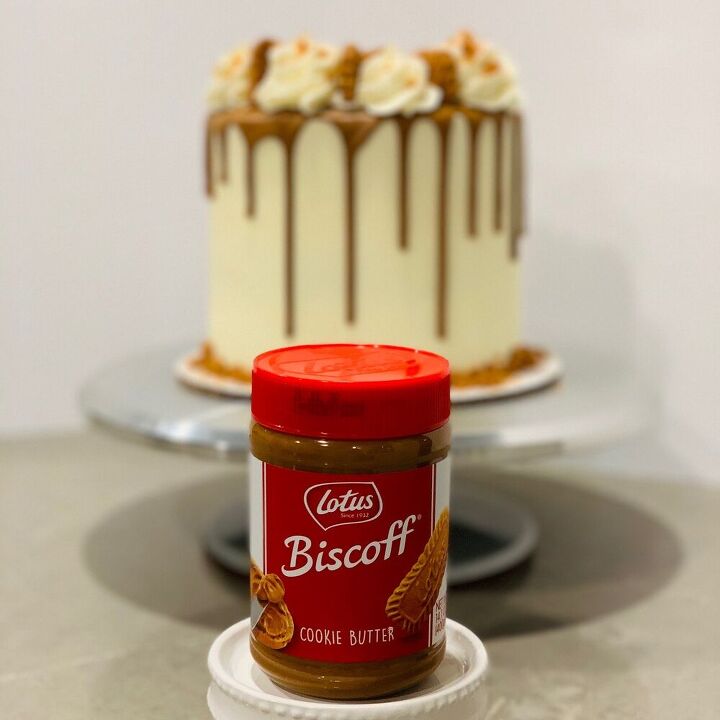
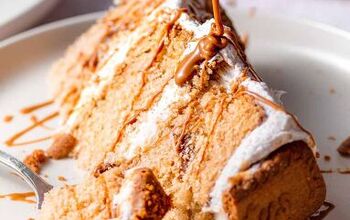
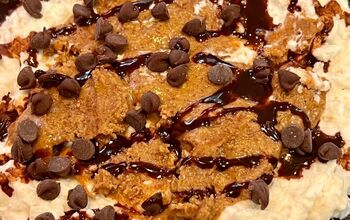
Biscoff Cookie Butter Drip Cake
1 6" cake
1 hr 5 min
What IS it about this Biscoff stuff? And where was it for the first 20-odd years of my life?
Somewhere on a Delta flight I got addicted to Biscoff cookies before I even knew what they were, and then when I discovered Biscoff cookie butter was a THING my addiction got even worse! I’ve seen a few Biscoff cakes out there on Instagram and Pinterest – check out @TwoSugarBugs recipe because it is AMAZING – but I also knew I wanted my first recipe to be super easy!
I doctored up a boxed cake mix and went for it – this was the EASIEST thing ever and SO so so good! Recipe below!
{
"id": "6529378",
"alt": "",
"title": "",
"video_link": "https://www.youtube.com/embed/eLmiywBjm9g",
"youtube_video_id": "eLmiywBjm9g"
}
{
"width": 634,
"height": 357,
"showRelated": true
}
Biscoff Cookie Butter Drip Cake
Recipe details
- 1 6" cake
- Prep time: 30 Minutes Cook time: 35 Minutes Total time: 1 hr 5 min
Show Nutrition Info

Want more details about this and other recipes? Check out more here!


Comments
Share your thoughts, or ask a question!
I’ve never heard of cookie butter. What is it?
How many layers is this cake?