


Gluten-Free Strawberry Cake (Dairy-Free)
Summer is made up of two things: sunshine and strawberries. And seeing as how I’m ready for all things summer, it was high time to stir up this sensational gluten-free dairy-free strawberry cake. So grab a spatula and let’s get to mixing!
Note: This post contains affiliate links to which I earn a small commission, but don’t worry there’s no extra cost to you! Thank you for supporting CAKED by Katie.
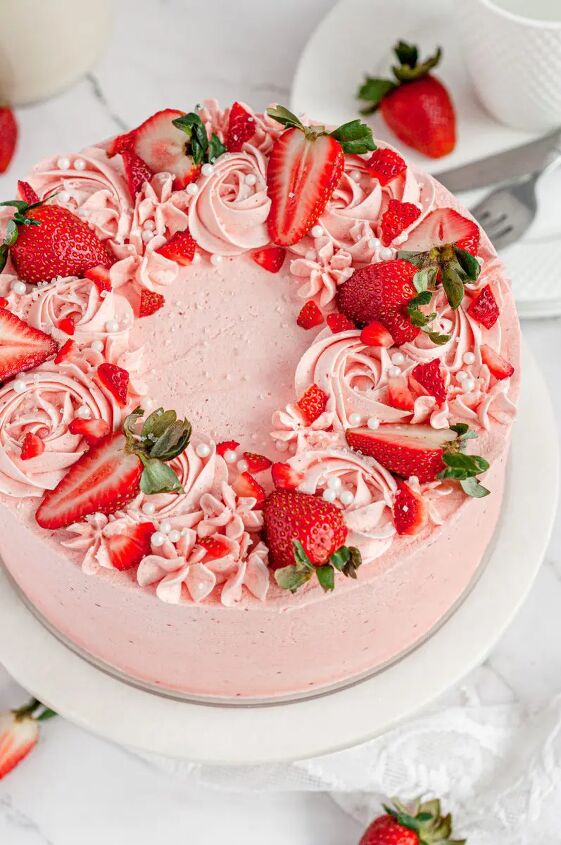
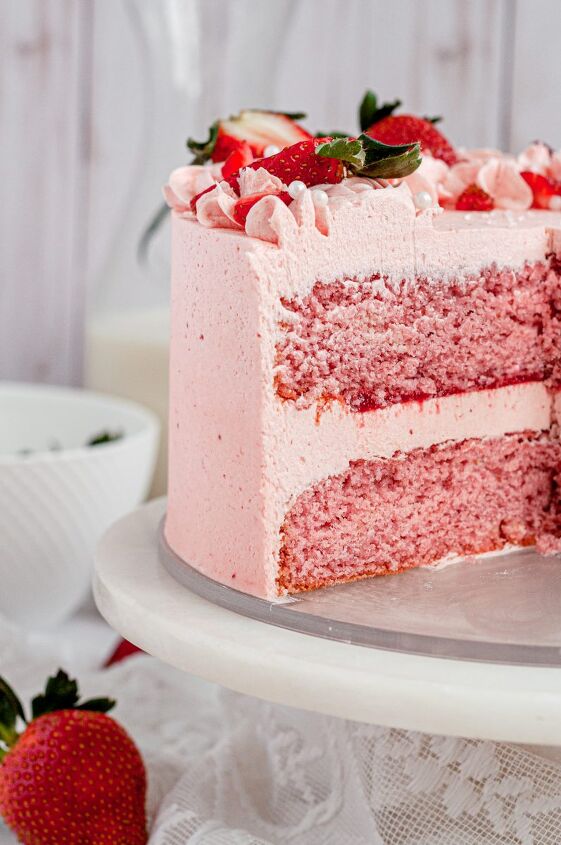
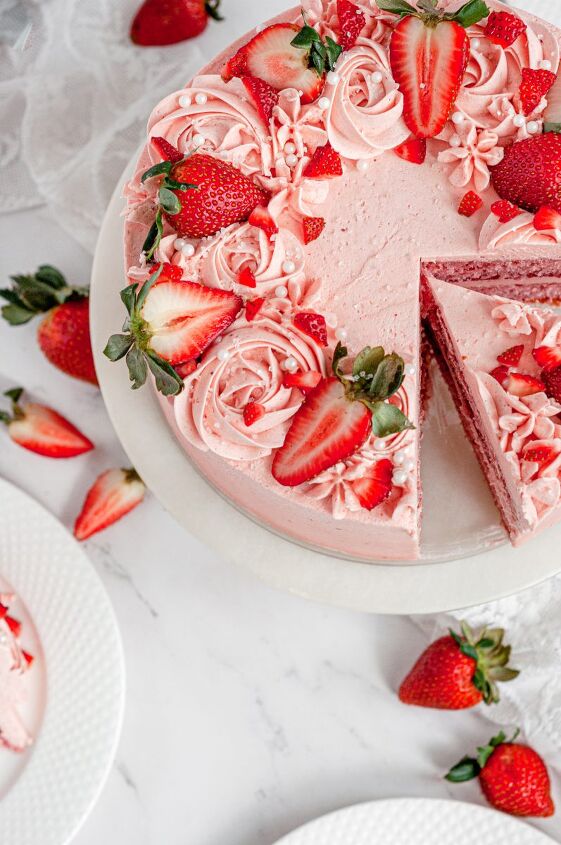
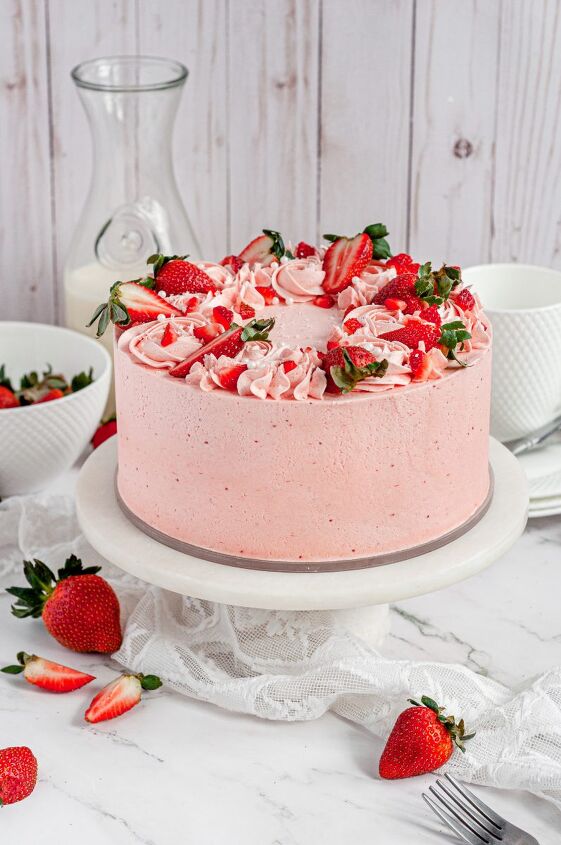
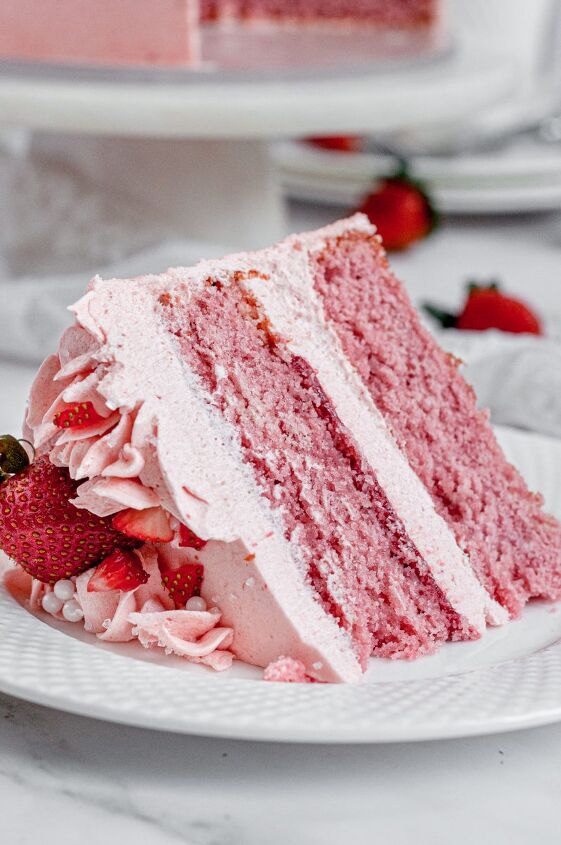
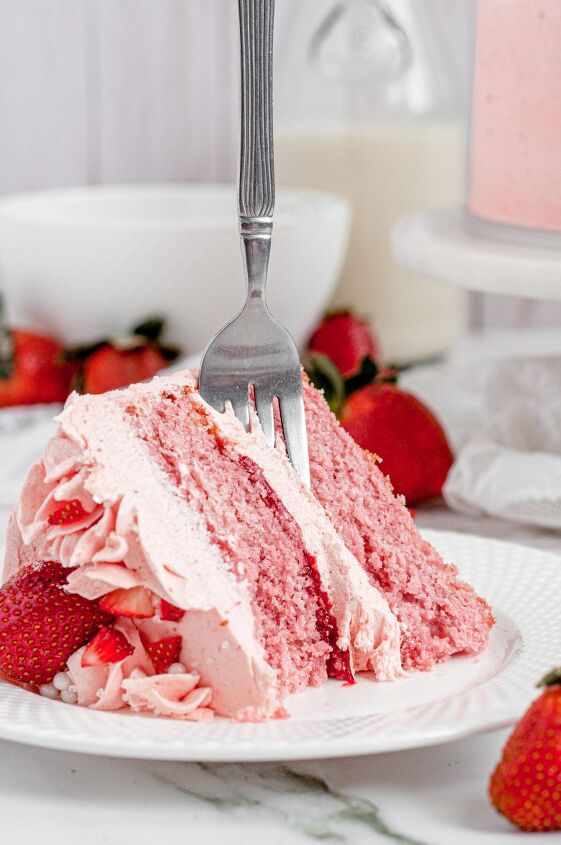
Soft layers of fluffy strawberry cake, strawberry reduction filling, and covered in glorious whipped strawberry buttercream frosting. The perfect combination of sweet summer berries and slightly tart strawberry reduction, this fresh gluten-free and dairy-free strawberry layer cake recipe is pure sunshine in every scrumptious spoonful.
An easy recipe, these simple straightforward steps will have you coming back for strawberry cake time and time again.
With a sweet and subtly tart combination of strawberry layers, filling, and frosting, each element brings a scrumptious addition to this cake:
Cake Layers – super soft, fluffy, and packed full of real strawberry flavor. No fake extracts or emulsions here!
Reduction Filling – slightly tart and so totally smooth, this strawberry filling adds a bite of zest.
Buttercream Frosting – fluffy as can be, this dairy-free strawberry frosting complements the strawberry cake layers perfectly.
As always this recipe is gluten-free and dairy-free. That said, I do test each recipe with “regular” ingredients and make notes of alternatives or swaps to ensure everyone can enjoy it.
Gluten-Free Flour: I made this cake with Kinnikinnick all-purpose baking mix. If you are not gluten-free, swap the flour with regular cake flour and omit the xanthan gum. Note that gluten-free flour blends can vary in weight so I recommend measuring by the cup.
Dairy-Free Butter: Becel plant-based bricks are my personal favorite for baking but any dairy-free butter substitute will work. You can also use regular butter if you are not dairy-free.
Non-Dairy Milk: I love to bake with unsweetened almond milk but this recipe will work with any type of non-dairy, lactose-free, vegan, or regular dairy milk.
Oil: Use canola or vegetable oil for best results.
Strawberries: Fresh or frozen will work. If you use frozen, thaw the strawberries for the reduction.
Pink Food Color: While not necessary for this cake, a few drops of pink gel color in the cake batter will really make this fun strawberry cake pop. I adore using ChefMaster.
These sweet strawberry cake layers are as flavorful as they come and require no artificial extract. Yep, you read that right. Nothing fake here, just real genuine strawberries in each and every bite.
Bursting full of fresh strawberry taste, they are created by using a strawberry reduction. This reduction packs a punch of summer berry yum and colors the cake batter gorgeously pink as an added bonus.
Let’s start this strawberry reduction by placing the strawberries in a blender or food processor and pureeing them until smooth. If you aren’t crazy for strawberry seeds, sieve the puree now into a medium heavy-bottomed pot or skip this step and pour it right in.
Begin to heat the strawberry puree, stirring occasionally, and allow it to come to a gentle simmer. The strawberry puree needs to continue to simmer until it reduces by half. Depending on how juicy the berries are, the process can take anywhere from 20-30 minutes.
Remove the reduction from the heat and allow it to cool to room temperature. Bakers tip: you can make the strawberry reduction the day before baking the cake.
Dairy-free (it’s actually secretly vegan) frosting, while so darn tasty, is notorious for being a bit softer than its “regular” buttercream counterpart. It’s a fine balance between making a frosting that has pipeable/stackable consistency but isn’t too sweet.
- Cream the Butter – first, and most important step is creaming the butter until it is light and fluffy. Depending on the temperature of your kitchen and the butter, this critical first step can take up to 10 minutes.
- No Additional Liquid – that means we aren’t even adding vanilla extract, just the strawberry reduction.
- Push out Air Bubbles – smooth buttercream frosting is all about consistency. Before you are ready to frost the cake, with a spatula, give the buttercream a mix for a few minutes by hand. Push the strawberry frosting up against the sides of the bowl with the spatula to work out all the trapped air bubbles from whipping.
These tips will help you create not just a delicious dairy-free/vegan strawberry frosting, but one that will stack and pipe gorgeously.
Step 1: Prepare the strawberry reduction and allow it to cool to room temperature.
Step 2: Beat the butter, sugar, and oil together on high speed until smooth and fully creamed.
Step 3: Add in the eggs and vanilla extract and mix together until combined
Step 4: Add in all the dry ingredients and begin to mix on low.
Step 5: With the mixer on low, slowly pour in the milk and strawberry reduction and mix until just combined. If using pink food color, add it in at this point as well.
Step 6: Divide the cake batter into two 8-inch cake pans that have been prepared with baking spray and parchment paper and bake for approximately 25-30 minutes. Cool cakes on a cooling rack.
Step 7: With the paddle attachment cream the butter until smooth and fluffy.
Step 8: Add in the icing sugar, salt, and strawberry reduction and mix until combined. Turn up to high and allow to cream until fluffy and smooth.
Step 9: Stack, fill and frost the cake. Enjoy!

Stacking a layer cake can feel a bit scary. But, as they say, slow and steady wins the race. Let’s set you up for cake success with a few tips and tricks.
- Fully Cooled Cake Layers: even if a tiny bit warm, layers will slip when warm. Ensure that each cake layer is fully cooled if not even a bit chilled. I will even work with semi-frozen cake layers if I had to bake them a few days before stacking.
- Leveled Cake Layers: flat and level cake layers will sit far easier than crooked ones. I use this super easy cake tool to ensure each cake layer is perfectly level.
- Create a Frosting Border: pipe a frosting border between the cake layer.s It acts as a dam to keep that delicious strawberry reduction in.
- Keep the Cake Chilled: if at any point you begin to feel the cake slip or the frosting is too soft to work with, pop the cake and the frosting back into the fridge to chill. Remember, don’t rush it. Take your time.
“As you desire” is often how I refer to cake decoration. It’s not that I don’t want you to make the exact same cake as I did, it’s simply that I don’t want you to feel like you *have* to make the exact same cake.
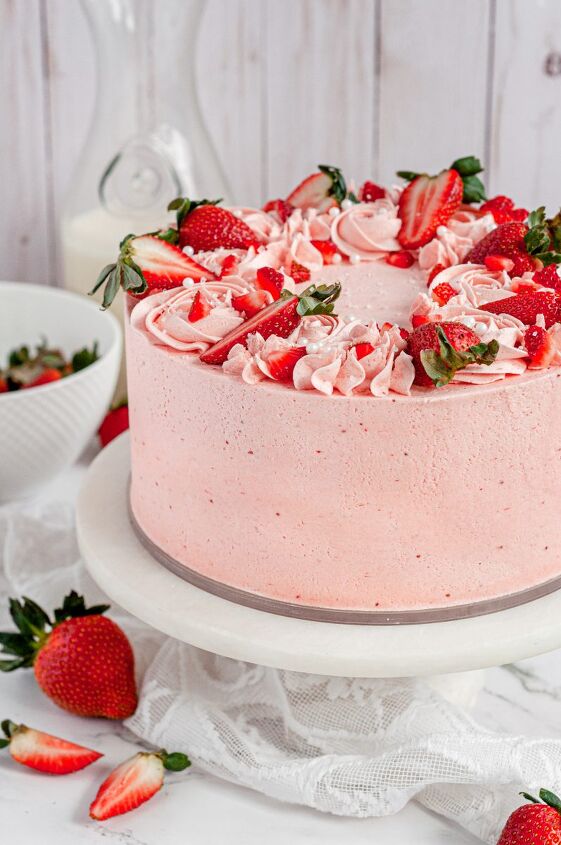
We all have an inner cake artist and I always want to encourage you to let it shine. That said, I quickly break down this gluten-free and dairy-free strawberry cake decor for you.
Step 1: Crumb-coat the cake and allow it to chill for 20 minutes. See the above section for stacking tips and tricks.
Step 2: Put a final “beauty” coat of frosting on the cake and smooth the sides and top with a cake smoother and offset spatula. Allow the cake to chill while you prepare the piping bag.
Step 3: Fit a piping bag with a Wilton 1M piping tip and fill it with strawberry frosting. Pipe small rosettes around the top of the cake in a wreath-like fashion. Fill any empty spots between the rosettes with a small drop flower using the same piping bag and top.
Step 4: Top with fresh sliced strawberries in varying sizes and decorate with sprinkles if desired.
Step 5: Chill the cake until ready to serve. *Allow the cake to come to room temperature for 20-30 minutes before slicing.
This cake can be kept in an airtight container in the fridge for up to 7 days. It can also be stored in the freezer for up to 6 months.
If you want to bake these layers a few days in advance, you most certainly can. Allow the cake layers to cool, cover them tightly in plastic wrap, and freeze until you a ready to stack and decorate the cake. Remove the cake layers from the freezer approximately 1 hour before you plan to stack and decorate and allow them to thaw slightly at room temperature.
Better yet, this cake can be frozen fully made, and decorated. However, I do recommend placing fresh strawberries on top the day of serving. Special occasions are often busy and I will sometimes freeze an entire finished cake a few days in advance to save time and stress.
For instance, the night before you plan to serve the cake, remove it from the freezer and place it in the fridge to slowly thaw overnight. Do not take it straight from the freezer to room temperature. Doing so will cause condensation and you will risk the cake toppling.
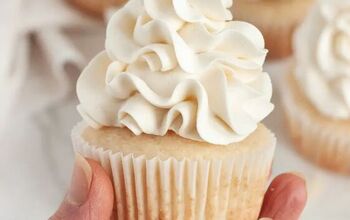
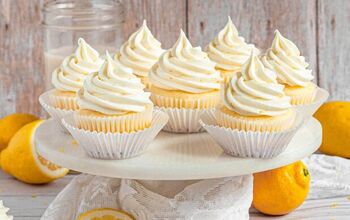
Yes, it absolutely can. The full recipe will make approximately 24 cupcakes or you could half it for 12 cupcakes.
This can be baked in a 9×13 cake pan (it won’t need as much frosting though) or three 6-inch rounds. Note that the baking time will change.
Always look for light golden edges that are pulling away from the pan, the top should bounce bake to the touch, and a toothpick inserted in the center will come out with a few moist crumbs.
Fresh strawberry slices would be delicious with the strawberry reduction in the filling. If you do this, I don’t recommend freezing the cake.
A piece of strawberry delight, this fresh gluten-free dairy-free strawberry cake is a delicious combo of sweet and slightly tart in every single bite. Soft fluffy real strawberry cake layers with strawberry reduction filling and silky whipped strawberry frosting. This stunning strawberry cake is a summer delight in every scrumptious spoonful.
Make sure you tag me on social media @cakedbykatie and leave me a star rating and review below if you make it. Can’t wait to see it!
Here are a few other fresh berry treats that I know you’ll enjoy:
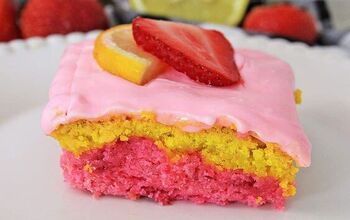
- Strawberry Oreo Cake (GF & V)
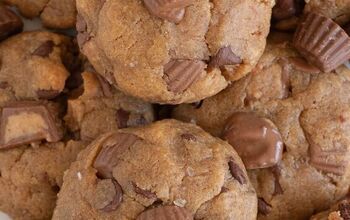
- Peanut Butter & Jelly Cookies (GF & DF)
- Strawberry Shortcake Cupcakes (GF & DF)
- Chantilly Cake (GF & DF)
- Strawberry Almond Sprinkle Cookies (GF & DF)
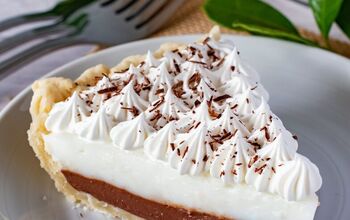
- Chocolate Berry Cake (V)
- Strawberry Almond Cake (GF & DF)
Gluten-Free Strawberry Cake (Dairy-Free)
Recipe details
- 10 Slices
- Prep time: 60 Minutes Cook time: 30 Minutes Total time: 1 hr 30 min


Comments
Share your thoughts, or ask a question!