


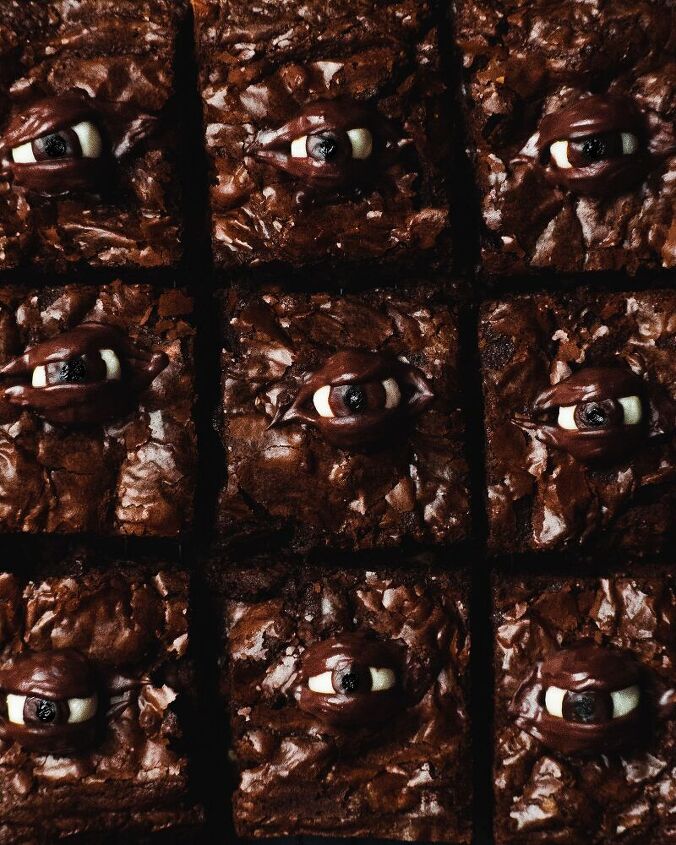
Spooky Eyed Brownies (Not for the Faint-hearted!)
Trick or Treat! Halloween is upon us! I love seeing scary treat ideas every year, and this year I have decided to recreate one of Christine McConell (aka the Queen of Creepy Cookies)'s creepy eyed treats. I've used Tasty's brownie recipe as the base recipe, and these are indeed the most decadent and fudgy brownies I have ever had!
I made the eyeballs from scratch using white chocolate wafers, melted chocolate and food colouring. Alternatively, you can use white chocolate Malteser balls instead of making the white chocolate eyeballs from scratch.
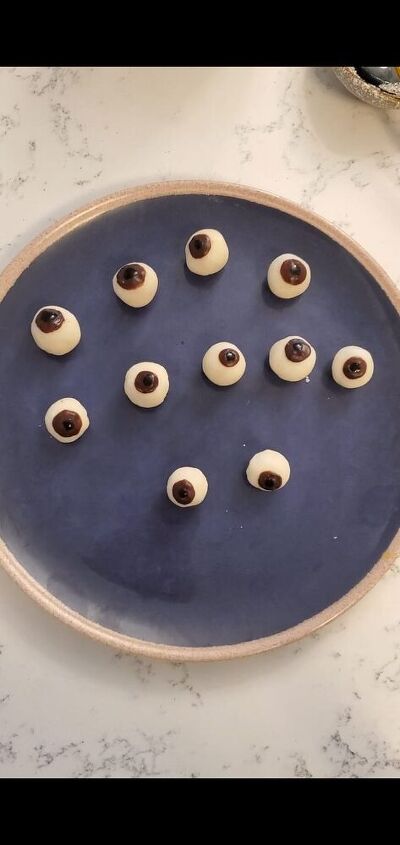
Since I don't have black food colouring, I mixed red, blue and green food colourings to make the black pupils. The eyelids are made of melted dark chocolate chips. It is easier to work with gel food colouring instead of liquid food colouring, but either would work just fine!

They are so much fun to make and I can't wait for you to try!
Spooky Eyed Brownies (Not for the Faint-hearted!)
Recipe details
- 9 pieces
- Prep time: 1 Hours Cook time: 30 Minutes Total time: 1 hr 30 min


Comments
Share your thoughts, or ask a question!
Omg, they look soo creepy, must try
these look great going to try it