


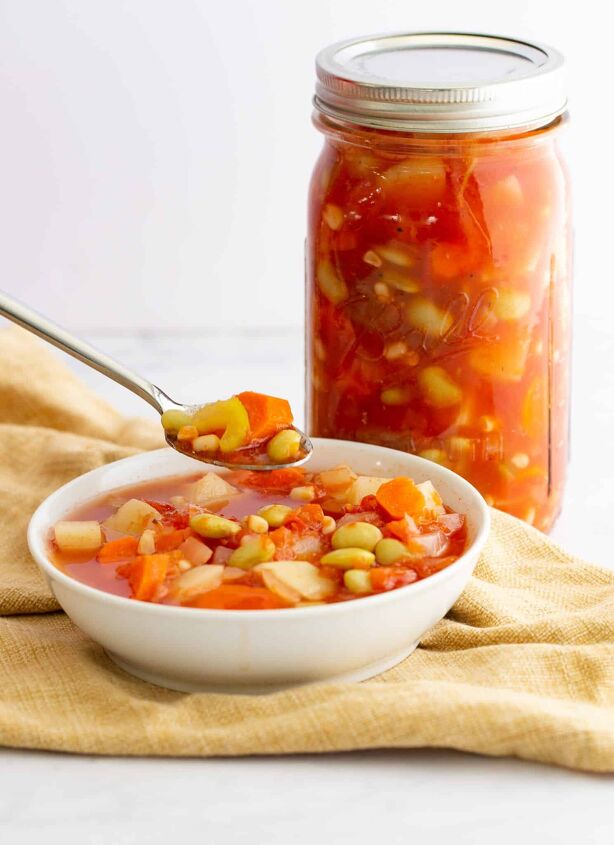
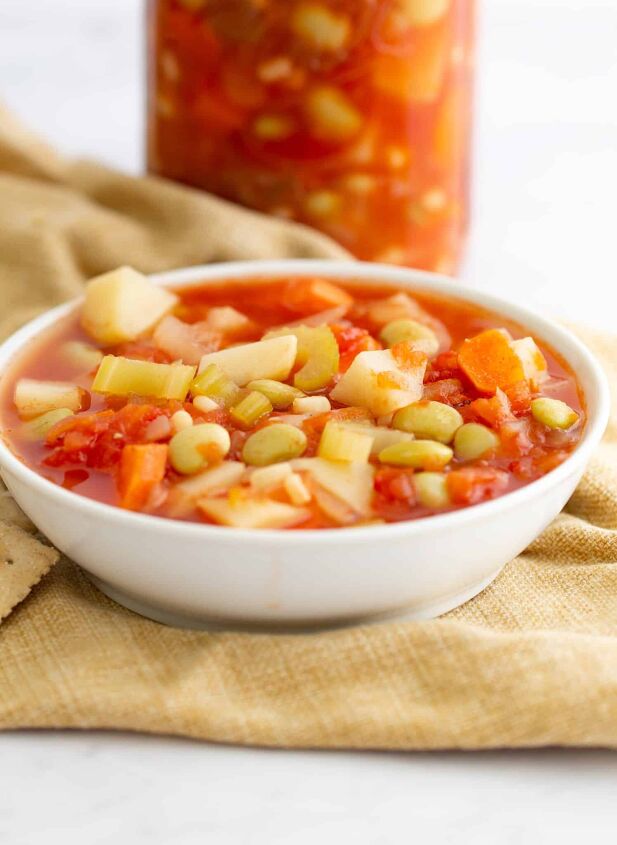
Canned Vegetable Soup; Step by Step

There is nothing better than a warm bowl of homemade soup, especially when you know it was made with fresh vegetables. Home-canned vegetable soup is a flavorful, high-quality soup that saves money, builds self-reliance, and creates quick and easy meals. This is also a great recipe if you are just learning to can or you have been canning your own produce for years.
Why make your own canned vegetable soup?
When you can your own vegetable soup, you can proudly serve a flavorful, high-quality soup that saves money, will build self-reliance, and creates quick and easy meals on busy nights. It is also good that you have the ability to preserve vegetables from your garden or choose high-quality organic vegetables.
Canning left over soup
Homemade vegetable-based soups (with or without meat) are usually mixtures of low-acid ingredients and they need to be pressure canned by a process that has been developed by research methods known to control for botulism food poisoning
There is only one version of pressure canning directions for home-canned soups available from USDA. Consumers should follow these directions exactly: https://nchfp.uga.edu/how/can_04/soups.html. Remember, if additional ingredients or thickening is desired, the soup should be canned as described, and those variations should be made when the jar is opened for serving.
Water bath canning vegetable soup
According to the National Center For Home Food Preservation, vegetable-based soups are usually mixtures of low-acid ingredients, and they need to be pressure canned by a process that has been developed by research methods known to control for botulism food poisoning; we will not recommend anyway to can vegetable or vegetable-meat soups in a boiling water canner.
Canning vegetable soup with out a canner
Because vegetable soup is a low-acid food, there is no other way to home can it to prevent botulism other than a pressure canner. Botulism is a potentially fatal foodborne disease.
Can you pressure can in an Instant Pot?
According to the National Center for Home Preservation, you should not use an electric pressure cooker to safely can with. Even if there are instructions for pressure canning in the manufacturer’s directions, we do not support the use of the USDA canning processes in the electric, multi-cooker appliances now containing “canning” or “steam canning” buttons on their front panels.
I suggest reading the extensive article, Should I can in my electric multi-cooker appliance? to learn more about why you should not use an electric pressure cooker to can.
Mix in ideas for soup
Most vegetables, dried beans, or peas can be added to this soup recipe. However, if dried beans are used, they must be rehydrated first. NOTE * List of vegetables that can not be added to your soup below.
Only add noodles or other pasta, rice, flour, cream, milk, or other thickening agents to home canned soups after being canned during the reheating process.
What kind of vegetables to use
This recipe is flexible enough to add your favorite vegetables or what your garden is producing an abundance of. You could substitute the potatoes for sweet potatoes, add peppers, peas, turnips, or cubed winter squash. Just keep in mind the thickness of cubes and slices should remain consistent with what the recipe calls for.
What vegetables are not safe to can?
- Broccoli
- Brussels Sprouts (can be pickled then canned)
- Cabbage
- Cauliflower (can be pickled then canned)
- Eggplant (can be pickled then canned)
- Kohlrabi. “Canning kohlrabi is not recommended because it develops a strong flavor and usually discolors when canned.”
- Lettuce
- Zucchini and Summer Squashes (can be pickled; otherwise, there would be density issues for pressure canning).
Canning vegetable soup with frozen vegetables
There is no safety issue in canning food that was previously frozen. However, the quality issues are that the food could result in an undesirable texture. For instance, green beans that were blanched for freezing, then frozen, then thawed, then canned will be soft and mussy. If you want to use frozen vegetables in your canning, I suggest using firm vegetables such as potatoes and carrots.
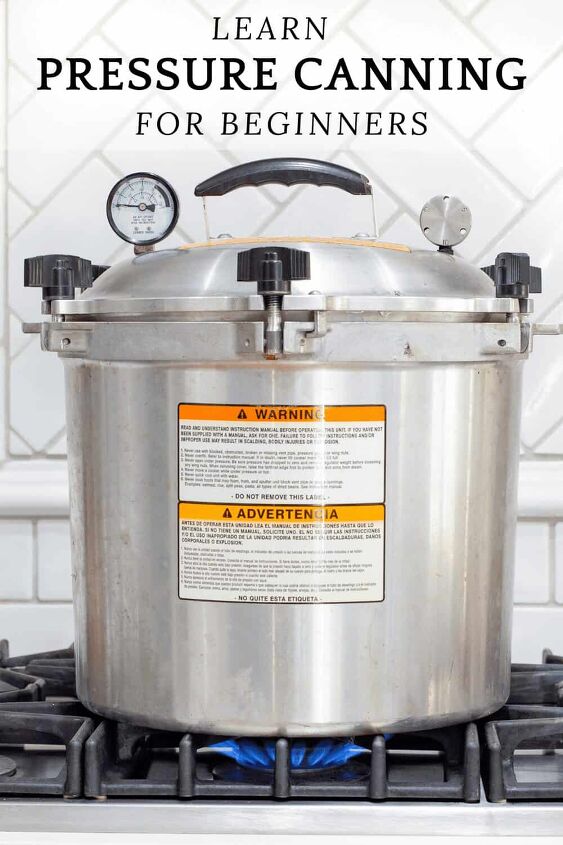
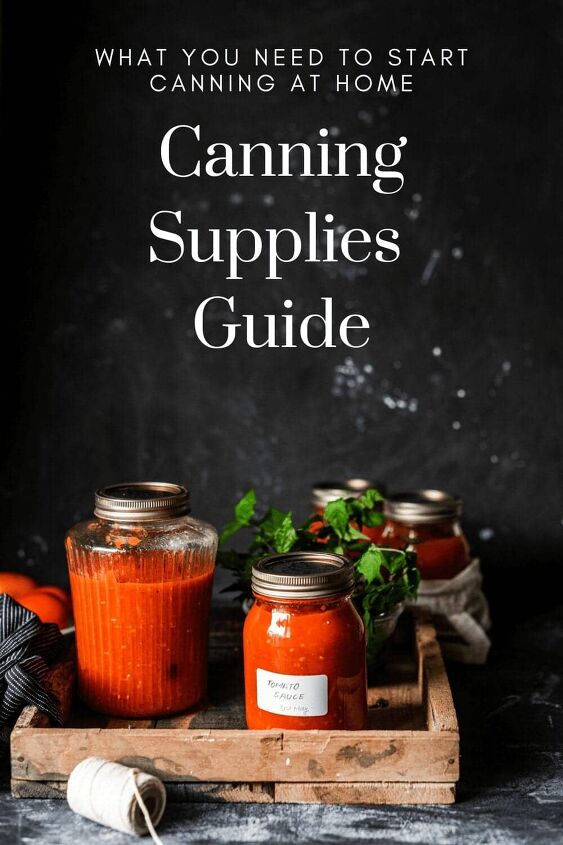
Learning to can
If you are new to pressure canning then I suggest you visit my post How To Pressure Can cover detailed safety tips and instructions.
Also, it would be good to familiarise yourself with A Beginner’s Guide To Canning Terms and Canning Supplies Guide
Safty tips
The key to canning a safe, high-quality soup is to follow directions provided by a reliable science-based source like USDA. Do not deviate from the recipe instructions unless stated it is safe.
How long does canned food last?
Properly canned food stored in a cool, dry place will retain optimum eating quality for at least 1 year. Canned food stored in a warm place near hot pipes, a range, a furnace, or indirect sunlight may lose some of its eating quality in a few weeks or months, depending on the temperature. Dampness may corrode cans or metal lids and cause leakage so that the food will spoil.
How to reheat canned soup
Heat the soup in a pan over medium heat, occasionally stirring, until hot, or reheat in the microwave. Store any leftovers in an air-tight container in the refrigerator for up to 3 days.

Learn how to can mustard on Intentional Hospitality
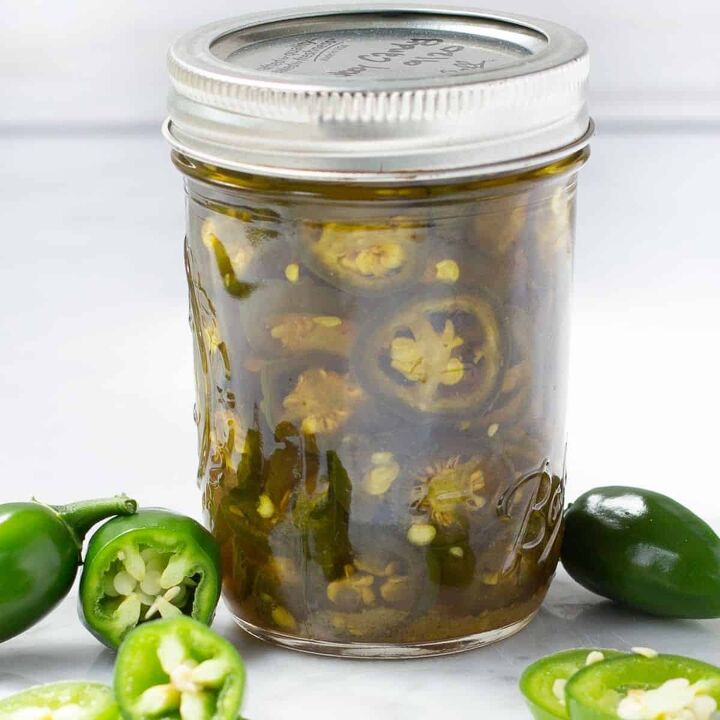
Learn how to make Canned Cowboy Candy on Intentional Hospitality
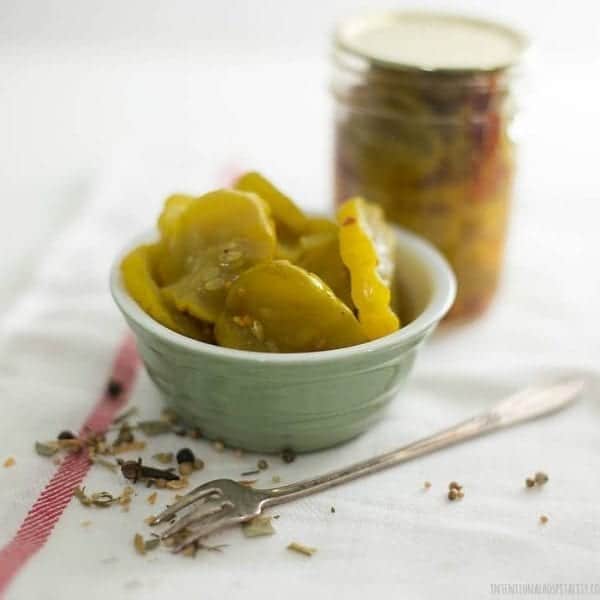
Learn how to can Spicy Bread and Butter Pickles on Intentional Hospitality
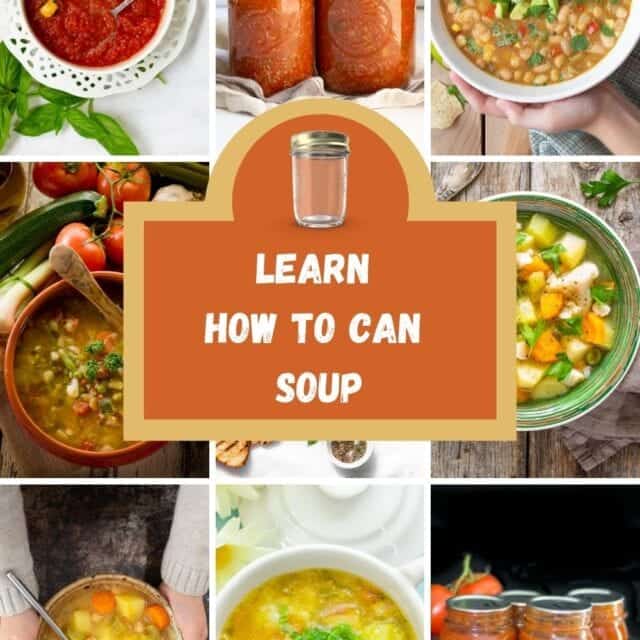
Everything you need to know on How To Can Soup at Intentional Hospitality.
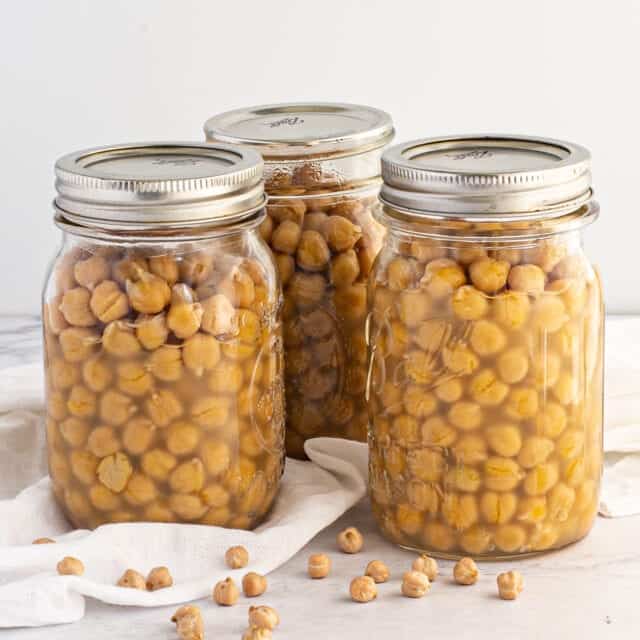
Learn how to Can Chickpeas on Intentional Hospitality
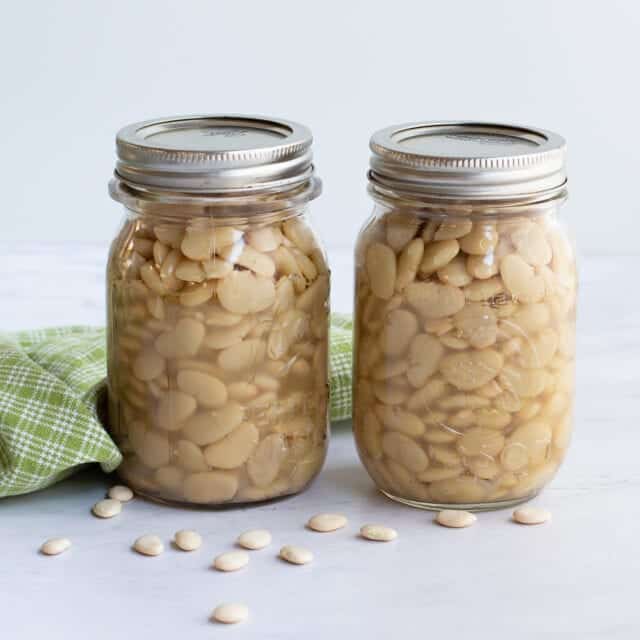
Learn how to can Lima Beans on Intentional Hospitalitty
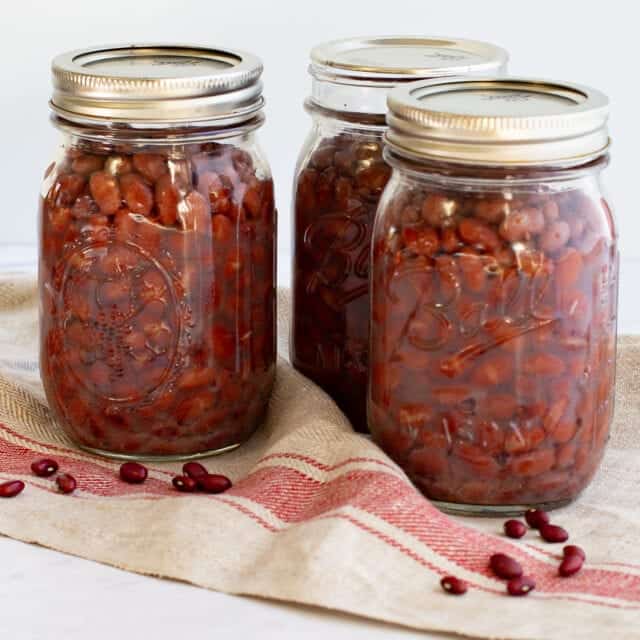
Step by step on how to can beans on Intentional Hospitality
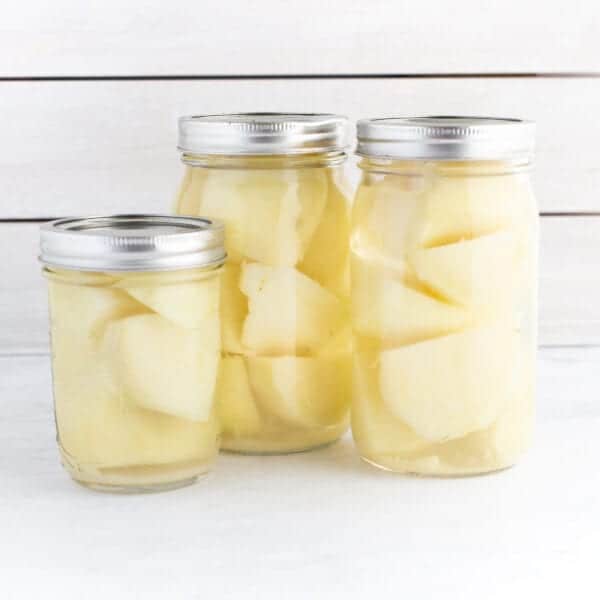
Learn how to pressure can potatoes on Intentional Hospitality
Canned Vegetable Soup; Step by Step
Recipe details
- 14 pints
- Prep time: 30 Minutes Cook time: 55 Minutes Total time: 1 hr 25 min


Comments
Share your thoughts, or ask a question!
Could you add cooked beef before canning?
Can you use a water bath canner?
If so how long do you cook it?