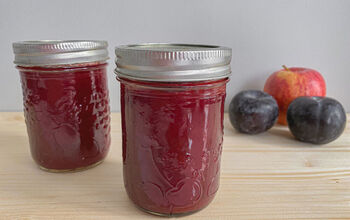
Easy Plum Jam

5 Cups
1 hr

This easy, no pectin plum jam recipe is perfect for those new to canning and preserving. It is a simple recipe that lets the flavor of the plums shine through. The optional addition of fresh rosemary while the plums cook down add a lovely, but subtle, piney flavor. Directions for canning the plum jam are also included.

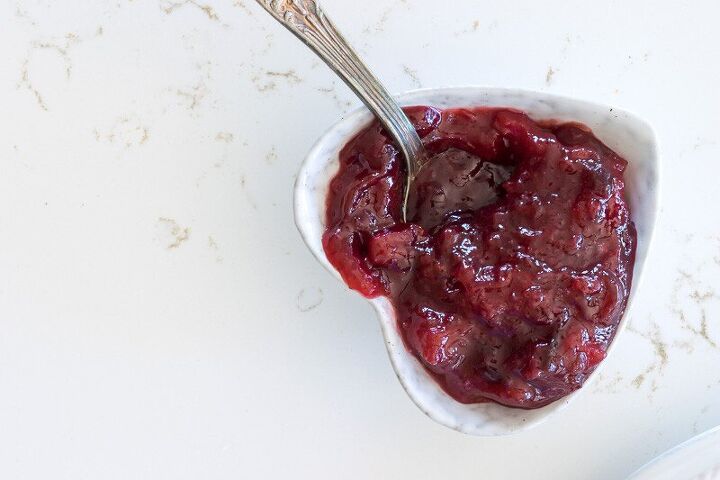
This simple and easy plum jam is made without pectin. Not that there is anything wrong with pectin, I just prefer the pure flavor of the fruit. Adding pectin would give the jam a bit more ‘gel’ to it, but in general, I rarely use it, preferring ‘no pectin’ jams, jellies, and preserves.

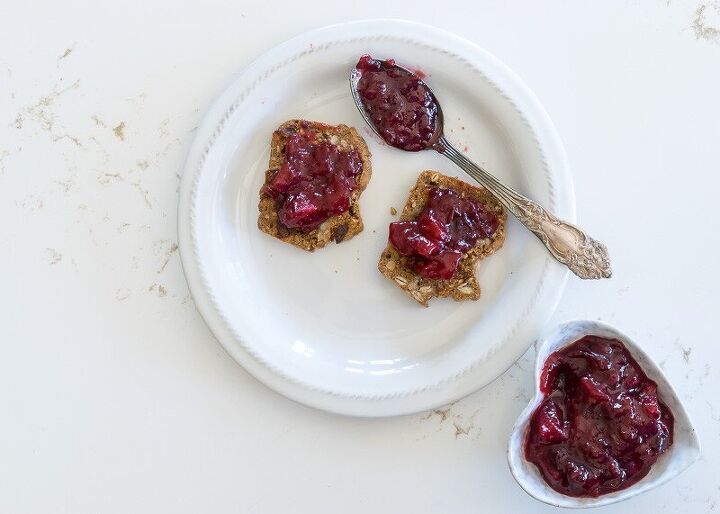
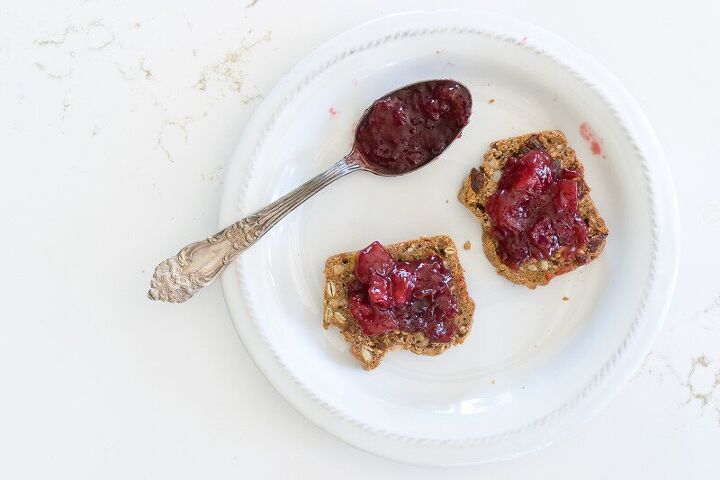
So, what is the difference between jams, jellies, and preserves? Jellies are typically a clear spread made from the juice of fruit. Typically the solids are removed by straining through a fine mesh colander or muslin. Jams are spreads that will contain pieces of fruit, either as small chunks, pureed or mashed. Jams are also typically a bit looser and more spoonable than firm jellies. Lastly, preserves will be ‘chunkier’ than jams or jellies as they typically container larger pieces, or even whole pieces, of fruit. Preserves are also the least gelled of the three. 

For more information on this plum jam and my favorite canning tools, pop over to the blog. And, check out this recipe for spiced golden plum jam and this one for fig conserve.

Recipe details
  • 5  Cups
  • Prep time: 30 Minutes Cook time: 30 Minutes Total time: 1 hr
Show Nutrition Info
Hide Nutrition Info
Ingredients

  • 4 pounds ripe black plums, pitted and diced
  • 2 cups of sugar
  • 3 tablespoons lemon juice
  • 2 Sprigs of Rosemary (or add a flavoring of your own...see blog post for ideas)
Instructions

Prepare canner, jars, and lids. Wash your jars and lids. Sterilize your jars in a large pot filled with water. Bring the water to almost a simmer over medium heat. Keep the jars in the simmering water until you are ready to fill them. Use a jar lifter to remove them from the water when you are ready to fill them, dumping the hot water back into the pot when you remove each jar from the water. Right before you are ready to can, put your lids in a small pot or bowl with hot, but not boiling water. Put some additional white vinegar in a small bowl, alongside a clean washcloth or paper towel. Keep the water in your canning pot at a simmer while you fill your jar. See The The All New Ball Book of Canning and Preserving for additional guidance
Place a saucer with 3 spoons on it in your freezer
Put the plums, sugar and rosemary (optional) in a wide pot or preserving pan.
Bring to a low simmer, stirring frequently.
Once simmering, continue to cook for 7 minutes until the plums release their juices.
Pour the plums into a colander placed over a bowl, gently stirring the plums to further release any juices.
Return the juice and the rosemary sprig back to the pan and bring to a boil over high heat. Gently boil for 10 minutes, stirring occasionally, until the syrup is thick and reduced.
Remove the rosemary sprigs (or other added spice)
Return the plum and accumulated juices to the pan with lemon juice.
Simmer for about 15 minutes, stirring frequently until a small dab of the jam placed on the plate in the freezer yields slightly when pushed.
Prepare your work surface On a clean cloth, lay out your jar lifter, bubble remover/lid lifter, funnel, bowl for lids in hot water, bowl of vinegar and clean cloth.
Remove the jam from the heat and place on trivet where you will be canning. (If you will not be canning the jam, fill your jars, allow them to cool and then refrigerate.)
Using jar lifer, remove one jar at a time from the hot water.
Spoon your jam into hot jars, leaving 1/4 inch headspace. Headspace is measured by laying your headspace gauge on the rim of the jar. In this case, have the notch next to '1/4 inch' laying on the rim of your jar. Your jam should just touch the bottom of the gauge.
Remove air bubbles and wipe the rim with vinegar.
Center lid on the jar.
Screw band down until resistance is met, then increase to fingertip tight. Fingertip tight is defined as tightening just with your fingertips, not needing the palm of your hand to tighten.
Place jars in canner, making sure they are completely covered with water by 2 inches.
Cover pot and bring to a boil.
Once boiling set your timer and boil for 10 minutes.
At the end of 10 minutes, turn heat off, remove the pot lid, and let sit for 5 minutes.
Carefully remove jars with the jar lifter and place them on a rack where they can sit undisturbed for 24 hours.
Refrigerate any jars if their lids don't pop down.
Lynn @ Nourish and Nestle
Want more details about this and other recipes? Check out more here!
Go
Comments
Next