


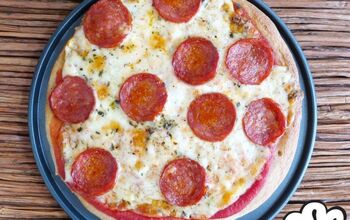
How to Make Gluten Free Pizza
Searching how to make gluten free pizza? We are happy to share how we made our gluten free pizza at home.
I tried a new gluten free crust from the grocery and I have to say, I was pretty happy with the results. Sometimes pizza crusts can come up flat when they are gluten free. What do you mean by that Cara? Well, to be honest, they can taste like nothing at all, or not that wonderful, like cardboard to be honest.
I picked up a Wholly Gluten Free Pizza Dough and thought hey, might as well give this a try. I found ours in the freezer section of our local Meijer. I had actually forgot about it in the freezer until one day while rummaging around trying to find my next dinner to make I came across it.
Viola... pizza for dinner it is!
We had everything on hand to make this easy peezy pizza at home. How lucky was I? I wasn't sure what to expect with this dough, but my goodness, it was Y-U-M-M-Y! Mr. Vintage was in love, and that is no small feat when it comes to his pizza. He only likes certain pizzas and down right refuses to eat gluten free, but he said you can pick up some more of that dough after he ate it!
Can you believe it? No one messes with his pizza, it is his favorite meal and here I fed him gluten free? Sometimes you just have to take chances and decide later if you care what the outcome will be, kind of like poking a bear. Should you do it? Probably not, but this bear I did not mind so much poking. Glad it turned out in my favor.
Here is what you will need:
- (1) Wholly gluten free pizza dough
- Pizza sauce (I cheated and used a jar of spaghetti sauce, you can choose any one you like or make your own)
- pepperoni
- mozzarella cheese
- sauteed onions (I love them, but you can see I am the only one who does, I did add some salt, pepper, and a tiny bit of seasoning to them)
- 1 t Pampered Chef Italian seasoning
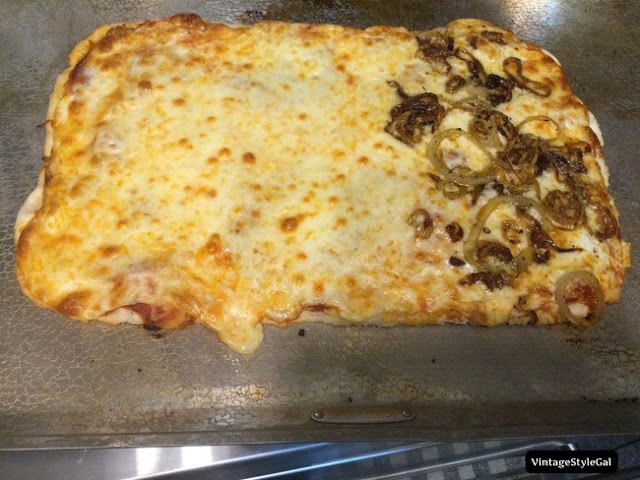
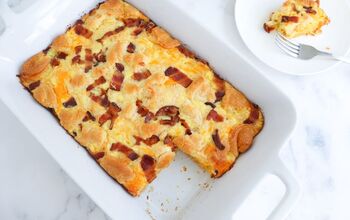
Dough after baking
What you will need to do:
- Thaw frozen pizza dough (takes about 3 hours if frozen solid)
- Once thawed, begin by holding the dough in one hand and letting gravity do it's thing, I kept holding it in my hands and going around the dough if that makes sense? Basically keep working your hands around the outer edges so the dough is able to stretch out a bit
- Once you have the dough stretched some, place it on the baking pan, (I love using my Doughmakers air baking sheets, they were a gift one year and I never looked back at my other cookie sheets) and pat the dough out some more, I was surprised my pizza was so large
- Once you have your dough ready, I put it in the oven at 350 degrees and baked for 12 minutes
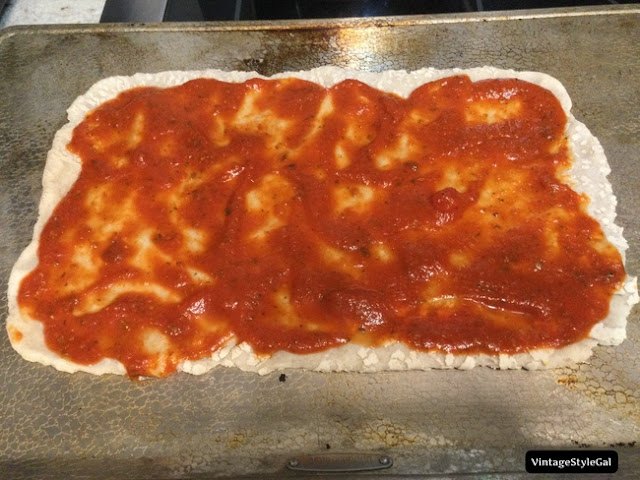
- Then I removed the baking pan with the dough from the oven and spread the sauce over the dough
- Add Pampered Chef Italian Seasoning over top of the sauce
- Add pepperoni
- Add desired amount of cheese
- I had already sauteed my onions in a pan on the stove while my crust was baking so I added those to the top of the pizza on my side
- Pop back into the oven for another 10-12 minutes or until cheese is golden brown
- Cut pizza to desired slice size, I used my Mozzbi handy pizza cutter wheel that I love, it is quite sharp and does a wonderful job!
- Enjoy!
I learned a long time ago never to tell anyone what to put on their pizza or amounts, everyone is different with what they like so get creative with your toppings and desired amounts. Mr. VS loves just pepperoni and cheese. I love onions! I could go with just veggies, no meat, but in order to keep everyone happy, we have pepperoni.
I purchased the Pampered Chef Italian Seasoning many years ago from one of my friends. She was one of those people who could never say no to her next door neighbor. The neighbor sold Pampered Chef and so Sarah had many parties. I loved the seasoning so I did not mind, that was my order so many times!
I really like to experiment with spices. In the past, I have added garlic powder to the crust, onion powder, Italian seasoning, try out things you think you may like so you can learn how to make new menu items. You never know unless you try and once it passes your taste test, you have another dinner option to add to your smorgasbord of recipes!
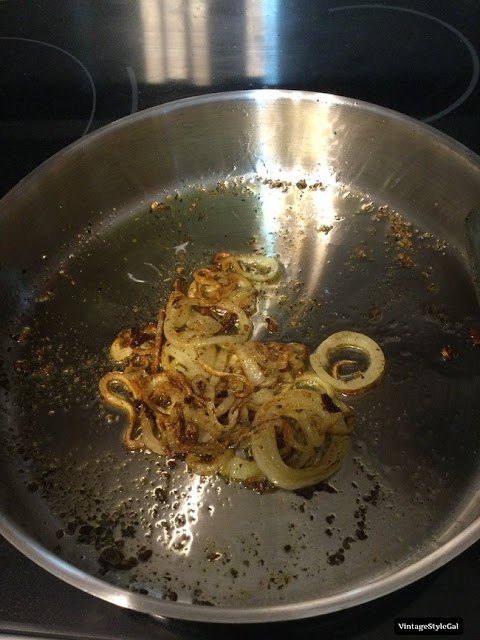
Sauteed onion with salt and pepper and just a smidge of Italian seasoning
I was so surprised by the dough's flavor, and wow, was I full after two pieces, it was quite filling. I like to think my onions really livened things up on my side of the pizza, we all know I love my onions in most everything I make. You do not have to sauteed them first, I just decided to do this to try something new.
The directions on the dough does say to warm the oven to 400 degrees. I ended up bumping up my oven to 400 degrees when I put it back in the oven after I added the ingredients to the top of the pizza.
I was afraid 400 would be too hot initially, but it was fine. I figured that much out once I removed the dough the first time, it seemed to still be a bit doughy.
It was refreshing to make pizza at home. I forgot how footloose and fancy free it can be.
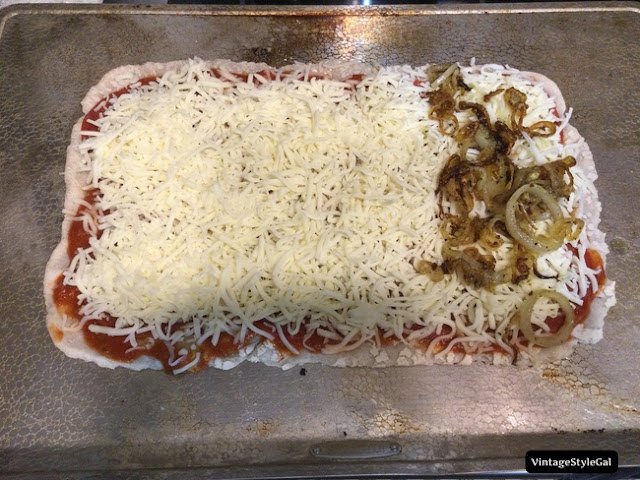
Ready to go into the oven
I remember as a child we would sometimes make pizza at home on Friday nights. My mom would always use the Chef Boyardee pizza crust you would make from the box. My sister and I loved putting cut up hotdogs on our pizza! We thought that was the best since you could not get that from a pizza shop. Ahh.. to be young again.
I recall those Friday nights getting excited to see what kind we would make. Sometimes we used canned mushrooms, and other nights we used fresh. Sometimes we used hotdogs, and other times we used pepperoni. There were fresh green peppers, onions, you just never knew what we would come up with, or what we had on hand.
In my opinion, that is the best thing about pizza, you can make it whatever you want, with as many or as little ingredients. I chuckle to myself, but sometimes it can be an easy way to clean out the fridge. If you do not have enough of an ingredient, you can put it only on one side, have a picky eater? Put what they like on their side of the pizza, you can make all four corners of the pizza all different. Not enough cheese? Put as many different kinds as you want on it. You can do whatever your heart's desire with pizza! The sky really is the limit on this dish!
I am happy to share this one with you since everyone's will be different, no two pizzas are the same when you make them at home.
Oh, and another plus making it at home? If you are gluten free, then you know GF is a bit pricey when eating out. The dough was $5.99 from the store, and then the rest of the ingredients we already had here at home. Far cry from a small pizza that costs $20.00! Yes, they are expensive when you eat out. Now I know I can have my cake and eat it too, so to speak.
Between chocolate chip cookies and pizza, I am not sure which one I made first on my own when I was growing up? If you have children, I recommend making it at home, it is a nice way for the family to talk about their day as you put it together.
Grandparents? I always enjoyed going to my grandparents house, especially if she let me do anything in her kitchen. It was not often that she did, but I had a blast when I was allowed. I think those memories are what stay with us over time.
For me, it was never the big expensive gifts, it was always getting to spend time with family, and making memories. I find as I get older, the more nostalgic I become... maybe that comes with age, but I am glad for the memories I have with family in my younger years.
Here's to pizza and the memories you create!

Searching for more recipes? Click to read:
- Deviled eggs
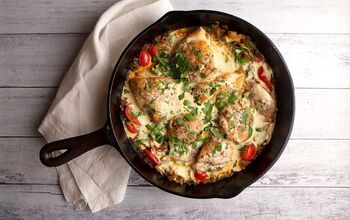
- Easy Mexican Skillet
- Easy baked chicken
- Sweet & Spicy chili
- Gluten free meatloaf recipe
- Spicy chicken thighs with honey
How to Make Gluten Free Pizza
Recipe details
- 10 Slices
- Prep time: 17 Minutes Cook time: 25 Minutes Total time: 42 min


Comments
Share your thoughts, or ask a question!