


Favorite Thick Elderberry Syrup Recipes | With Arrowroot
Elderberry syrup recipes to help you strengthen your immune system and fight off colds and flu. Elderberries are yummy, easy to grow, and can also be found wild!
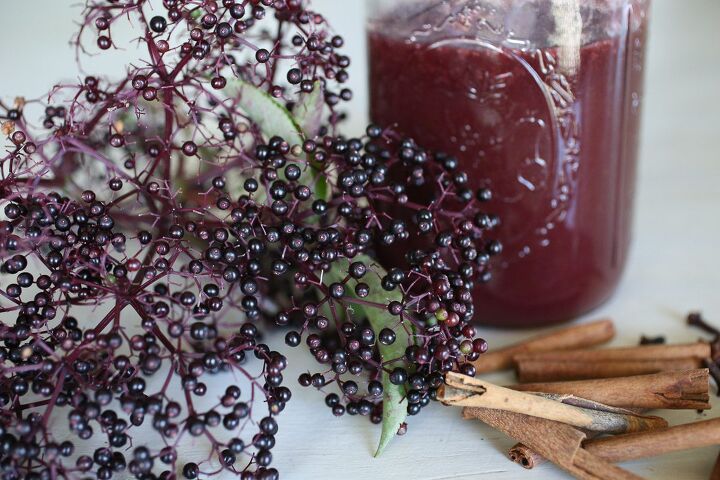
In this post, I will share how to make elderberry syrup on the stovetop and in the Instant Pot. I prefer thick elderberry syrup so these recipes all contain arrowroot powder.
This post contains affiliate links.
Disclosure: Any information given is my opinion formed through my own research. This information is not meant to diagnose, treat, prevent or cure any illness. Please do your own research regarding your health as you are responsible for your own decisions.
My kids really like elderberry syrup, but honestly, the thin syrup I have made in the past was annoying. Inevitably they would take a couple of spoonfuls and there would be drips all over the counter and the floor. This year I decided I would experiment with thickening the syrup with arrowroot…good news! It turns out perfect! I’m sure there will still be a few drips, but I am at least setting them up for success!
During cold/flu season, we take a tablespoon or so daily. If anyone starts to get a scratchy throat or a runny nose, we do a couple of tablespoons twice a day.
Why Make Your Own Elderberry Syrup?
Making your own elderberry syrup is a great way to save money. I have purchased dried elderberries at local bulk food stores. A 1 lb bag will give you several batches of elderberry syrup. You could spend nearly the same amount of money and purchase a 6.5 oz jar of elderberry syrup.
Elderberry syrup is super simple to make and with the huge savings, there is really no reason not to give it a try!
What are the Benefits of Elderberries?
I always think of my husband whenever I tout the benefits of any specific herb or vegetable. He says everything I talk about always sounds like a cure-all. So, as I write this, know that it isn’t a cure-all, and you may or may not see all of these benefits. However, I know of many people that truly believe this has helped them immensely through the cold and flu season.
- High in Vitamin C
- Helps boost the immune system
- Reduces the appearance of wrinkles and age spots
- Aids in eliminating excess cholesterol from the body
- Alleviates respiratory conditions (colds and coughs)
- Helps reduce inflammation
- Helps to prevent cardiovascular issues
- Eliminates constipation
- Promotes bone strength and development of new bone tissue
Fresh/Frozen Elderberries vs. Dried Elderberries
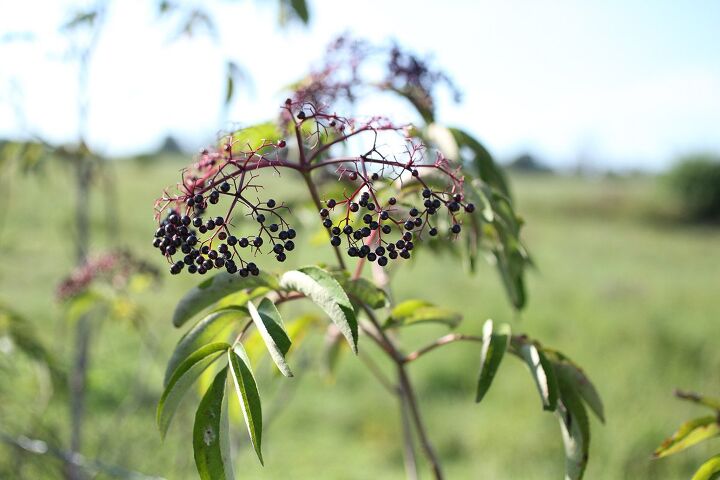
As I stated above, I have made elderberry syrup dried elderberries. This year, however, I made it with fresh elderberries. I planted two bushes in the spring and even this first year they produced enough berries to make two batches of syrup. Then what was really a surprise was that I found a wild elderberry bush growing on our property! There were enough berries on that one to make a third batch. I don’t know how I have missed that bush all of these years! It was way too big to have just sprung up!
A Few Tips for Using Fresh Elderberries
When you are using fresh berries, they can be difficult to pluck off of the stem as the berries are very tiny. A great way to remove them is to put your fresh berries in a zippered bag and put them in the freezer for a few hours. After they have frozen, you can take them out and just shake the stems in the bag. Many (not all) of the berries will just fall off of the stem.
Then you can just pick the rest off.
When using fresh berries, you will use twice the amount that you would use of dried berries. So if you are converting a recipe that calls for dried berries, just know you will need double the amount that the recipe calls for.
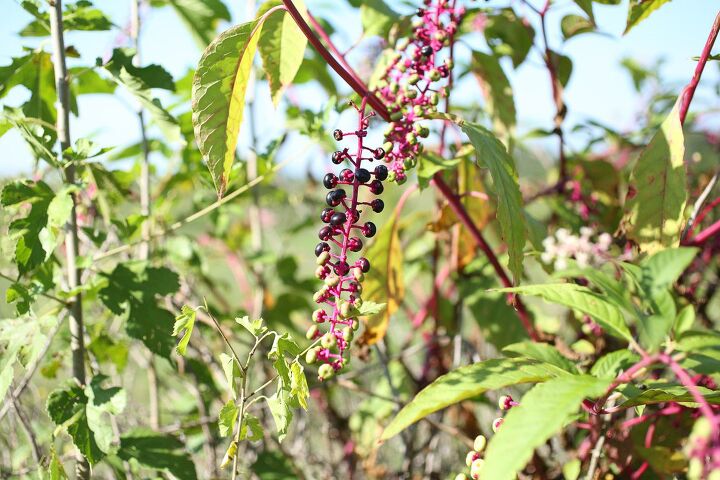
Make Sure You Can Properly Identify Wild Elderberries
When we first moved here, I found some bushes that I thought were wild elderberries. Unfortunately, they were not. What we have an abundance of is pokeberry. While wonderful for wildlife, they are not so good for humans, so make sure you can tell the difference. When you see them side by side, you can easily spot the differences.
Elderberry Syrup from Fresh Elderberries is Light in Color
I want to make a note about using fresh elderberries. The color of your syrup will not be the deep dark purple that you would expect. I made three batches with fresh, I experimented with less water and longer cook times. However, each batch came out with a lighter color than when I have made elderberry syrup from dried elderberries. So, if you make this and find that it doesn’t look like what you expected, don’t worry!
Should You Eat Raw Elderberries?
No, you shouldn’t. If you have eaten a few, you will be fine, however, don’t eat a bunch of them! Elderberry seeds contain a cyanide-inducing glycoside, which can cause a buildup of cyanide in the body and make you quite ill. Cooking the elderberries ensures that this is cooked out completely.
Also, dried elderberries can still make you sick. Even dried elderberries should be cooked. I read an article of a first-hand experience with eating a 1/4 cup of dried elderberries. You can read the article here.
Do not be afraid of elderberries. They are perfectly safe to eat after being cooked for 10-15 minutes.
Arrowroot Powder for Thick Elderberry Syrup
I like to use arrowroot powder in place of cornstarch in any recipe that calls for it. I try to avoid corn-based products as they are nearly always genetically modified unless otherwise stated.
Arrowroot is high in magnesium, potassium, zinc, and iron. So while it’s nice to use as a thickening agent in elderberry syrup, it also adds more nutrients and beneficial minerals! You can purchase it here.

Other Ingredients that You Can Throw In
If you want to load your elderberry syrup up with other beneficial and tasty ingredients, here are a few suggestions.
- Ginger-my kiddos didn’t care for this, it leaves a bit of a spicy aftertaste, but I kind of like it!
- Orange slices including the rind
- Lemon Slices including the rind
- Eccinacea root
Elderberry Syrup on the Stovetop with Apple Cider Vinegar
This is an easy way to make the syrup and you don’t really have to babysit it. The total cook time is about 40 minutes, but you don’t have to stand over it the whole time. My kids actually like the tanginess that the Apple Cider Vinegar adds to the syrup so I do add it sometimes, plus it has extra health benefits of it’s own.
Elderberry Syrup on the Stovetop without ACV
If you don’t want the flavor of Apple Cider vinegar, just add an extra 1/3 cup of water when you mix in the arrowroot.
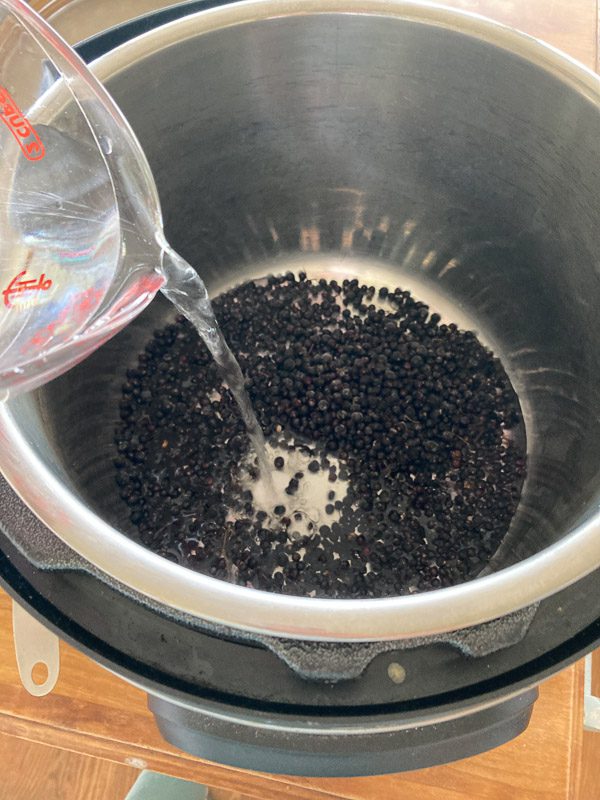
Elderberry Syrup in the Instant Pot with or without ACV
If you have an Instant Pot, it is very simple to make elderberry syrup. You can plunk your ingredients in there, set the time, and walk away. You will still need to thicken it at the end, but you can use the simmer feature and do it right in the pot.`
Elderberry Syrup in the Instant Pot
A hands-off method of cooking down the elderberries for elderberry syrup.
Ingredients
- 2 Cups Fresh Elderberries 1 Cup if using dried
- 4 Cups Filtered Water
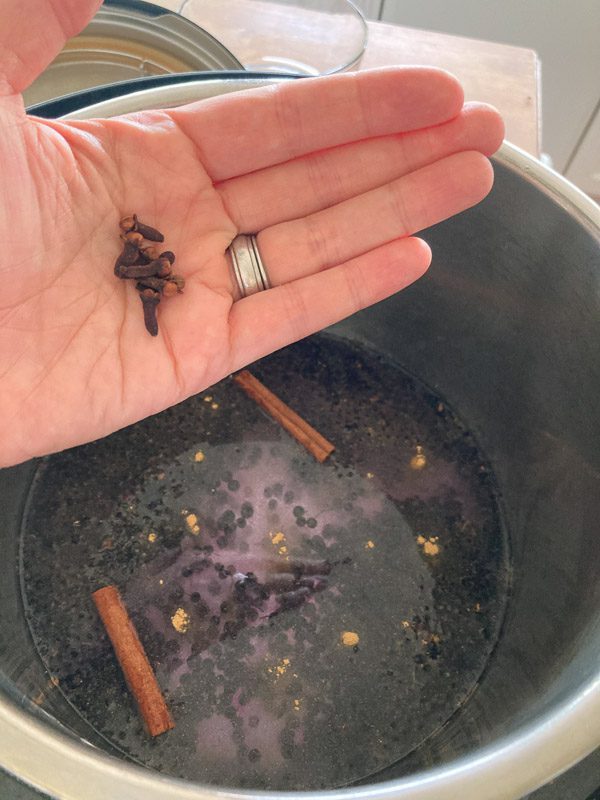
- 3 Sticks Cinnamon
- 6 Whole Cloves
- 1 Cup Raw Honey
- ¼ Cup Arrowroot Powder
- ⅔ Cup ACV optional
Instructions
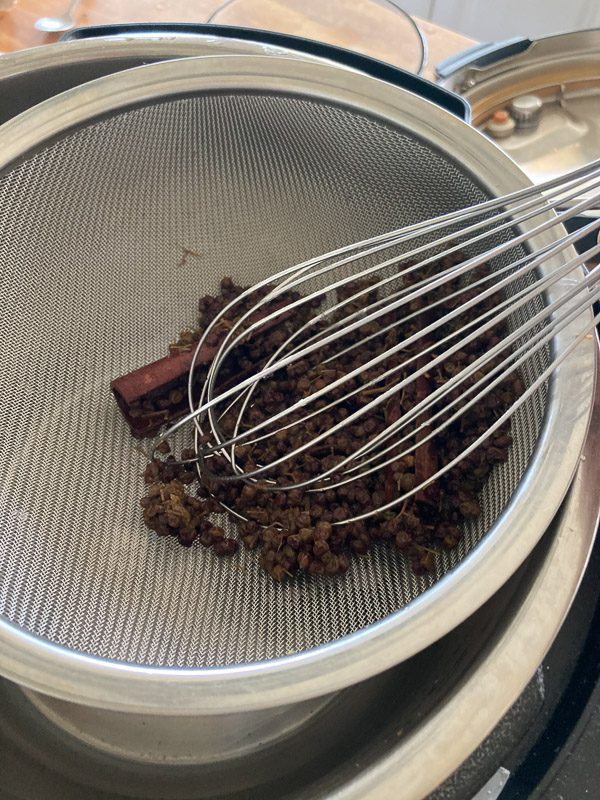
- Place the water, elderberries, cinnamon, and cloves in the instant pot. Set the pot to high pressure for 8 minutes. You can let the pressure release naturally or do a quick release.After the elderberries are done cooking, strain the elderberries and spices out with a fine mesh strainer or cheesecloth. Really smoosh and squeeze out all of the juice.Turn the Instant Pot on saute and return the syrup to the pot. Mix the ½ cup arrowroot powder with 1 cup of water. Add to the syrup and let cook until it is thickened. Turn off the heat and add the ACV and the honey. If you do not want Apple Cider Vinegar, you can omit it or just add more water if the syrup is too thick.
How To Make Elderberry Gummies

Once you have made the syrup, it is super easy to make some elderberry gummies. I use Vital Proteins Beef Gelatin. It is made from grass-fed pasture-raised beef. Gelatin like this actually adds quite a bit of nutrition as well supporting healthy skin, hair nails, and joints. It contains 20g of collagen per serving.
You can do this one of two ways. The gelatin should be mixed with a cool liquid first, if you pour it right in the syrup while it is still warm, it just gels up really quickly and is very lumpy…ask me how I know. So, if you are making these while the syrup is still hot, mix 8 TBS gelatin in about a 1/2 cup cool water, once that is dissolved then mix in the 2 Cups of hot elderberry syrup.
If your syrup is cooled, then mix the 8 TBS gelatin with 1/2 cup of cooled syrup and then pour in 1/2 cup hot water to dissolve it completely. Whisk in the remaining Cup and 1/2 of syrup.
Next, using a pipette, fill your gummy bear molds. If you don’t have molds, pour the mixture into a shallow dish and then just cut them into cubes when they are set. Place in the fridge to set.
How Long will Elderberry Syrup and Gummies Last
The syrup and the gummies should be stored in a lidded container in the refrigerator. I have kept the syrup in the fridge for an entire winter with no mold growth. Some people say for up to two months. If you want to be on the safe side, only make what you will use in a month and then make more when you need it.
The gummies don’t last long around here, so I don’t know from experience how long they will keep. The recommendation is two weeks in the fridge.
That’s It!
There are a lot of words in this post, but really the actual making of the syrup is easy and fairly quick. Don’t let all of the information deter you from giving it a try!
If You Love Making Your Own Health and Beauty Products Here are Some Other Posts You May Like!
Favorite Thick Elderberry Syrup Recipes | With Arrowroot
Recipe details
- 2 quarts
- Prep time: 15 Minutes Cook time: 45 Minutes Total time: 1 hr


Comments
Share your thoughts, or ask a question!