


How to Make Sourdough Pasta

Here’s my easy and simple recipe for delicious sourdough pasta that will sure be a hit in your family. Serve it as is or with your favorite sauce.Everyone is loving sourdough! And for good reason. It makes a fantastic bread whether it’s a lighter artisan style or denser whole-grain European-style bread. Have you thought about making sourdough pasta?
Whether you like sourdough foods for their unique taste or their health benefits, this sourdough pasta checks all the boxes. No more difficult to make than regular pasta, I am sure it will soon become your favorite food!
This post contains some affiliate links which means I make a small commission at no extra cost to you.
Why sourdough?
Every grain, nut, and seeds contains enzyme inhibitors phytates to keep them from going bad. They bind with minerals such as calcium, iron, and zinc among other in the intestinal tract, blocking their absorption. Soaking and sprouting neutralizes those phytates and enzyme inhibitors.
The sourdough fermentation is one such method to “predigest” grains making their nutrients more bio-available. Many people who don’t do well with regular wheat products report being able to tolerate grains that have undergone sourdough fermentation.
What’s more is that long fermentations increase the levels of B-vitamins in the product.
Aside from all health benefits, we just love the deeper taste of sourdough, even though I have to admit that you can’t really taste it in sourdough pasta!
Ingredients in sourdough pasta
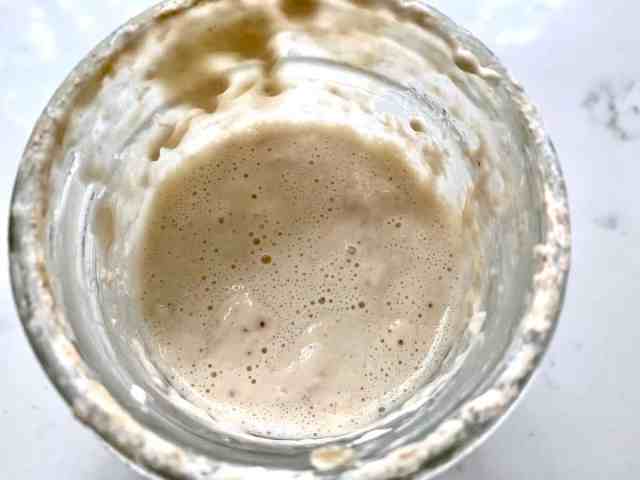
Obviously, you need a very good, ripe sourdough starter to make this pasta. If you don’t already have one, check out my detailed tutorial on how to make your own.
Next, you need flour. I have used both regular AP flour and a mixture of white and whole wheat flour. While I have not experimented with ancient grains, I think they could work really well and would be so worth a try. I will update this post once I do that!
To keep everything together, you need eggs.
Lastly, I like to add a small amount of salt. I do think that you can perfectly make this pasta without the addition of salt. However, it improves the flavor and it prevents your sourdough pasta from getting too sour. Having said that, you might want to leave it out if you do prefer a certain sourness to your pasta.
The method
The only difference to making sourdough versus regular pasta is that you need to start a bit earlier.
Often, it is recommended to make the sourdough in a non-reactive bowl. I love using my enamel bowl but glass or wood would also work.
Having your ripe starter ready, begin about 8 hours before you intend to make this pasta. Fortunately, this isn’t a hard-and-fast rule! You can absolutely only ferment your pasta for 45 minutes or overnight, or anything in between.
I personally prefer starting my dough in the morning. To make a bit more than a pound of fresh pasta (1.4 pounds to be exact), I use 3 cups of flour. Just know that you’ll need extra flour for rolling out the pasta.
Then about 1 cup of ripe sourdough starter, 2 whole eggs, and ¼ tsp of salt.
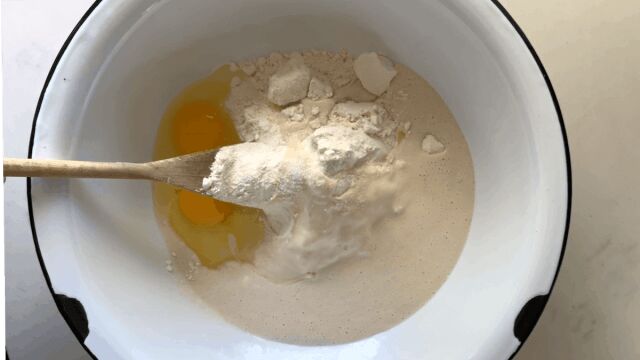
Mix everything together either by hand or with an electric mixer. I like to feel the dough with my hands, even if that means that I usually get it sticking to my hands.
At this point, don’t worry if your dough is wet. And depending on if and how much whole grain flour you’re using, you might have to add a bit of water.
Now, cover your dough and let it sit. Again, 8 hours or overnight is ideal but anything works. You might even see your dough rise a bit.
How to roll the pasta by hand
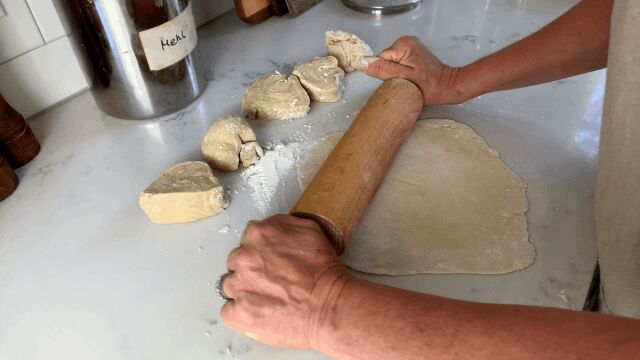
First, divide the dough in about 4-5 equal portions.
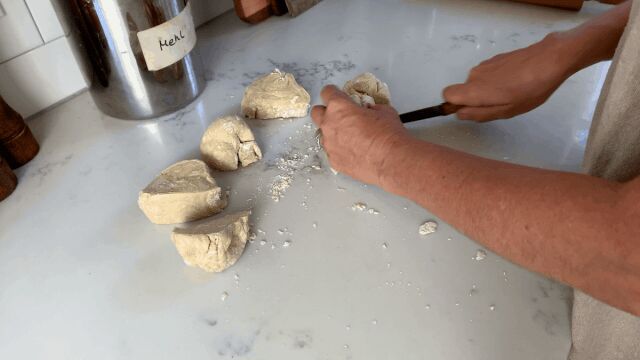
If your don’t own a pasta maker, you can simply use a rolling pin. Dusting each dough piece with flour, roll them into very thin sheets of pasta.
Then cut it in strips of desired width.
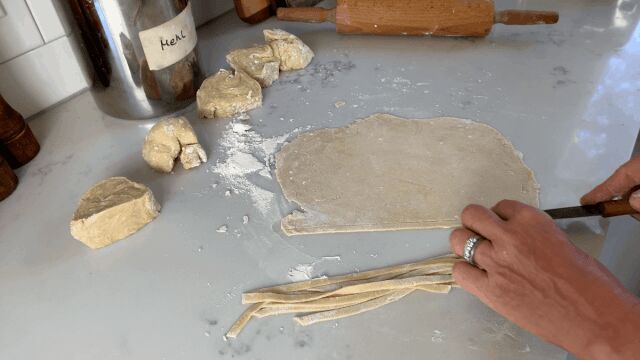
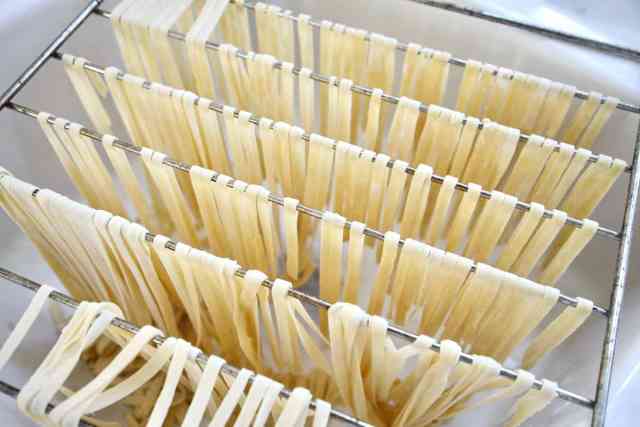
Dusting them with a bit more flour to keep from sticking, either put them in loose piles or on a drying rack (see below).
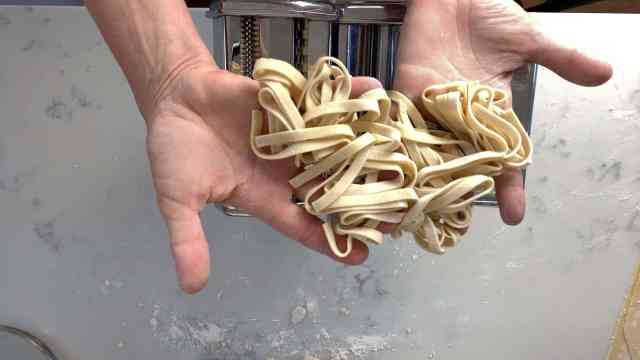
How to use the pasta maker
If you do own one, dust your dough ball with enough flour so that the it doesn’t stick to your hands – or the pasta machine. Set your pasta machine to the widest setting and roll the dough through. Dusting with more flour as needed, I like to fold my dough in half and put it through the pasta machine a few more times on the widest setting.
Gradually, decrease the width of the pasta machine and repeat these steps until you have your desired thickness. Usually, I go to only about setting 2 (of 6).
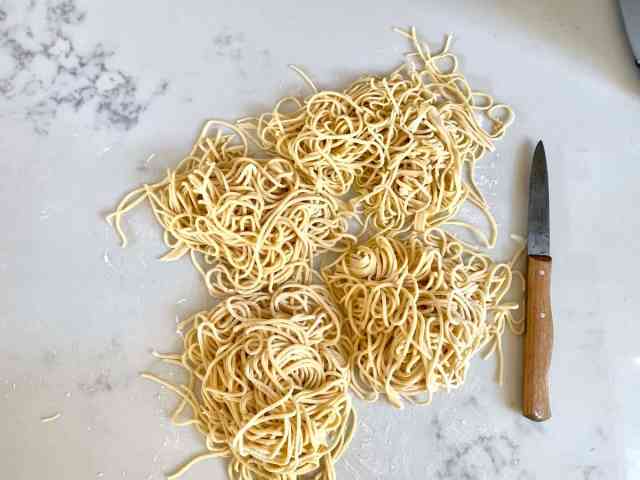
At this point, you can leave your pasta sheets and use them in a lasagne or put them through whatever attachment you have to make spaghetti, fettuccini, or linguini.
A word about the pasta machine
I have had my pasta machine for about 20 years and I love it. I can make lasagna sheets with it, any type of noodle, or filled ravioli.
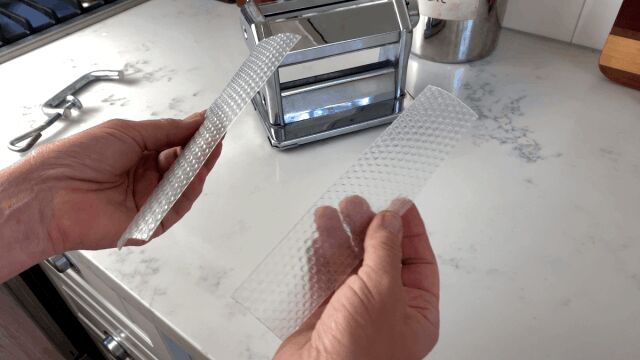
To use the machine, it needs to be clamped to the work surface. In my old kitchen, I had an integrated cutting board that I simply pulled out from underneath the counters. In my new kitchen I don’t have that any more. However, when designing the kitchen I knew I would be using this pasta machine. Over our main prep area we have a lazy susan cabinet. And to attach the pasta machine, I simply open the cabinet door underneath to have enough counter to attach it to.
Even though I am tightening the clamp as much as I can, I still had my pasta maker move a bit. This stopped once I cut up two strips of a drawer liner and put that underneath the rubber feet of the pasta machine.
You may have a kitchen table that works or a table in another room of the house. Just know that how matter how hard you try, you will be getting flour on the floor underneath it. And on your clothes. Therefore, I recommend wearing an apron.
Now that you have made the sourdough pasta …
… you can either dust it with enough flour so it doesn’t stick and put it in a very lose pile while you shape the remaining dough. When you’re ready to cook it, it will only take a few minutes.
If you’d like to keep it for later use, simply place it in the refrigerator for 1-2 days. Or keep it in the freezer for about 2-3 months.
I recommend drying it which you can do with a dedicated pasta drying rack. Personally, I am trying to stay away from single use items in my kitchen. Thus, I repurposed my oven cooling rack, placed it over my sink and used that. Once thoroughly dried, place it in an airtight container and use it within 2 months.
How to serve it
While the nutritional profile of homemade sourdough pasta is definitely superior to regular pasta, you cannot taste a difference. At least we can’t and I have very critical testers (my kids).
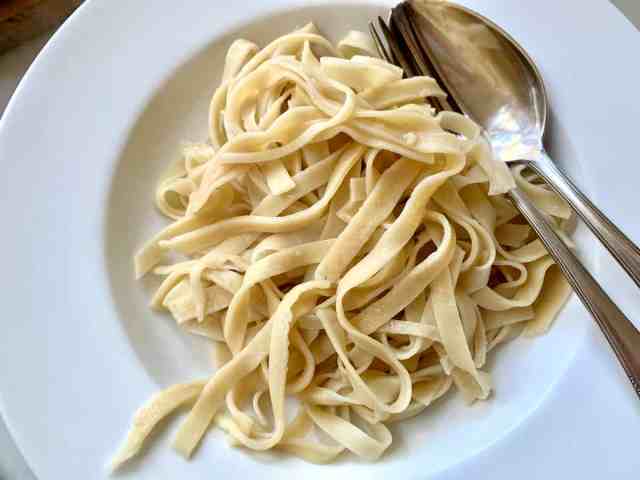
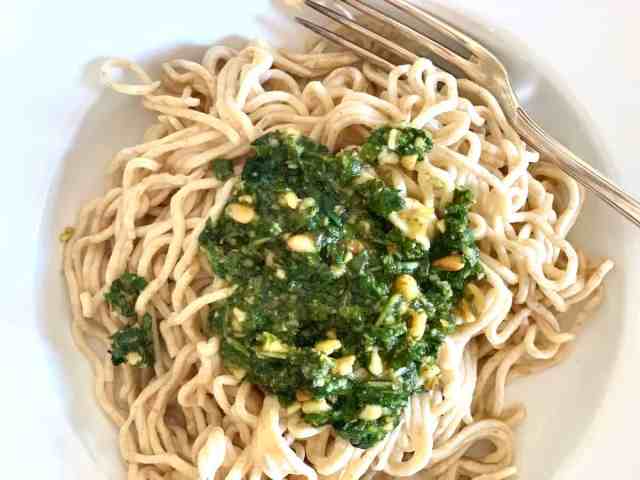
Therefore, simply serve it with your favorite sauce or toppings. You might like to try it with just some homemade butter and salt. We love it with dandelion pesto.
However you serve it, you will be surprised by its fresh, homemade taste!
Let me know your questions and comments below!
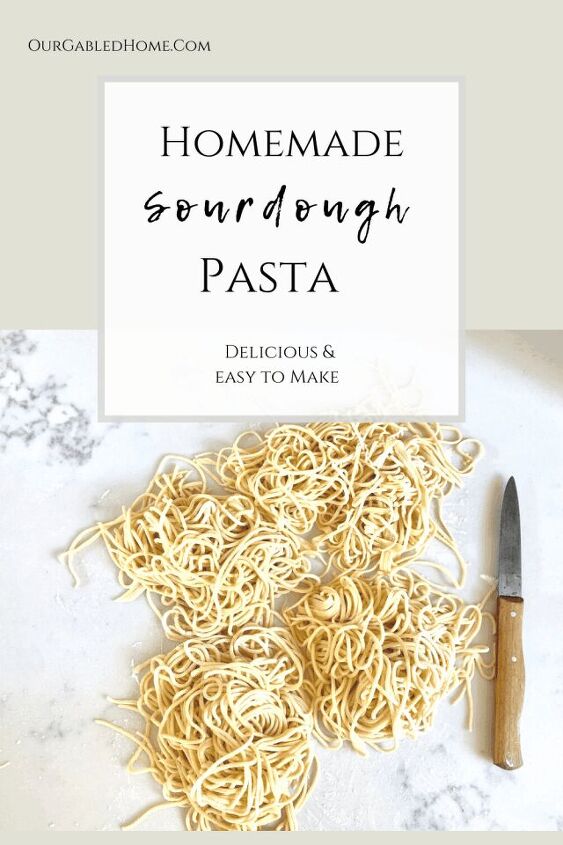
Pin For Later:
How to Make Sourdough Pasta
Recipe details
- 4 servings
- Prep time: 30 Minutes Cook time: 5 Minutes Total time: 35 min


Comments
Share your thoughts, or ask a question!